

Yes, bluestone can be laid on a sand bed, and it is a common method for patios, courtyards, and garden pathways. It works when the sand sits on a compacted crushed-rock base with firm edge restraints, which keeps the stones from shifting, sinking, or rocking underfoot.
For driveways and other vehicular areas, a sand-set base alone is usually not enough. Heavy, repeated loads call for a deeper engineered base, and often a mortar bed, so the first thing to settle is what the surface has to carry.
Can Bluestone Be Laid on Sand?
For foot traffic, yes. A sand bed is flexible, drains freely, and lets you level each stone precisely, which is why it suits patios, courtyards, alfresco zones, and paths. The trade-off is that it relies entirely on a well-compacted base beneath it and solid edges around it. Get either wrong and the paving moves.
For vehicles, treat sand-set with caution. A driveway or crossover puts concentrated, repeated load through the stones, and a loose sand bed lets large slabs rock and settle unevenly. Vehicular areas are better built on a deeper compacted base with a mortar or bound bed, using smaller interlocking units rather than large-format slabs.
Which base suits which job: sand, compacted base, or mortar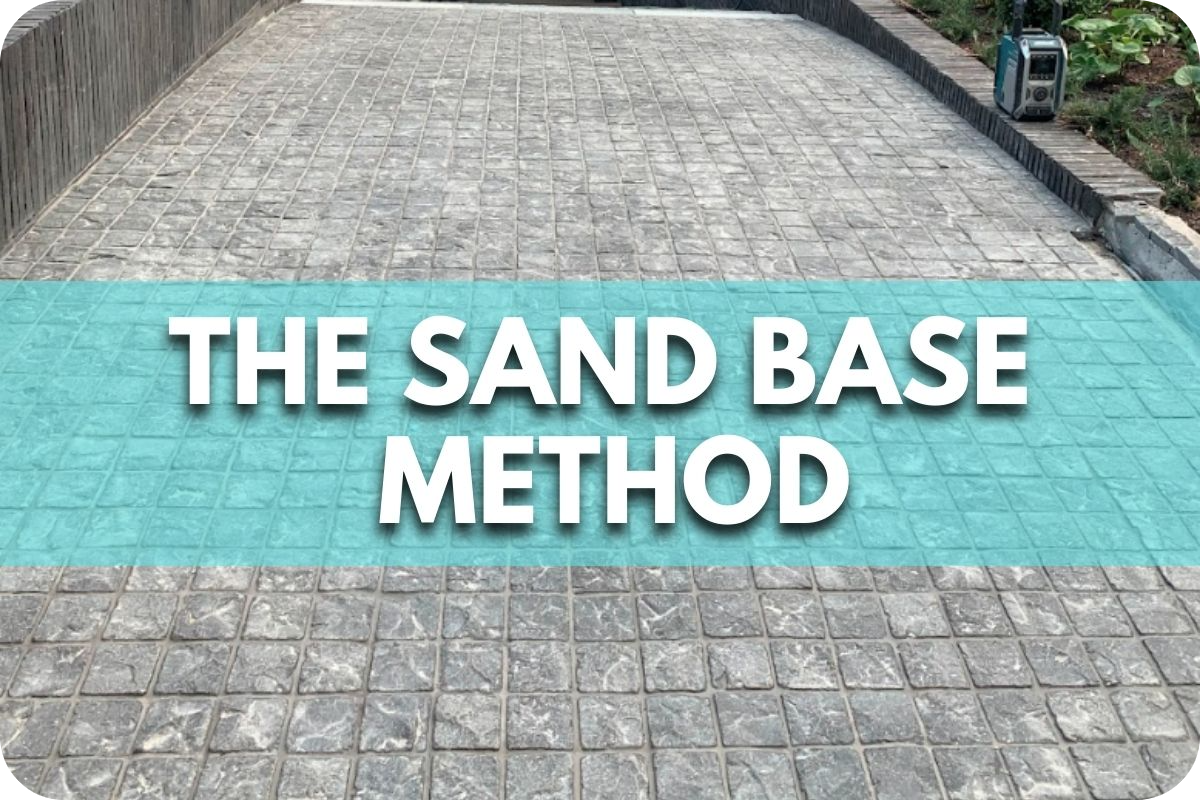
Intro line: The right base depends on load, not preference. This is the decision most people are actually trying to make when they ask about sand.
| Base method | Flexibility | Drainage | Relative cost | Best suited to |
| Sand bed (on compacted base) | High, moves with minor ground shift | Free-draining | Lower | Patios, paths, courtyards, pedestrian areas |
| Compacted base, dry-laid | Moderate | Good with correct fall | Medium | Heavier pedestrian, light traffic, larger areas |
| Mortar bed (on concrete or compacted base) | Rigid, no movement | Needs designed drainage | Higher | Driveways, vehicular, formal or high-traffic areas |
Categorical guidance only, not a substitute for an engineered design on vehicular work. Confirm the build-up with a professional for anything carrying cars.
Step-by-Step Guide to Laying Bluestone on Sand
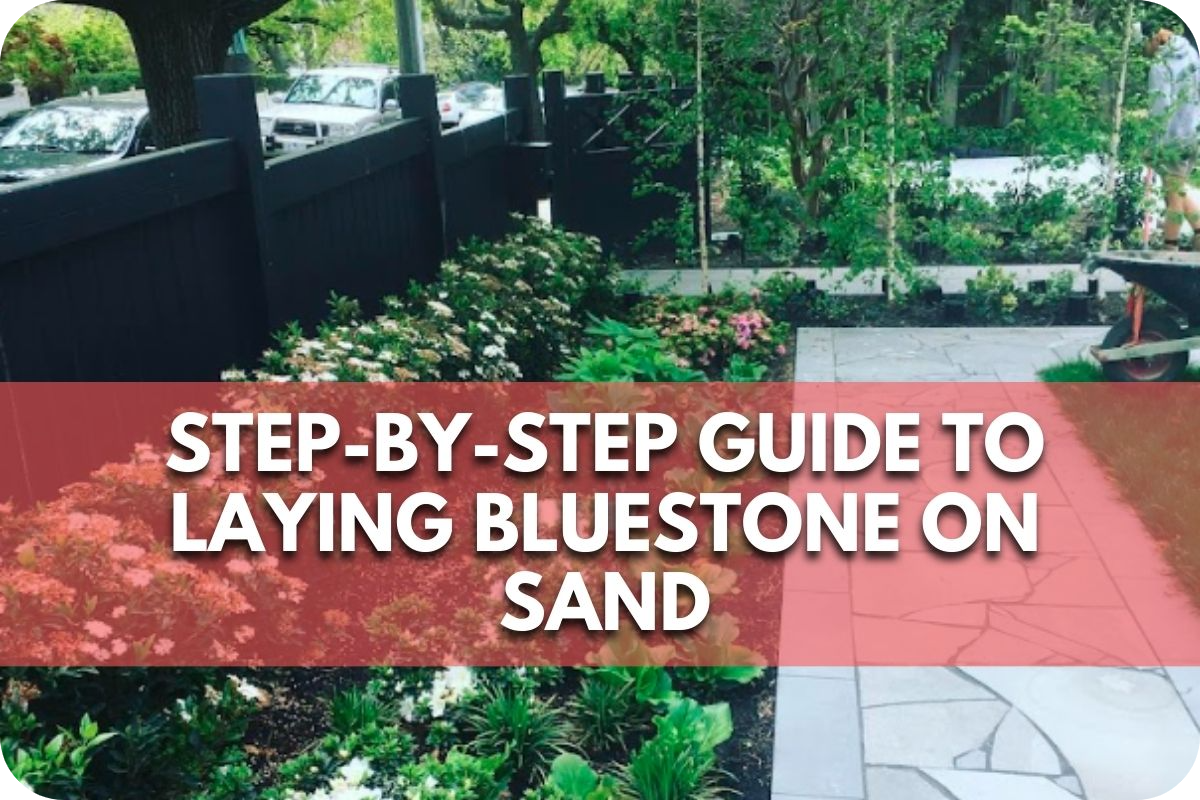
Step 1. Site preparation.
Clear the area of vegetation, debris, and topsoil down to firm ground. Removing organic material now prevents it breaking down later and creating soft, uneven spots.
Step 2. Excavate to depth.
Dig approximately 200 to 250mm below the finished surface level. This leaves room for the base, the sand bed, and the thickness of the stone. Set a fall across the area for drainage as you go, commonly around 10mm per metre running away from buildings.
Step 3. Lay and compact the base.
Install 100 to 150mm of compacted crushed-rock road base (20mm crushed rock is common). Compact it in layers with a plate compactor until firm. This base does the structural work, so do not rush it. A poorly compacted base is the single biggest cause of paving failure.
Step 4. Screed the sand bed.
Spread 25 to 50mm of coarse, washed sand over the base and screed it level with a straight edge. Use coarse washed sand, not fine brickies or beach sand, which holds water and shifts.
Step 5. Lay the bluestone.
Set the stones onto the sand bed, working from one corner outward. Tap each one level with a rubber mallet and keep joint spacing consistent. Lay a dry run first on tricky areas to check fit before bedding anything down.
Step 6. Fill the joints.
Sweep jointing sand into the gaps to lock the stones together. Top up until the joints are full. This stops movement and slows weeds. (See the maintenance section for loose versus polymeric jointing.)
Step 7. Final compaction.
Run a plate compactor gently over the paving with a rubber pad fitted to settle the stones into the bed. Skip the pad on large or honed slabs, as a bare plate will chip and mark the edges.
Step 8. Clean and seal (optional).
Clear loose sand and debris, then consider a penetrating sealer to resist staining and deepen the colour. Sealing helps most on exposed outdoor areas.
Common failure modes, and how to avoid them
- Rocking or sinking stones. Almost always an under-compacted base, or stones too large for a sand bed under load. Compact the base properly in layers, and use mortar for anything vehicular.
- Lipping at the joints. Edges sitting proud of their neighbours, usually from an uneven sand bed or skipping the dry run on large slabs. Screed carefully and tap each stone flush.
- Water ponding. Not enough fall. Build the crossfall in during excavation and water-test it before you finish.
- Sand pumping out of the joints. Loose sand washes out in heavy rain, especially on slopes. Polymeric jointing sand resists this far better.
- Edge spread. Without restraint, the outer stones creep and the whole field loosens. Edge restraint is the most overlooked step on sand-set paving.
- Frost heave. A real risk in alpine and cold-climate areas, much less so across most of lowland Victoria. Free-draining base and joints reduce it where it does apply.
Maintenance Considerations
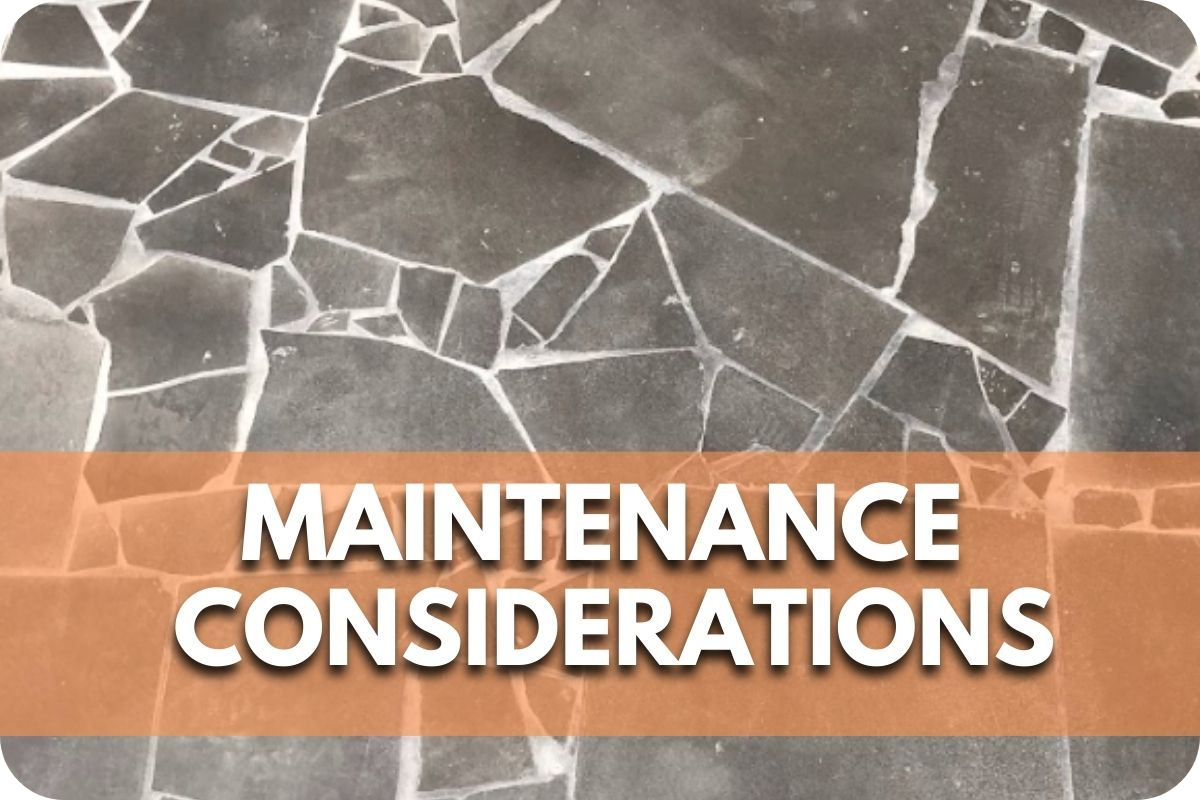
Bluestone laid on sand is crucial to preserve its aesthetic appeal and structural integrity. Here are specific maintenance considerations to keep in mind:
- Regular Cleaning: Bluestones should be cleaned regularly to prevent the buildup of dirt and debris. Using a broom or hose with a gentle spray setting removes loose particles. For deeper cleaning, a mild detergent mixed with water can be used with a soft brush to avoid scratching the stone.
- Weed Control: Over time, weeds can sprout between the joints. Regularly sweep sand over the pavers to fill any gaps that may have developed, which helps prevent weed growth. For weeds that do appear, use a weed killer or pull them out by hand to prevent them from spreading.
- Joint Sand Replenishment: The sand between the bluestone pavers can wash away over time, particularly in rainy climates or with frequent cleaning, which makes ongoing paver maintenance important. Periodically, you will need to replenish the sand in the joints. This involves pouring additional sand over the surface and sweeping it into the joints until they are filled.
- Sealing: Though optional, sealing bluestone can enhance its colour and protect against stains. Sealers can also reduce the amount of water penetrating the stone and sand base, extending the life of both. It’s recommended to apply a sealer every two to three years, depending on exposure to weather and traffic.
- Check for Movement: Periodically check the pavers for movement or settling, especially after extreme weather conditions. If you notice movement, lifting the affected stones may be necessary, adding or removing sand to level the base, and then relaying the rocks.
Professional tips for a lasting result

The difference between a patio that lasts and one that fails is usually in these details. Lay a dry run before bedding anything, so you sort cuts and joint widths first. Water-test your fall before final compaction, not after, by tipping a bucket and watching where it runs.
Gap large-format slabs slightly wider than small cobbles, since bigger stones move more and need room. Compact the base in layers and never trust a single pass. Always fit a rubber pad to the plate compactor over finished bluestone. And get your edge restraint in early, because retrofitting it after the field is laid is far harder.
Conclusion
Laying bluestone on sand works well for patios, courtyards, and pathways when the base is compacted, the fall is right, and the edges are restrained. Vehicular areas need a more engineered build with a mortar or bound bed. For advice on the right base for your project and premium bluestone supply, contact Splendour in Stone for a quote.
FAQs
1. Can you lay bluestone on sand for a driveway?
Not on sand alone. A flexible sand bed suits patios, courtyards, and pedestrian paths, but driveways carry heavy, repeated vehicle loads that can rock or sink stones set only on sand. For vehicular areas, use a deeper compacted base and a mortar or bound bed, and choose smaller interlocking units over large slabs.
2. What kind of sand goes under bluestone?
Use coarse, washed sand for the bedding layer, not fine brickies or beach sand. Coarse sand drains freely and stays stable underfoot, while fine sand holds water and shifts. Spread it over the compacted base, screed it level, then set the bluestone into it.
3. How thick should the sand bed be under bluestone?
A bedding layer of about 25 to 50mm of coarse sand is typical, sitting on a compacted road base of roughly 100 to 150mm. Excavate around 200 to 250mm below the finished surface to allow for the base, the sand, and the thickness of the stone.
4. Will bluestone laid on sand move or sink over time?
It can if the base is not prepared correctly. Movement is prevented by a well-compacted base, firm edge restraints, and joints kept topped up. Check the paving after heavy rain or extreme weather, and re-level any stones that have shifted by adjusting the sand beneath them.
5. Do you need to seal bluestone laid on sand?
Sealing is optional but worth considering outdoors. A penetrating sealer helps resist staining, deepens the natural colour, and reduces water soaking into the stone and base. Reapply every two to three years depending on exposure and traffic. Avoid acidic cleaners and high-pressure washing.
6. Is sand or mortar better for laying bluestone?
It depends on the use. A sand bed is flexible, cheaper, easier to install, and drains well, which suits patios and paths. A mortar bed is rigid and more permanent, better for high-traffic, vehicular, or formal areas where you want zero movement. Match the method to the load.

