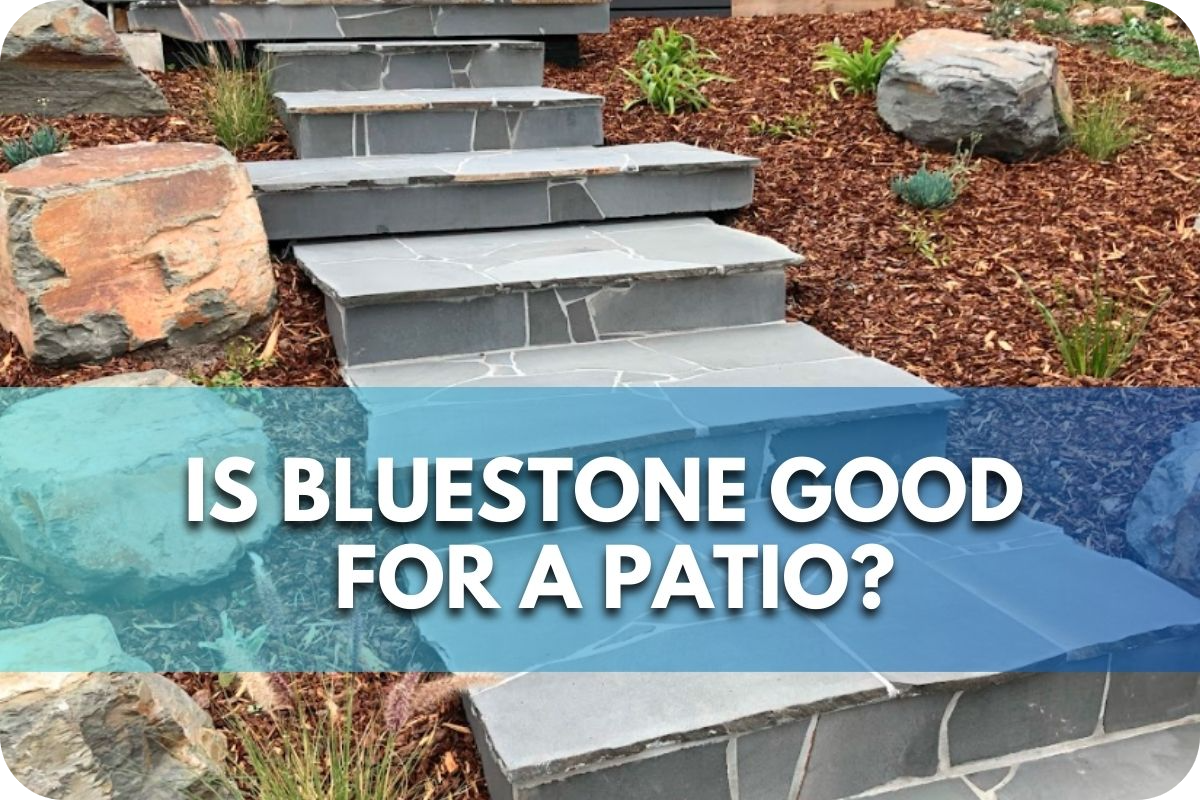
Is Bluestone Good for a Patio?
Choosing the right patio material is crucial for aesthetics and functionality.
Many homeowners struggle with selecting a durable and attractive option. Some materials can fade, crack, or require excessive maintenance, leading to frustration and increased costs.
Bluestone is an excellent patio choice due to its durability, natural beauty, and low maintenance. This article will explore why bluestone might be the perfect solution for creating a long-lasting and visually appealing outdoor space.
Is Bluestone Good for a Patio?
Bluestone is an excellent choice for patios due to its durability, aesthetic appeal, and resistance to weather conditions. Its natural texture provides a non-slip surface, making it safe for outdoor use. Additionally, bluestone’s variety of colours and finishes allows for versatile design options, ensuring it complements any architectural style while offering long-lasting performance.
Properties of Bluestone
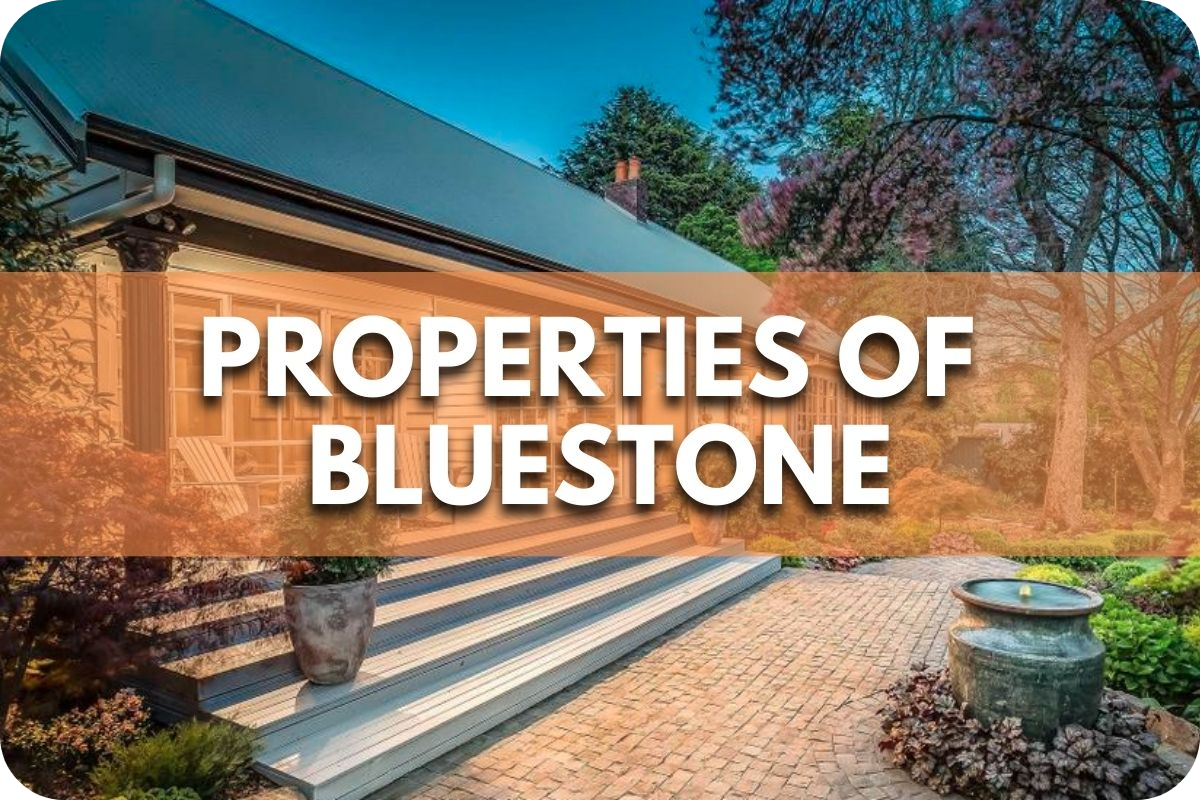
Bluestone is a popular choice for patio construction due to its unique properties that combine durability with aesthetic appeal. Here’s a detailed look at the properties of bluestone:
- Composition: Bluestone is a type of sandstone primarily composed of feldspar and quartz, contributing to its high strength and durability. It is typically found in shades of blue, grey, and green, adding a natural, sophisticated look to any patio design.
- Durability: Bluestone is known for its robust nature. It can withstand extreme weather conditions, including freeze-thaw cycles, without cracking or splitting, making it an excellent choice for outdoor applications in varying climates.
- Texture and Safety: Bluestone surfaces are naturally rough, providing a non-slip texture ideal for patio areas, especially around pools or wet climates. This textured surface can be honed for a smoother finish, though it naturally offers slip resistance.
- Versatility in Design: Available in irregular shapes and uniform, cut tiles, bluestone can be laid in various patterns to create a rustic or more formal appearance. Its colour consistency allows for easy blending with different landscape designs.
- Maintenance: Bluestone requires minimal maintenance. Regular sweeping and occasional hosing down are sufficient to keep it looking its best. Sealing bluestone can enhance its colour and protect the surface from stains.
Benefits of Using Bluestone for Patios
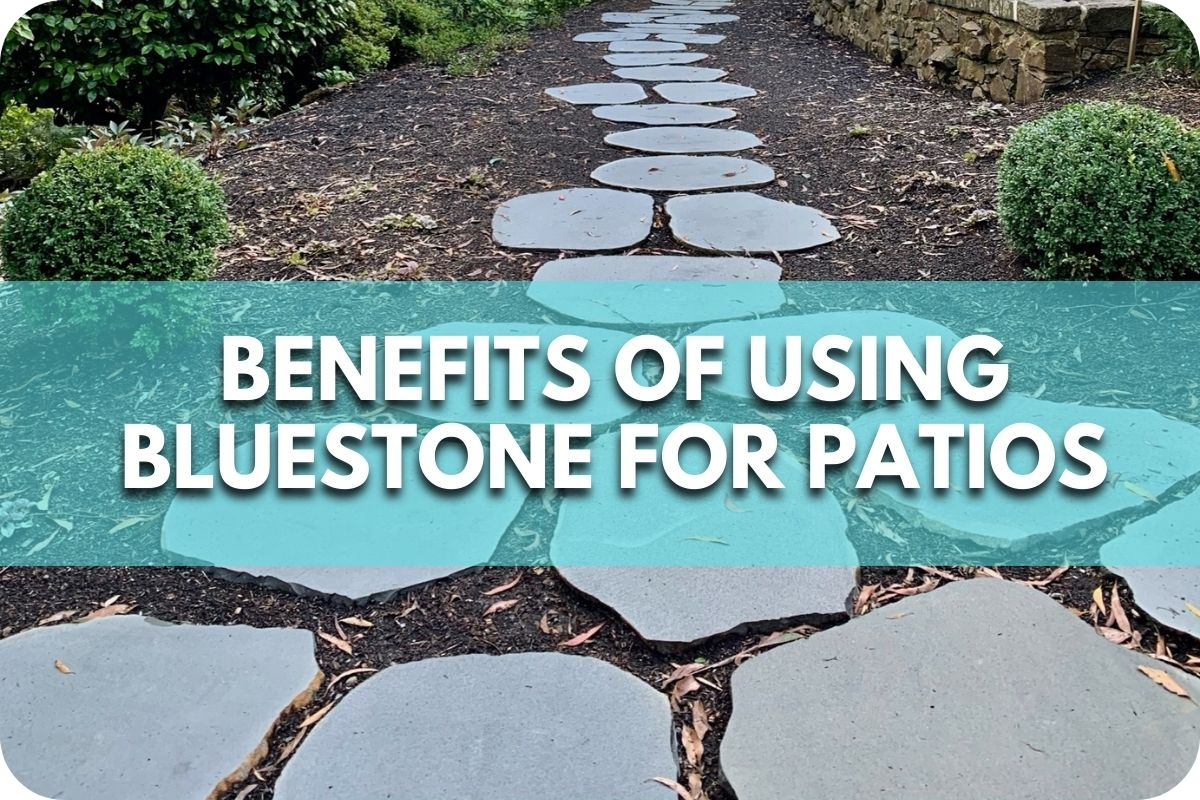
Bluestone offers several compelling benefits for patio construction, making it a top choice for homeowners and designers. Here’s why bluestone is an excellent option for patios:
- Aesthetic Appeal: Bluestone’s natural blue, grey, and green hues provide a visually appealing, sophisticated surface that enhances outdoor living space. Its rich colours and textures complement both modern and traditional designs.
- Durability: Bluestone is known for its hard-wearing qualities. It withstands heavy use and adverse weather conditions without showing significant wear, making it ideal for high-traffic areas like patios, where durability is a priority.
- Low Maintenance: Bluestone requires minimal upkeep beyond regular cleaning. It does not easily stain and can maintain its appearance with simple care, such as occasional sealing to enhance its colour and protect against moisture penetration.
- Versatility: With options for both natural cleft and thermal finishes, bluestone can be chosen to suit a variety of design aesthetics. It can be cut into uniform tiles for a formal look or used in irregular shapes to create a more rustic feel.
- Increases Property Value: Bluestone can increase a property’s value due to its durability and aesthetic appeal. Its timeless look and long-lasting nature make it a smart investment for any homeowner.
Design Considerations for Bluestone Patios
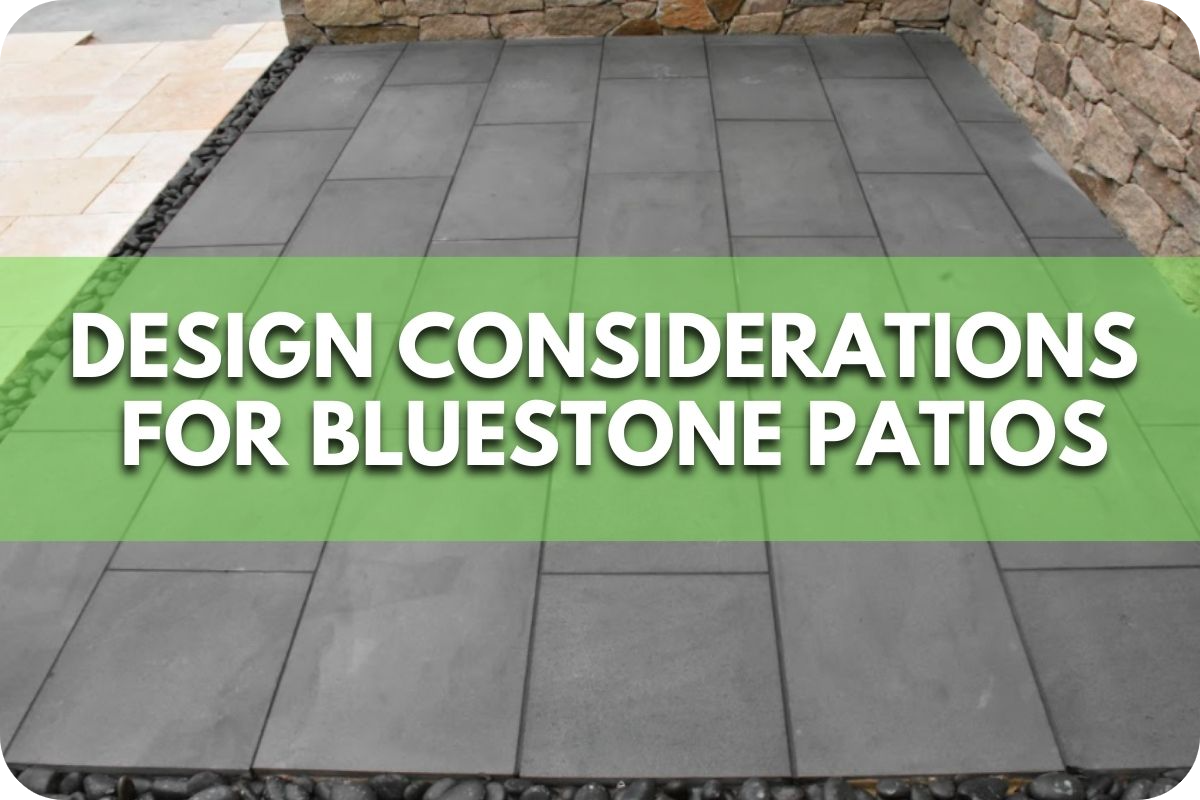
Bluestone is an excellent choice for patio construction due to its robust qualities and aesthetic versatility. Here’s a detailed analysis of why bluestone is well-suited for patio use:
- Durability: Bluestone is exceptionally durable and capable of withstanding severe weather conditions, including freezing temperatures, heavy rains, and intense sunlight. Its resistance to cracking and chipping makes it ideal for outdoor spaces that experience frequent use and exposure to the elements.
- Aesthetic Flexibility: Bluestone comes in various shades of blue, grey, green, and even purple, which can complement any home’s exterior décor. Its natural texture adds a rustic charm, while its ability to be cut into uniform tiles allows for more formal and contemporary designs.
- Safety: Bluestone’s natural cleft texture provides a non-slip surface, making it a safe choice for patios, especially in areas prone to wet conditions. This feature is particularly beneficial around pool areas or regions with frequent rain.
- Maintenance: Bluestone requires minimal maintenance. It is naturally resistant to stains and mildew, and regular sweeping and occasional hosing down are sufficient to keep the patio looking pristine. Sealing the stone is recommended, though not frequently necessary, for enhanced colour and extra protection.
Installation Tips for Bluestone Patios

Installing a bluestone patio requires careful planning and execution to ensure durability and aesthetic appeal. Here are essential tips for a successful bluestone patio installation:
- Foundation Preparation: Begin with a solid foundation. Excavate the area to a depth of at least 8 inches. Lay a base of crushed stone, about 4-6 inches thick, and compact it thoroughly to create a stable base that facilitates drainage.
- Weed Barrier: Place a geotextile fabric over the crushed stone base to prevent weeds from growing through the patio while allowing proper drainage.
- Mortar or Sand?: Decide whether to lay the bluestone on a sand base or mortar it directly onto a concrete slab. The sand setting is suitable for areas with minimal frost heave and provides a more natural look. Mortaring is preferable for a more permanent, stable installation, especially in climates with severe weather changes.
- Laying the Stone: Start from one corner and work your way across. Ensure each stone is level and the joints between stones are consistent. Use a rubber mallet to tap the stones into place gently.
- Joint Filling: For sand-set stones, fill the joints with sand or polymeric sand that hardens and prevents weed growth and insect infestation. Ensure the mortar is packed tightly and finished cleanly at the stone edges for mortared joints.
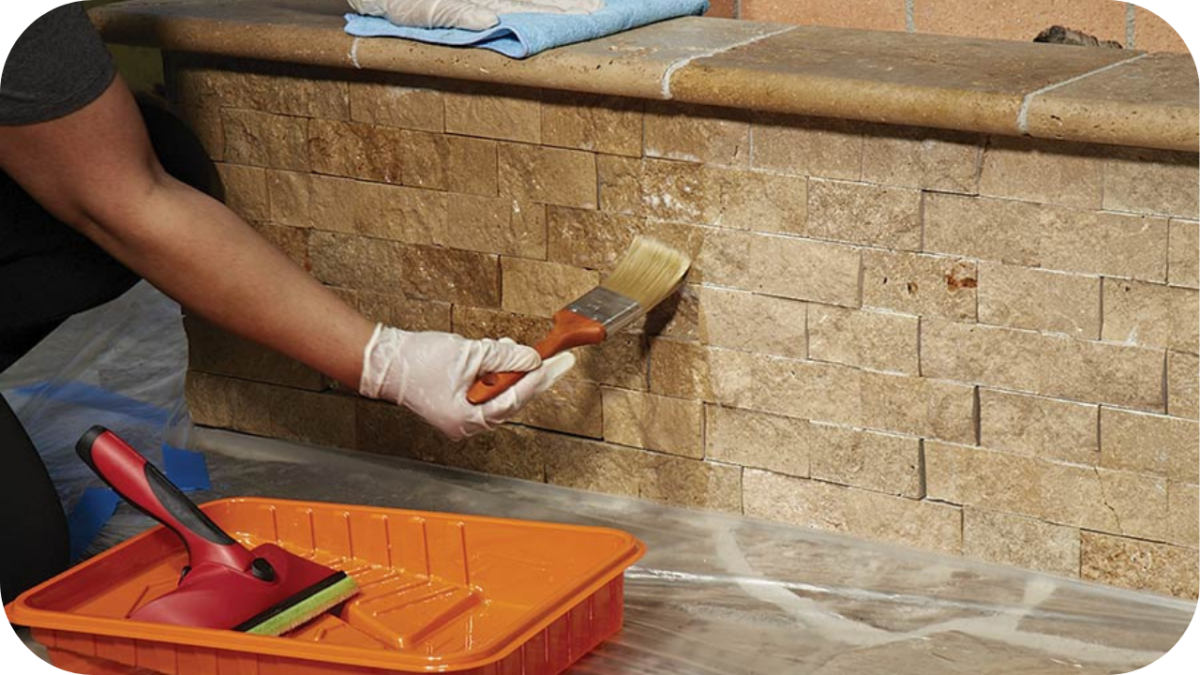
- Sealing: Although optional, applying a sealant can enhance the colour of the bluestone and protect it from staining and weather damage.
- Final Check and Adjustment: Once all stones are laid, check the overall level and adjust as needed. A final compacting of the patio will help settle the rocks and secure the joint filler.
Potential Challenges and Solutions

While bluestone is a favoured choice for patios due to its durability and aesthetic appeal, certain challenges can arise during installation and use. Here are some common issues and their effective solutions:
- Staining: Bluestone can be susceptible to staining from organic materials, oils, and other substances. Sealing the stone with a high-quality, breathable sealant is advisable to prevent stains. Regular cleaning with mild soap and water can also help maintain its pristine appearance.
- Weathering: Over time, bluestone can weather, and its colours may fade, especially in direct sunlight. Selecting a UV-resistant sealant can help mitigate this fading. Choosing bluestone with a thermal finish can reduce the visibility of wear and tear compared to naturally cleft varieties.
- Uneven Surfaces: Due to its natural formation, bluestone may have uneven surfaces that can pose a tripping hazard. To address this, ensure each stone is properly levelled during installation. Use a sand or mortar bed to adjust the height and provide an even surface across the patio.
- Chipping and Cracking: While bluestone is generally durable, it can chip or crack under severe impact or freezing conditions. Use jointing sand to cushion the stones against one another and install a stable base to minimise movement. For freeze-thaw-cycle areas, ensure proper drainage to prevent water from seeping underneath and causing heave or cracking.
Maintenance and Care
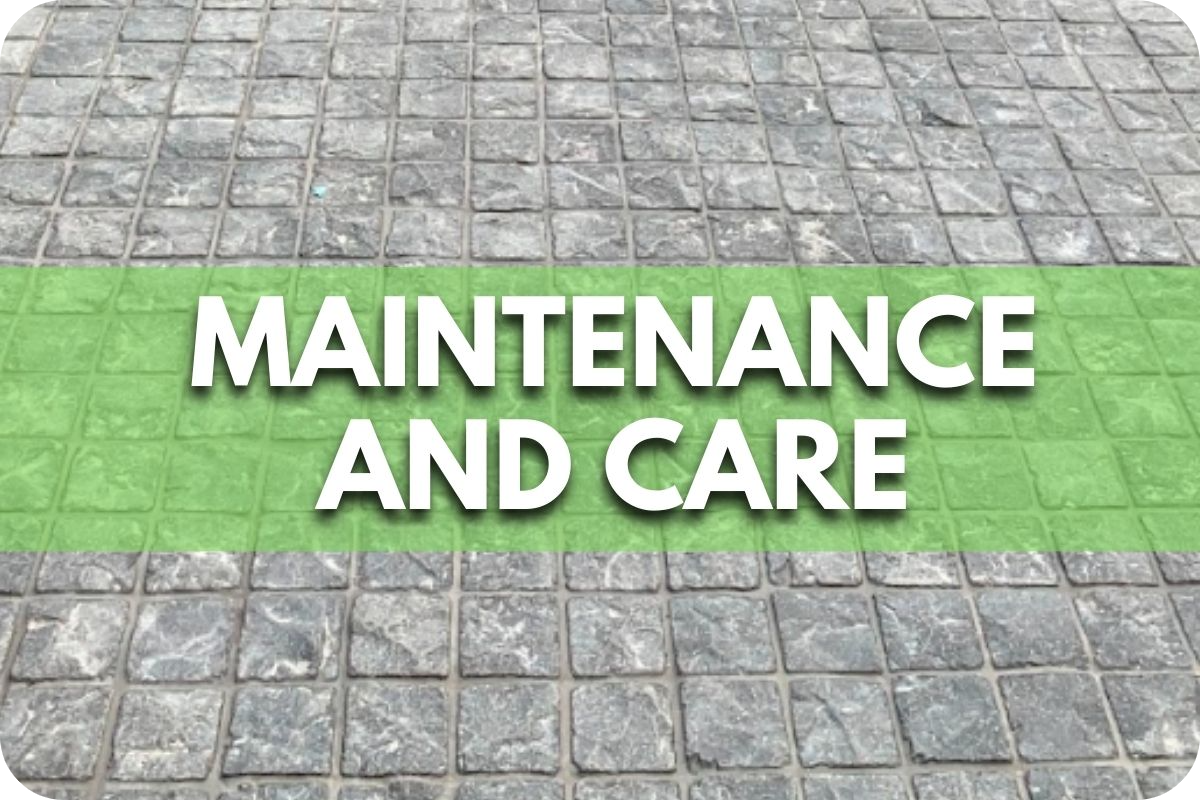
Maintaining a bluestone patio is straightforward, ensuring its longevity and visual appeal with minimal effort. Here are essential care tips:
- Routine Cleaning: Sweep the patio regularly to remove debris and dirt. Use a garden hose or pressure washer on a low setting for deeper cleaning. Avoid harsh chemicals; a mild soap solution is sufficient for most cleaning needs.
- Stain Removal: If stains occur, act quickly. Most organic stains can be removed with a mixture of hydrogen peroxide and a few drops of ammonia. For oil-based stains, apply a poultice that draws out the oil from the stone.
- Sealing: While not always necessary, sealing bluestone can enhance its resistance to stains and weather elements. Use a breathable sealant to prevent moisture retention, which can lead to cracking. Reapply sealant every two to three years, depending on exposure and wear.
- Weed Control: If the patio is sand-set, weeds may sprout between stones. Regularly check and remove weeds by hand or use polymeric sand in the joints, which hardens and prevents weed growth.
- Winter Care: In freezing climates, ensure that the patio has adequate drainage to prevent water accumulation and ice formation, which can lead to cracks and displacement of the stones.
Conclusion
Bluestone’s durability, aesthetic appeal, and low maintenance make it an excellent patio choice. Elevate your outdoor space with Bluestone’s timeless elegance. Contact Splendour In Stone for expert advice and premium Bluestone selections to suit your project. Make your patio a stunning focal point!