Marble Pavers vs Marble Tiles: Which is Right for Your Project?
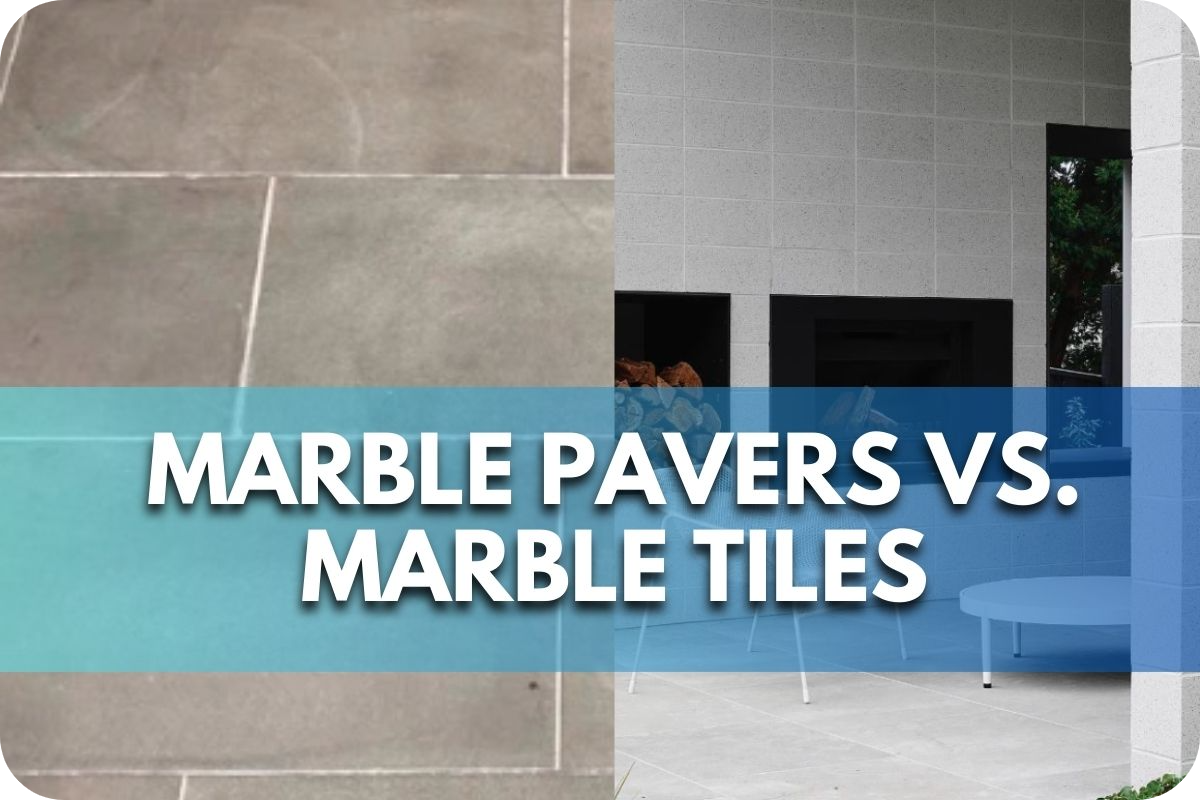
Choosing between marble pavers and marble tiles can be overwhelming, especially with the many options available.
The wrong choice could lead to costly mistakes, ruining the aesthetic and functionality of your space.
But fear not! This guide will break down the key differences and help you confidently select the perfect marble for your project, ensuring a stunning and durable result.
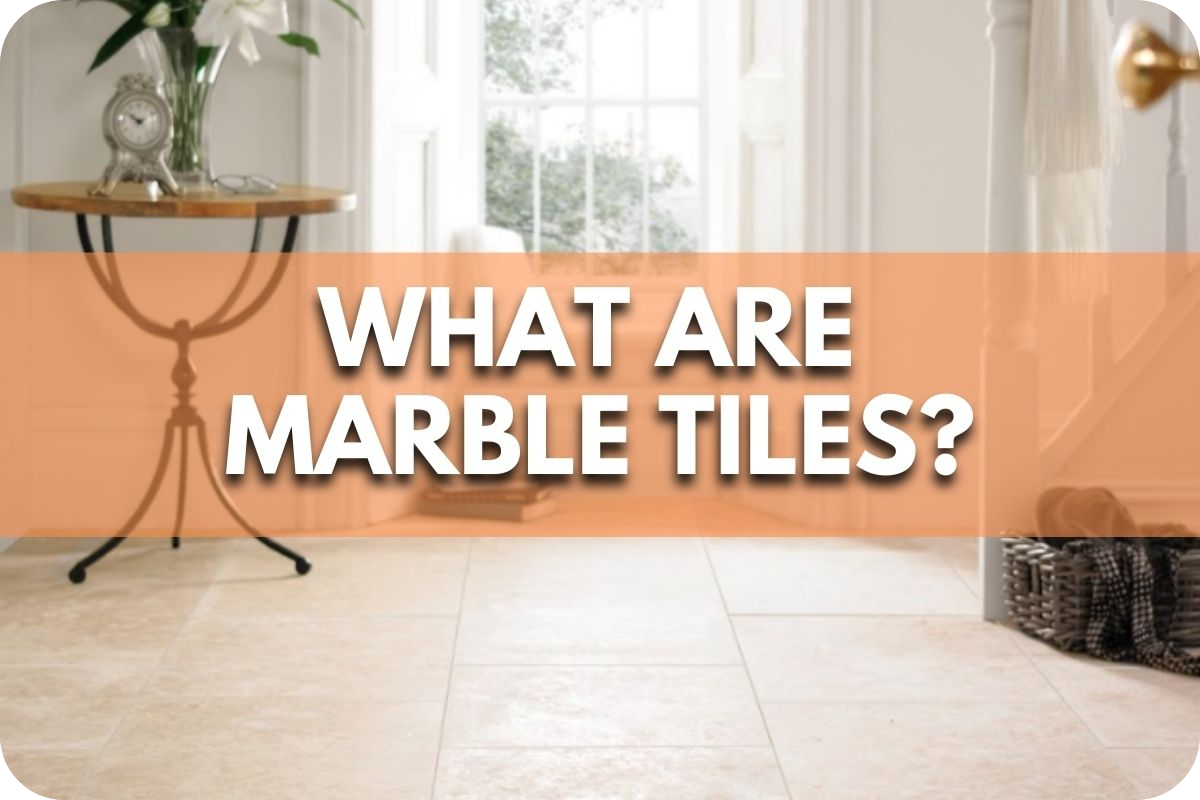
What are Marble Pavers?
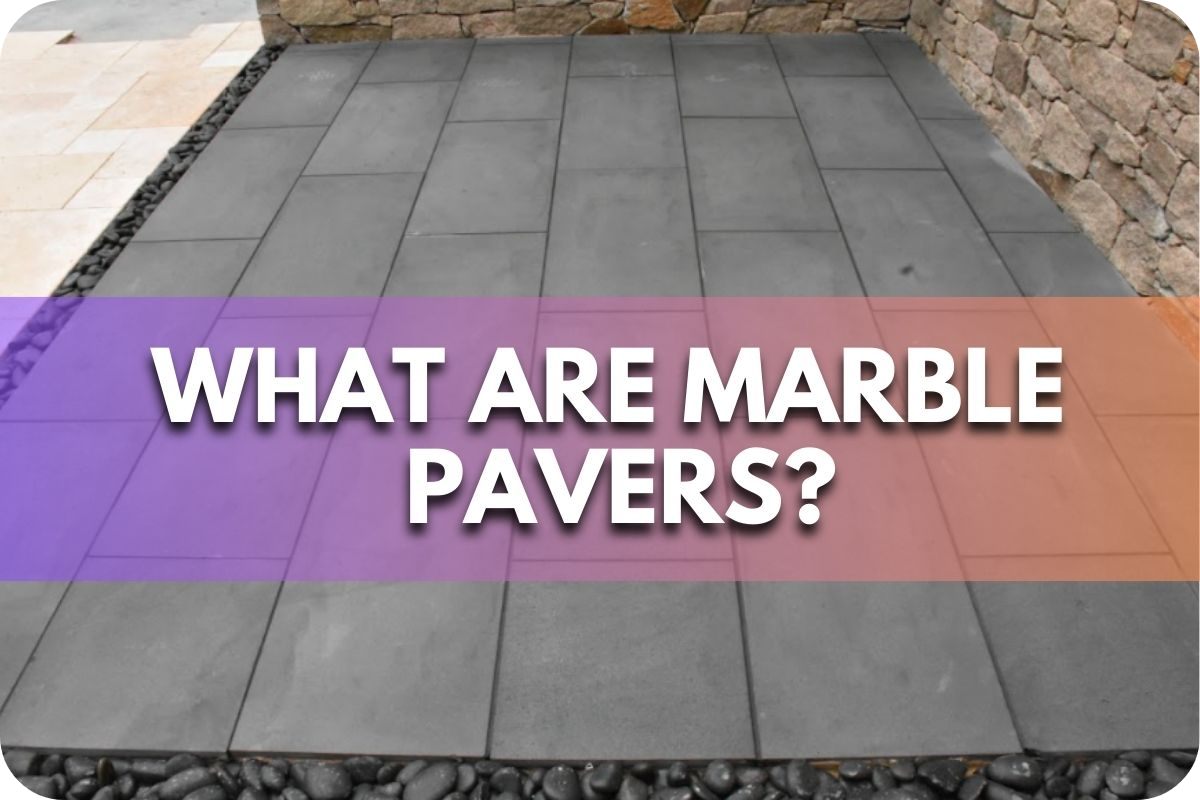
They are durable, natural stone pieces ideal for outdoor applications like driveways, patios, walkways, and pool decks. They are thicker and more robust than marble tiles, making them perfect for high-traffic areas and heavy loads.
Available in various finishes like tumbled, honed, and brushed, marble pavers for outdoor spaces provide excellent slip resistance for safety while complementing diverse landscaping designs with their natural textures and timeless appeal.
Renowned for their ability to withstand weathering, marble pavers maintain their elegance and durability over time. They come in a variety of colours and patterns, allowing for aesthetic versatility and customisation.
What are Marble Tiles?
They are refined, natural stone pieces primarily designed for indoor use, such as flooring, walls, and countertops. They are thinner and more polished than marble pavers, offering a smooth, elegant surface that enhances interior spaces.
Renowned for their timeless beauty and luxurious appearance, marble tiles are available in a wide range of colours, patterns, and finishes, such as polished, honed, and matte, to suit various design preferences.
While aesthetically striking, marble tiles are less suited for heavy loads and outdoor use due to their thinner profile and susceptibility to wear in harsh conditions.
Differences Between Marble Pavers and Marble Tiles
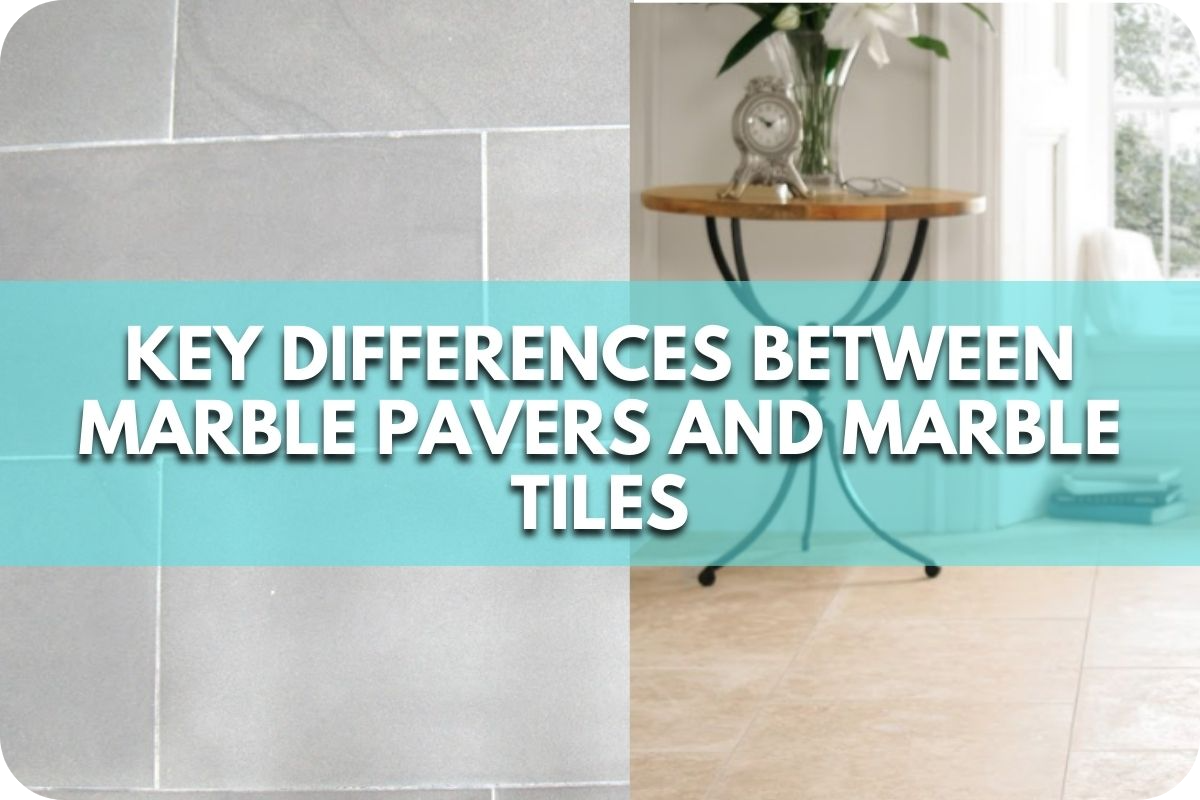
Understanding the critical differences between marble pavers and tiles is crucial in choosing the suitable material for your project.
1. Thickness and Durability
Marble pavers are thicker and sturdier, specifically engineered for outdoor use. Their robust construction enables them to withstand heavy loads, constant foot traffic, and environmental challenges, such as rain, frost, and intense sunlight.
With exceptional durability, marble pavers are the best choice for a pool deck, offering strength, slip resistance, and timeless elegance to enhance any outdoor space.
In contrast, marble tiles are thinner and designed for indoor settings. Their lightweight structure suits areas with less physical impact, such as floors, walls, and countertops, but they lack the strength needed to endure heavy outdoor usage or severe weather conditions.
2. Finish and Slip Resistance
Marble pavers are crafted with textured finishes, such as tumbled or brushed, which provide excellent slip resistance and safety in outdoor spaces. These finishes are practical for areas exposed to moisture, like pool decks and walkways, reducing the risk of slipping.
Marble tiles, however, feature smoother finishes, including polished or honed surfaces, that create a sleek and elegant indoor look. While visually appealing, polished tiles can become slippery, especially when wet, making them less suitable for areas where safety is a concern.
3. Installation and Maintenance
Pavers are installed with wider joints to allow for natural expansion and contraction in outdoor settings. This flexibility helps them withstand weather changes and prevent cracking. They also require more frequent cleaning and resealing to combat exposure to the elements.
Marble tiles, on the other hand, are fitted closely together using fine grout lines for a seamless indoor appearance.
4. Aesthetic Appeal and Versatility
Marble tiles offer a greater variety of intricate designs and patterns, making them ideal for elevating the sophistication of interior spaces. Options like polished and honed finishes create a luxurious and refined appearance suitable for homes and commercial spaces.
Marble pavers, however, excel in outdoor aesthetics. Their natural textures and rustic finishes blend harmoniously with landscapes, making them a popular choice for creating elegant yet durable outdoor environments.
5. Cost Differences
Marble pavers generally have a higher price point due to their thickness and durability. Their specialised production and ability to withstand outdoor wear make them more expensive. This investment is ideal for projects that require longevity and weather resistance.
Tiles, being thinner and lighter, are more cost-effective for large-scale indoor projects. Their affordability and availability in a variety of finishes make them a practical choice for indoor renovations.
6. Resistance to Elements
Pavers are specifically designed to resist outdoor elements like rain, frost, and intense sunlight. They maintain their structural integrity and appearance over time, even under extreme weather conditions.
Marble tiles are less resistant to environmental factors and can degrade when used outdoors without proper protection. They are better suited for controlled environments, where weathering and temperature changes are not a concern.
7. Weight and Transportation
Marble pavers are significantly heavier than tiles, requiring specialised equipment and handling for transportation and installation. This makes their setup process more complex and labour-intensive, particularly for large projects.
Marble tiles, being lighter, are easier to transport and install, allowing for quicker and more straightforward placement in indoor settings. This practicality makes them suitable for renovations with time or labour constraints.
8. Functionality in Specific Spaces
Marble pavers excel in creating durable, non-slip outdoor surfaces, making them ideal for areas like driveways, patios, and pool decks. Their strength and weather resistance ensure longevity in outdoor environments.
Marble tiles, with their smooth, polished surfaces, are designed to enhance the visual appeal of interiors. They are best suited for floors, walls, and countertops, where functionality and aesthetics go hand in hand.
9. Heat Retention and Comfort
Marble pavers retain less heat, making them a practical choice for outdoor spaces where surfaces are exposed to direct sunlight. This feature ensures comfortable usage in hot weather, especially around pool decks or patios.
Conversely, marble tiles can become warmer, particularly indoors, where climate control systems mitigate temperature changes. They provide a sleek surface but may not offer the same cooling effect as pavers in outdoor areas.
10. Customisation Options
Pavers are available in standard shapes and sizes, focusing on durability and outdoor functionality. Their range is narrower but still adaptable to different outdoor layouts and landscaping designs.Tiles, however, offer greater customisation with varied patterns, colours, and finishes, allowing for intricate designs and personalised interior aesthetics. This variety makes them more versatile for creative indoor applications.
Pros and Cons of Marble Pavers and Marble Tiles
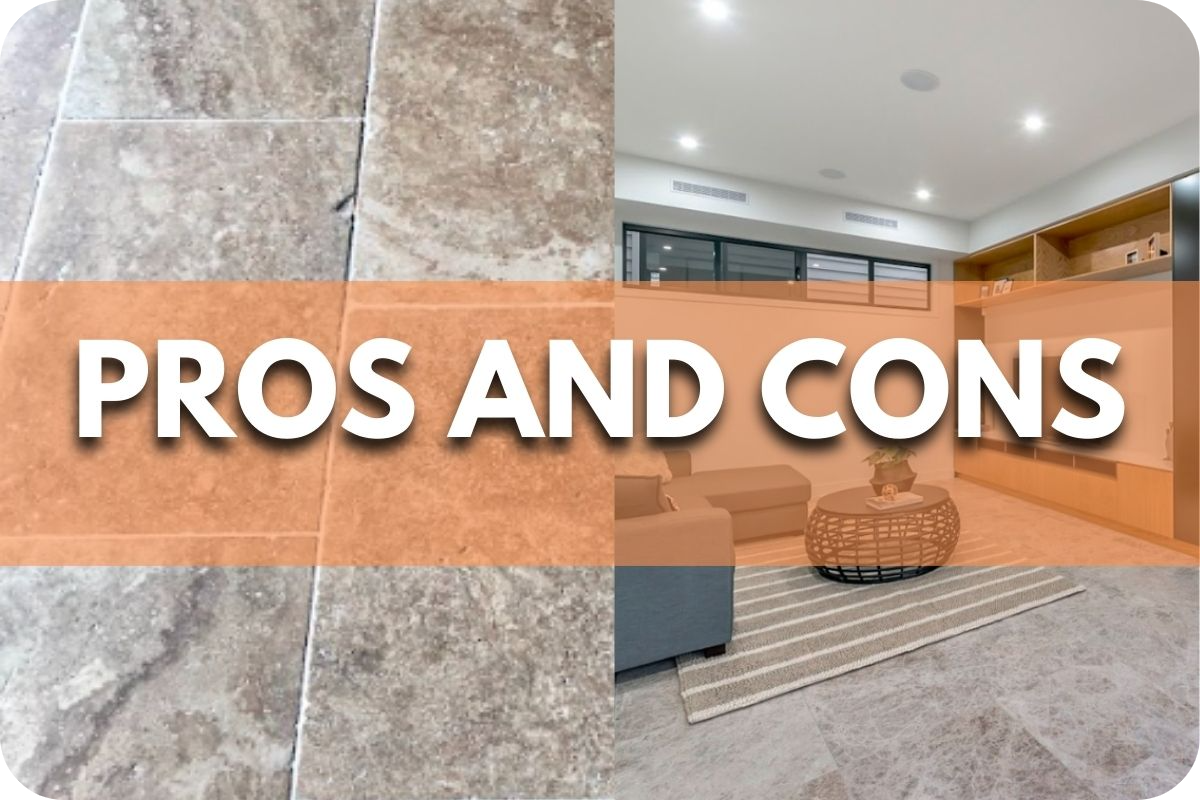
Deciding between marble pavers and tiles? Learn their unique pros and cons to find the perfect fit for your indoor or outdoor project.
Pros and Cons of Marble Pavers
Learn the strengths and limitations of marble pavers perfect for outdoor durability and style, with considerations for installation and upkeep.
Pros of Marble Pavers
Marble pavers are renowned for their durability and timeless beauty, making them an excellent choice for outdoor projects. Here’s why they stand out:
- Exceptional durability: Perfect for outdoor applications like patios, driveways, and pool decks.
- Handles heavy loads: Resists cracking or breaking under high traffic and weight.
- Slip resistance: Textured finishes, such as tumbled or brushed, enhance safety in wet areas.
- Weather-resistant: Withstands harsh elements like rain, frost, and intense sunlight.
- Luxurious aesthetic: Natural colours and patterns add a timeless, rustic touch to outdoor spaces.
- Long lifespan: With proper maintenance, marble pavers retain their strength and beauty for decades.
- Low heat retention: Remains cool underfoot, making them ideal for sunny areas like pool decks.
- Eco-friendly choice: As a natural stone, marble is a sustainable option compared to synthetic materials.
Cons of Marble Pavers
While marble pavers offer numerous benefits, they also come with a few considerations to keep in mind:
- Higher weight: Requires professional installation, increasing project costs.
- Maintenance demands: Regular cleaning and sealing are necessary to preserve appearance and durability.
- Premium cost: More expensive than other paving materials, representing a significant investment.
- Limited finish options: Textured surfaces may lack the polished elegance of indoor marble finishes.
Pros and Cons of Marble Tiles
Learn the advantages and limitations of marble tiles perfect for indoor elegance but require careful maintenance and proper application.
Pros of Marble Tiles
Marble tiles are celebrated for their elegance, versatility, and timeless appeal. Here are the key advantages of using marble tiles in your interior spaces:
- Elegant appearance: Offers a sleek and luxurious touch to indoor spaces like floors, walls, and countertops.
- Variety of finishes: Available in polished, honed, and matte options to match various interior styles.
- Extensive design options: Comes in a wide range of colours and patterns for customisation.
- Durable in moderate traffic areas: Resistant to stains and damage when properly sealed and maintained.
- Easy to clean: The smooth surface simplifies cleaning and daily upkeep.
- Heat resistance: Performs well in areas exposed to heat, such as kitchen countertops.
- Timeless appeal: Adds a classic and sophisticated look that enhances property value.
- Versatile application: Suitable for various indoor uses, from flooring to decorative feature walls.
Cons of Marble Tiles
While marble tiles are an excellent option for indoor spaces, it’s essential to consider their limitations to make an informed decision:
- Not suitable for outdoor use: Lacks the robustness of pavers and can crack or discolour when exposed to harsh weather.
- Slippery when wet: Polished tiles may pose safety risks in areas like bathrooms or kitchens.
- Requires regular maintenance: Needs sealing to protect against stains, moisture, and damage.
- Prone to scratches and etching: Vulnerable to acidic substances and wear in high-use areas.
- Higher cost: While versatile, their premium quality can make them expensive for large-scale projects.
Which is Right for Your Project?
Choosing between marble pavers and marble tiles depends on your project’s purpose, location, and desired outcome. Marble pavers are ideal for outdoor spaces such as patios, driveways, and pool decks, thanks to their thickness, durability, and weather resistance. Their textured surfaces ensure safety in wet areas, making them perfect for high-traffic and exposed environments.
On the other hand, marble tiles are better suited for indoor applications like flooring, walls, and countertops. They offer a sleek, polished appearance and a wide range of colours and patterns to enhance interior aesthetics.
However, they are less durable for outdoor use and require careful maintenance in high-moisture areas.
Conclusion
Choosing between marble pavers and tiles ultimately hinges on your specific project needs and desired aesthetic.
By carefully weighing the factors discussed, you can confidently select the ideal marble solution that elevates your space while ensuring long-lasting beauty and functionality.
Ready to transform your project with marble’s timeless elegance? Dive deeper into your research and make an informed decision today.