DIY Z Panel Installation: Is It Feasible? A Guide for Homeowners
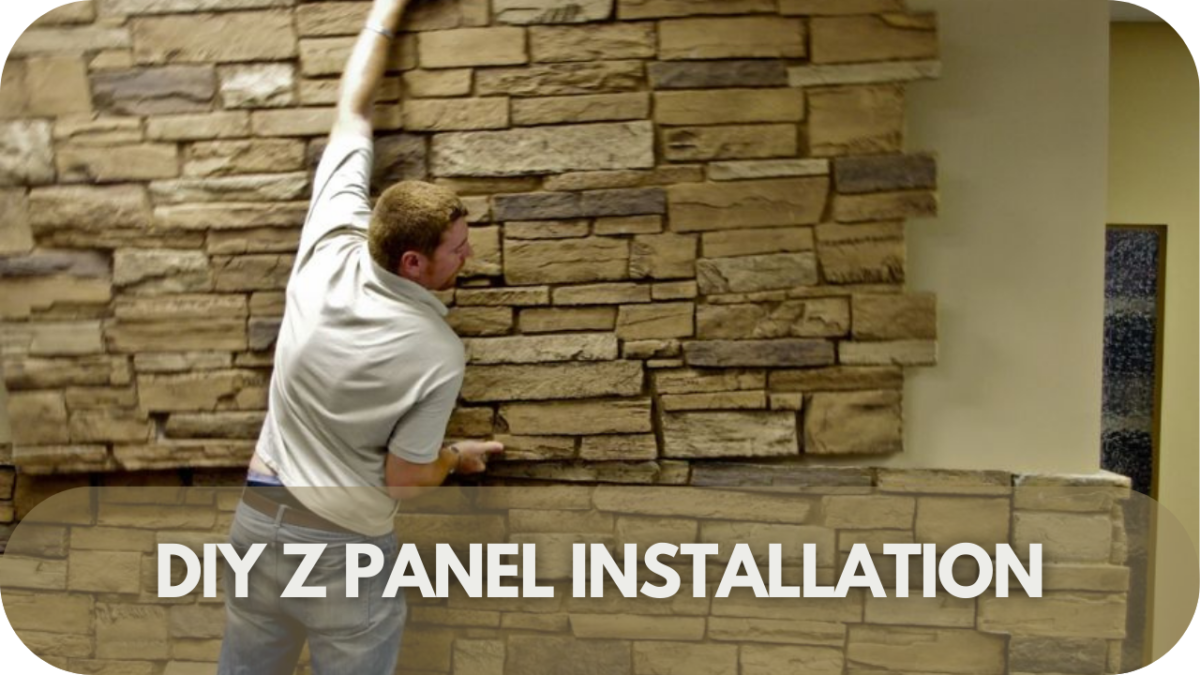
A plain wall has the potential to become a stunning stone feature, and DIY Z panel installation offers the chance to make it happen.
For homeowners seeking a budget-friendly, hands-on project, it seems like the perfect fit. But with challenges like uneven surfaces and precise alignments, it’s not always as simple as it looks.
Will you achieve a flawless, professional finish, or will unexpected obstacles derail your efforts? Before you pick up your tools, let’s break down what it takes to tackle this ambitious project successfully.
What Are Z Panels?
Z panels are pre-fabricated cladding panels designed to create seamless, interlocking finishes for walls and surfaces. Named for their unique “Z” shape, these panels ensure a tight fit, minimising visible joints and enhancing the overall aesthetic.
They are available in various materials, including natural stone, wood, and composite, catering to diverse styles and preferences. Renowned for their durability, ease of installation, and timeless appeal, Z panels are ideal for both interior and exterior applications.
Tools and Materials Needed

Before starting your DIY Z panel installation, having the right tools and materials is key to success. The right preparation not only saves time but also ensures a seamless, professional finish. Here’s a list of essential tools and materials you’ll need to get started:
- Measuring Tape: Ensures accurate dimensions for Z panels, avoiding misalignments and ensuring a precise fit for your installation.
- Spirit Level: Critical for achieving perfectly level panels, preventing uneven or crooked finishes on walls and surfaces.
- Notched Trowel: Ideal for evenly spreading adhesive or mortar, ensuring secure attachment and reducing the risk of weak spots.
- Stone Saw or Grinder: Essential for clean, precise cuts, especially for edges, corners, and custom adjustments to fit panels perfectly.
- Safety Gear: Includes gloves, goggles, and a dust mask to protect against sharp edges, debris, and inhalation of fine dust.
- Z Panels: The main material, available in various styles and finishes, providing the aesthetic appeal and durability desired.
- High-Quality Adhesive: Ensures strong adhesion to the wall surface, suitable for the weight and type of Z panels used.
- Primer: Necessary for preparing non-porous or uneven surfaces, improving adhesive performance and ensuring a lasting bond.
- Spacers: Used to maintain even spacing and alignment between panels, creating a professional, seamless look.
- Sealant: Optional but recommended for outdoor installations, protecting the panels from moisture, weather, and long-term wear.
Preparing for Installation
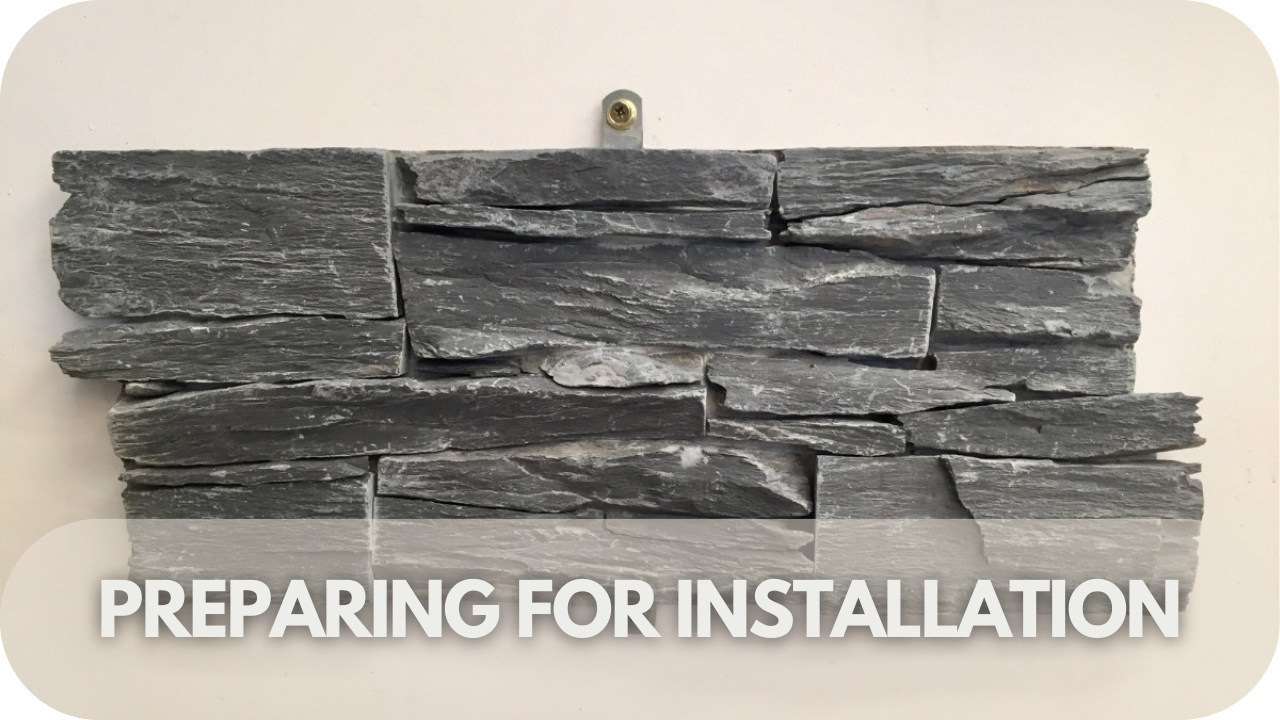
A flawless Z-panel installation starts long before the first panel is placed. Proper preparation not only ensures a stunning finish but also prevents costly mistakes—so let’s get it right.
1. Assess the Surface
Ensure the wall is structurally sound, clean, and level. Uneven or damaged surfaces can compromise the alignment and stability of Z panels, leading to unsatisfactory results. If necessary, fill gaps, repair damage, or sand down uneven areas to create a smooth, reliable base for installation.
2. Clean the Area
Remove all dust, grease, and debris from the surface. A clean wall is crucial for proper adhesion. Use a damp cloth or a mild cleaning solution, and let the wall dry thoroughly before proceeding. For porous surfaces, consider applying a primer to enhance adhesive bonding.
3. Measure and Plan
Accurate measurements are key to a flawless fit. Measure the wall dimensions carefully and calculate the number of Z panels required, factoring in cuts, corners, and wastage. Mark guidelines on the wall to help with alignment and reduce the chances of errors during installation.
Step-by-Step Installation Process
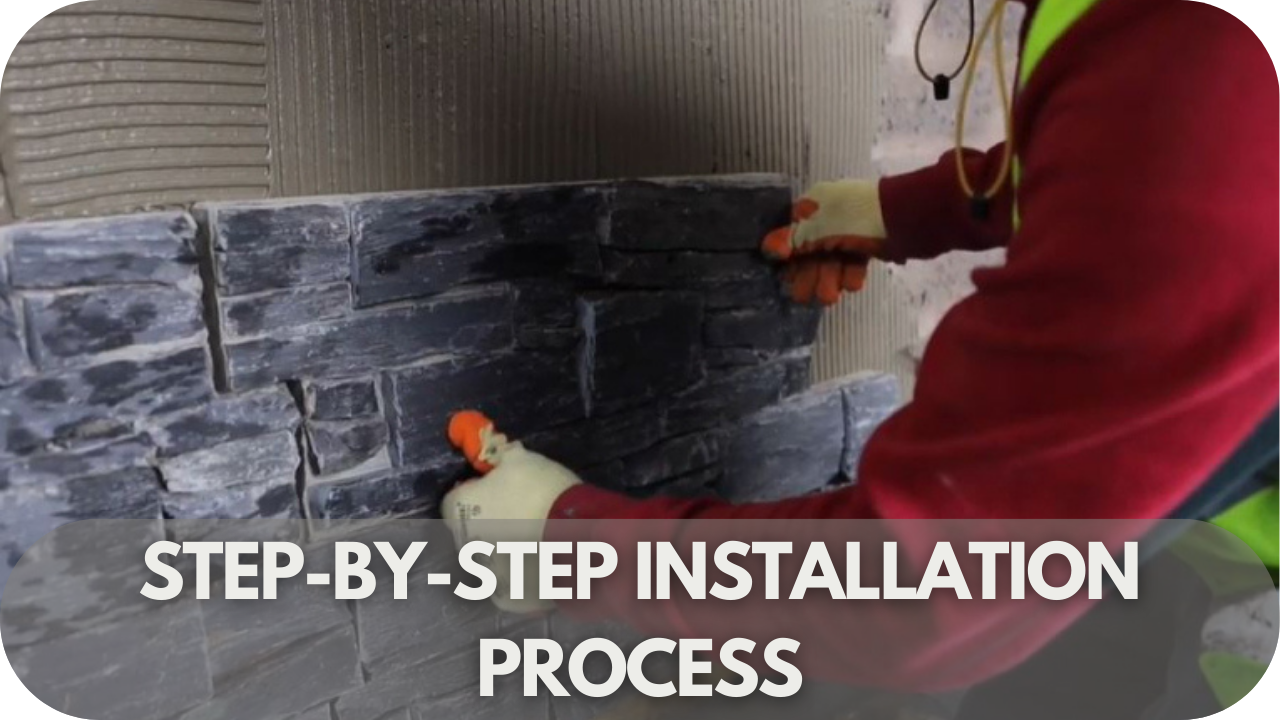
Transforming your walls with Z panels might seem complex, but with the right approach, it’s simpler than you think. Follow these clear, actionable steps to achieve a flawless finish.
Step 1: Dry Fit the Panels
Lay the Z panels on the wall without adhesive to test the alignment and ensure a snug fit. This step allows you to visualise the layout, identify irregularities, and mark areas requiring cuts. A precise dry fit ensures a smooth installation process and a professional finish.
Step 2: Apply Adhesive
Spread a suitable adhesive evenly on the back of the panel and the wall using a notched trowel. Avoid overapplying, as excess adhesive can cause uneven surfaces. Begin at the base of the wall, pressing each panel firmly into place to create a strong bond.
Step 3: Align and Secure Panels
Use a spirit level to check alignment as you install each panel. Starting from the bottom corner, work upward, ensuring panels interlock seamlessly. Insert spacers between panels if needed to maintain uniform spacing and prevent gaps.
Step 4: Cut Panels for Edges and Corners
Measure edges and corners carefully, then cut the panels to fit using a grinder or saw. Precision is crucial to maintain a cohesive look. Always wear safety equipment when cutting panels to protect yourself from debris.
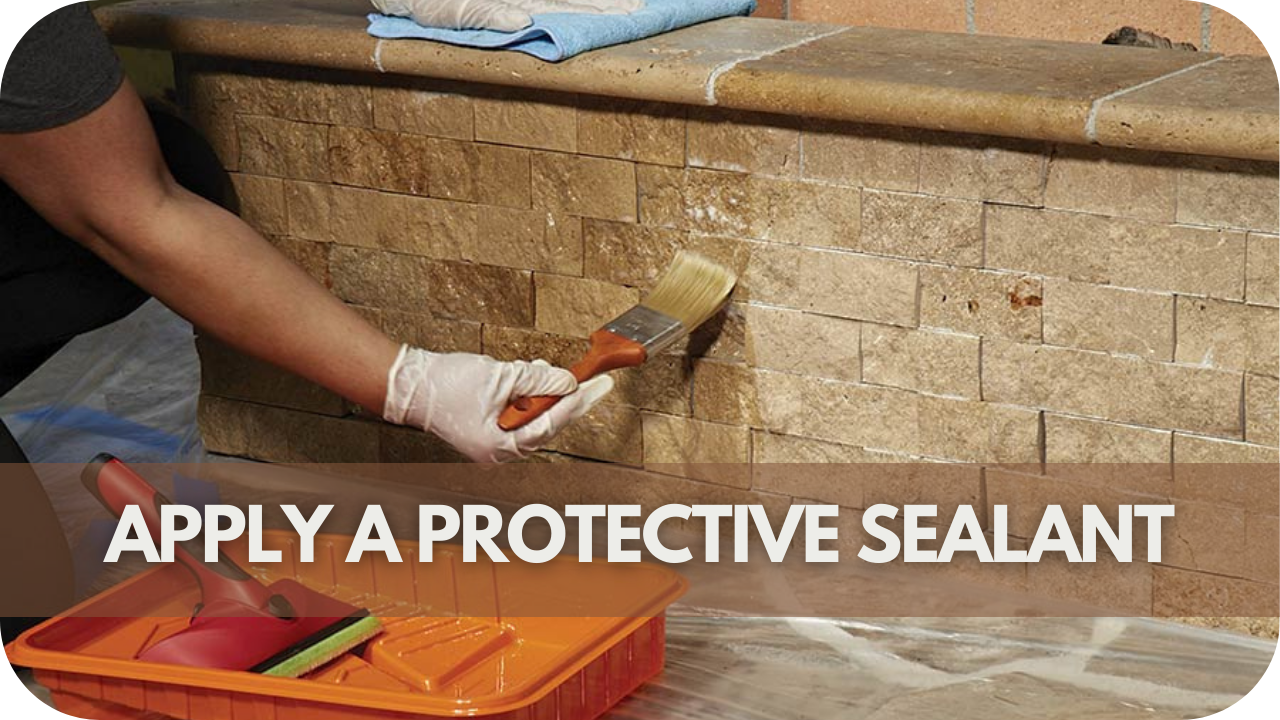
Step 5: Clean and Seal the Panels
Remove any excess adhesive immediately to avoid stains. Once the panels are in place, apply a sealant (if recommended) to protect against moisture and enhance durability. Allow sufficient drying time before making any additional adjustments or decorating the area.
Common Challenges in DIY Z Panel Installation and How to Fix Them
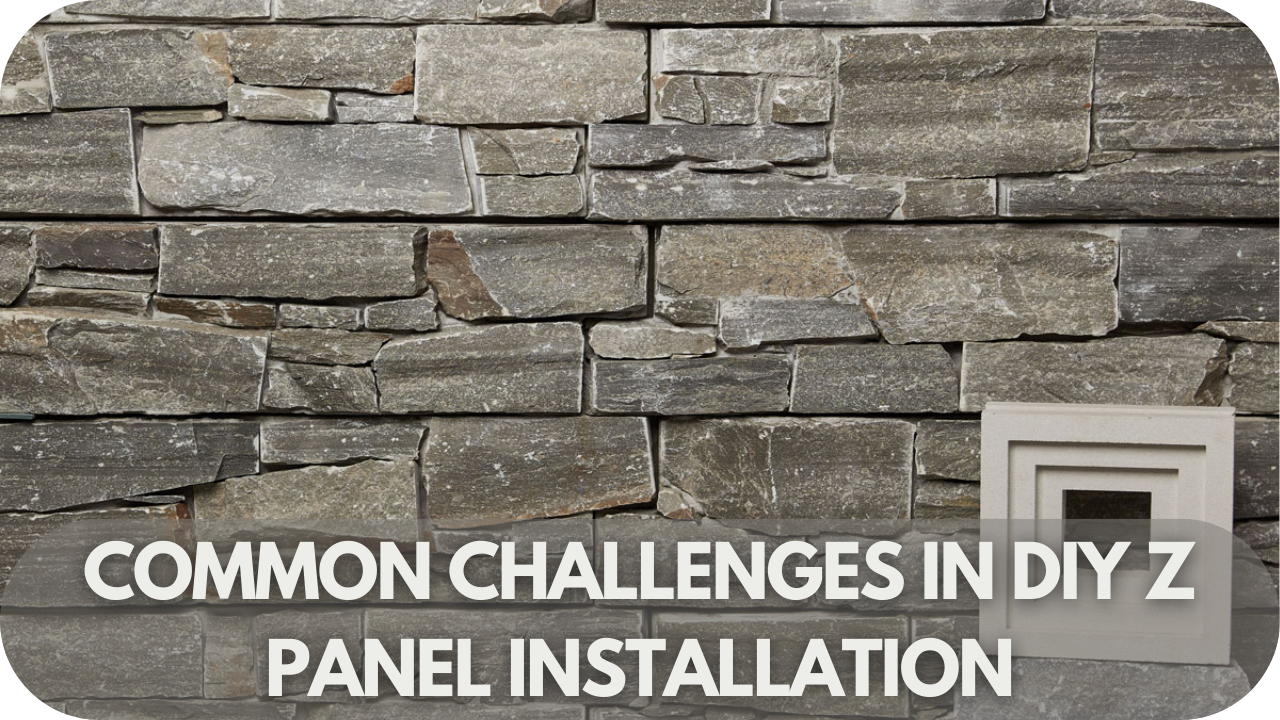
Installing Z panels yourself can be rewarding, but common pitfalls can quickly turn the process frustrating. Knowing these challenges—and how to fix them—can save you time, effort, and costly mistakes.
1. Uneven Wall Surfaces
Uneven walls are a common challenge that can result in misaligned Z panels. To fix this, clean and level the surface using a levelling compound. Sand down any protrusions, and ensure the wall is dry and stable before installation. A smooth surface is essential for a seamless and professional finish.
2. Precision Cutting
Cutting panels accurately, especially for edges and corners, can be tricky. Use a high-quality angle grinder or tile saw tailored to your panel material. Double-check all measurements before cutting, and practice on scrap material if needed. Patience and precision will prevent gaps and ensure a clean look.
3. Alignment Issues
Panels that shift during installation can disrupt the aesthetic. Use a spirit level and spacers to maintain consistent alignment. Start from a straight reference point, such as the bottom row, and work your way up carefully. Regularly check alignment to avoid rework and ensure a polished result.
4. Adhesive Application
Applying adhesive unevenly can cause panels to loosen or excess adhesive to seep through joints. Spread the adhesive evenly with a notched trowel and press panels firmly into place. Remove any excess immediately with a damp cloth to keep joints clean and secure a strong bond.
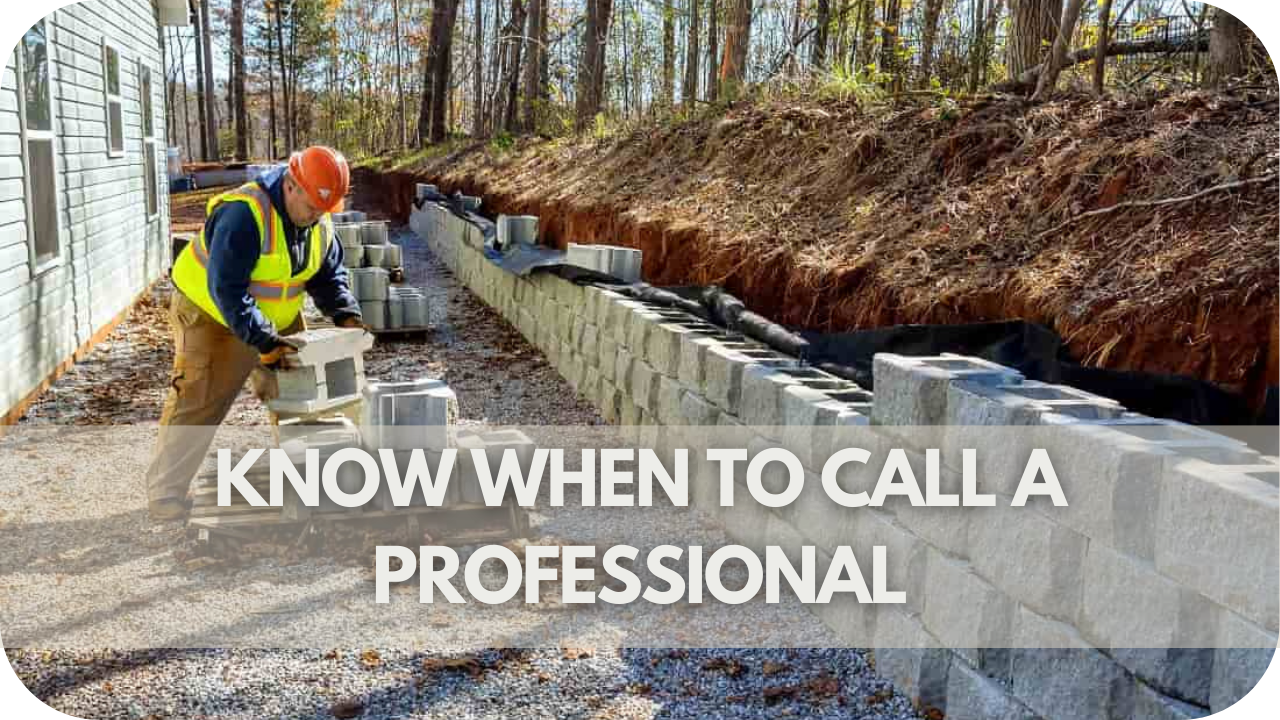
When to Hire a Professional
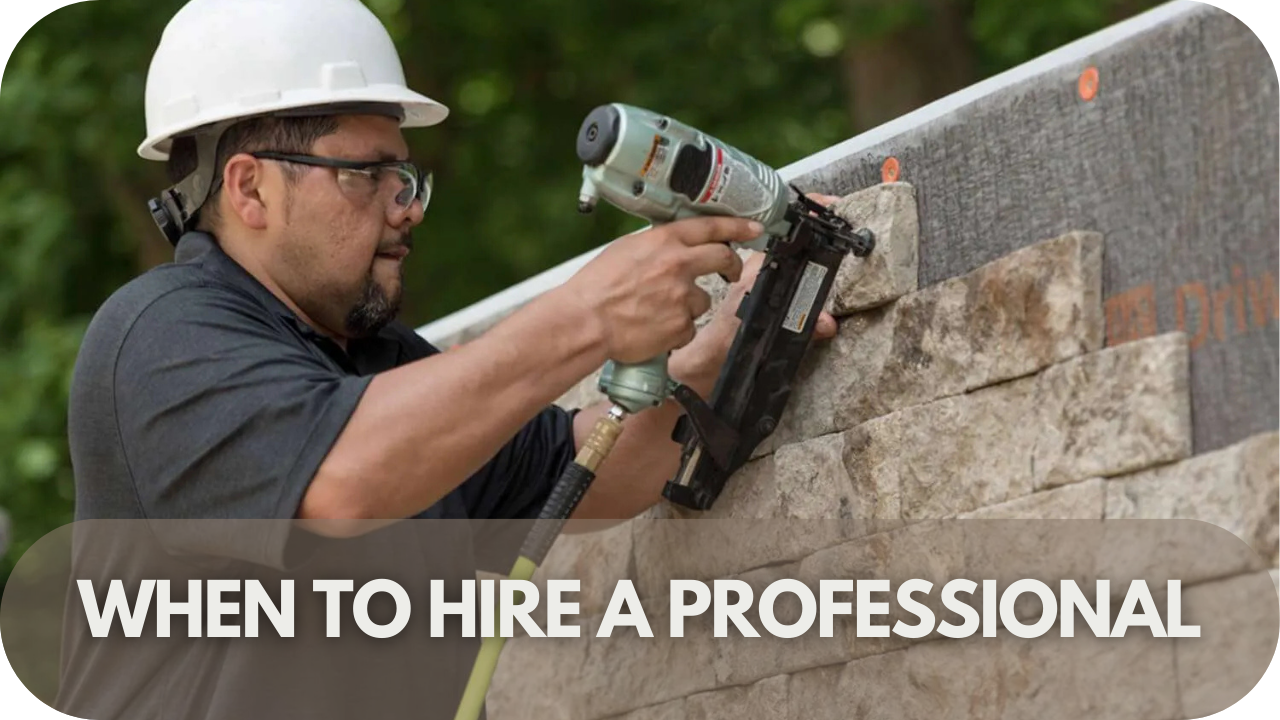
While DIY can be rewarding, some projects demand precision and expertise. Knowing when to bring in a professional ensures your Z panel installation is flawless, durable, and stress-free.
- Wall and Surface Conditions: Uneven walls, poor structural integrity, or challenging layouts may require professional expertise to ensure a flawless result.
- The scale of the Project: Large-scale installations can be time-consuming and physically demanding for DIYers, making professional help a more practical choice.
- Complexity of Design: Projects with intricate patterns, tricky corners, or custom cuts demand the precision and tools that professionals bring.
- Material-Specific Expertise: Different materials like stone, wood, or composite panels require tailored handling and installation techniques for durability and safety.
- Weather-Exposed Installations: Outdoor Z panel installations must withstand weather fluctuations, making proper sealing and fixing crucial.
- Time Constraints: For homeowners with tight schedules, professionals can complete the project efficiently without sacrificing quality.
- Cost Efficiency: While upfront costs may be higher, professional installation reduces the risk of costly mistakes and ensures long-lasting results.
- Peace of Mind: Professionals handle all aspects of the project, from preparation to cleanup, allowing you to enjoy a stress-free experience.
Maintenance Tips for Z Panels
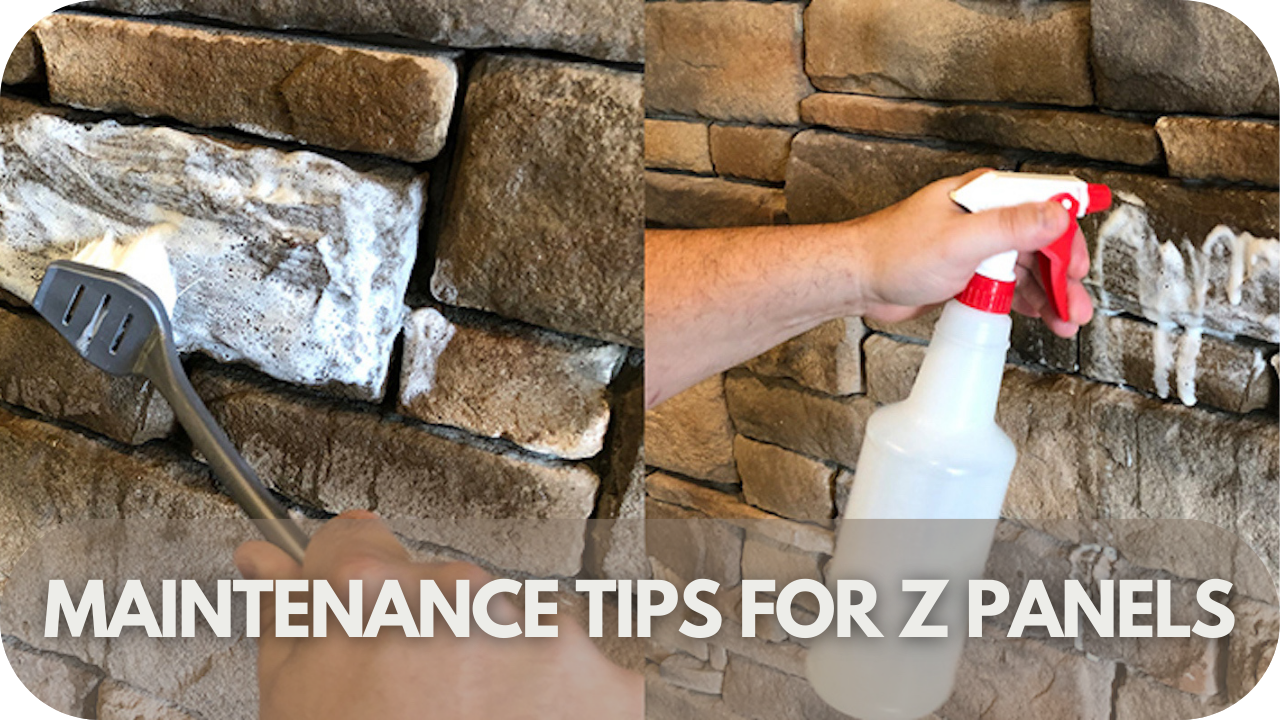
Keep your Z panels in pristine condition and extend their lifespan with these essential maintenance tips, ensuring they retain their stunning appearance and durability for years to come.
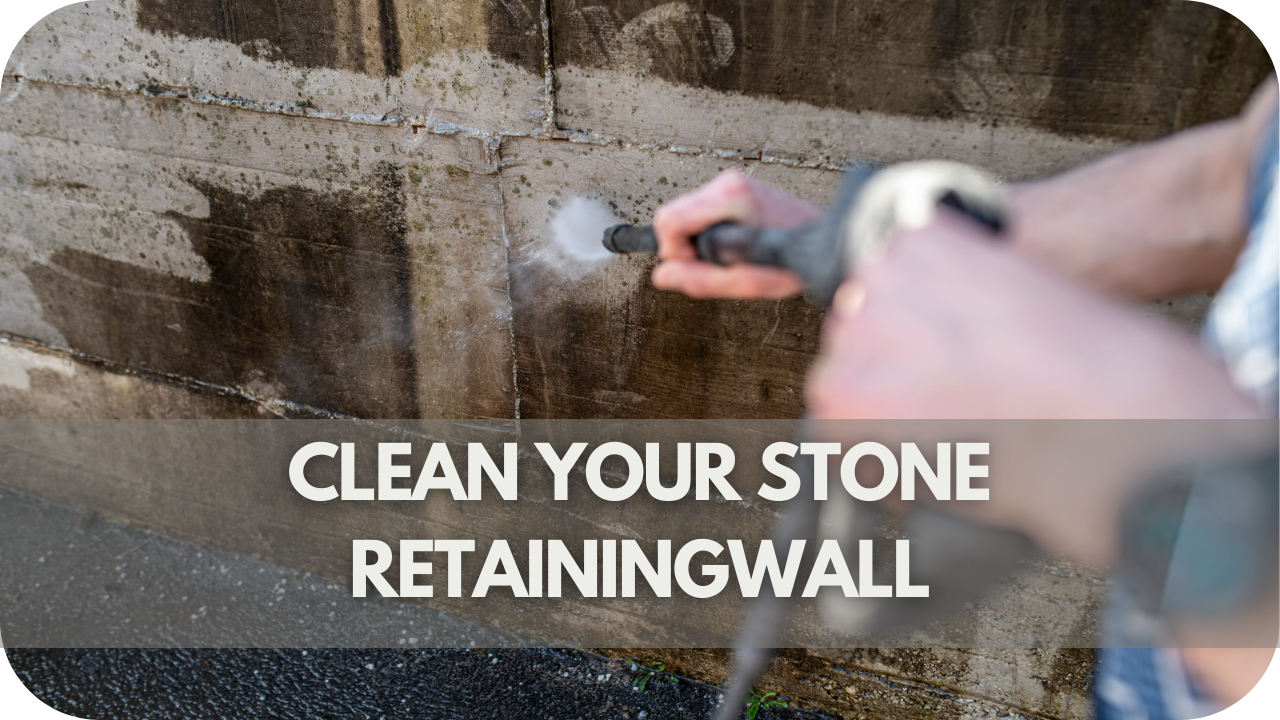
- Clean regularly: Use a soft brush or cloth to remove dust and debris, and avoid harsh chemicals that could damage or discolour the material.
- Reapply sealant: Apply a sealant every 1–2 years for natural stone panels to protect against moisture, stains, and weathering; use UV-resistant sealant for outdoor installations to prevent fading.
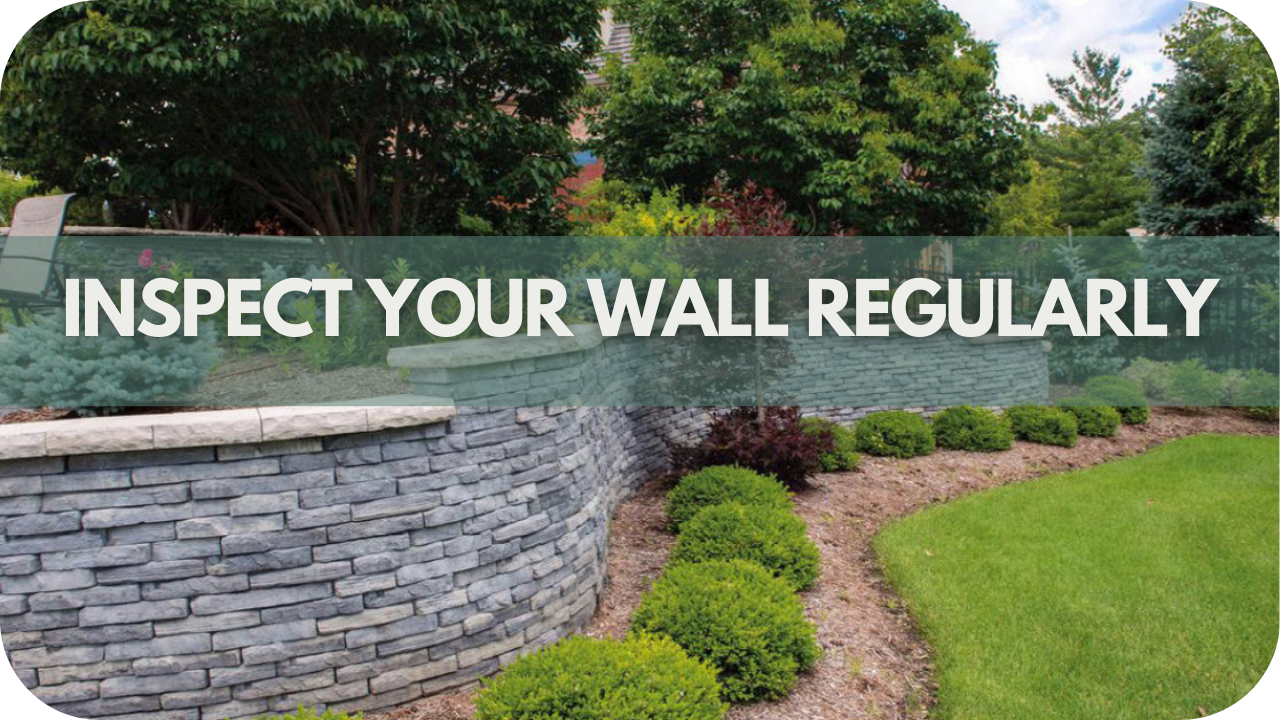
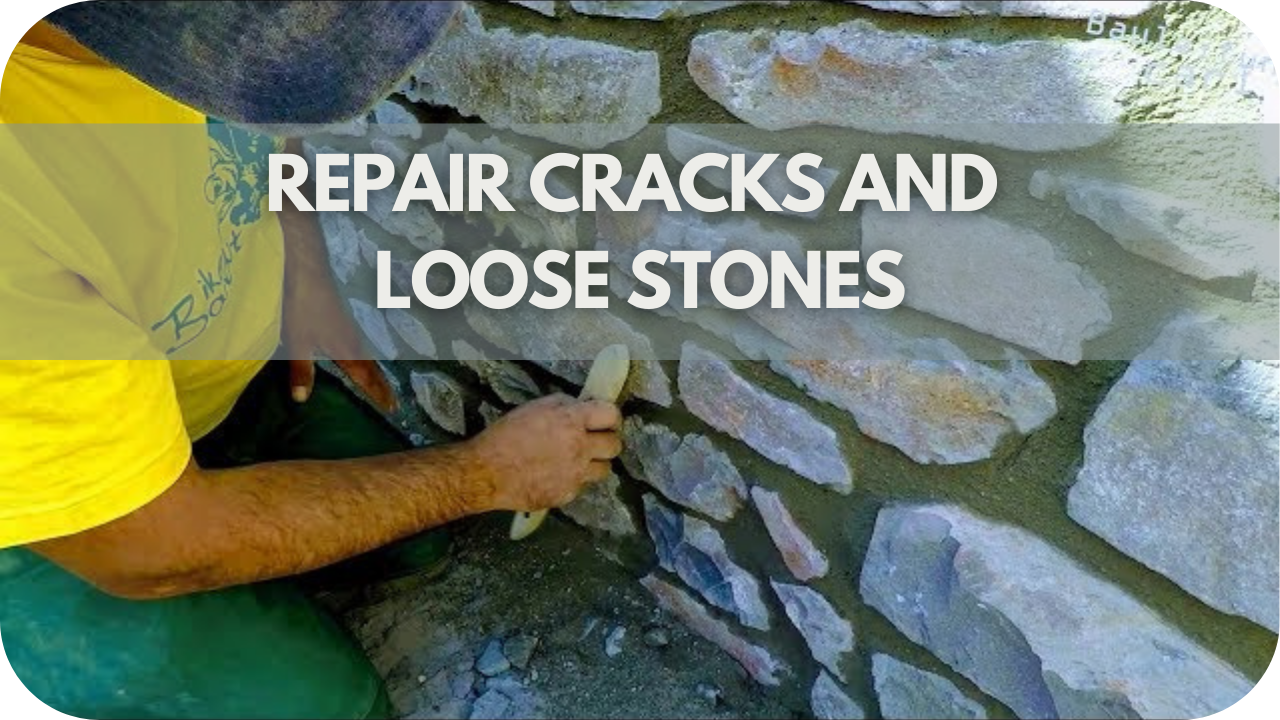
- Inspect periodically: Check for cracks, loose edges, or weakened adhesive, especially after extreme weather, and address any issues promptly to prevent further damage.
- Treat composite and wood panels: Follow manufacturer-recommended treatments to maintain their colour, texture, and resistance to wear over time.
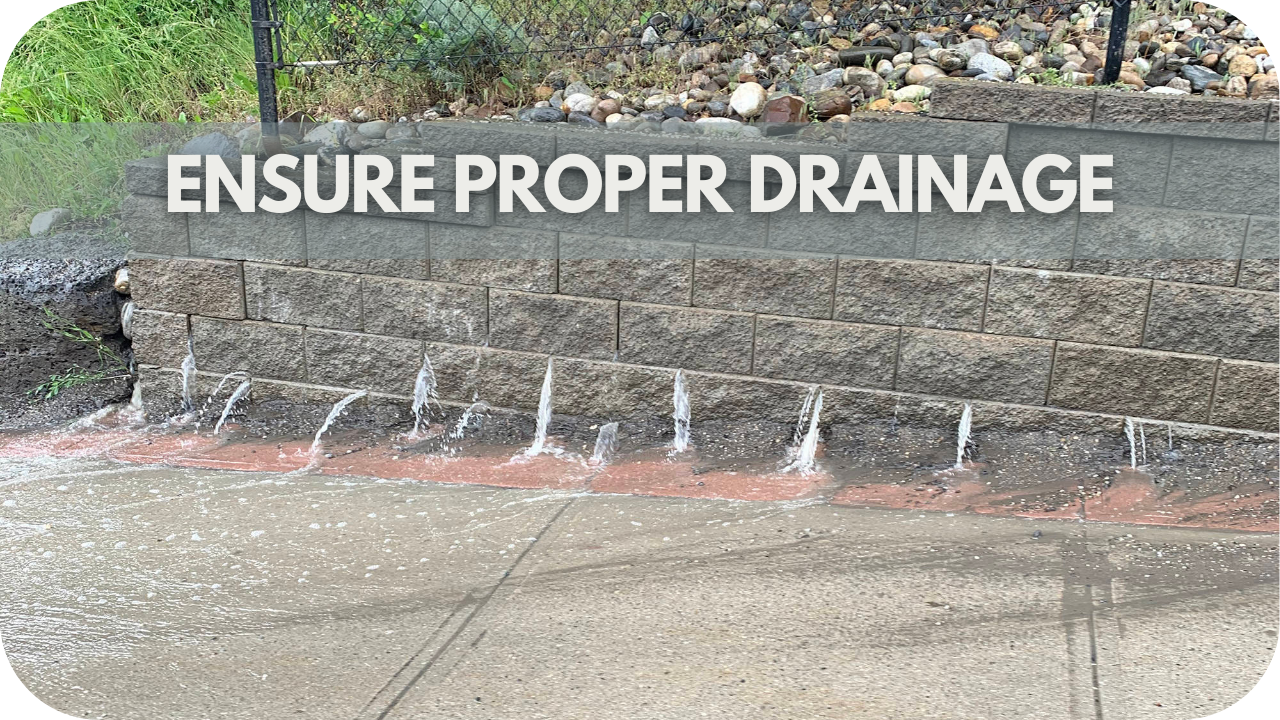
- Trim nearby vegetation: Minimise moisture buildup and prevent mould or mildew growth by keeping plants and foliage around outdoor panels well-trimmed.
- Avoid heavy impacts: Prevent accidental chips or damage by not leaning heavy objects against the panels.
Conclusion
DIY Z panel installation offers a cost-effective way to transform your space while giving you the satisfaction of hands-on work. However, achieving a professional finish requires preparation, the right tools, and attention to detail.
If you’re unsure about tackling the project yourself, professional installation ensures a flawless result. Splendour in Stone provides premium Z panels and expert guidance to help you create the perfect look for your home. Contact us today to get started on your next project.