How to Choose the Right Adhesive for Installing Stone Cladding
Choosing the wrong adhesive for stone cladding can lead to cracking, detachment, and costly repairs. A weak bond means your beautifully installed stone could fail within months!
Temperature changes, moisture, and surface type all play a role—get it wrong, and your project is at risk.
The right adhesive ensures strength, durability, and long-term stability. In this guide, we’ll break down exactly how to choose the best one like a pro!
Why the Right Adhesive Matters
Choosing the right adhesive for stone cladding is crucial for a strong, durable, and long-lasting installation. The adhesive acts as the bonding agent between the stone and the surface, ensuring it stays secure under different conditions. Using the wrong adhesive can lead to weak adhesion, cracks, or even detachment, resulting in costly repairs.
The type of stone cladding and the installation surface determine which adhesive will work best. Cement-based adhesives are ideal for porous stone and exterior walls, while epoxy adhesives provide a strong, waterproof bond for high-moisture areas.
Polyurethane adhesives offer flexibility, making them perfect for surfaces that may experience movement or vibration. Environmental factors also play a role. If the cladding is exposed to rain, heat, or freeze-thaw cycles, the adhesive must be weather-resistant to prevent deterioration.
Additionally, weight load capacity matters—heavier stones need high-strength adhesives to prevent failure over time.
Types of Adhesives for Stone Cladding
Different adhesives offer varying levels of strength, flexibility, and weather resistance, depending on the stone type and surface. Using the wrong one can lead to poor adhesion, cracks, or stone detachment. Below are the best adhesives for stone cladding installation and their ideal applications.
- Cement-Based Adhesives – Ideal for porous stone and exterior walls. Provides a strong, long-lasting bond but requires proper surface preparation.
- Polyurethane Adhesives – Highly flexible and resistant to vibrations and movement, making them great for areas prone to shifting. Suitable for both indoor and outdoor use.
- Epoxy Adhesives – Extremely strong and waterproof, perfect for high-moisture areas like bathrooms and outdoor installations. Provides excellent bonding on non-porous surfaces.
- Silicone and Hybrid Adhesives – Best for lightweight stone panels and decorative cladding. Offers good adhesion but is not suitable for heavy load-bearing installations.
- Thin-Set Mortar – A cement-based option mixed with polymers for improved flexibility and strength. Works well for natural stone and heavy cladding.
Key Factors to Consider When Choosing an Adhesive
Several factors influence which adhesive will work best, including the stone type, surface material, environmental conditions, and weight load. Below are the key considerations to ensure strong adhesion and long-term stability:
1. Stone Type
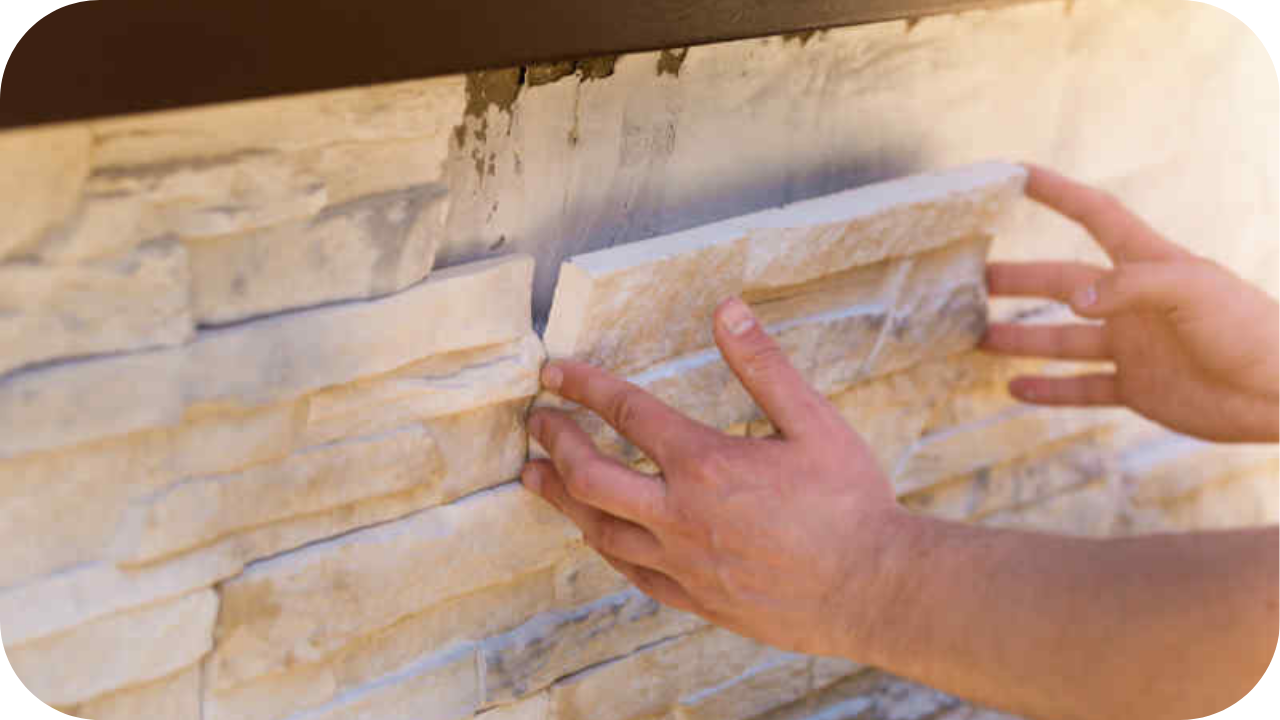
The type of stone you are installing determines the adhesive strength and bonding method needed. Natural stones like granite, marble, or sandstone are denser and heavier, requiring cement-based or epoxy adhesives for a stronghold.
Porous stones, such as limestone, absorb moisture easily, so an adhesive with moisture resistance is crucial. Manufactured stone veneers, being lighter, can be installed with polyurethane or hybrid adhesives, which provide flexibility and a firm grip.
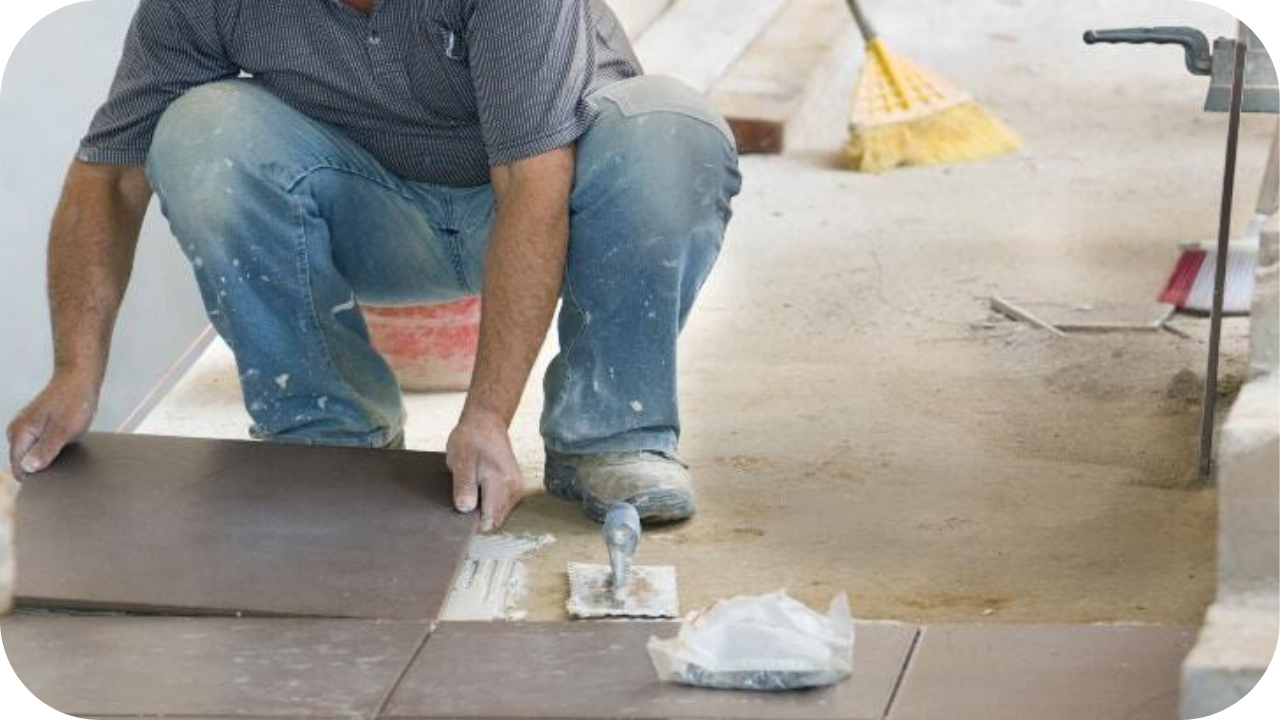
2. Installation Surface
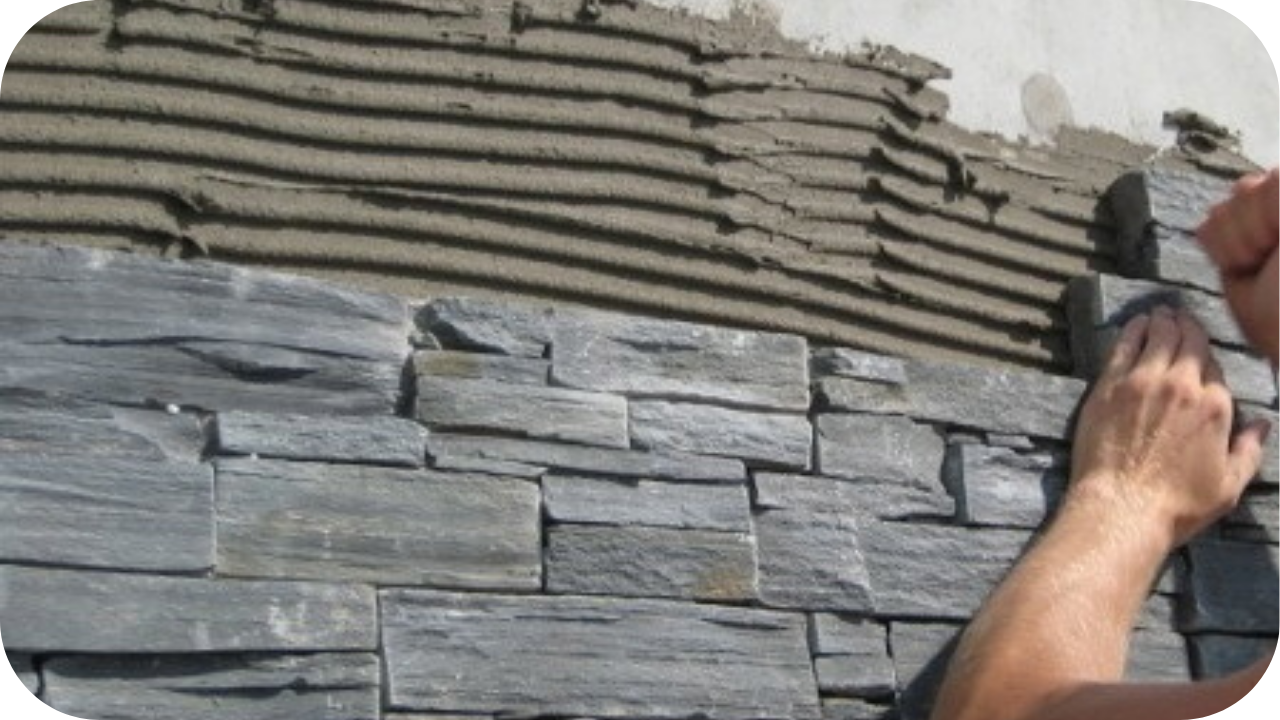
The surface where the stone cladding will be applied affects adhesion and durability. Cement-based adhesives work well for brick, concrete, and masonry surfaces, as they bond strongly to rough, absorbent materials.
Drywall, plywood, or metal surfaces require adhesives with higher flexibility and grip, such as polyurethane or hybrid adhesives. For smooth, non-porous surfaces like glass or tiles, epoxy adhesives are best due to their high bonding strength. Always ensure the surface is clean, dry, and primed before applying adhesive for optimal results.
3. Indoor vs. Outdoor Use
Environmental conditions play a big role in adhesive performance. Outdoor installations are exposed to rain, temperature changes, and UV rays, so adhesives must be weather-resistant and flexible. Cement-based and epoxy adhesives are ideal as they provide strong adhesion and durability in harsh weather.
Indoor applications face less environmental stress, so polyurethane, silicone, or hybrid adhesives can be used for decorative cladding. If the installation is in high-moisture areas like bathrooms or kitchens, opt for waterproof epoxy adhesives to prevent weakening over time.
4. Load-Bearing Strength
Stone cladding comes in different weights and thicknesses, and the adhesive must be able to support the stone’s load. Heavy natural stones require high-strength cement-based or epoxy adhesives to prevent slipping or detachment.
Lightweight stone veneers can be installed with polyurethane adhesives, which offer flexibility and grip. Checking the manufacturer’s load-bearing specifications ensures that the adhesive can hold the weight of the stone safely and securely over time.
5. Curing and Setting Time
The time it takes for an adhesive to fully set and cure affects the installation process. Fast-setting adhesives are useful for projects that need quick completion, but they may allow less room for adjustments.
Slow-curing adhesives, like some epoxies and cement-based options, take longer but provide a stronger, more permanent bond. Consider the project’s time constraints, environmental conditions, and stone type when selecting an adhesive with the right curing time.
Recommended Adhesives for Stone Cladding
Choosing the right adhesive for stone cladding ensures a strong bond, long-term durability, and resistance to environmental conditions. Below are some of the best adhesives, each suited for different types of stone, surfaces, and applications.
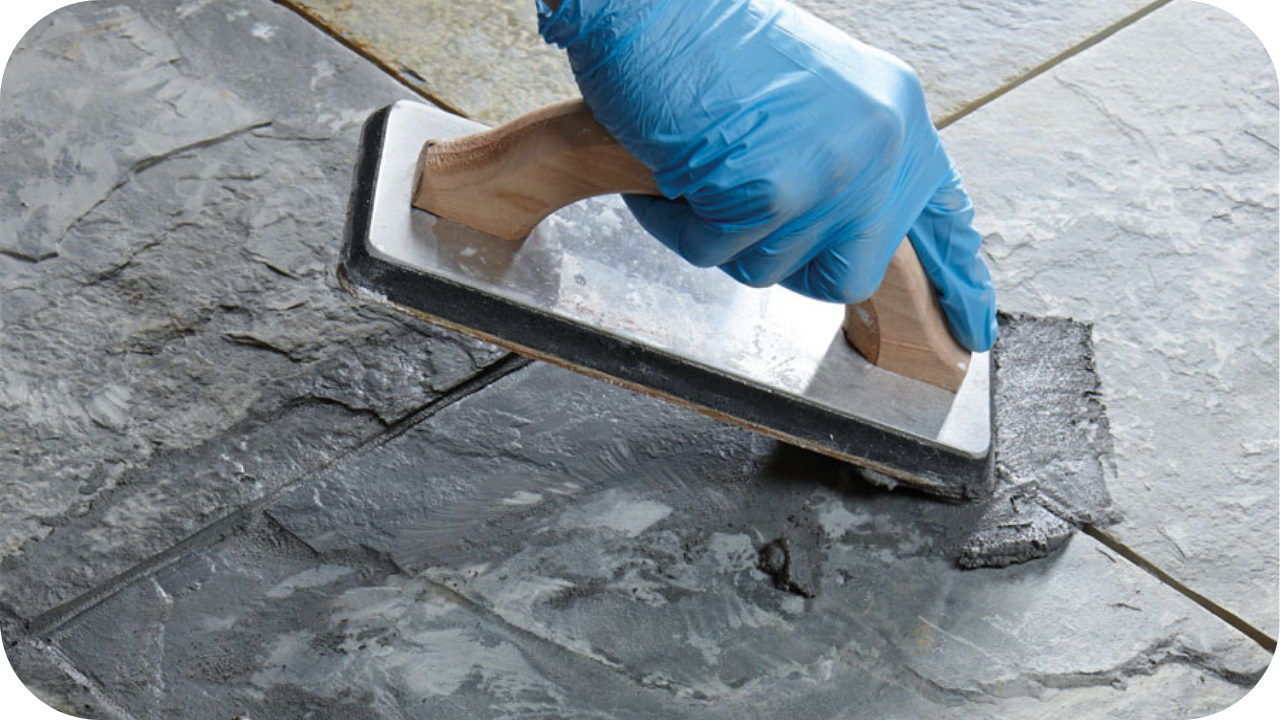
1. Cement-Based Adhesives
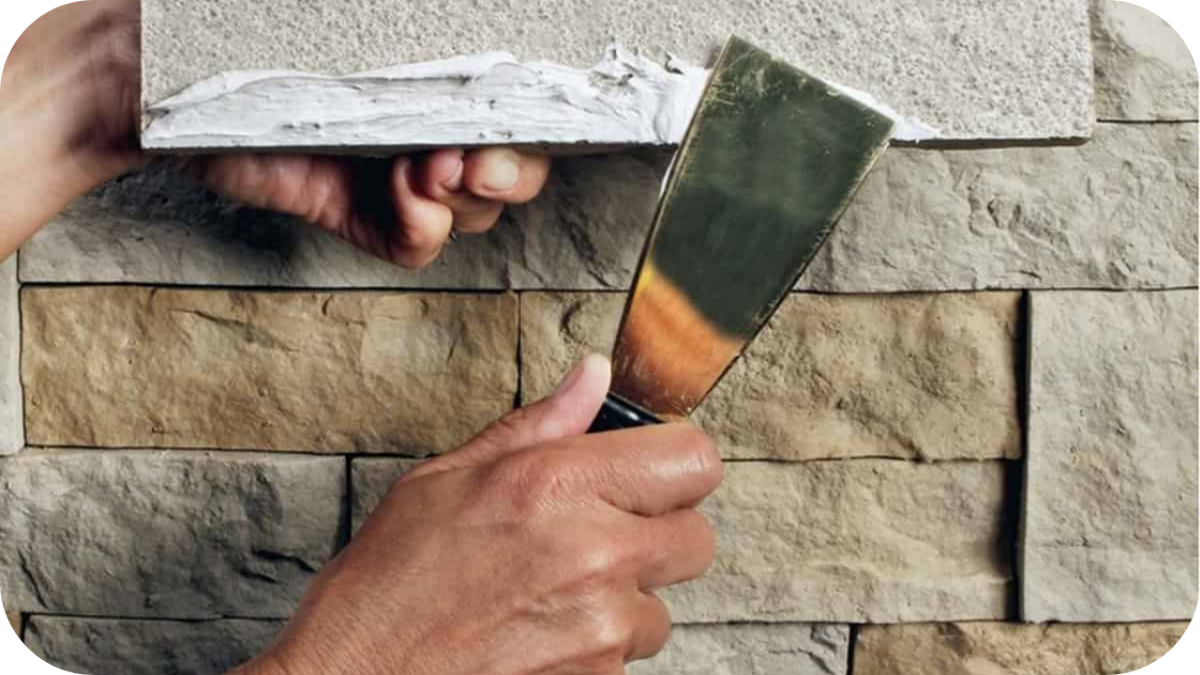
Cement-based adhesives are ideal for natural stone cladding and outdoor applications. They offer high strength, durability, and moisture resistance, making them perfect for bonding with brick, concrete, and masonry surfaces.
These adhesives provide a strong grip but require proper surface preparation to ensure a secure hold. They work best for heavy natural stones like granite, sandstone, and limestone.
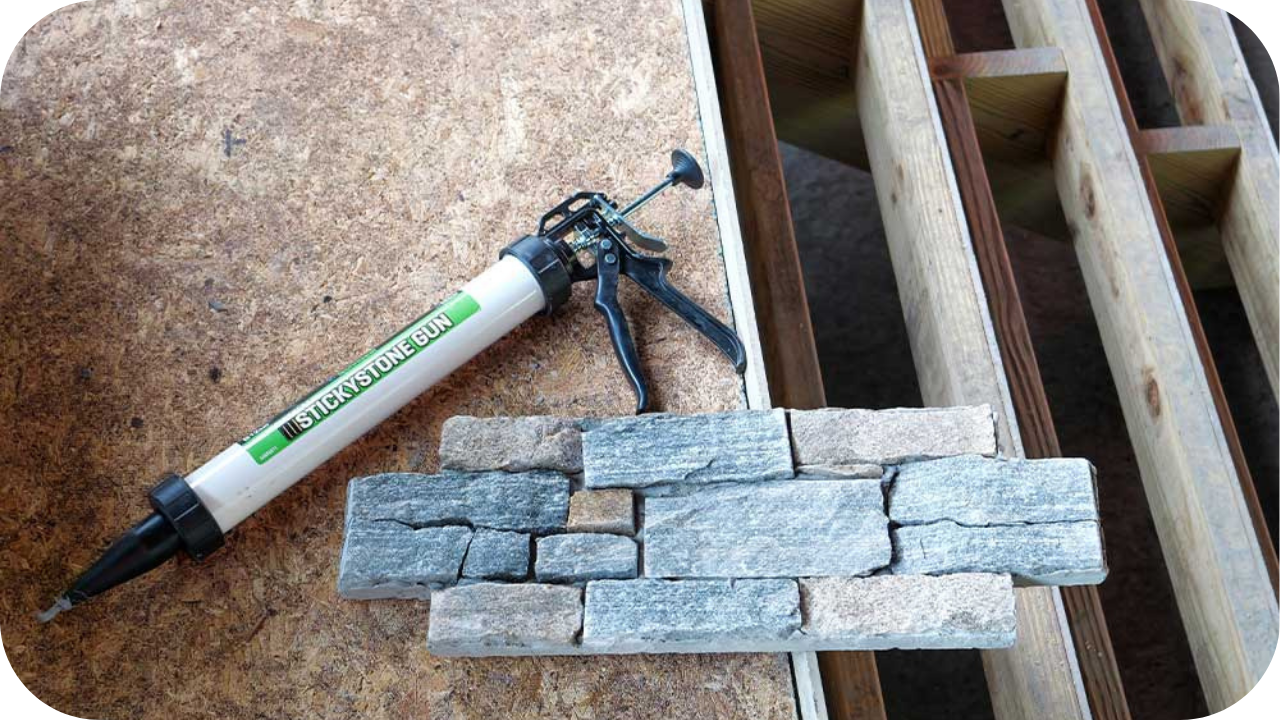
2. Polyurethane Adhesives
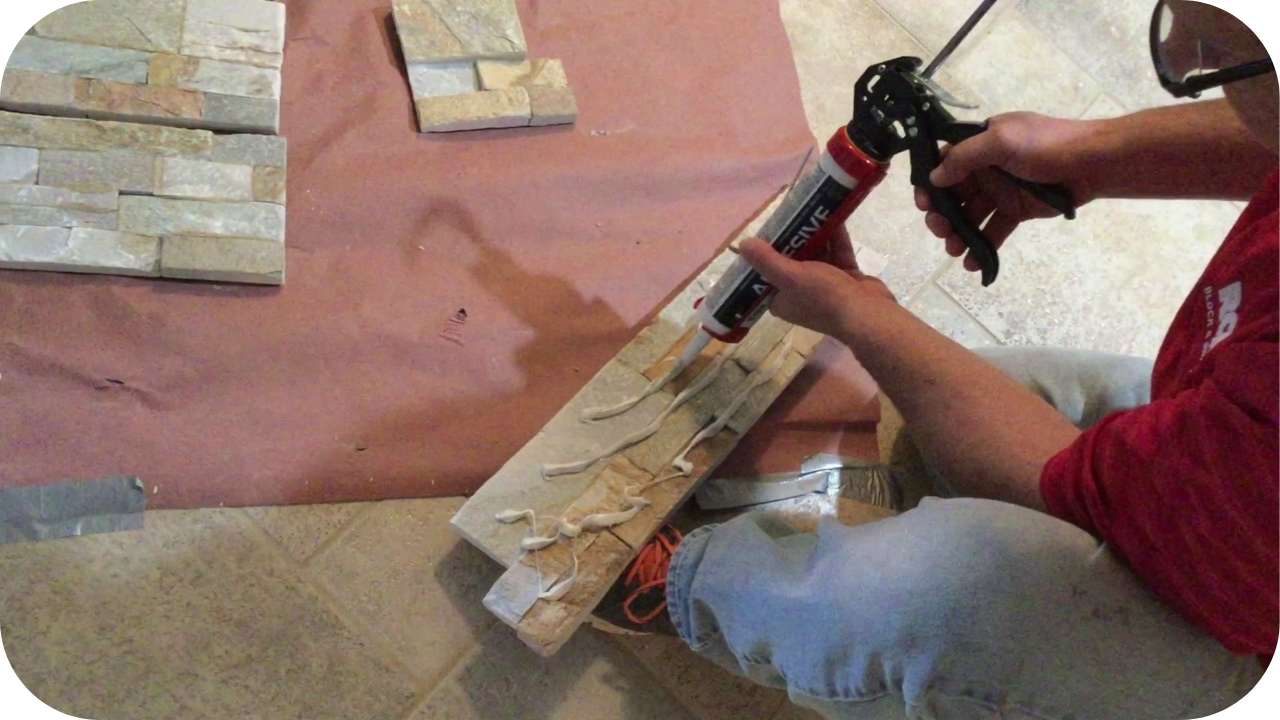
Polyurethane adhesives provide strong bonding with flexibility, making them perfect for areas prone to movement or vibrations. They work well on wood, metal, and drywall surfaces and are also weather-resistant, making them suitable for both indoor and outdoor use.
These adhesives are commonly used for lightweight stone veneers and flexible surfaces where movement could impact adhesion.
3. Epoxy Adhesives
Epoxy-based adhesives offer superior bonding strength, chemical resistance, and waterproofing, making them ideal for wet areas and smooth surfaces. They are perfect for high-moisture environments such as kitchens, bathrooms, and outdoor cladding, where exposure to water is a concern.
Epoxies create a firm grip on non-porous surfaces, preventing detachment over time.
4. Silicone and Hybrid Adhesives
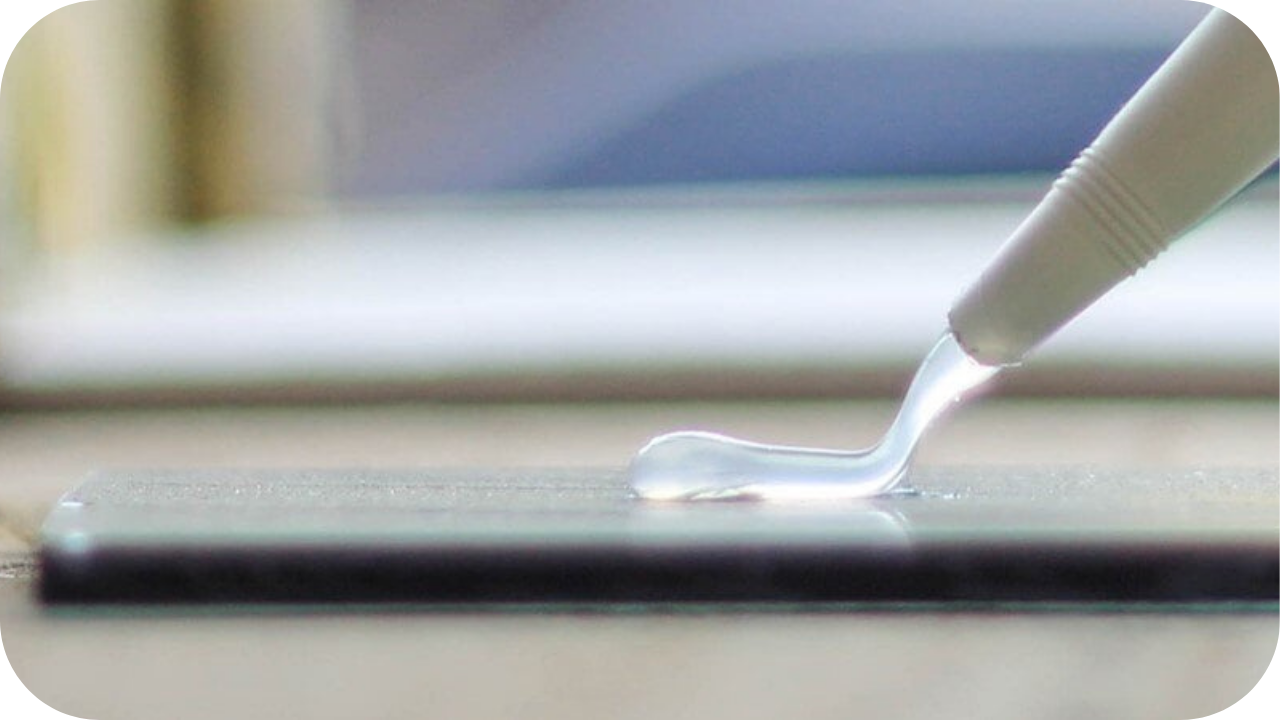
Silicone-based and hybrid adhesives are suitable for decorative cladding and lightweight stone panels. They provide good adhesion with flexibility but are not designed for heavy stone applications.
These adhesives are commonly used for interior decorative stone panels and non-structural cladding where extreme strength is not required.
5. Thin-Set Mortar with Polymer Additives
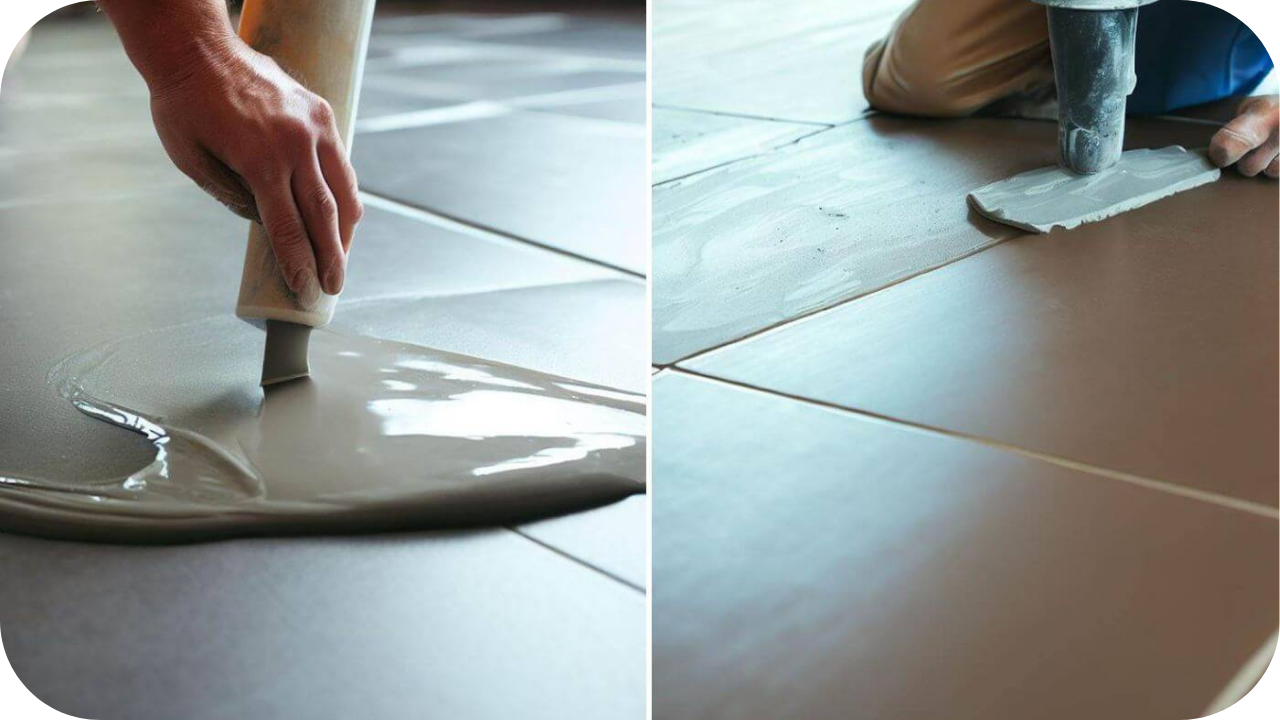
Thin-set mortar with polymer additives is a cement-based adhesive enhanced with polymers for increased strength and flexibility. It is perfect for both indoor and outdoor stone cladding, offering excellent adhesion and durability.
This type of adhesive is particularly useful in high-traffic areas and locations exposed to extreme weather conditions.
Environmental Factors That Affect Adhesive Performance
The performance and longevity of stone cladding adhesives depend significantly on environmental conditions. Outdoor installations face exposure to rain, humidity, UV rays, and temperature fluctuations, all of which can weaken the adhesive over time.
In areas with freeze-thaw cycles, moisture can seep into small gaps, expand when frozen, and cause detachment or cracks. To prevent this, using a weather-resistant cement-based or epoxy adhesive is essential.
Heat and direct sunlight can also impact adhesives, especially in hot climates. Some adhesives may soften under extreme temperatures, leading to bond failure. Flexible adhesives, such as polyurethane-based options, are better suited for surfaces exposed to continuous expansion and contraction.
Indoor environments come with their challenges, especially in high-moisture areas like bathrooms and kitchens. Excess humidity can weaken standard adhesives, making waterproof epoxy or hybrid adhesives the best choice for these conditions.
Additionally, poor ventilation can cause mold or mildew buildup, which may compromise adhesion over time.
Maintenance Tips for Long-Lasting Bond Strength
Regular inspections, cleaning, and protective measures help prevent cracks, detachment, and adhesive failure. Follow these key maintenance tips to ensure a strong and long-lasting bond for your stone cladding:
- Regular Cleaning – Keep the stone cladding and joints free from dust, dirt, and debris. Use a mild detergent and a soft brush to avoid damaging the adhesive.
- Inspect for Cracks or Loosening – Check periodically for any signs of adhesive failure, such as cracks or shifting stones. Address minor issues early to prevent major repairs.
- Avoid Harsh Chemicals – Strong acids and abrasive cleaners can weaken the adhesive over time. Use pH-neutral cleaning solutions to protect both the stone and the bonding material.
- Ensure Proper Drainage – For outdoor cladding, ensure water does not pool near the installation. Excess moisture can weaken the adhesive and cause detachment.
- Reapply Sealant When Needed – Some adhesives require periodic sealing to maintain their strength, especially in high-moisture or outdoor environments. Follow manufacturer recommendations for resealing schedules.
- Protect Against Impact – Avoid heavy impacts or pressure on the cladding, as this can weaken the adhesive bond and lead to cracks or breakage.
- Control Temperature Changes – Sudden temperature fluctuations can cause expansion and contraction, affecting the adhesive bond. Use flexible adhesives in areas prone to extreme weather conditions.
Conclusion
A great stone cladding project starts with the right adhesive. Avoid weak bonds, costly repairs, and early failures by choosing a product that offers strength, flexibility, and long-term durability. With the right knowledge, you can achieve a flawless installation!