Cutting paving stones can be daunting for DIY enthusiasts and professional landscapers.
Without the right techniques and tools, you risk uneven cuts, wasted materials, and frustration.
Our guide on 8 Ways to Cut a Paving Stone will provide easy-to-follow methods and practical tips to achieve clean, precise cuts every time, ensuring your paving project looks professional and seamless.
1. Using a Circular Saw

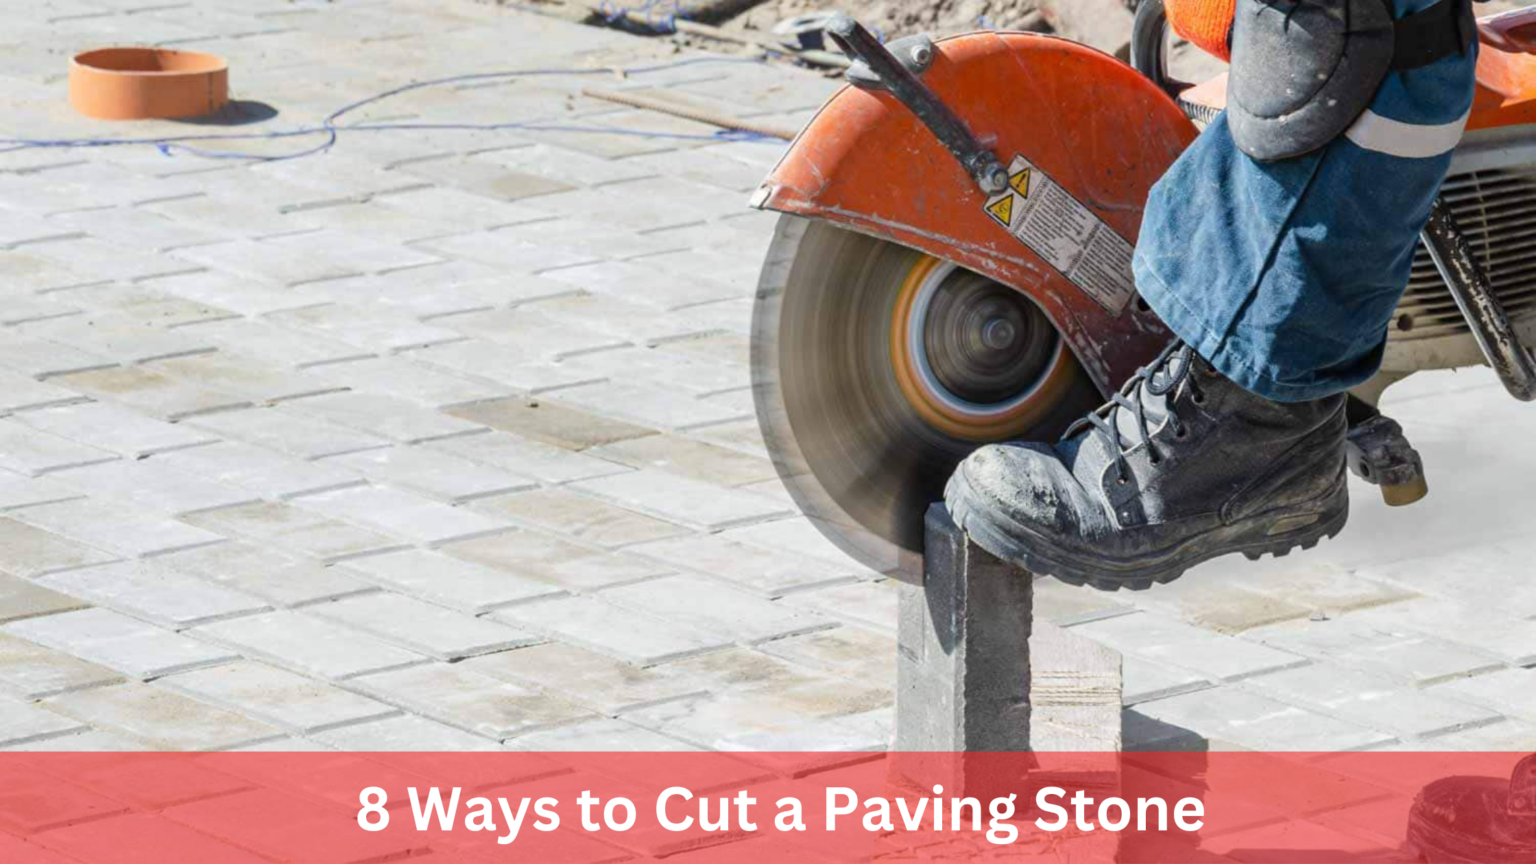
Using a circular saw is one of the most efficient methods for cutting paving stones, ensuring precise and clean cuts.
You’ll need a circular saw with a diamond blade designed for masonry work. This type of blade can handle the hardness of paving stones without dulling quickly.
Begin by measuring and marking your cutting line on the paving stone with chalk or a pencil. Secure the stone on a stable work surface using clamps to prevent movement during cutting. Safety is paramount, so wear protective gear, including safety goggles, gloves, and a dust mask.
Position the circular saw at the edge of the stone, aligning the blade with your marked line. Start the saw and allow the blade to reach full speed before making contact with the stone.
Apply steady, even pressure as you guide the saw along the marked line. Avoid forcing the saw, as this can cause the blade to bind or the stone to crack.
For thicker stones, you may need to make multiple passes, gradually increasing the depth of the cut with each pass. This method reduces the risk of damaging the stone and ensures a cleaner finish. You can smooth rough edges once the cut is complete with a masonry file or sandpaper.
2. Cutting with a Masonry Saw

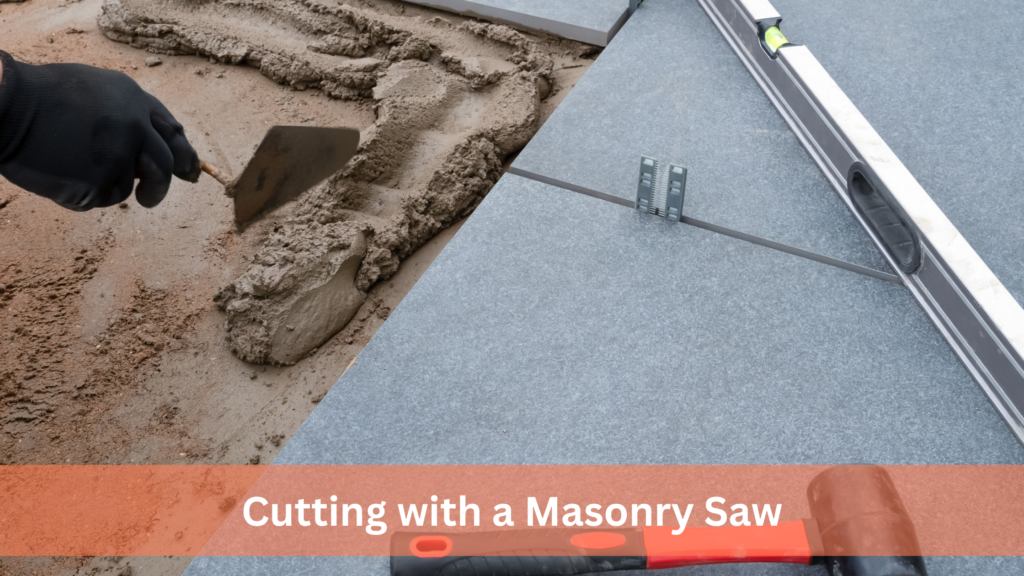
A masonry saw is ideal for cutting paving stones with precision and efficiency. This specialised tool is designed for heavy-duty masonry work and provides clean and accurate cuts. Before you begin, ensure a masonry saw has a diamond blade.
Start by measuring and marking the cut line on the paving stone with chalk or a pencil. Secure the stone firmly on the saw’s cutting table to prevent movement during the operation. Wear protective gear such as safety goggles, gloves, and a dust mask to safeguard against debris and dust.
Align the marked line with the blade and turn on the saw, allowing it to reach full speed. Guide the stone slowly and steadily into the blade, applying consistent pressure. The masonry saw’s water cooling system will keep the blade cool and reduce dust, ensuring a smoother cut and prolonging the blade’s life.
You might need to adjust the blade’s depth and make multiple passes for thicker paving stones. This method ensures a clean, precise cut without overloading the blade or damaging the stone. After cutting, you can smooth rough edges with a masonry file or sandpaper.
3. Utilising an Angle Grinder

An angle grinder, a side grinder or a disc grinder is a powerful and versatile tool that can make light work of cutting paving stones. An angle grinder can easily slice through even the most challenging paving slabs with a diamond-tipped blade designed for masonry work.
Safety should be your top priority when using an angle grinder. Always wear protective gear, including safety glasses, gloves, and a dust mask or respirator. Ensure the paving stone is securely clamped or anchored to prevent it from shifting during cutting.
Mark your cut line clearly, and position the angle grinder’s blade along the marked line. Apply gentle pressure and let the tool’s weight work, avoiding excessive force that could cause the blade to bind or kick back. Guide the grinder smoothly along the cut line, allowing the blade to penetrate the stone gradually.
You may need to make multiple passes for thicker paving slabs, gradually deepening the cut with each pass. Be patient and let the tool work at its own pace, as forcing it could damage the blade or the stone. Once the cut is complete, carefully break or pry apart the two halves along the cut line.
4. Employing a Chisel and Hammer

A chisel and hammer can be an effective solution if you’re looking for a low-tech and affordable method to cut paving stones. While this technique requires more elbow grease, it can be handy for smaller projects or when working with thinner paving slabs.
Marking the desired cut line on the paving stone using a permanent marker or chalk. Position the chisel along the marked line, angling it slightly towards the waste side of the cut. Ensure the chisel’s edge is sharp and in good condition for a clean cut.
With a firm grip on the chisel’s handle, strike the chisel’s head with a masonry hammer or club hammer. Apply consistent, controlled strikes along the cut line, gradually working across the stone. The force of the hammer blows will cause the stone to fracture along the scored line.
You may need to score both sides of the stone for thicker paving slabs, alternating between striking the chisel on each side. This technique helps to create a cleaner break and prevents excessive chipping or cracking.
Patience and a steady hand are essential when using this method. Rushing the process or striking too forcefully can cause the chisel to veer off course or the stone to break irregularly. Take your time and maintain a consistent rhythm for the best results.
5. Using a Wet Saw

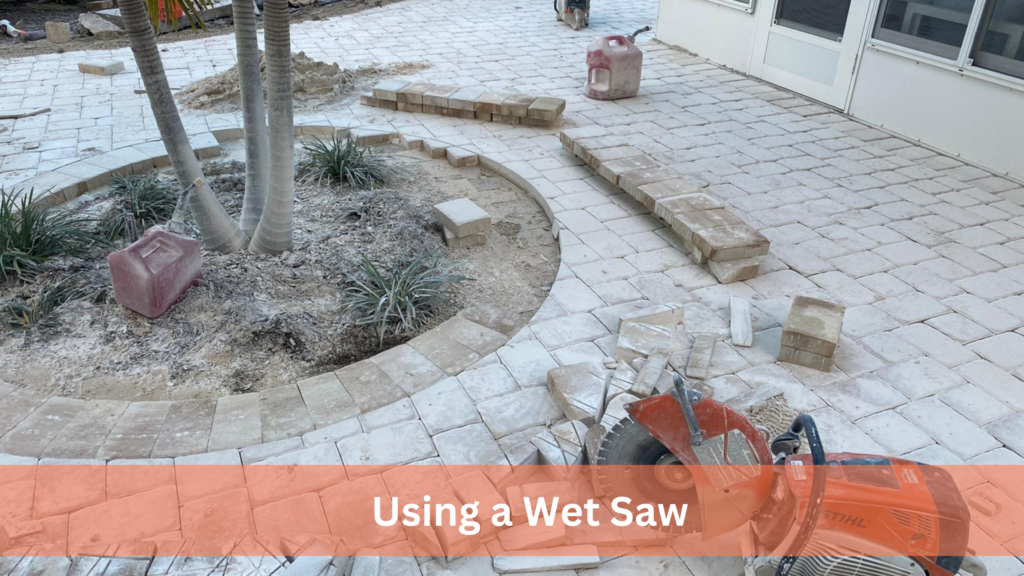
A wet saw is invaluable for precise and clean cuts on paving stones. Also known as masonry or tile saw, this specialised equipment uses a diamond-tipped blade and a continuous water supply to cool the blade and minimise dust during the cutting process.
Before operating a wet saw, ensure it is set up on a stable, level surface and adequately connected to a water source.
Adjust the blade guard and fence to accommodate your paving stone’s thickness and desired cut. It’s crucial to wear appropriate protective equipment, including safety glasses, gloves, and ear protection, as wet saws can generate significant noise and water spray.
Mark your cut line on the paving stone, and securely clamp or hold it against the saw’s fence. Turn on the water supply and allow it to flow over the blade before starting the saw. Slowly and steadily guide the stone through the blade, applying gentle pressure and letting the blade do the work.
Wet saws are particularly effective for making straight, precise cuts and intricate shapes or patterns. However, they may struggle with curved or freehand cuts. Regularly check and adjust the water flow to ensure proper blade cooling and dust suppression throughout the cutting process.
After completing the cut, turn off the saw and allow the blade to come to a complete stop before removing the paving stone. Proper maintenance, including cleaning and blade replacement when necessary, will ensure optimal performance and longevity of your wet saw.
6. Cutting with a Tile Saw

While primarily designed for cutting ceramic tiles, a tile saw can also be an effective tool for slicing through paving stones, particularly those made of softer materials like sandstone or concrete pavers.
A tile saw typically features a diamond-coated blade mounted on a rail system, allowing for straight, precision cuts. Before using a tile saw on paving stones, ensure the blade is in good condition and suitable for cutting masonry materials.
Proper setup is crucial. Position the paving stone securely on the saw’s work surface, aligning the cut line with the blade’s path. Adjust the rail fence and cutting guide to your cut’s desired angle and depth.
When operating the tile saw, apply gentle, consistent pressure to the stone, guiding it smoothly along the rail. Avoid forcing the stone through the blade, which can cause chipping, binding, or kickback.
For thicker paving slabs, you may need to make multiple passes, gradually increasing the depth of the cut.
Tile saws are particularly well-suited for making straight cuts and cutting smaller paving stones to size. However, they may struggle with curved or freehand cuts, and more significantly, thicker slabs can be challenging to manoeuvre on the saw’s work surface.
Remember to wear appropriate safety gear, including eye protection and a dust mask or respirator, as tile saws can generate significant dust and debris during operation.
Proper maintenance, such as regularly changing the water reservoir and cleaning the saw, will help ensure optimal performance and extend the life of your tool.
7. Leveraging a Guillotine Cutter
A guillotine cutter can be an invaluable tool for cutting paving stones with precision and efficiency. This specialised equipment uses a heavy-duty blade with immense force, cleanly slicing through even the toughest paving materials.
Proper setup is essential when using a guillotine cutter. Ensure that the cutter is installed on a stable, level surface and that the blade is sharp and in good condition. Adjust the cutting guide and fence to accommodate your paving stone’s size and desired cut.
Mark your cut line on the paving stone and position it securely against the cutting fence. Double-check the alignment to ensure a straight, accurate cut. Engage the safety mechanisms and operate the lever or hydraulic system to bring the blade down with controlled force.
Guillotine cutters are particularly effective for making straight, clean cuts on large paving stones or slabs. They can handle various materials, including concrete, natural stone, and even thicker pavers or bricks.
However, it’s important to note that guillotine cutters are typically limited to straight cuts and may not be suitable for curved or intricate shapes. They also require a significant amount of workspace and may not be practical for smaller projects or tight spaces.
Proper safety precautions are paramount when using a guillotine cutter. Wear appropriate protective equipment, such as safety glasses, gloves, and steel-toed boots, and keep hands and body parts clear of the blade path during operation.
Regular maintenance and blade replacement will ensure optimal performance and longevity of your cutter.
8. Employing a Splitter
For those tackling larger paving stone projects, a splitter can be an efficient tool for cleanly splitting and cutting through thick slabs.
This heavy-duty equipment uses immense hydraulic force to drive a sturdy blade or chisel through the stone, effectively splitting it into two or more pieces along a predetermined line.
Proper setup is crucial when using a splitter. Ensure that the splitter is securely positioned on a stable, level surface and that the blade or chisel is sharp and in good condition. Mark your desired cut line on the paving stone and align it precisely with the splitter’s blade or chisel.
Engage the safety mechanisms and operate the hydraulic system to gradually drive the blade or chisel into the stone. The immense force generated by the splitter will cause the paving slab to fracture along the cut line, splitting it into separate pieces.
Splitters are particularly effective for cutting through thick, dense paving materials, such as concrete or natural stone slabs. They can handle large, heavy stones that would be challenging to cut with other methods, making them ideal for landscaping projects or patio installations.
However, it’s important to note that splitters are typically limited to straight cuts and may not be suitable for curved or intricate shapes. They also require a significant amount of workspace and may not be practical for smaller projects or tight spaces.
Proper safety precautions are paramount when using a splitter. Wear appropriate protective equipment, such as safety glasses, gloves, and steel-toed boots, and keep hands and body parts clear of the blade or chisel path during operation.
Regular maintenance and blade or chisel replacement will ensure optimal performance and longevity of your splitter.
Conclusion
Cutting paving stones requires the right technique and tool. Whether you use an angle grinder, chisel, wet saw, tile saw, guillotine cutter, or splitter, prioritise safety with protective gear and careful operation. Choose the method best suited to your project’s size, material, and desired cut precision.
More To Explore

How to Choose the Right Adhesive for Installing Stone Cladding
Choosing the wrong adhesive for stone cladding can lead to cracking, detachment, or even structural failure. All that hard work could fall apart in months

Stone Options for Modern Home Designs
Modern homes demand high-quality materials that combine style with strength. But with so many options available, choosing the right stone can feel overwhelming. Many people


