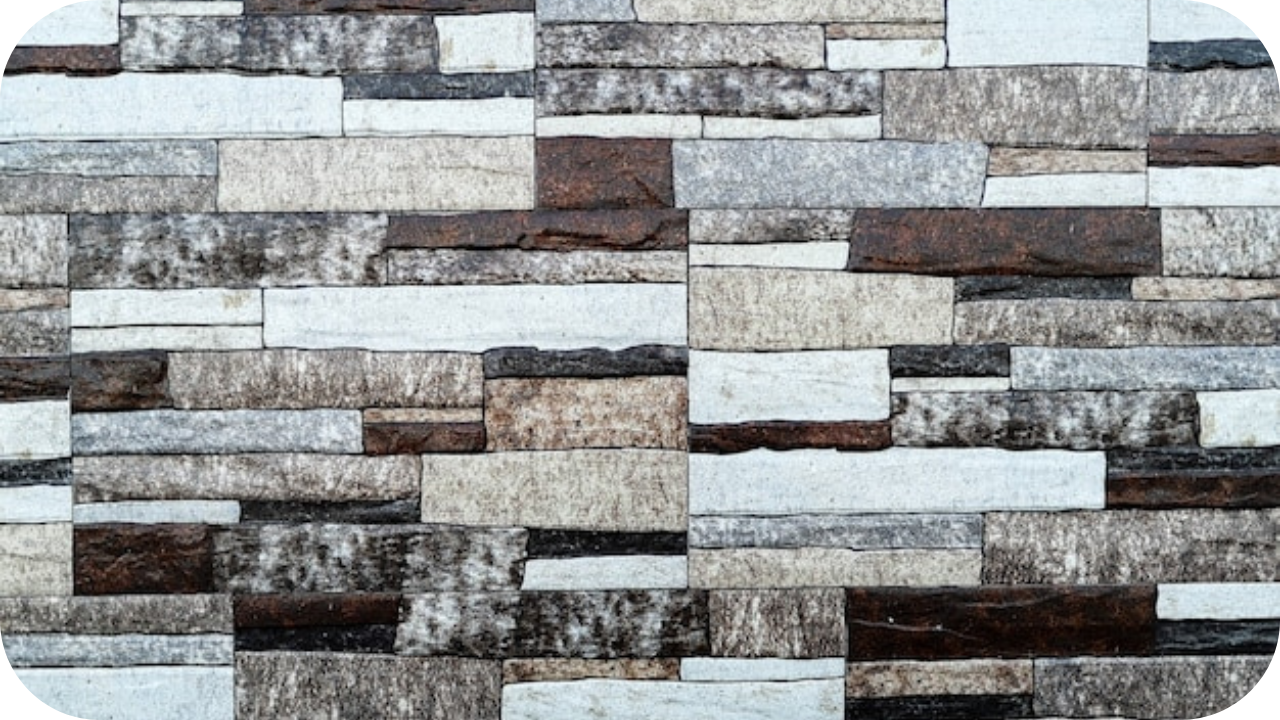
Damaged sandstone walls detract from your property’s beauty and can worsen over time, leading to structural issues.
Ignoring chips and cracks in sandstone can result in costly repairs and compromise the integrity of your walls.
Learn effective techniques for repairing sandstone damage to maintain the aesthetics and stability of your walls.
Assessing the Sandstone Walls Damage
- Visual Inspection: Examine the surface for visible chips, cracks, and weathering. Use a flashlight to check for hidden damage.
- Severity Assessment: Determine the extent of the damage, from minor surface flaws to deeper cracks or structural issues.
- Location Analysis: Note where the damage is concentrated and consider environmental factors like moisture and sunlight exposure.
- Identifying Causes: Look for underlying factors contributing to the damage, such as nearby trees or poor drainage.
Preparation for Sandstone Walls Repair

Preparation is key before repairing chips and cracks in sandstone walls. Here’s how to get ready:
- Clean the Surface: Begin by thoroughly cleaning the damaged area using a mild detergent and water. Remove any dirt, debris, or loose particles that could interfere with the repair process.
- Dry the Area: Allow the cleaned surface to dry completely before proceeding with repairs. Moisture can affect the adhesion of repair materials, so ensure the area is dry to achieve optimal results.
- Choose the Right Repair Material: Select a suitable repair material based on the severity and location of the damage. For minor chips and cracks, epoxy or acrylic-based fillers work well, while larger cracks may require mortar or specialized sandstone repair products.
- Gather Tools and Equipment: Collect all necessary tools and equipment for the repair job, including gloves, safety glasses, a putty knife or trowel, and any specific tools recommended for the chosen repair material.
- Protect Surrounding Areas:Use painter’s tape or plastic sheeting to protect surrounding surfaces from accidental damage or overspill during the repair process.
Choosing the Right Sandstone Walls Repair Materials

Selecting the appropriate repair materials is essential for effectively fixing chips and cracks in sandstone walls. Consider the following factors to choose the right products:
- Type of Damage:Assess the extent and nature of the damage to determine the suitable repair material. Epoxy or acrylic-based fillers are ideal for minor chips and hairline cracks, while larger cracks may require mortar or specialized sandstone repair compounds.
- Compatibility: Ensure that the chosen repair material is compatible with sandstone. Some products may not adhere well to the porous surface of sandstone or may cause discoloration, so it’s crucial to select products specifically designed for sandstone repair.
- Color Matching: Opt for repair materials that closely match the color and texture of your sandstone walls to achieve a seamless finish. Many manufacturers offer a variety of colors and textures to match different types of sandstone.
- Ease of Application: Choose repair materials that are easy to apply and work with, especially if you’re tackling the repair job yourself. Follow the manufacturer’s instructions carefully for best results.
- Durability: Prioritize durability when selecting repair materials to ensure long-lasting results. Look for products that are weather-resistant and designed to withstand the elements for years to come.
Repair Techniques for Chips

Repairing chips in sandstone walls requires careful attention to detail to achieve a seamless finish. Follow these steps for effective chip repair:
- Clean the Area: Begin by thoroughly cleaning the chip and its surrounding area to remove dirt, debris, and loose particles. Use a mild detergent and water, and allow the area to dry completely.
- Fill the Chip:Apply a suitable repair material to fill the chip, such as epoxy or acrylic-based filler. Use a putty knife or trowel to spread the filler evenly over the damaged area, ensuring it fills the chip completely.
- Smooth the Surface: Once the filler is applied, use a putty knife or wet finger to smooth the surface and blend it with the surrounding sandstone. Work carefully to achieve a seamless finish.
- Allow to Cure: Follow the manufacturer’s instructions for curing time, allowing the repair material to fully harden and bond with the sandstone.
- Sand and Finish: Once the repair material is fully cured, lightly sand the repaired area to smooth out any rough edges or imperfections. Finish by applying a matching sealant or finish to protect the repaired chip and maintain the appearance of the sandstone wall.
Repair Techniques for Cracks
Repairing cracks in sandstone walls requires careful attention to ensure a strong and long-lasting repair. Follow these steps for effective crack repair:
- Clean and Prepare the Crack: Start by cleaning the crack and its surrounding area to remove dirt, debris, and loose particles. Use a brush or compressed air to ensure the crack is free from any contaminants.
- Fill the Crack: Choose a suitable repair material for filling the crack, such as mortar or specialized sandstone repair compound. Apply the material into the crack using a putty knife or trowel, ensuring it fills the entire crack and is level with the surface of the wall.
- Press and Pack: Press the repair material firmly into the crack to ensure a strong bond with the surrounding sandstone. Use a tool or your fingers to pack the material tightly, removing any air pockets or voids.
- Smooth and Blend: Once the crack is filled, use a wet finger or tool to smooth the surface and blend the repair material with the surrounding sandstone. Work carefully to achieve a seamless finish.
- Allow to Cure: Follow the manufacturer’s instructions for curing time, allowing the repair material to fully harden and bond with the sandstone.
- Finish and Seal: After the repair material has cured, sand the repaired area lightly to smooth out any rough edges. Finish by applying a matching sealant or finish to protect the repair and maintain the appearance of the sandstone wall.
Complex Sandstone Walls Repair Scenarios

In more complex scenarios involving extensive damage or structural issues in sandstone walls, professional intervention may be necessary. Here’s how to approach such situations:
- Structural Assessment: Begin by assessing the extent of the damage and any underlying structural issues. Consult with a structural engineer if needed to determine the best course of action.
- Specialized Repair Techniques: Complex repairs may require specialized techniques such as pinning, stitching, or reinforcing with steel rods or anchors. These methods can help stabilize the wall and prevent further deterioration.
- Professional Restoration: In cases where the damage is severe or beyond DIY repair, it’s advisable to seek professional assistance from experienced stonemasons or restoration experts. They have the expertise and equipment to tackle complex repair projects safely and effectively.
- Preservation Measures: Once repairs are completed, consider implementing preservation measures to protect the sandstone walls from future damage. This may include applying protective coatings, improving drainage systems, or addressing underlying issues contributing to the damage.
Safety Considerations for Sandstone Walls

When repairing chips and cracks in sandstone walls, prioritize safety to prevent accidents and ensure a successful outcome. Here are key safety considerations:
- Protective Gear: Wear appropriate safety gear, including gloves, safety glasses, and a dust mask, to shield yourself from debris and dust during the repair process.
- Stable Work Surface: Ensure the work area is stable and secure to prevent trips and falls. Use ladders or scaffolding if necessary, and avoid working on unstable or uneven surfaces.
- Tool Safety: Use tools and equipment properly to avoid injury. Keep sharp tools, such as chisels or putty knives, away from your body and use caution when handling heavy materials.
- Chemical Exposure:Follow safety guidelines when using repair materials, such as epoxy or mortar, to minimize exposure to harmful chemicals. Work in a well-ventilated area and wear appropriate respiratory protection if needed.
- Electrical Hazards: Be aware of any electrical hazards near the work area, such as power lines or outlets. Use insulated tools and avoid working in wet conditions to reduce the risk of electric shock.
- Emergency Preparedness: Have a first aid kit nearby and know how to respond to emergencies such as cuts, falls, or chemical exposure.
Post-Repair Sandstone Walls Maintenance

After repairing chips and cracks in sandstone walls, proper maintenance is essential to preserve the repairs and prolong the lifespan of the walls. Here’s what you need to know:
- Regular Cleaning: Keep the repaired areas and the entire sandstone wall clean by regularly removing dirt, dust, and debris. Use a soft brush or cloth to avoid scratching the surface.
- Inspect for Damage: Periodically inspect the walls for any signs of new chips, cracks, or deterioration. Promptly address any issues to prevent them from worsening over time.
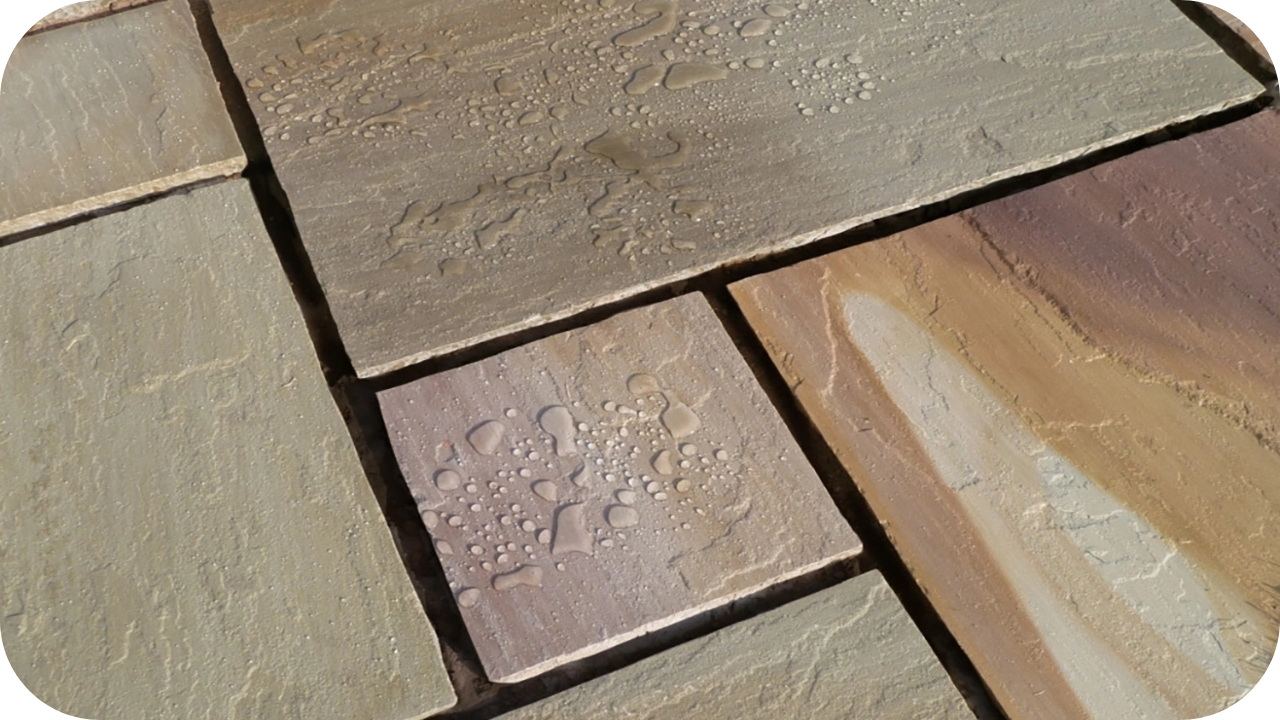
- Sealing and Waterproofing: Consider applying a sealant or waterproofing product to protect the sandstone from moisture penetration, which can cause damage over time. Follow the manufacturer’s instructions for application.
- Avoid Harsh Chemicals: When cleaning or maintaining the walls, avoid using harsh chemicals or abrasive cleaners that could damage the sandstone surface. Opt for mild, pH-neutral cleaners instead.
- Address Drainage Issues: Ensure proper drainage around the sandstone walls to prevent water from pooling or seeping into the foundation. Address any drainage problems promptly to avoid water damage.
- Professional Inspection: Periodically have the sandstone walls inspected by a professional to identify any potential issues early on and address them before they escalate.
Conclusion
By following these expert tips for repairing chips and cracks in sandstone walls, you can restore their beauty and structural integrity with confidence.
Don’t wait for further deterioration. Act now to protect and maintain your sandstone walls for long-lasting durability and aesthetic appeal.
How to Tell If Stone Is Porous or Not
When selecting stone for your home or project, knowing whether it’s porous can make a huge difference. Porosity affects how your stone absorbs water, stains,
Split Face Stone: What It Is and When to Use It
Looking for a unique, durable material to elevate your next project? Split face stone might be the perfect choice. Known for its textured finish and
