Cracked, discoloured concrete got you down? Dreaming of a beautiful patio upgrade?
Traditional concrete replacement is expensive and time-consuming. You’re left wondering about alternatives to give your outdoor space a facelift.
Laying bluestone over your existing concrete might be the perfect solution! This natural stone adds elegance and durability and could be a more budget-friendly and convenient option compared to a complete tear-out.
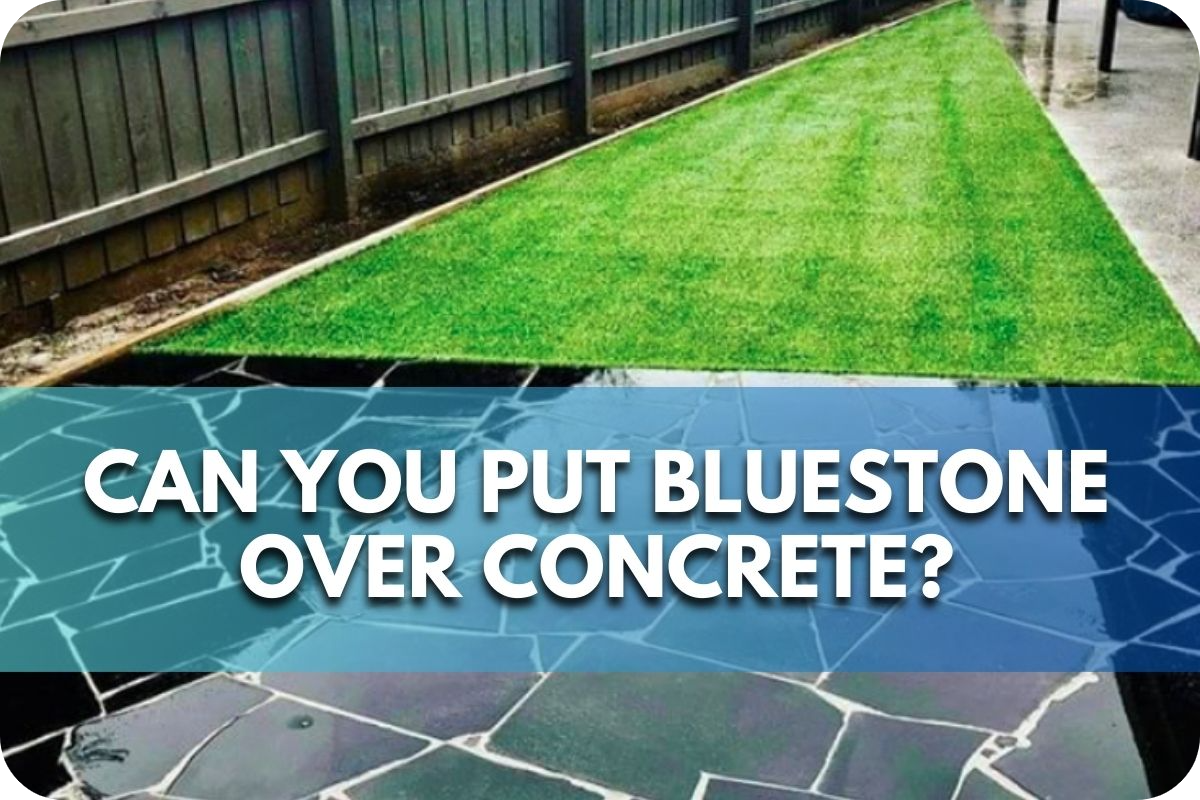
Can You Put Bluestone Over Concrete?
Yes, you can put bluestone over concrete. It’s a great way to upgrade an existing concrete surface, but the concrete needs to be in good condition. Ensure no significant cracks or damage and use a mortar bed to secure the bluestone for a long-lasting, beautiful finish.
Benefits of Installing Bluestone Over Concrete
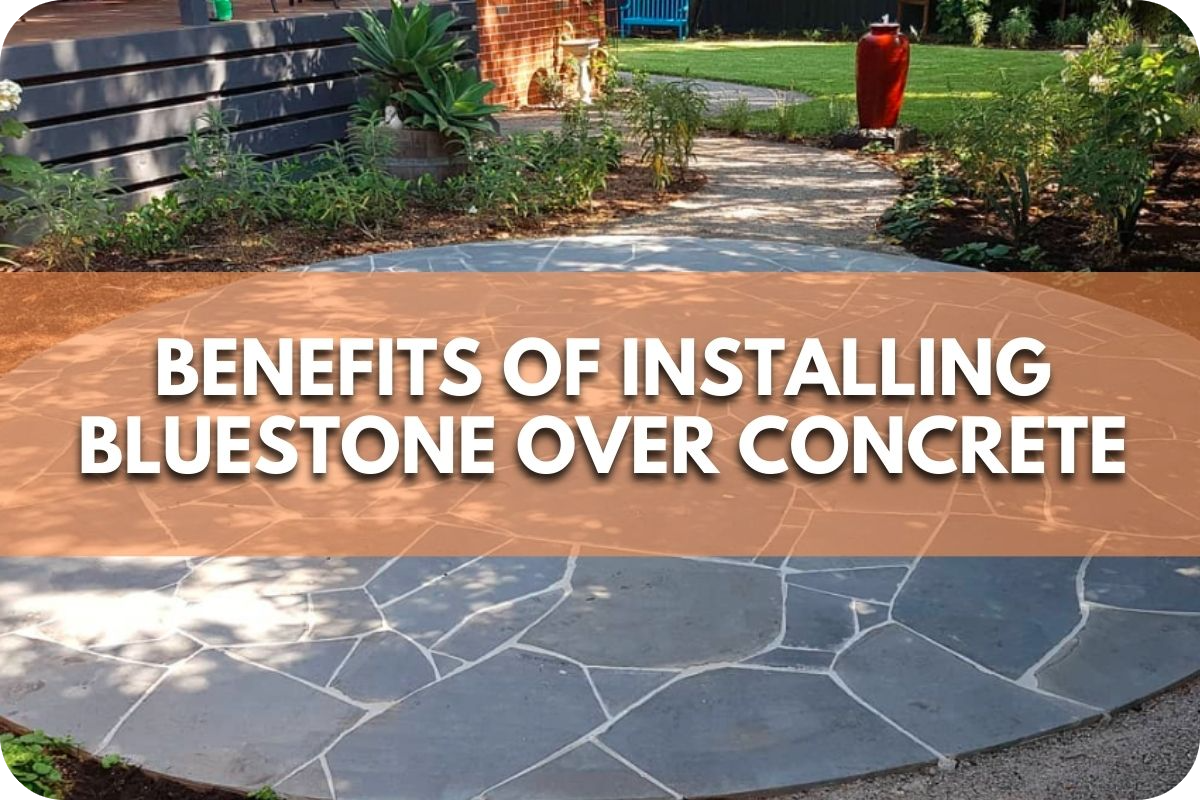
Laying bluestone over your existing concrete patio or walkway offers several compelling advantages:
- Durability: Bluestone is a dense natural stone with incredible resilience. It withstands heavy foot traffic and harsh weather conditions and resists fading for a long-lasting solution.
- Aesthetic Improvement: Bluestone’s blue-grey hues and natural variations enhance outdoor spaces with timeless elegance and a touch of sophistication.
- Cost-Effectiveness: Installing bluestone over concrete often proves more budget-friendly than complete concrete replacement. It eliminates the cost and hassle of demolition and new concrete pouring.
- Increased Slip Resistance: Bluestone’s mildly textured surface provides better traction than smooth concrete, making it safer around pools or wet weather.
- Versatility: Bluestone works beautifully for patios, pool decks, walkways, and other outdoor areas, adding value and visual appeal throughout your property.
Pre-installation Considerations
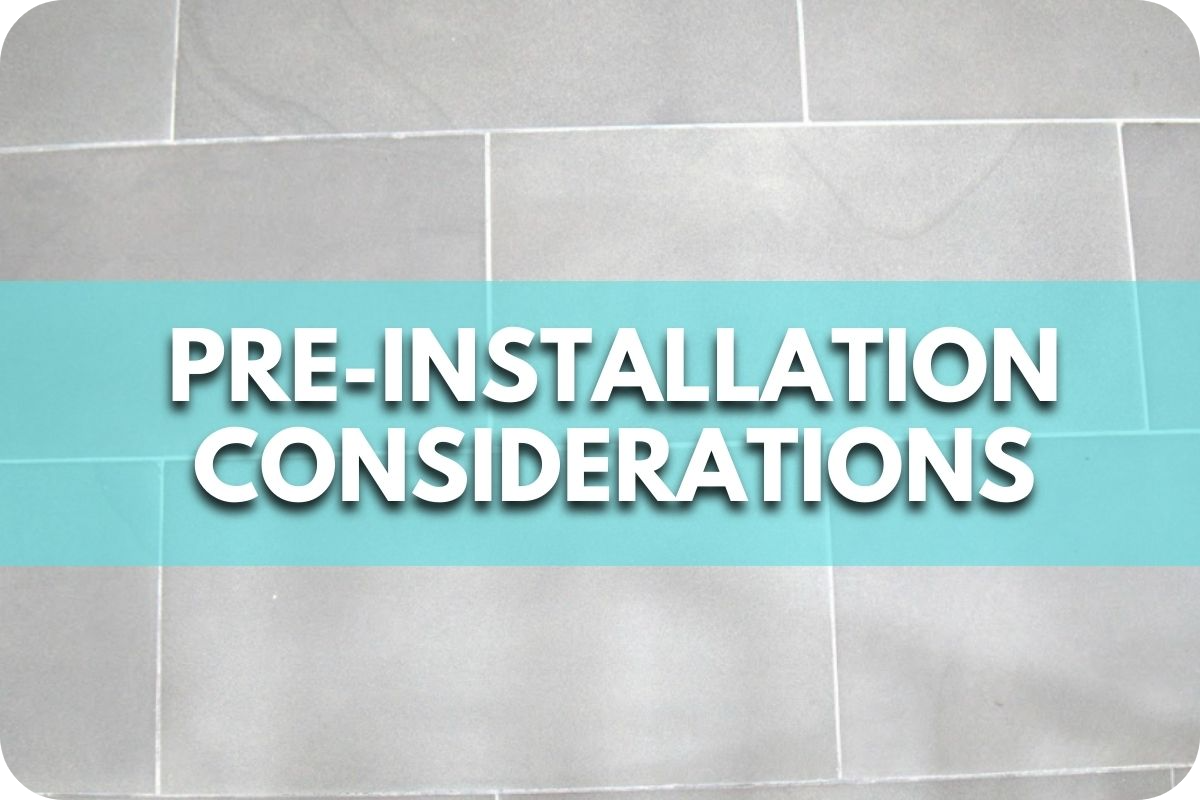
Before laying bluestone, thoroughly assess and prepare your concrete surface:
Assessing the Concrete Surface
- Structural Integrity: Look for major cracks, crumbling sections, or unevenness. Significant damage might require concrete repair or complete replacement before installing bluestone.
- Slope: Ensure your concrete has a slight slope (about 1/4 inch per foot) for proper drainage to prevent water pooling.
- Cleanliness: Thoroughly clean the concrete, removing dirt, debris, grease, or sealants. Pressure washing is often the most effective method.
Preparation Requirements
- Patching: Fill in minor cracks or uneven areas with a suitable concrete patching compound.
- Levelling: If necessary, use a self-levelling compound to smooth out significant unevenness in the concrete’s surface.
- Optional Etching: If the surface is smooth, consider etching the concrete with a mild acid solution to improve mortar adhesion.
Installation Process
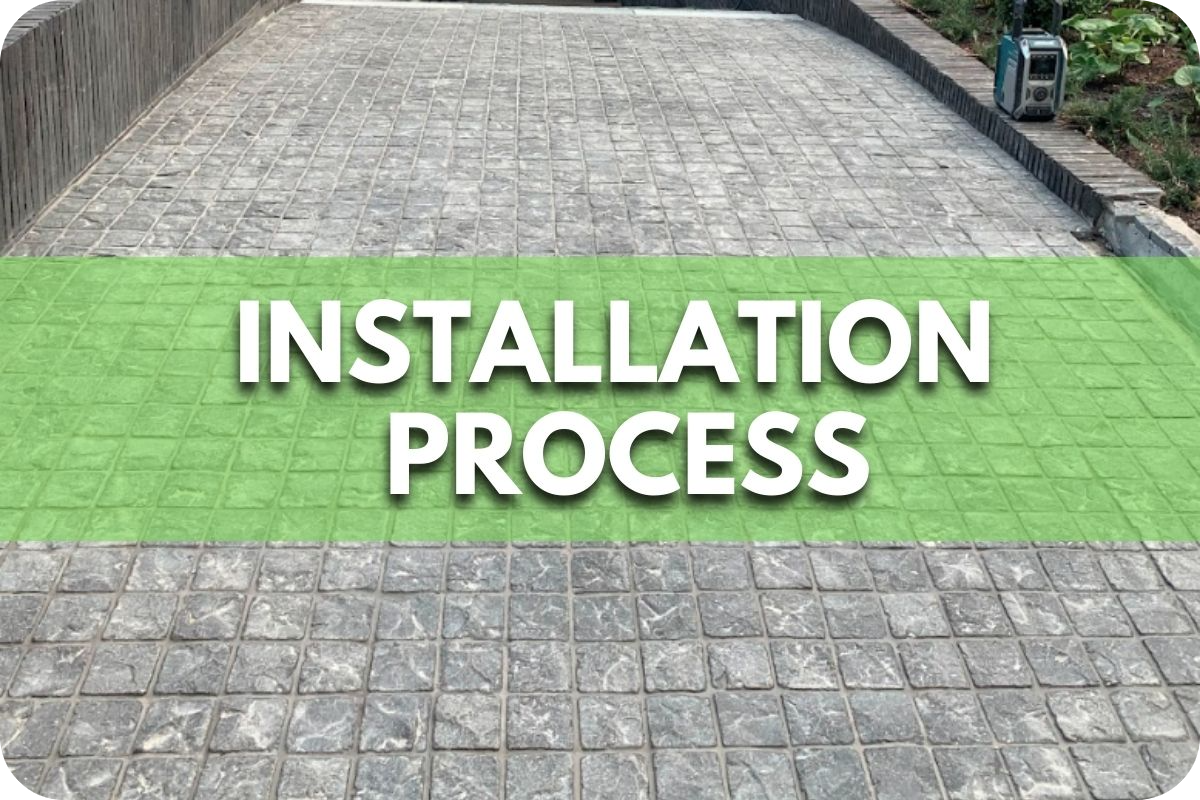
Materials Needed
- Bluestone pavers or tiles
- Mortar (Type S or Type N recommended)
- Notched trowel
- Rubber mallet
- Level
- Mason’s line or chalk line
- Broom
- Sponge
Step-by-Step Installation Guide
- Plan Layout: Determine your pattern and dry-fit the bluestone on the concrete to ensure proper spacing and fit.
- Mix Mortar: Following manufacturer instructions, mix your mortar to a suitable consistency.
- Apply Mortar Bed: Using the notched trowel spread a 1-2 inch layer of mortar over a small section of the concrete.
- Lay Bluestone: Carefully place the first bluestone, gently tapping it with the rubber mallet to set it in place. Use the level to ensure it’s even.
- Set Spacing: Maintain consistent spacing between the pavers using spacers or by eye.
- Repeat: Continue laying bluestone in small sections to prevent the mortar from drying out.
- Clean and Grout: Remove excess mortar. Once fully cured (check mortar instructions), consider grouting the joints for added stability and a finished look.
Potential Challenges and Solutions

Materials Needed
- Bluestone pavers or tiles
- Mortar (Type S or Type N recommended)
- Notched trowel
- Rubber mallet
- Level
- Mason’s line or chalk line
- Broom
- Sponge
Step-by-Step Installation Guide
- Plan Layout: Determine your pattern and dry-fit the bluestone on the concrete to ensure proper spacing and fit.
- Mix Mortar: Following manufacturer instructions, mix your mortar to a suitable consistency.
- Apply Mortar Bed: Using the notched trowel spread a 1-2 inch layer of mortar over a small section of the concrete.
- Lay Bluestone: Carefully place the first bluestone, gently tapping it with the rubber mallet to set it in place. Use the level to ensure it’s even.
- Set Spacing: Maintain consistent spacing between the pavers using spacers or by eye.
- Repeat: Continue laying bluestone in small sections to prevent the mortar from drying out.
- Clean and Grout: Remove excess mortar. Once fully cured (check mortar instructions), consider grouting the joints for added stability and a finished look.
Maintenance Tips

Bluestone is low-maintenance, but some simple care will keep your installation beautiful for years to come:
- Regular Cleaning: Sweep away debris regularly. Periodically wash with water and mild soap. Avoid harsh chemicals or pressure washing, which can damage the stone.
- Stain Treatment: Address spills promptly by blotting them up. For tougher stains, consult a bluestone care guide for suitable cleaner recommendations.
- Sealing: Consider sealing your bluestone to enhance stain resistance and make cleaning easier. Choose a sealer specifically designed for natural stone.
- Winter Protection: In areas with freeze-thaw cycles, apply a penetrating sealer before winter to protect the stone from potential freeze damage.
- Joint Maintenance: Inspect grout periodically for cracks or gaps if you’ve used grout. Repairing these promptly prevents moisture from getting under the pavers.
Design Ideas
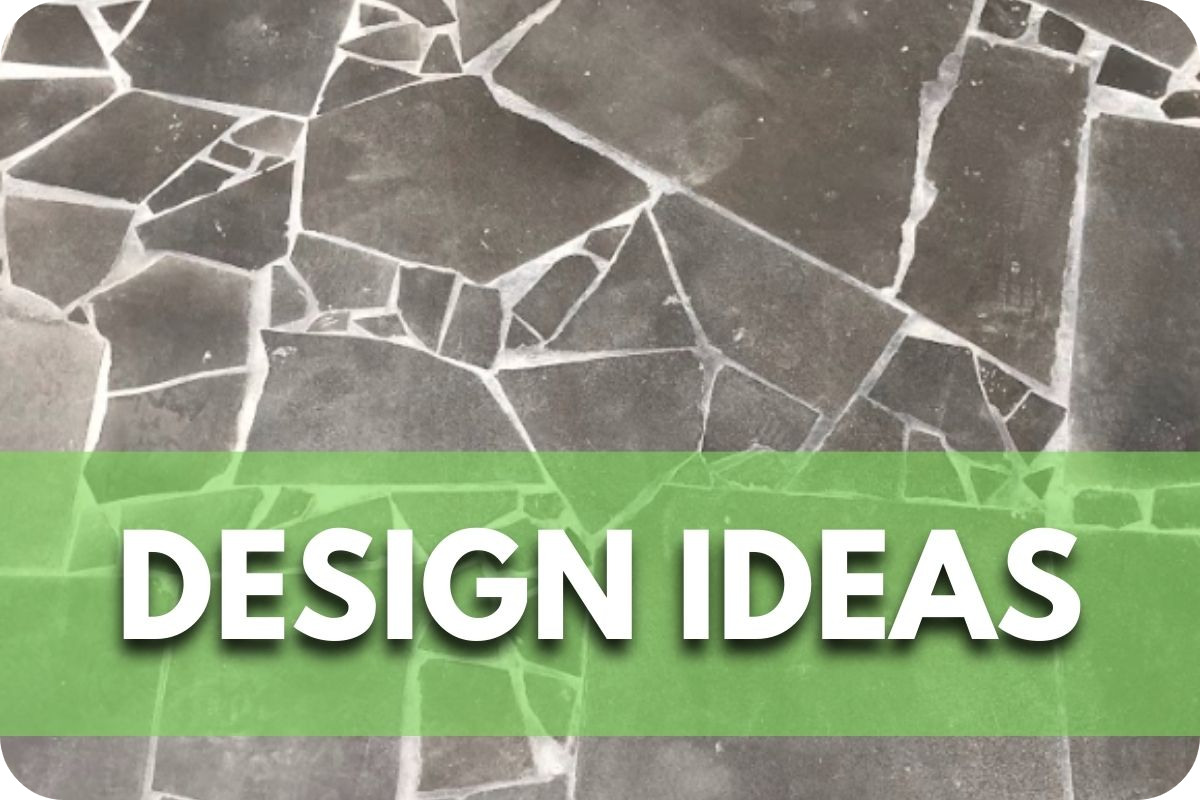
Bluestone’s versatility opens up a world of design possibilities for your outdoor space:
- Patterns:
- Classic running bond (staggered brick-like layout) offers timeless appeal.
- Herringbone patterns add visual interest and a touch of sophistication.
- Explore less traditional layouts with random patterns or mixed-size pavers.
- Shapes:
- Square or rectangular pavers create clean, modern lines.
- Irregular flagstone-style pieces offer a more natural, rustic aesthetic.
- Colours: Select from various blue-grey shades, some with subtle brown or tan undertones. Mix colours for a unique, variegated look.
- Borders & Accents: Incorporate contrasting stone or brick borders to define the patio’s edges. Add accents like stepping stones or a central design for added flair.
- Multi-Level Designs: If your space allows, consider creating multi-level patios or walkways connected by bluestone steps for a dynamic, dimensional effect.
Conclusion
Laying bluestone over your existing concrete offers a beautiful and durable solution to revitalise your outdoor spaces.
With proper assessment, preparation, and installation, you’ll transform any area with elegance and long-lasting charm. Are you ready to upgrade your patio, walkway, or pool deck?
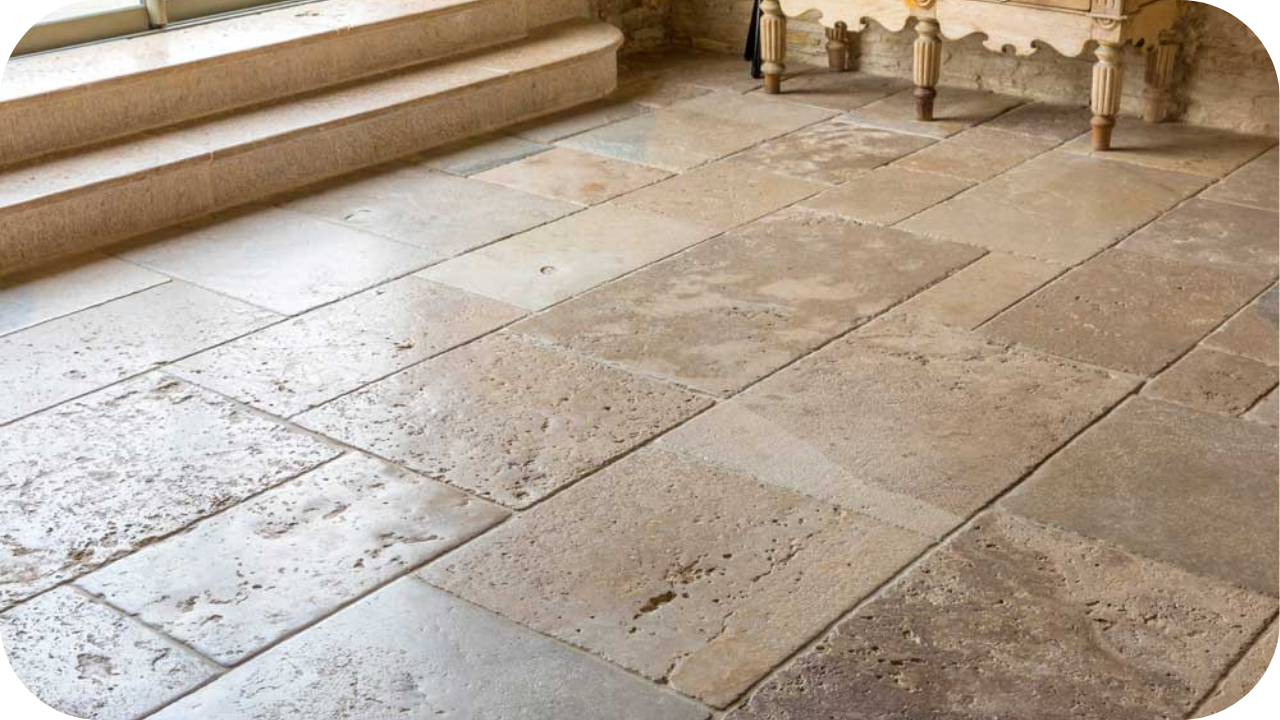
French Provincial Look Using Stone Paving
Looking to create an elegant yet rustic outdoor space? The French Provincial look is the perfect combination of timeless charm and modern sophistication, and stone
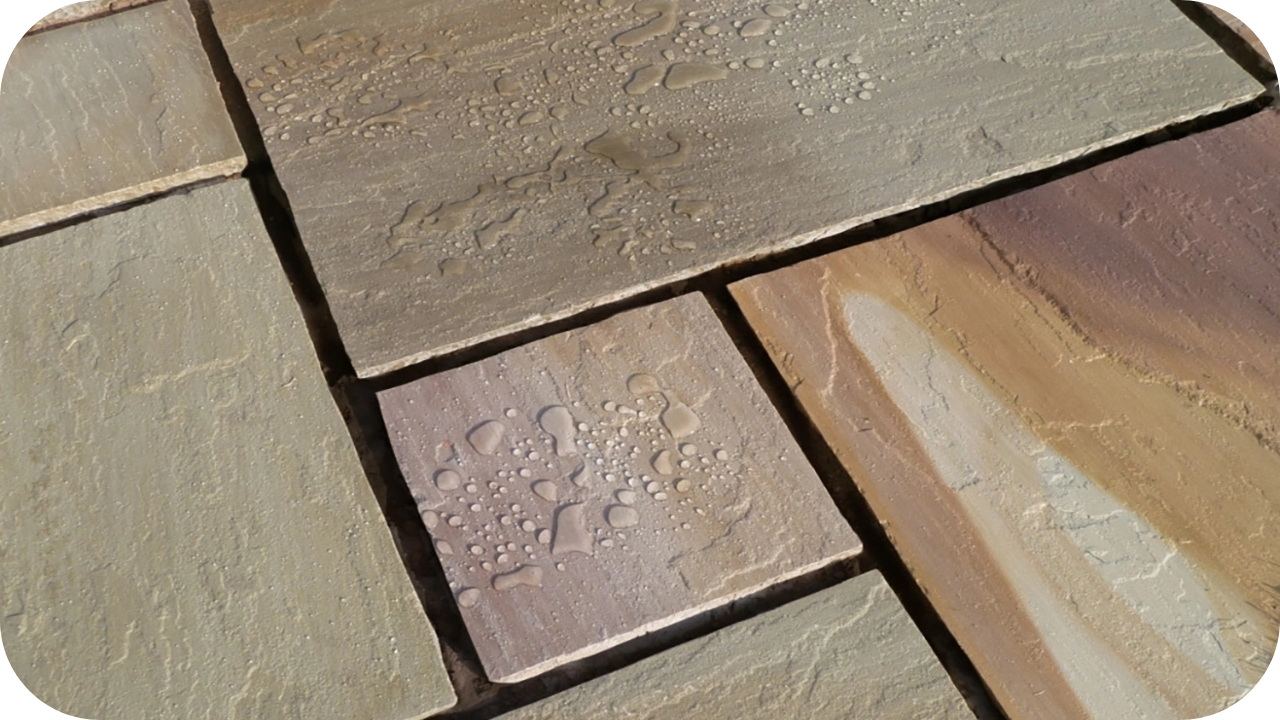
How to Tell If Stone Is Porous or Not
When selecting stone for your home or project, knowing whether it’s porous can make a huge difference. Porosity affects how your stone absorbs water, stains,
