Many homeowners wonder if cement between pavers is viable for creating durable and attractive pathways or patios.
Without the right materials and techniques, the space between pavers can become a breeding ground for weeds and cause shifting and cracking, leading to unsightly and unstable surfaces.
This article explores the feasibility of using cement between pavers, highlighting the pros, cons, and best practices to ensure a long-lasting and aesthetically pleasing result.
Can I Use Cement Between Pavers?
Yes, you can use cement between pavers, primarily as a mortar or a binding agent to prevent shifting and increase durability. However, using the right mixture and application technique is crucial to avoid cracking. For areas with heavy rainfall or freeze-thaw cycles, consider using sand or polymeric sand for better flexibility and drainage.
Cement as a Joint Filler
Cement is often considered a joint filler in paving projects due to its strength and durability.
When used between pavers, cement, typically in the form of mortar, locks the stones in place, preventing them from shifting underfoot or due to environmental conditions. This is particularly important in areas subjected to heavy traffic or load-bearing activities.
The composition of the cement used for pavers is crucial. Mortar is commonly used as a mixture of cement, sand, and water. The typical ratio for a strong mortar mix is one part cement to three parts sand.
This ratio ensures sufficient bonding without becoming too rigid, minimising the risk of cracking due to minor movements or temperature changes.
However, it’s essential to recognise the limitations of using cement as a joint filler. In climates with significant freeze-thaw cycles, cement can crack as moisture seeps in and expands when frozen.
Furthermore, cement does not allow for much flexibility or drainage, which can lead to water damage or erosion under the pavers over time.
Pros of Using Cement Between Pavers
Using cement between pavers offers a range of benefits that make it a popular choice for certain projects. Here are six key advantages:
1. Enhanced Stability and Durability
Cement creates a solid, immovable bond between pavers, ensuring they remain firmly in place. This is particularly useful in high-traffic areas like driveways or commercial walkways, where movement and shifting can cause misalignment over time.
2. Resistance to Weed Growth
By filling the gaps between pavers, cement acts as a barrier that prevents weeds, grass, and other plants from sprouting. This significantly reduces the time and effort needed for maintenance, keeping the paved area clean and tidy.
3. Prevention of Pest Intrusion
Cement seals the joints between pavers, creating a surface that pests like ants and other insects cannot easily penetrate. This ensures a stable and safe paved area, particularly in outdoor settings.
4. Water Resistance
Properly mixed and applied cement can resist water penetration, protecting the foundation beneath the pavers. This makes it an effective option in areas with occasional rain or light moisture exposure, helping to maintain the structural integrity of the surface.
5. Long-Term Cost Savings
While the initial installation cost may be higher, cement can provide a long-lasting solution, reducing the need for frequent repairs or replacements. In stable climates, it can withstand years of use, making it a cost-effective option for long-term projects.
6. Reduced Surface Shifting
Cement locks pavers in place, reducing the risk of movement caused by heavy loads or seasonal expansion and contraction. This makes it ideal for creating smooth and stable surfaces, such as patios, paths, and outdoor seating areas.
Cons of Using Cement Between Pavers
While cement offers numerous benefits as a joint filler between pavers, several drawbacks need consideration:
- Rigidity: Cement is less flexible than joint fillers like sand or polymeric sand. This rigidity can lead to cracking if the pavers shift due to soil movement or temperature changes, which is common in areas with freeze-thaw cycles.
- Complex Installation: Applying cement between pavers requires precision and skill. It must be correctly mixed and applied quickly before it sets, which can be challenging for DIY enthusiasts without prior experience. Mistakes in mixing or application can compromise the integrity and appearance of the entire paved area.
- Repair Difficulties: Repairing cement-filled joints is more labour-intensive than sand-filled ones if damage occurs. The process often involves removing the damaged cement and repaving the affected area, which can be disruptive and costly.
- Water Drainage Issues: Cement prevents water from permeating the joints. This can lead to water pooling on the surface or causing erosion beneath the pavers, potentially undermining the stability of the paved surface.
- Aesthetic Limitations: Once set, cement is permanent, and altering the colour or style of your paved area can be difficult without a complete overhaul.
Installation Techniques

Installing cement between pavers requires a methodical approach to ensure a durable and visually appealing finish. Here are the key steps involved:
Using cement between pavers can create a strong, durable surface, but proper installation is key to avoiding cracks and unsightly finishes. Here’s a step-by-step guide to help you achieve the best results:
Step 1: Prepare the Area
Start by clearing the worksite of any debris, weeds, or existing vegetation. Ensure the ground is compact and level to create a stable base for the pavers. For added support, lay a 3–4 inch layer of compacted gravel or sand as a foundation. This helps with drainage and minimises shifting over time.
Step 2: Arrange the Pavers
Lay out the pavers in your desired pattern, ensuring even gaps between them for the cement. Use spacers or a measuring guide to maintain consistent spacing. Take your time to align the pavers properly, as any misalignment will be difficult to correct later.
Step 3: Mix the Cement
Prepare a mixture of cement, sand, and water in the appropriate ratio, usually 1 part cement to 3 parts sand, with enough water to create a thick, workable paste. Avoid making the mixture too runny, as it can seep out of the joints and stain the pavers. For large areas, mix the cement in manageable batches to prevent it from drying out before application.
Step 4: Apply Cement Between the Joints
Use a trowel to carefully fill the gaps between the pavers with the cement mixture. Start by applying small amounts and pressing it firmly into the joints to ensure a tight bond. Work on a small section at a time to prevent the cement from setting before smoothing. Be cautious not to spread cement onto the surface of the pavers, as this can be difficult to clean later.
Step 5: Smooth and Level the Joints
After filling the joints, use a pointing tool or narrow trowel to smooth and level the cement. This ensures an even finish and improves the visual appeal of the installation. Remove any excess cement immediately with a damp sponge or cloth to avoid staining the pavers.
Step 6: Allow the Cement to Cure
Let the cement cure for at least 24–48 hours. During this time, keep the area protected from water, heavy loads, or foot traffic. If rain is expected, cover the area with plastic sheeting to prevent moisture from interfering with the curing process.
Step 7: Apply a Sealant
Once the cement has fully cured, apply a high-quality sealant to the entire surface. The sealant protects the pavers and cement from moisture, stains, and weather damage, extending the life of the installation. Reapply the sealant every 1–3 years for ongoing protection.
Step 8: Perform a Final Cleanup
After sealing, inspect the area for any remaining debris or imperfections. Sweep the surface to remove any loose cement particles and ensure the pavers are clean and ready for use.
Maintenance and Repair
Maintenance and repair are crucial to ensuring the longevity and appearance of cement-jointed pavers. Here’s a detailed guide on how to maintain and repair cement between pavers:
Maintenance
Proper maintenance is essential to preserving the appearance and functionality of your pavers installed with cement. Here are some key points :
- Regular Cleaning: Sweep the paved area regularly to remove debris and dirt that can accumulate in the joints and cause deterioration. Wash the surface occasionally with a mild detergent and water to prevent stain buildup and to keep the pavers looking fresh.
- Sealing: Apply a sealer to the cement joints and pavers every two to three years. Sealing helps protect the cement from moisture penetration and weathering, reduces staining, and enhances the pavers’ colour.
- Weed and Moss Control: Even though cement joints largely inhibit weed growth, any sign of weeds or moss should be addressed promptly using appropriate herbicides or by manual removal to prevent them from expanding and causing damage.
Repair
By following a few key practices, you can ensure your paved surfaces remain durable and visually appealing for years to come.
- Crack Repair: Inspect the joints periodically for cracks. Small cracks can be filled with a matching cement or mortar mix. Remove any loose material from the crack, clean the area thoroughly, and fill it with the repair compound.
- Replacement of Damaged Joints: For larger areas of damage, it may be necessary to remove the affected cement. Use a chisel and hammer to remove the old cement carefully, ensuring it does not damage the pavers. Once removed, clean the gap thoroughly before applying the new mortar.
- Paver Resetting: If pavers become loose or uneven, they may need to reset. Remove the affected pavers, re-level the base if necessary, and reinstall the pavers using fresh mortar in the joints.
Alternatives to Cement for Paver Joints
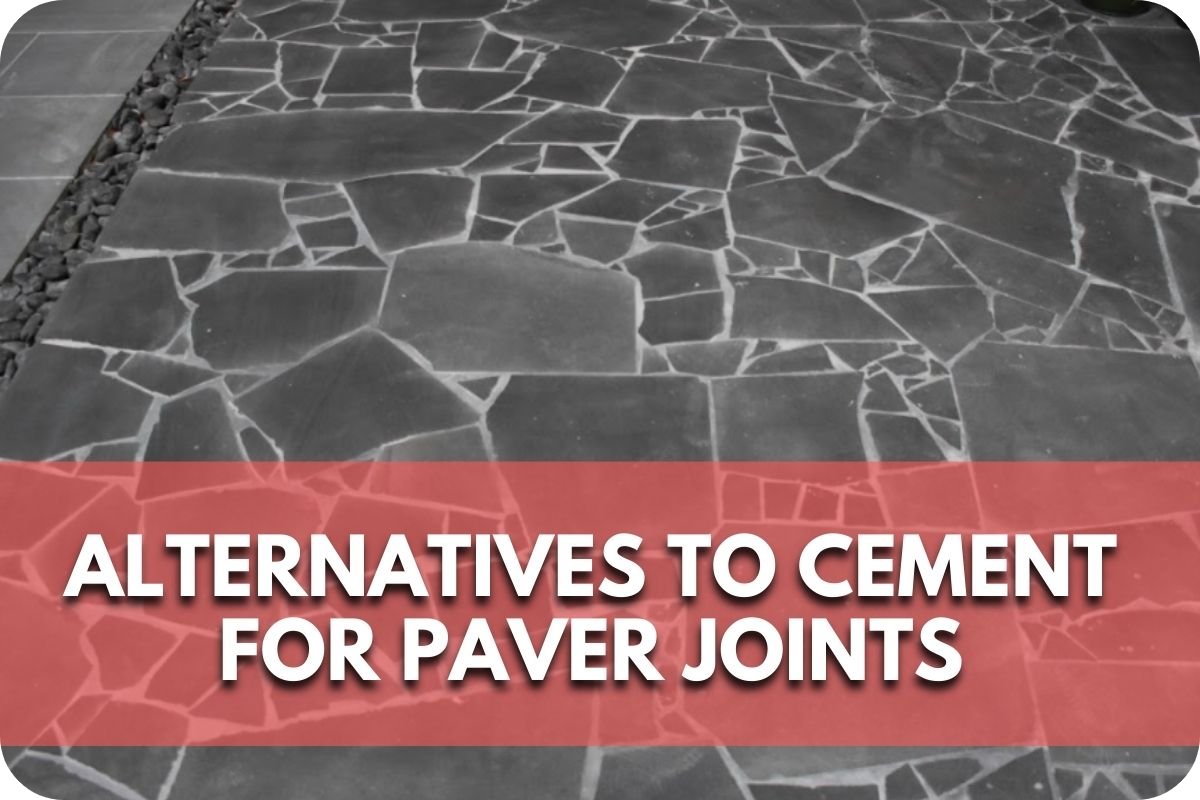
While cement is one option for securing pavers, other materials can offer greater flexibility, durability, and aesthetic appeal. Here are some effective alternatives:
1. Polymeric Sand
Polymeric sand is a popular choice for filling gaps between pavers. It contains a special mix of fine sand and polymer binders that harden when wet, forming a durable and flexible bond. Unlike cement, it resists cracking, allows for minor movement, and prevents weed growth and pest intrusion.
2. Gravel and Sand Base
A traditional method, gravel and sand create a flexible foundation that holds pavers securely in place while allowing natural movement. The sand fills the gaps between the pavers, providing stability while allowing for proper drainage. This method is cost-effective and widely used in landscaping projects.
3. Permeable Joint Fillers
Eco-friendly and water-permeable joint fillers are an excellent option for areas prone to water pooling. These fillers allow rainwater to seep through, reducing runoff and promoting sustainable water management. They also offer flexibility, preventing cracking in shifting conditions.
4. Resin-Based Joint Compounds
Resin-based compounds are another flexible and durable alternative to cement. These materials harden after application and are resistant to weathering, stains, and weeds. Resin-based fillers are ideal for projects requiring a clean, polished look with minimal maintenance.
5. Rubber or Foam-Based Fillers
For more innovative solutions, rubber or foam-based joint fillers provide a soft yet durable seal between pavers. These materials are particularly useful for areas requiring extra flexibility, such as playgrounds or surfaces with frequent temperature changes.
6. Natural Moss or Ground Cover Plants
For a decorative and eco-friendly alternative, consider using moss or low-growing ground cover plants. These options can fill the gaps between pavers, adding greenery and a natural aesthetic while still allowing for minor movement.
Tips for Choosing the Right Material
Selecting the ideal material for paver joints is essential for ensuring durability, functionality, and aesthetics. Consider these tips to guide your decision:
- Assess Your Climate and Weather Conditions: Choose a material that suits your environment. For wet or humid climates, opt for water-resistant options like polymeric sand or permeable joint fillers to prevent cracking or erosion. In drier areas, traditional sand or cement may suffice.
- Factor in Maintenance Needs: Think about the upkeep required for each material. Polymeric sand offers low maintenance by reducing weed growth and pest intrusion, while cement may need periodic repairs to address cracking. Evaluate your willingness to invest time in maintenance.
- Evaluate Traffic and Load Requirements: For high-traffic areas like driveways, choose materials that can handle weight and movement, such as polymeric sand or gravel. Lighter-use areas, like garden paths, can work well with more flexible options like traditional sand.
- Consider Drainage Capabilities: If drainage is a priority, avoid cement and opt for permeable joint fillers that allow water to flow through. These eco-friendly materials prevent pooling and improve the longevity of your pavers.
- Match the Material to the Aesthetics: Ensure the joint material complements the overall look of your pavers. Neutral options like polymeric sand or natural moss blend seamlessly, while cement may create a rigid appearance that detracts from the design.
- Budget Wisely: Different materials vary in cost. Polymeric sand or resin-based compounds may have higher upfront costs but save money in long-term maintenance. For budget-conscious projects, traditional sand and gravel can be a cost-effective solution.
Conclusion
Cement between pavers offers stability but may crack over time, making alternatives like polymeric sand a smarter choice for lasting results. Whether you’re aiming for durability or style, the right material is key.
Need expert guidance or professional installation? Contact Splendour in Stone today and transform your outdoor spaces with precision and elegance!
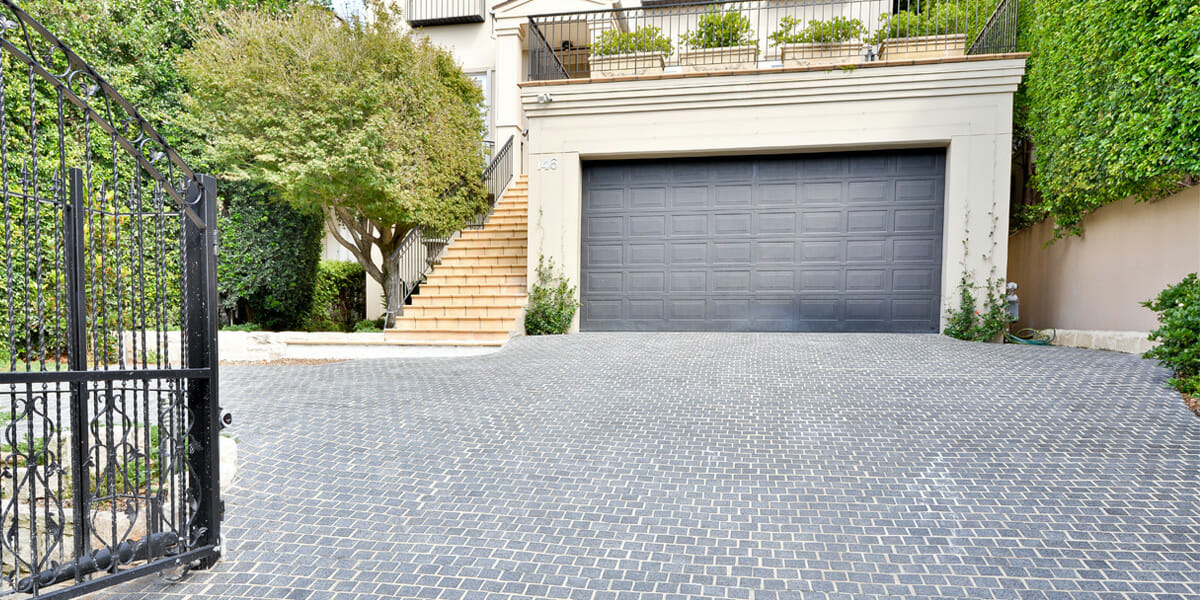
Grey Granite Cobblestones for Driveways: Strength and Style
Grey granite cobblestones combine strength, safety, and timeless appeal, making them a popular choice for Melbourne driveways and outdoor spaces. Their natural flamed texture offers

Granite Wall Cladding Melbourne: Modern and Classic Appeal
Granite wall cladding brings both modern sophistication and classic charm to Melbourne architecture. Known for its durability and natural beauty, granite transforms façades, feature walls,
