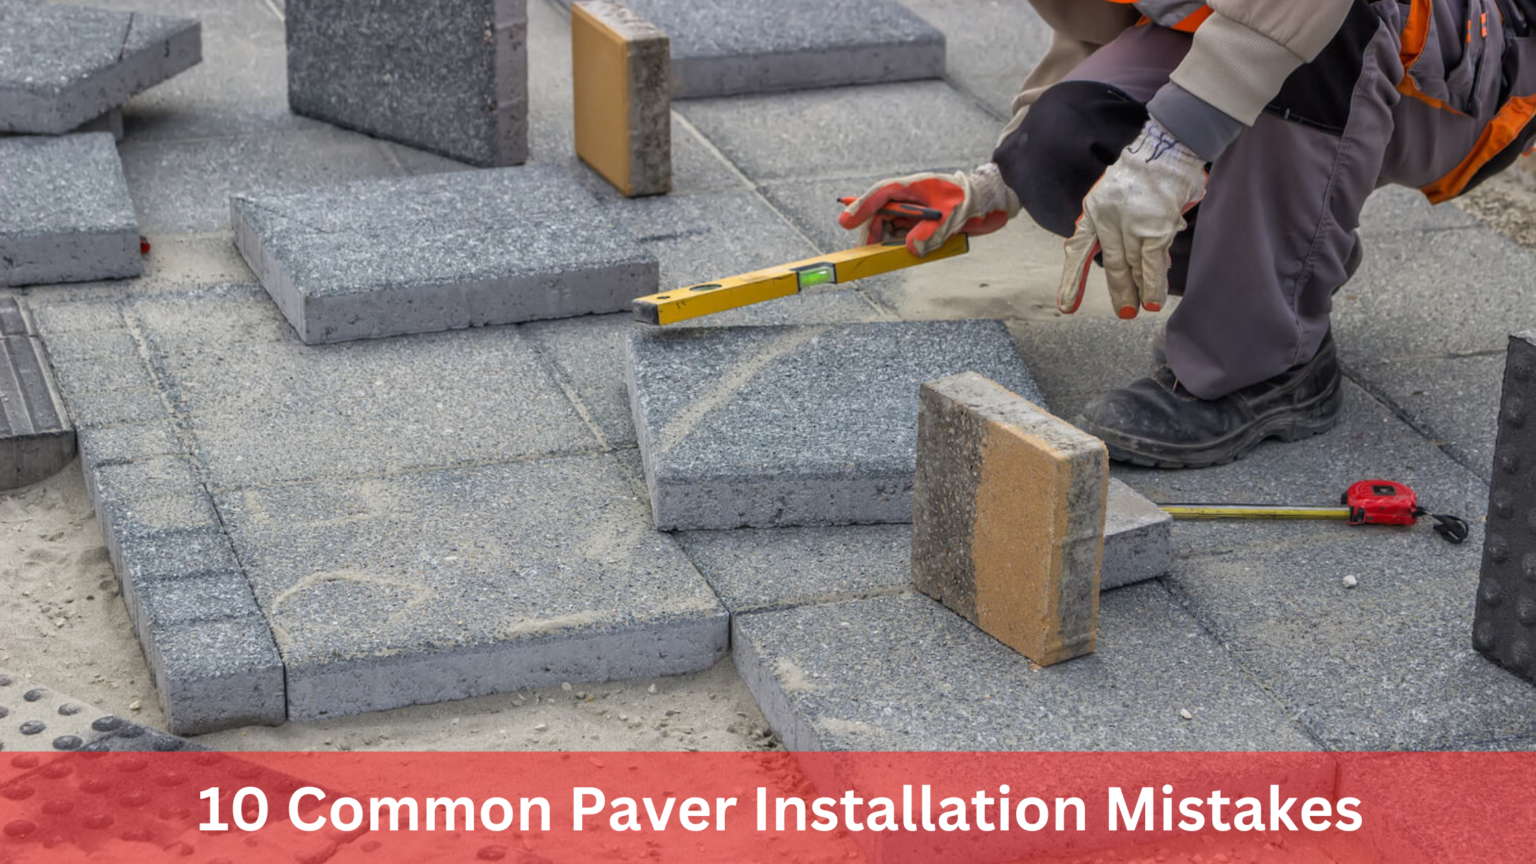
Installing pavers might seem straightforward, but many fall into common traps that compromise the project.
Poor preparation, incorrect paver selection, and improper spacing can lead to an uneven, unattractive surface. This not only wastes time and resources but also requires costly repairs.
Our 10 Common Paver Installation Mistakes guide will help you identify and avoid these errors, ensuring a smooth and durable paver installation.
1. Poor Planning and Design
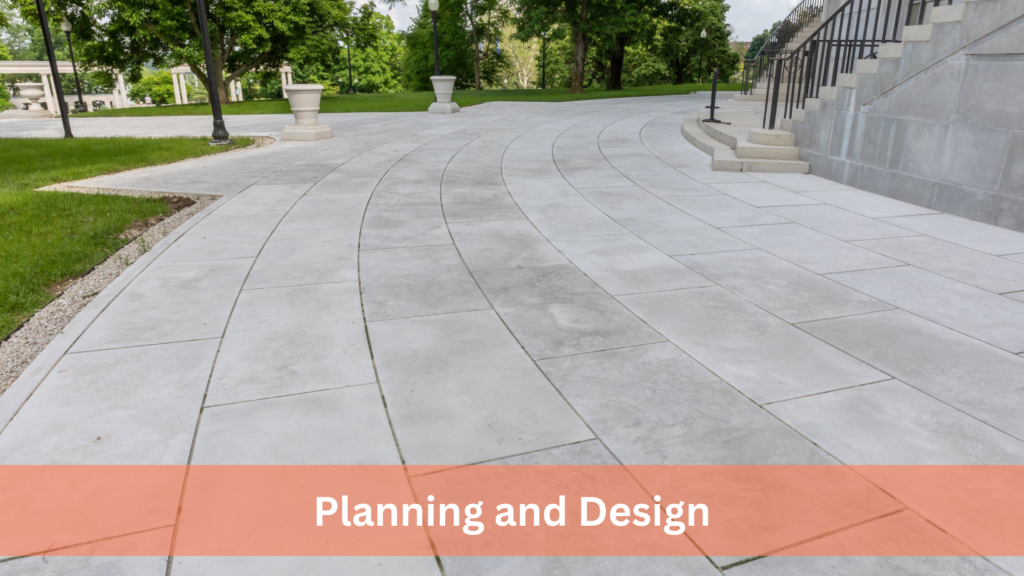
A successful paver installation starts with meticulous planning and design. One of the most common mistakes is not paying attention to this crucial step. You can avoid uneven surfaces, poor drainage, and an unappealing look with a well-thought-out plan.
Firstly, accurately measure your space to ensure you purchase the suitable materials. Miscalculations can lead to shortages or excess, both of which are costly. Consider the layout and pattern of the pavers; a lack of a coherent design can make the installation look haphazard.
Proper drainage is another critical aspect often overlooked. Without considering water runoff, you may face pooling water, leading to erosion and damage. Ensure the area slopes away from buildings to direct water flow appropriately.
Investing time in planning and design can save you from future headaches and expenses.
2. Ignoring the Soil Condition
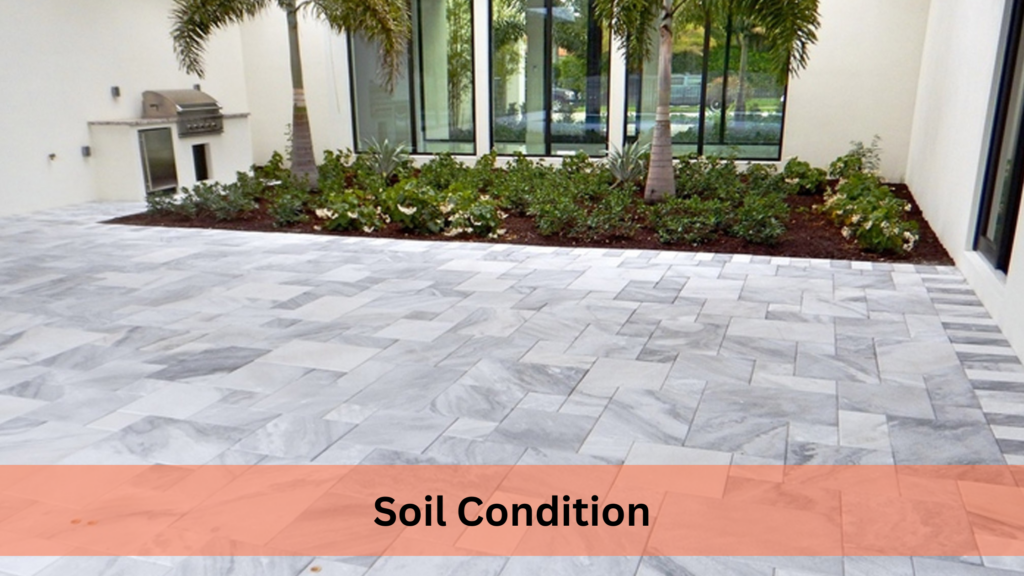
Understanding your soil condition is a crucial step that is often ignored in paver installation. The type and stability of the soil beneath your pavers significantly impact their longevity and performance.
Poor soil conditions can lead to shifting and settling, causing uneven surfaces and potential trip hazards. Conduct a soil test before beginning your project. Clay soil, for instance, tends to expand and contract with moisture changes, making it unsuitable without proper preparation. Sandy soil, while better for drainage, may require additional stabilisation.
Proper excavation is key. Remove any organic material, such as grass and roots, as they can decompose and create voids under your pavers. Aim to dig at least 6 to 8 inches deep to accommodate a solid base layer.
Using geotextile fabric can provide an extra layer of stability by preventing soil from mixing with the base material. This step is crucial for areas with poor or shifting soil conditions.
3. Inadequate Base Preparation
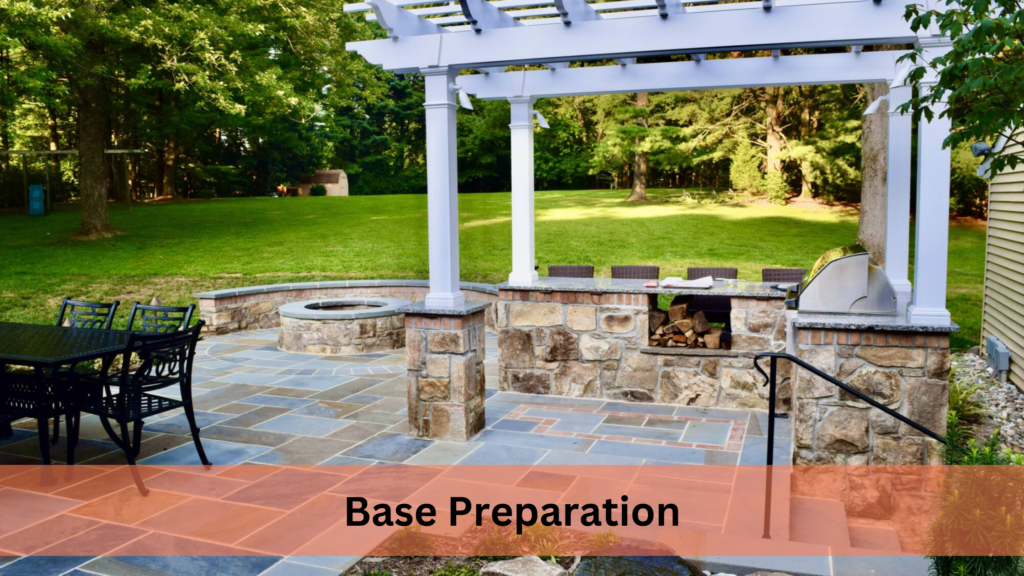
Inadequate base preparation is one of the most common and critical mistakes in paver installation. The base is the foundation of your project; if it’s not prepared correctly, your pavers will suffer from instability and unevenness.
Start with proper excavation. Dig down to a depth of at least 6 to 8 inches, depending on the soil type and expected load. This depth allows for a robust base layer that can support the pavers. Remove all organic material, as it can decompose and cause the base to shift.
Next, choose the suitable base material. Crushed stone or gravel is recommended for its stability and drainage properties. Spread the base material in layers, compacting each layer thoroughly. Compaction is crucial; use a plate compactor to ensure the base is firm and level.
Look at the edge restraints. These are essential for preventing pavers from spreading and shifting over time. Properly installed edge restraints help maintain the integrity of your design.
Level the base carefully. An uneven base leads to uneven pavers, which can cause water pooling and trip hazards. Use a spirit level to check the evenness of the surface frequently.
4. Using the Wrong Materials
Choosing suitable materials is essential for a successful paver installation. Using the wrong materials can lead to poor performance, frequent repairs, and a shorter lifespan for your project.
Selecting inappropriate pavers is a common mistake. Ensure that the pavers you choose are suitable for the intended use. For example, lightweight pavers may not withstand the weight of vehicles, making them unsuitable for driveways. Always opt for high-quality, durable pavers designed for your specific application.
The base material is equally crucial. Avoid using dirt or loose soil as a base, as these materials do not provide stability and drainage. Instead, use crushed stone or gravel to create a solid, well-draining foundation.
Joint sand is another critical component. Polymeric sand is recommended for its binding properties, which help lock the pavers in place and prevent weed growth. Using regular sand can result in shifting pavers and unwanted vegetation.
Edge restraints are often overlooked but are vital for maintaining the structure of your paver installation. Use sturdy materials such as metal or heavy-duty plastic to keep the pavers from spreading and shifting over time.
5. Insufficient Compaction
Insufficient compaction is a critical error that can compromise the entire paver installation. Proper compaction ensures a stable surface, preventing pavers from shifting, settling, and creating uneven surfaces.
Compaction begins with the base. After excavation, the base material, typically crushed stone or gravel, should be laid in layers no thicker than 2 to 3 inches. Each layer must be thoroughly compacted using a plate compactor to eliminate air gaps and ensure maximum stability.
Neglecting to compact the sub-base can lead to future issues. Without a solid foundation, the pavers can shift and settle unevenly over time, causing trip hazards and drainage problems. The sub-base should be compacted until it is firm and does not shift underfoot.
The compaction of the pavers themselves is also crucial. After placing the pavers, run a plate compactor over the surface to bed them into the sand layer and achieve a level finish. This step helps lock the pavers in place and prevents future movement.
Repeat compaction after joint sand application. Spread polymeric sand over the pavers and compact again to ensure the sand fills the joints, adding further stability to the installation.
6. Poor Edge Restraint Installation
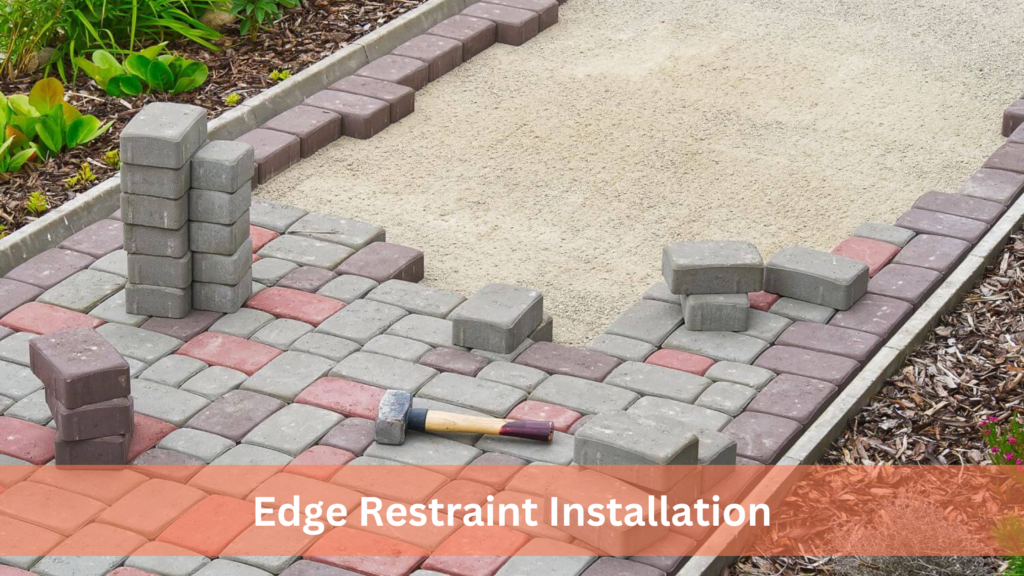
Poor edge restraint installation is a common mistake that can lead to significant problems in your paver project. Edge restraints are crucial for maintaining your paver installation’s structural integrity and aesthetic.
Edge restraints prevent pavers from shifting. Pavers can move over time without proper restraints due to traffic, weather conditions, and natural settling. This can result in gaps, uneven surfaces, and a compromised installation.
Choosing the right materials for edge restraints is essential. Metal and heavy-duty plastic are durable options that provide the necessary support. Avoid flimsy materials like wood, which can deteriorate and fail over time.
Proper installation techniques are key. The edge restraints should be installed flush against the pavers and secured with regular spikes driven into the ground. Spikes should be placed every 12 to 18 inches to ensure the restraints remain firmly in place.
Backfilling and compacting around the edge restraints adds extra stability. This step helps lock the restraints and prevents them from moving or shifting.
7. Incorrect Sand Bedding
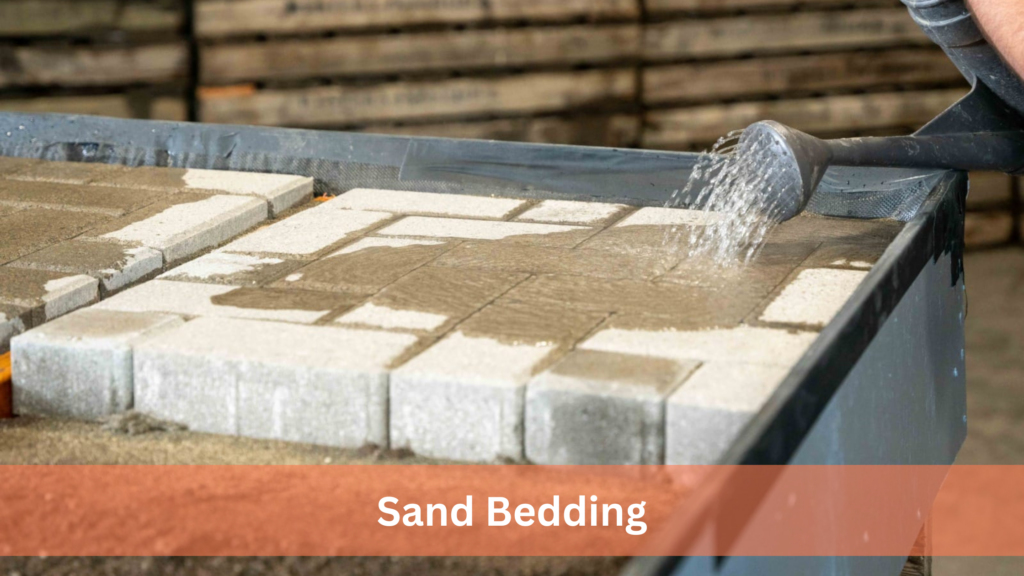
Incorrect sand bedding is a common mistake that can undermine the stability and appearance of your paver installation. Proper sand bedding provides a smooth, even surface for the pavers and ensures they remain level over time.
Choosing the right type of sand is essential. Concrete sand is recommended for its coarse texture, providing better interlocking and stability than fine sand. Avoid using play sand, as it lacks the necessary structure.
The thickness of the sand layer is also critical. The sand bedding should be approximately 1 inch thick. A too-thick or too-thin layer can cause pavers to shift and settle unevenly.
Proper sand levelling is crucial. Use screed boards to spread and level the sand uniformly. This ensures a consistent surface for the pavers and prevents low spots that can lead to water pooling and uneven settling.
Avoid compacting the sand bedding before laying the pavers. Compacted sand can lose its ability to provide a flexible base, leading to instability. Instead, let the pavers naturally compact the sand as they are laid and during the final compaction step.
8. Improper Paver Laying Techniques

Improper paver laying techniques can significantly affect the durability and appearance of your installation. Ensuring the correct methods are used is essential for a professional and lasting result.
Starting with a straight reference line is crucial. Use a string line or a straight edge to maintain straight and even rows. This helps prevent the pavers from drifting off course and ensures a uniform layout.
Laying pavers too tightly or too loosely can cause problems. Pavers need consistent joint spacing, typically 2-3mm, to allow sand to fill the gaps and provide stability. Too tight, they can crack or chip; too loose, and they may shift or settle unevenly.
Avoid dragging pavers across the sand. This can disturb the level of the bedding layer and cause uneven surfaces. Instead, carefully place each paver down without sliding it.
It is also essential to maintain a consistent pattern. Follow the chosen design pattern meticulously to ensure a cohesive appearance. Misaligned pavers can disrupt the visual flow and weaken the structure.
Check the level of each paver as you go. Use a spirit level to ensure each paver is level with its neighbours, adjusting as necessary to maintain a smooth surface.
9. Skipping Joint Sanding
Skipping joint sanding is a common yet significant mistake that can compromise the stability and longevity of your paver installation. Joint sanding is crucial in locking the pavers in place and preventing movement.
Polymeric sand is typically used for joint sanding. This unique sand contains additives that bind together when moistened, creating a firm and stable joint. Without this step, the pavers can shift, leading to uneven surfaces and potential tripping hazards.
It is essential to fill the joints thoroughly. After laying the pavers, spread the polymeric sand over the surface and sweep it into the joints using a broom. Ensure all gaps are filled to maximise the installation’s stability.
Compact the sand into the joints. Use a plate compactor to help the sand settle deeply and fill any voids. This step helps ensure the sand is evenly distributed and firmly in place.
The final step is moistening the sand. Lightly mist the surface with water to activate the binding agents in the polymeric sand. Be careful not to overwater, which can wash away the sand and reduce its effectiveness.
10. Neglecting Proper Drainage
Neglecting proper drainage is a critical mistake that can lead to severe issues in your paver installation. Adequate drainage is essential to prevent water accumulation, which can damage the pavers and the underlying base.
Poor drainage can cause water to pool on the surface, leading to paver displacement, erosion of the base material, and potential structural failure. Over time, this can result in uneven surfaces and increased maintenance costs.
Plan for adequate drainage during the design phase. Ensure that the paver surface slopes away from buildings and other structures. A 1-2% slope is generally recommended to facilitate water runoff.
Installing drainage systems can significantly enhance water management. French drains, perforated pipes, and catch basins are practical solutions to direct water away from the paver area. These systems help maintain the integrity of the installation by preventing water from undermining the base.
Regular maintenance is also essential. Keep the drainage systems clear of debris to ensure they function correctly. Check for any signs of water pooling and address them promptly to avoid long-term damage.
Conclusion
Avoiding these common paver installation mistakes—poor planning, ignoring soil conditions, inadequate base preparation, using the wrong materials, and more—ensures a durable and attractive surface.
Pay attention to detail, use the right materials, and follow best practices for a flawless paver installation. Contact us for expert advice and professional installation services.

Hamptons-Style Homes and the Right Stone to Match
Hamptons-style homes are synonymous with timeless elegance, offering a perfect blend of coastal charm and sophisticated design. With their light, airy feel and use of
Luxury Looks: Styling Stone in Contemporary Homes
Stone has long been associated with luxury, and in contemporary homes, it brings sophistication and timeless charm. From sleek marble countertops to the warmth of
