
A broken paving stone on your driveway can be both unsightly and unsafe. if left unrepaired, it can lead to further damage, increased repair costs, and even potential accidents.
Learn how to fix a broken driveway paving stone in three simple steps. Our straightforward guide will help you assess the damage, remove the broken stone, and install a new one, restoring your driveway’s appearance and safety efficiently.
Tools and Materials Needed
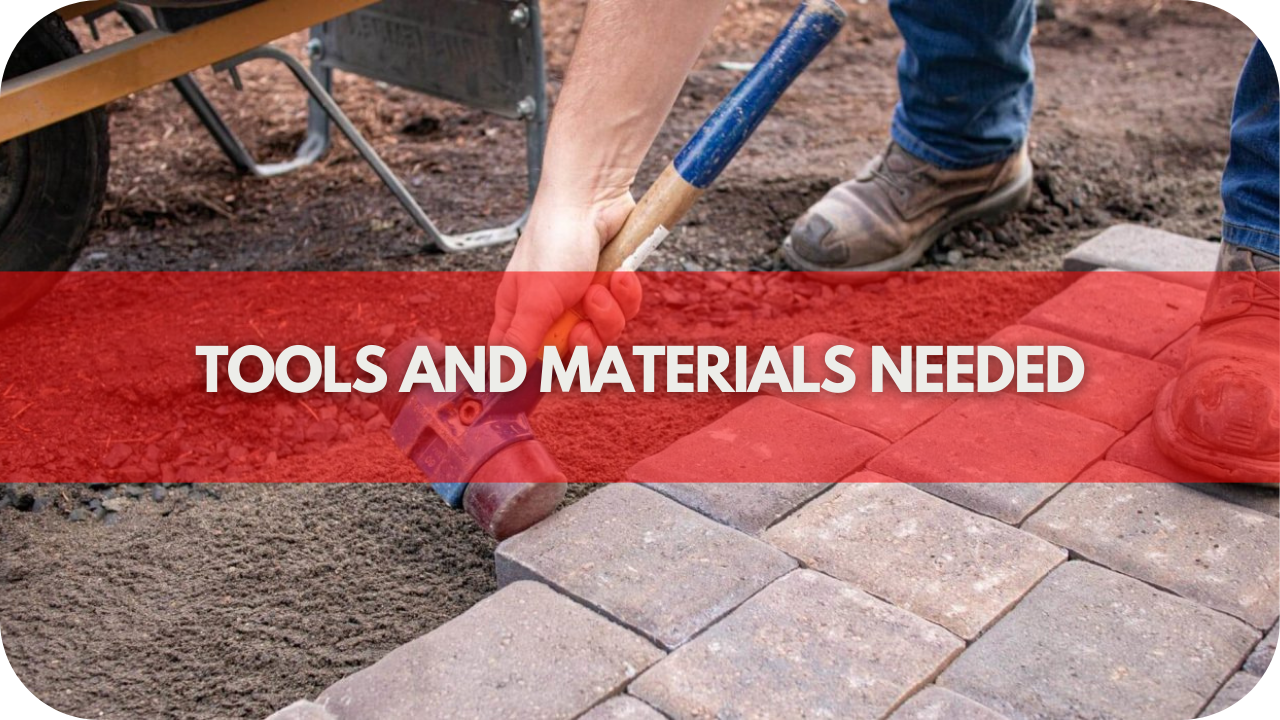
Before you begin the process of repairing your broken driveway paving stone it’s crucial to gather all the necessary tools and materials. Having everything prepared will ensure a smooth and efficient repair process. Here’s what you’ll need:
Tools:
- Hammer: Essential for breaking up the damaged paving stone.
- Chisel: Useful for chiselling out broken pieces.
- Pry Bar or Crowbar: Helps lift out the broken pieces of the paving stone.
- Safety Gloves: Protect your hands from sharp edges and debris.
- Safety Goggles: Shield your eyes from dust and small particles during the removal process.
- Broom: Necessary for cleaning the area around the damaged stone.
- Level: Ensures the base is flat and the new stone is aligned correctly.
- Rubber Mallet: Used to gently tap the new paving stone into place without causing damage.
Materials:
- Replacement Paving Stone: Ensure it matches the size, shape, and material of the existing stones.
- Mortar or Adhesive: Used to secure the new stone in place. Choose a product suitable for the type of paver and the conditions.
- Sand: For creating a stable and level base layer.
- Bedding Sand or Gravel (if needed): Used for additional base material if the underlying gravel is damaged or needs replenishing.
- Jointing Compound or Polymeric Sand: Used to fill the joints between the paving stones and secure them in place.
Step 1: Removing the Broken Paving Stone
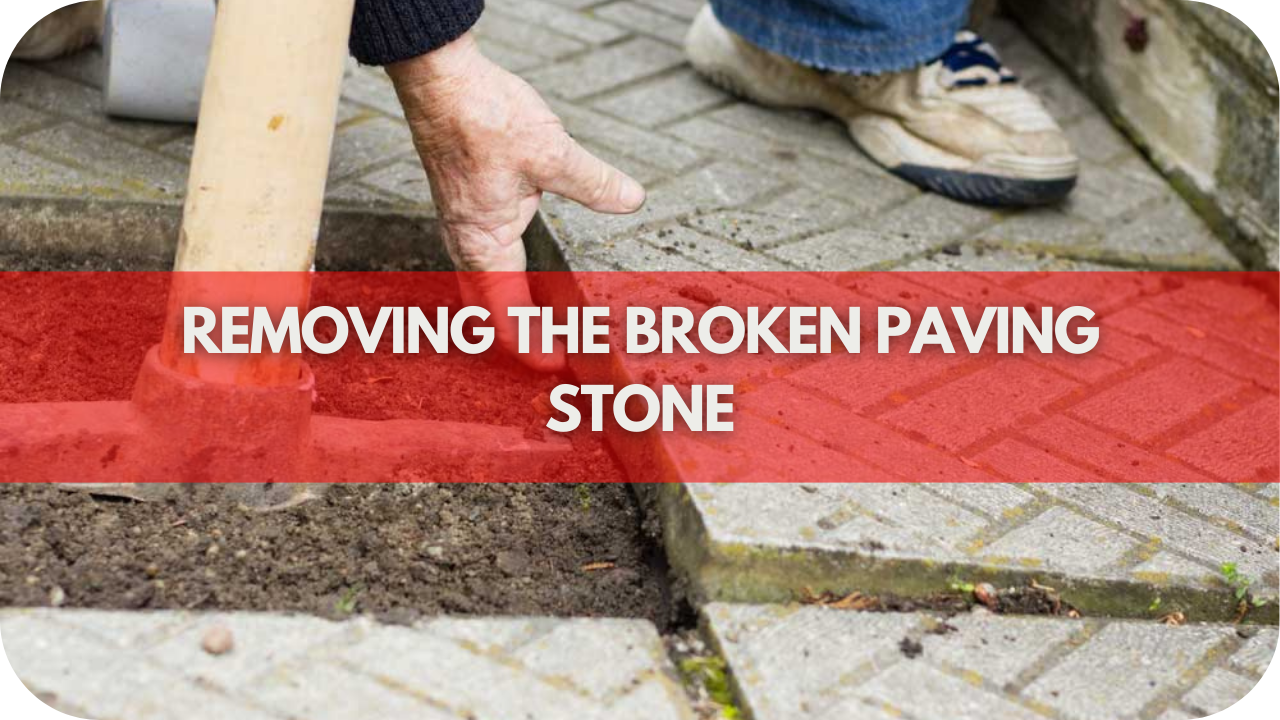
The first step in repairing a broken driveway paving stone is to carefully remove the damaged stone without disturbing the surrounding area. This process requires precision and patience to ensure that the adjacent stones and base layers remain intact.
1. Assessing the Damage
Before beginning the repair, thoroughly assess the damage to the paving stone. Check if the stone is cracked, chipped, or shattered, and decide if it can be repaired or needs replacement.
Inspect the surrounding area for additional damage and signs of settling or shifting in adjacent pavers, which could indicate underlying issues. Evaluate the stability and cleanliness of the base; any instability must be addressed before installing a new stone.
Based on your assessment, gather the necessary tools and materials to ensure a smooth and efficient repair process. Proper preparation is crucial for achieving a successful and lasting repair.
2. Preparing the Area
Clear the Area; remove any debris, dirt, or loose materials around the damaged stone. This will provide a clean workspace and prevent any foreign objects from interfering with the repair.
Secure Surrounding Stones; ensure the stones adjacent to the broken ones are secure. You can use small pieces of wood or wedges to hold them in place during the repair.
3. Removing the Stone
Break the damaged stone using a hammer and chisel, and start breaking the damaged stone into smaller, more manageable pieces. Begin at the edges and work your way towards the centre. Be cautious and controlled to avoid damaging nearby stones.
Lift out the pieces; once the stone is broken into smaller pieces, use a pry bar to lift them out. Insert the pry bar into the gaps created by the chisel and gently lever the pieces out of the ground. Continue this process until all fragments of the broken stone are removed.
After removing the stone, use a broom to sweep away any remaining debris, sand, or small fragments from the base. This step is crucial to ensure a clean and level surface for the new paving stone.
Step 2: Preparing the Base for the New Paving Stone
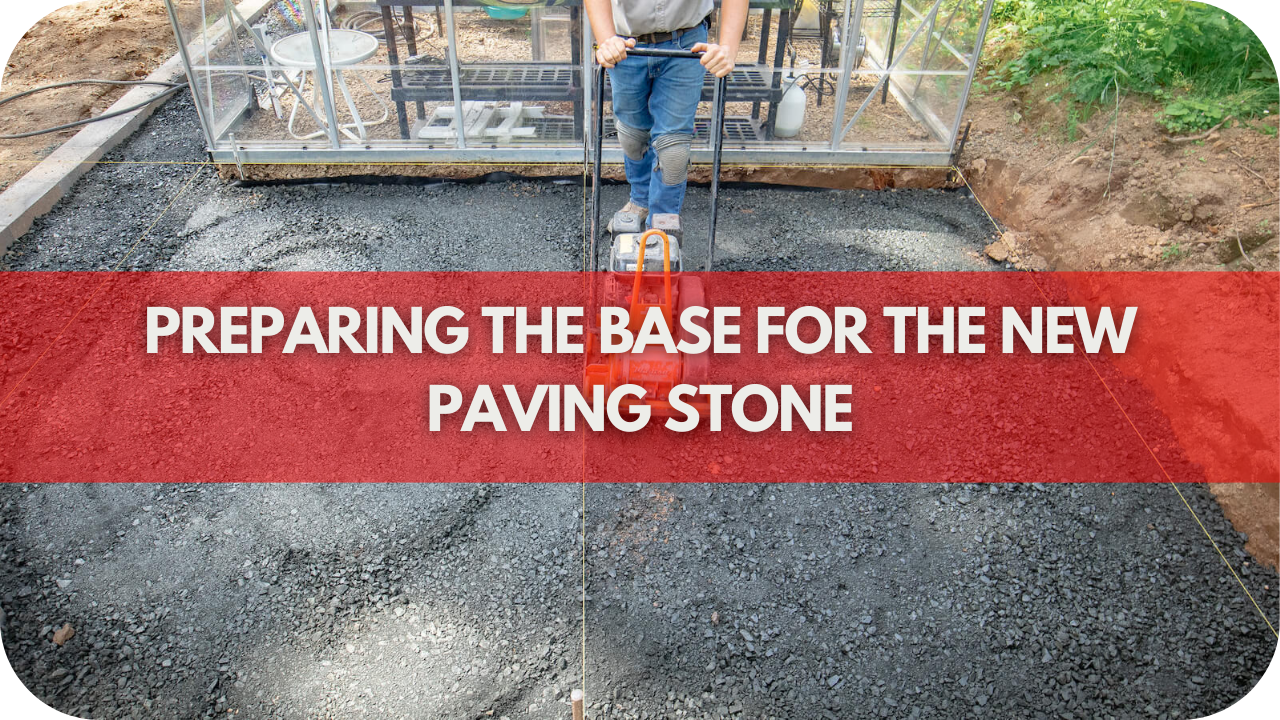
Preparing the base is a crucial step to ensure the new paving stone sits correctly and remains stable over time. A well-prepared base will prevent future issues and provide a solid foundation for the replacement stone.
1. Checking the Base
After removing the broken stone, inspect the exposed base layer. Look for any signs of damage, such as erosion, unevenness, or insufficient depth. A damaged base can compromise the stability of the new stone. Assess the need for additional material; determine if you need to add more base material, such as gravel or sand, to achieve the necessary depth and stability.
2. Levelling the Base
If the base layer is too shallow or damaged, add a layer of gravel. Spread it evenly and use a compactor to compress it, ensuring a solid foundation that also aids with drainage. Once the gravel is properly laid, add a layer of sand on top.
Use a straightedge or a piece of wood to spread the sand evenly across the bas; making sure the sand layer is level and about 1-2 inches thick.
Next, compact the sand layer using a hand tamper or a mechanical compactor. This process ensures the sand is firm and level, providing a stable base for the new paving stone.
Finally, place a level across the sand layer to check for evenness. Adjust as necessary by adding or removing sand until you achieve a perfectly level surface.
3. Ensuring Proper Base Preparation
Ensure the entire base area is uniformly compacted and level. Any unevenness can cause the new stone to settle unevenly, leading to instability and potential future damage.
The depth of the base layer should match the thickness of the paving stones used in your driveway. This ensures a flush and seamless fit with the surrounding stones.
Step 3: Installing the New Paving Stone
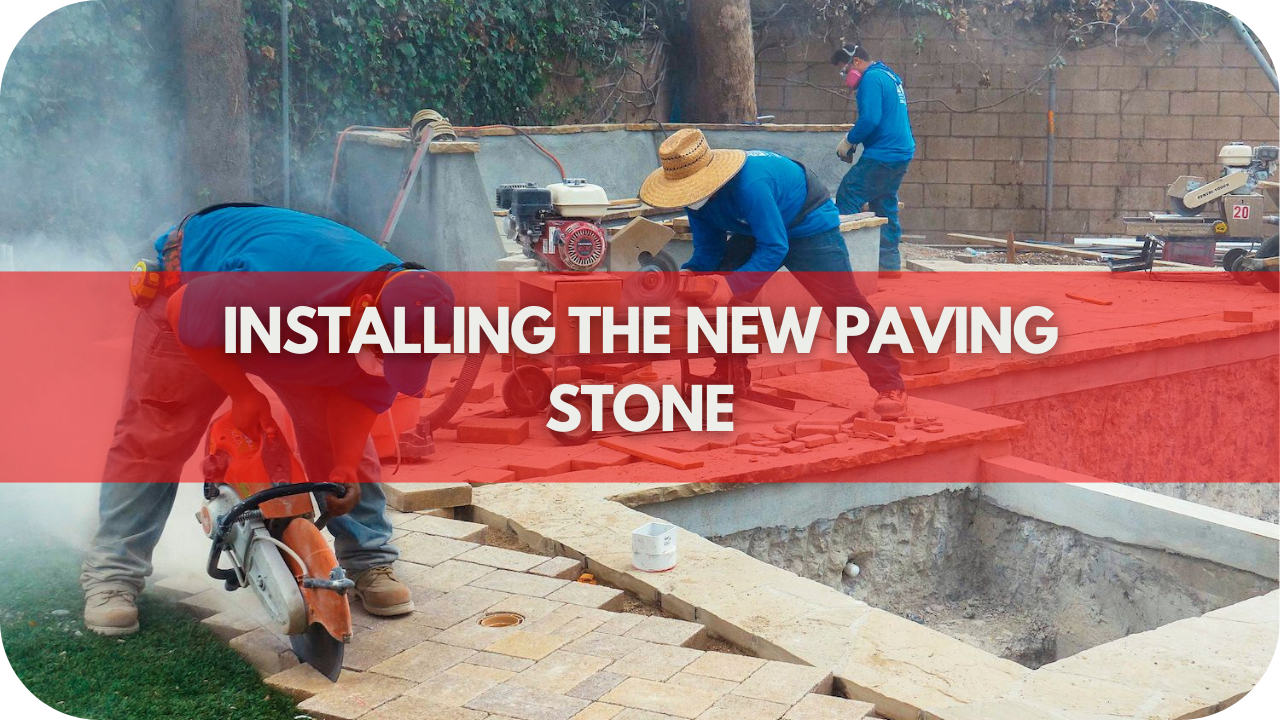
With the base properly prepared, the next step is to install the new paving stone. This process involves careful placement and alignment to ensure a seamless and durable repair.
1. Placing the Replacement Stone
Choose a paving stone that matches the size, shape, and material of the existing stones in your driveway. This will ensure a consistent appearance and fit.
Carefully place the new paving stone into the prepared base. Ensure that it is oriented correctly to match the pattern of the surrounding stones.
Gently lower the stone into the sand base, making sure it sits evenly. Avoid dropping it forcefully, as this can disturb the base layer.
2. Ensuring Proper Alignment
Check the alignment; use a level to ensure the new paving stone is perfectly aligned with the surrounding stones. The top surface of the new stone should be flush with the adjacent stones, creating a smooth and even surface.
Adjust as necessary; if the stone is not level lift it out and adjust the sand base by adding or removing sand as needed. Reposition the stone and check the alignment again.
Once the stone is correctly positioned and aligned, use a rubber mallet to tap it gently into place. This helps to secure the stone and ensure it sits firmly in the base.
3. Filling the Joints
Apply jointing compound or polymeric sand over the entire area, making sure it fills the gaps between the paving stones. These materials help lock the stones in place and prevent movement.
Once applied, use a broom to sweep the compound into the joints, ensuring that they are filled. Check to make sure there are no gaps or voids.
After sweeping the compound, use a compactor or a rubber mallet to compact the sand further. This step stabilises the stones and prevents the jointing material from washing out.
Finally, perform a final sweep to remove any excess jointing compound from the surface of the stones, leaving the area clean and neat.
4. Ensuring a Secure Installation
When tapping the stone into place, apply consistent pressure to avoid tilting or uneven settling. This ensures that the stone is positioned correctly and remains stable.
It’s also crucial to ensure that the joints are thoroughly filled and compacted. Proper joint filling is essential for the stability and longevity of the paving stone, as it helps to prevent movement and maintain the integrity of the installation.
5. Cleaning the Area
After filling the joints, begin by cleaning the area. Use a broom to sweep away any excess sand or jointing compound from the surface of the paving stones to prevent the material from hardening on the stone.
Next, lightly rinse the repaired area with water to help settle the jointing material and remove any remaining dust or debris. Be cautious not to use too much water, as it can wash out the jointing compound before it sets.
Once the cleaning is complete, inspect the repair. Gently walk over the newly installed stone to ensure it is stable and does not wobble, verifying that it feels secure and is level with the surrounding stones. Check the alignment of the new stone with the adjacent ones, using a level to confirm that the surface is even and flush.
To maintain the integrity of your driveway, consider preventive measures. Avoid parking heavy vehicles or machinery on the driveway, as excessive weight can cause cracking or damage to the paving stones.
Ensure proper drainage to prevent water pooling; which can weaken the base and lead to stone movement or damage. In colder climates use de-icing products that are safe for paving stones to prevent ice build-up without causing damage.
Conclusion
Repairing a broken driveway paving stone in three simple steps restores your driveway’s beauty and functionality. Ensure a seamless repair with our detailed guide. Need professional help? Contact Splendour In Stone Melbourne for expert advice and quality services. Schedule a consultation today to keep your driveway in top condition.
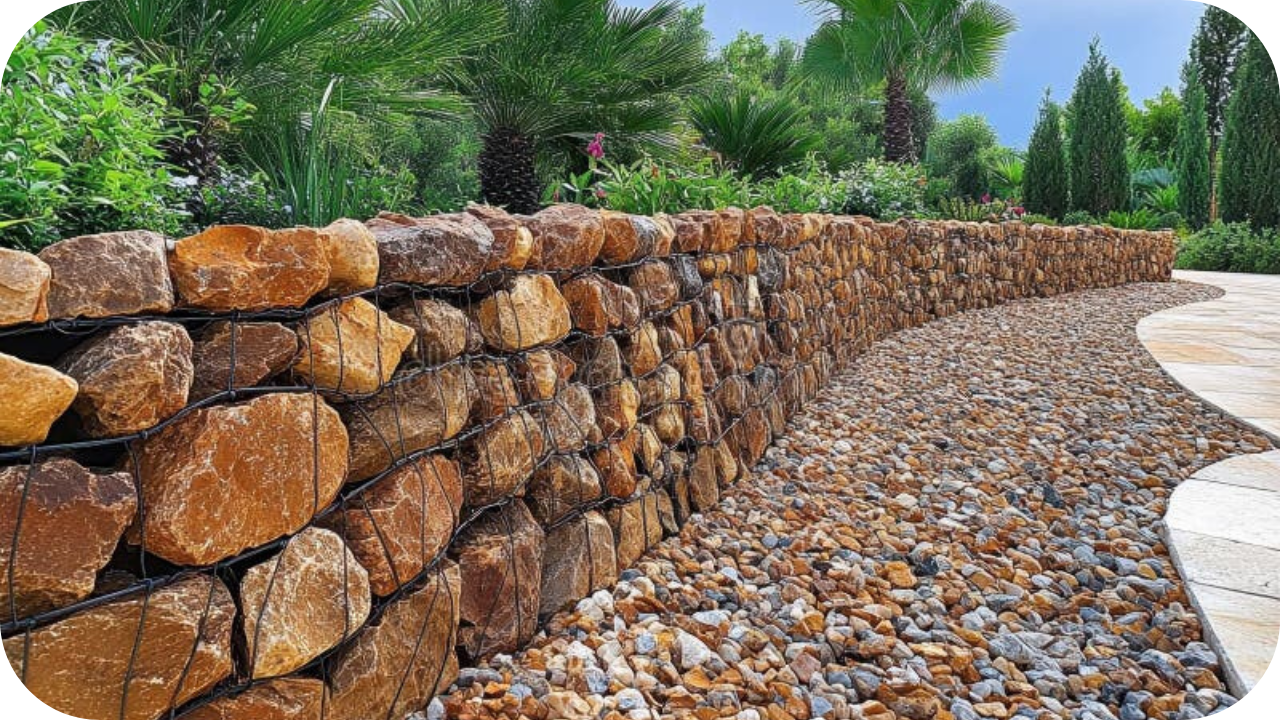
8 Advantages of Using Stone Grid Gabions in Your Landscape
Are you seeking a durable, cost-effective solution to elevate your landscape? Stone grid gabions might be the perfect choice! These versatile, eco-friendly structures offer a

10 Stunning Feature Wall Ideas Using Natural Stone
Looking to elevate your home with a stunning feature wall? Natural stone offers a timeless, elegant touch that can transform any room. From sleek marble
