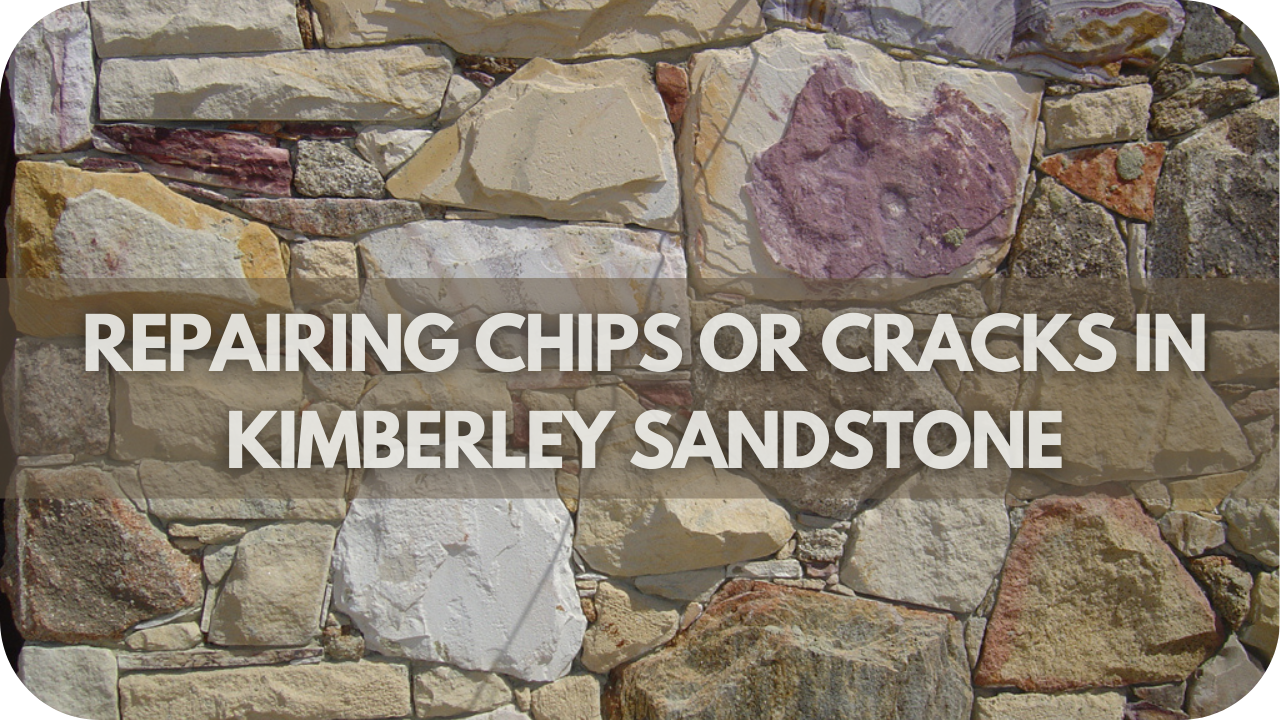
Staring at a chip or crack in your beautiful Kimberley sandstone can feel like finding a scratch on a new car—painful, right? But don’t worry, you don’t need to be a stonemason to tackle this!
With tools, suitable materials, and a little patience, you can restore your sandstone to its former glory. In this guide, I’ll walk you through the steps, share some insider tips, and even point out common pitfalls to avoid.
Let’s turn that chipped surface into a seamless finish!
Assessing the Extent of Damage
Before making repairs, assessing the severity of chips or cracks in your Kimberley sandstone is crucial.
Start by examining the size and depth of the damage. Minor chips or surface-level cracks are often cosmetic and can be repaired with filler or epoxy. However, deeper cracks may indicate underlying structural issues, requiring more robust solutions.
Use a flashlight to inspect the crack closely—if it extends through the stone or affects multiple areas, a professional assessment may be necessary. Also, check for signs of moisture infiltration around the damage, as this could worsen the problem over time.
Understanding the extent of damage helps you choose the suitable repair method, ensuring a lasting fix and preventing future issues.
Materials and Tools Needed for Repairs
Having suitable materials and tools is non-negotiable when repairing chips or cracks in sandstone walls. Without them, even a simple fix can become a time-consuming task. Here’s what you need to ensure your repair is durable, seamless, and matches the surrounding stone:
- Epoxy or Acrylic-Based Filler: A high-quality filler is the backbone of any repair. These materials are designed to bond with sandstone, providing a strong, durable solution for both small chips and deeper cracks. Look for fillers that match your stone’s colour for a more natural finish.
- Putty Knife or Trowel: These are indispensable for applying filler or mortar. A putty knife is ideal for precision work on small chips, while a trowel is better for filling wider cracks. They help you spread the material evenly and press it firmly into the damaged areas.
- Sandpaper: Once the repair material is fully cured, fine-grit sandpaper smooths out any uneven edges, blending the repaired area seamlessly with the rest of the sandstone.
- Cleaning Brush and Mild Detergent: Thoroughly clean the area before starting any repair. Dirt or loose particles can prevent the filler from adhering properly. A gentle detergent and soft brush can remove contaminants without damaging the stone.
- Sealant: Applying a high-quality sealant after the repair ensures long-term protection against moisture and weathering, preserving the integrity and appearance of your sandstone. Opt for a sealant that complements the natural look of your stone.
Step-by-Step Guide to Repairing Chips in Kimberley Sandstone
Repairing chips in Kimberley sandstone requires careful attention to detail to ensure a seamless, durable fix. Here’s a detailed breakdown of each step to help you achieve professional results:
Step 1: Clean the Area
Begin by thoroughly cleaning the chipped area to ensure proper filler adhesion. Use a soft brush or a non-abrasive cloth to remove loose particles, dirt, or debris around the chip.
Next, mix a mild detergent with water and gently scrub the area, removing any remaining dirt or contaminants. Rinse thoroughly with clean water to remove soap residue, as leftover detergent can interfere with the filler’s bonding.
Allow the sandstone to dry completely before proceeding—this is essential because moisture trapped in the stone can weaken the bond of the repair material.
Step 2: Apply the Filler
Select a high-quality epoxy or acrylic-based filler designed for sandstone repairs. Ideally, the filler should match the natural colour of the Kimberley sandstone to maintain a uniform look.
Mix the filler according to the manufacturer’s instructions, ensuring it is lumps-free. Using a putty knife, apply the filler directly into the chipped area, starting from the deepest point and gradually working outward. Press the filler firmly into the chip to fill all voids and prevent the formation of air bubbles.
Step 3: Smooth the Surface
Use a damp cloth or your finger to smooth out the surface with the pliable filler. Focus on blending the edges of the filler into the surrounding sandstone, maintaining an even transition between the repaired area and the rest of the stone.
If the sandstone’s surface texture is rough, gently mimic this pattern while smoothing to ensure the repair blends seamlessly. Keep a small bowl of water handy to keep your finger or tool moist during this process, which helps prevent sticking and allows for smoother application.
Step 4: Allow to Cure
Curing is a critical part of the repair process. Follow the curing time specified by the filler manufacturer, which is typically 24 to 48 hours, depending on the product.
Curing allows the filler to harden entirely and bond securely with the sandstone, making the repair more durable. During this period, avoid touching or applying any pressure to the
Step 5: Sand and Finish
Once the filler has fully cured, use fine-grit sandpaper (around 220 to 320 grit) to smooth the repaired area.
Sand in gentle, circular motions, blending the filler’s edges with the sandstone’s natural surface. This step helps to eliminate any visible ridges or bumps, creating a uniform texture across the repaired area. If the surrounding sandstone has a polished or honed finish, continue sanding until you match the existing sheen.
After sanding, wipe the area with a clean, damp cloth to remove dust. To complete the process, apply a sandstone sealant to the repaired area, which protects it from moisture, weathering, and future damage.
Choose a breathable sealant designed for natural stone. This will maintain the stone’s ability to release trapped moisture while protecting the surface.
Step-by-Step Guide to Repairing Cracks in Kimberley Sandstone
Cracks in Kimberley sandstone can worsen over time, but with the right approach, you can restore the stone’s appearance and integrity. Follow these detailed steps for a professional-grade repair:
Step 1: Clean and Prepare the Crack
Start by cleaning the crack thoroughly to ensure a solid base for the repair. Use a stiff-bristled brush to remove loose particles, dust, and debris inside the crack. For more minor or narrow cracks, compressed air can effectively blow out hidden dust and fine particles.
Cleaning ensures that the repair compound bonds properly with the sandstone surface. If moisture is present, let the area dry completely before proceeding, as water can weaken the bond between the sandstone and the repair material.
Step 2: Fill the Crack
Once the area is clean and dry, select a high-quality repair compound or mortar compatible with sandstone. Press the compound firmly into the crack using a trowel, ensuring it reaches all depths and corners of the gap. It’s best to apply the compound in multiple layers for deep cracks, allowing each to settle for a few minutes before adding the next.
This approach helps to prevent air bubbles from forming, which could compromise the repair’s strength. Ensure the compound slightly overfills the crack to allow for more effortless blending during the next step.
Step 3: Smooth and Blend
While the compound is still workable, use a damp finger, sponge, or a small tool to smooth the surface of the repair. Aim to blend the newly filled area with the surrounding sandstone, mirroring the natural texture of the stone. This step is critical for achieving a uniform appearance, especially for cracks in visible places.
Keep a small bowl of water nearby to keep your finger or tool wet, which helps prevent sticking and allows for a smoother finish. Take time to ensure the repair is level with the rest of the stone for a seamless look.
Step 4: Curing Process
Allow the repair compound to cure fully, following the manufacturer’s instructions—typically, this process takes 24 to 48 hours. Curing allows the compound to harden and bond with the sandstone, providing a durable finish.
During this time, avoid touching or applying any pressure to the repaired area, as this can disrupt the bonding process and result in a weaker repair.
If the sandstone is outdoors, consider covering it with a protective cloth or tarp to shield it from rain or direct sunlight. Sudden temperature changes can affect the curing process.
Step 5: Sanding and Sealing
Once the repair compound is wholly cured, lightly sand the surface with fine-grit sandpaper (220 to 320 grit). Focus on smoothing rough edges or uneven spots, ensuring the repaired area blends seamlessly with the surrounding stone.
After sanding, use a clean, damp cloth to remove any dust left behind. Finish by applying a high-quality sandstone sealant to the repaired area. A sealant will protect the sandstone from moisture, temperature changes, and UV exposure, helping to prevent future damage and extend the life of your repair.
Choose a breathable sealant to allow the natural stone to release trapped moisture, avoiding further cracking or damage.
Common Mistakes to Avoid
When repairing chips or cracks in Kimberley sandstone, certain mistakes can undermine your efforts:
- Using Incorrect Repair Materials: Avoid cement or non-specialized fillers that may fail to bond appropriately with sandstone.
- Skipping the Cleaning Step: Debris or dust can prevent the filler from adhering securely.
- Rushing the Curing Process: Allow ample time for the filler to harden for a durable repair.
- Poor Blending: Ensure the filler blends seamlessly with the surrounding stone to avoid a visible patch.
- Neglecting Sealant Application: Without a sealant, the repaired area remains vulnerable to moisture and weathering.
When to Consult a Professional
While minor chips and surface cracks in Kimberley sandstone can often be repaired at home, it is ideal to hire a professional stonemason.
If you encounter deep cracks that extend through the stone or affect large areas, it’s best to call a specialist. These types of damage may indicate underlying structural issues that could compromise the stone’s stability if not addressed correctly.
Additionally, suppose your sandstone has significant moisture infiltration, such as water seeping through cracks or signs of mould. In that case, a professional can adequately assess and address the root cause to prevent future damage. Complex repair scenarios, like restoring heritage stonework or matching specific textures and colours, also benefit from a skilled hand.
Professionals have the tools and knowledge to blend repairs seamlessly with the surrounding stone, ensuring a durable, aesthetic result. Suppose you’re unsure about the extent of damage or the suitable materials to use.
Conclusion
Fixing chips and cracks in Kimberley sandstone doesn’t have to be daunting. With these practical tips, you can keep your stone pristine without breaking the bank.
Ready to restore your sandstone to its original beauty? Contact us today for a hassle-free consultation and ensure a flawless finish!
More To Explore

8 Advantages of Using Stone Grid Gabions in Your Landscape
Are you seeking a durable, cost-effective solution to elevate your landscape? Stone grid gabions might be the perfect choice! These versatile, eco-friendly structures offer a

10 Stunning Feature Wall Ideas Using Natural Stone
Looking to elevate your home with a stunning feature wall? Natural stone offers a timeless, elegant touch that can transform any room. From sleek marble


