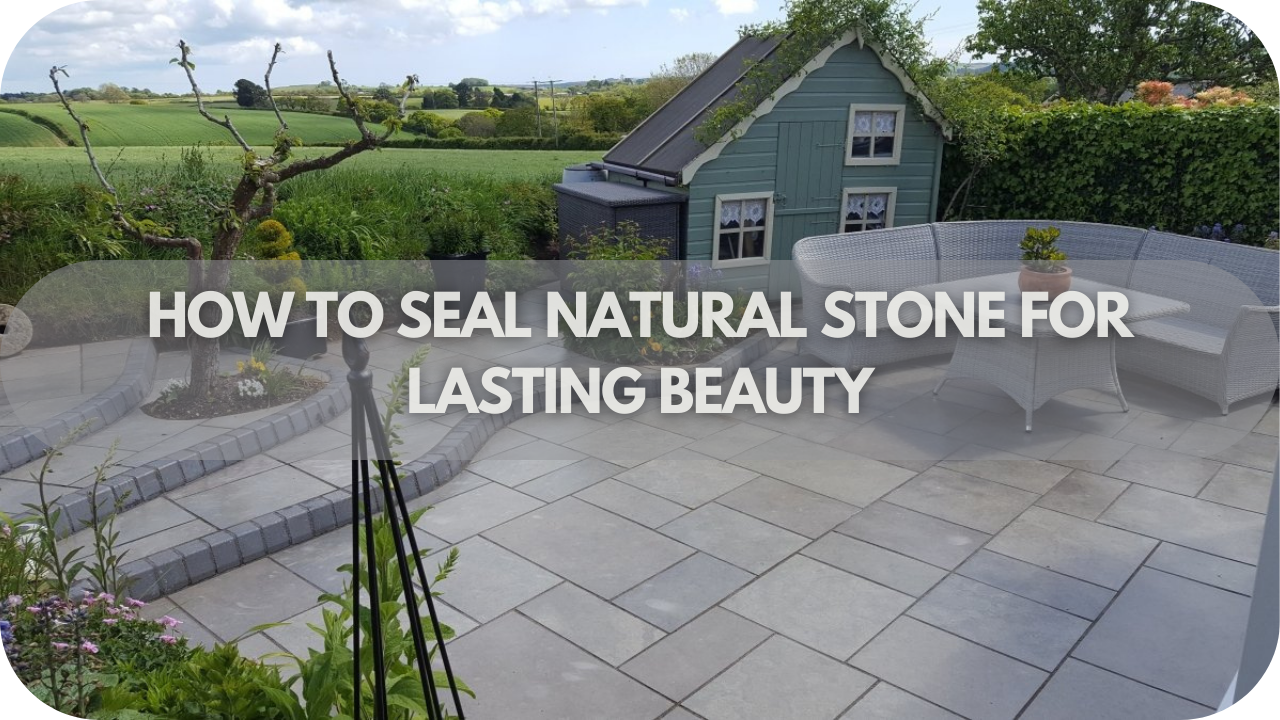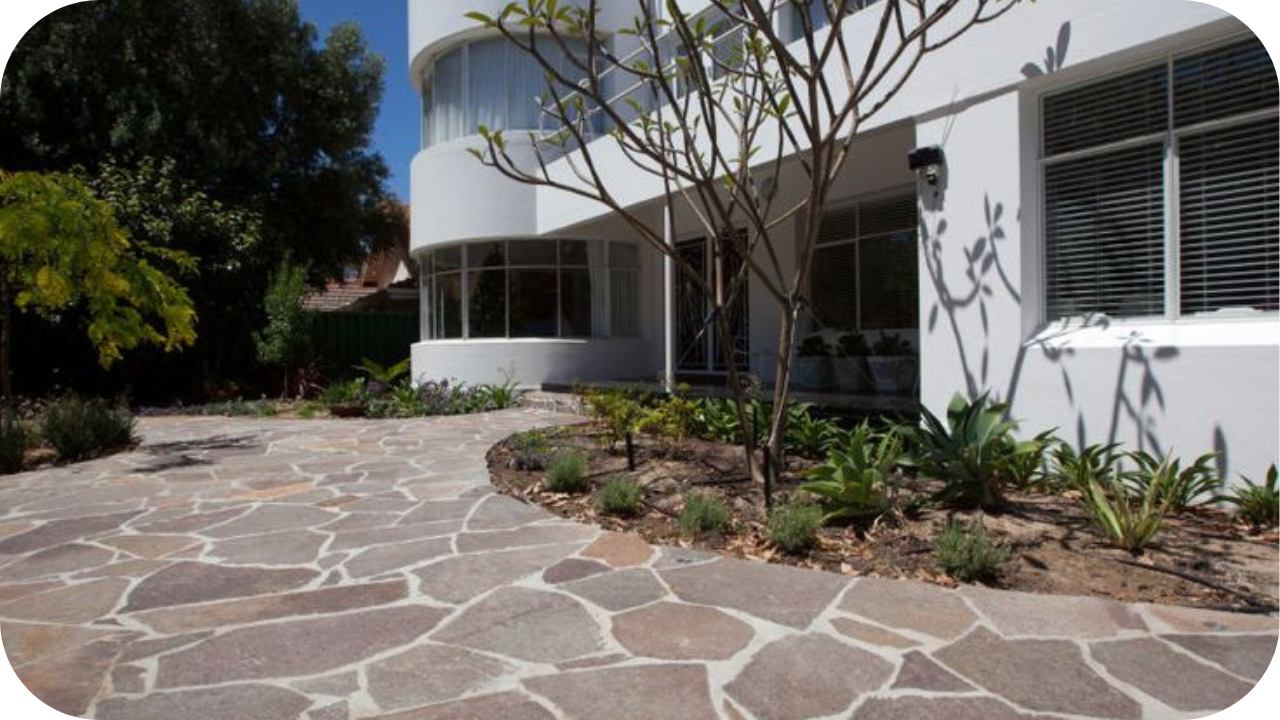
Natural stone surfaces add timeless beauty and sophistication to any home, but without proper care, they can lose their lustre over time. Sealing your natural stone not only preserves its appearance but also ensures its durability for years to come.
In this guide, you’ll learn why sealing is essential, how to choose the right sealer, and the step-by-step process to achieve lasting beauty for your stone surfaces.
Why Sealing Natural Stone is Essential
Natural stone is porous by nature, which means it can absorb liquids, oils, and dirt, potentially leading to stains, scratches, or discolouration. Sealing your stone helps create a protective barrier, preventing these substances from penetrating and causing irreversible damage.
It also enhances the colour, texture, and overall aesthetics of the stone, bringing out its natural beauty. Moreover, sealing increases the longevity of your stone, making it resistant to moisture, mildew, and other environmental factors.
Whether it’s granite countertops, marble floors, or limestone walls, sealing ensures that your stone stays beautiful and functional for years.
Neglecting to seal your natural stone can lead to costly repairs or replacements, making sealing a crucial step in maintaining its value.
Choosing the Right Sealer for Your Stone
Choosing the right sealer for your natural stone is critical for achieving the best results. Not all sealers are created equal, and there are two primary types to consider: penetrating and topical sealers.
Penetrating sealers are absorbed into the stone’s surface, providing deep protection against moisture and stains without altering the stone’s natural appearance.
This type of sealer is ideal for porous stones, such as sandstone, limestone, and some granites, as it helps prevent liquids from seeping into the stone while maintaining its matte or natural finish.
Penetrating sealers are often more durable and long-lasting, as they bond with the stone’s surface at a molecular level.
Topical sealers, on the other hand, form a protective layer on the surface of the stone, providing a glossy finish. These sealers are best suited for stones like granite and marble, which require more surface-level protection to keep stains at bay.
Topical sealers are also excellent for enhancing the shine and colour of stone surfaces, but they can be more prone to wear and may need more frequent reapplication.
When selecting a sealer, it’s important to consider the type of stone you have, as some materials, like marble, may be more sensitive to certain sealers. Choosing the right sealer ensures that you protect the stone without compromising its appearance.
Additionally, it’s crucial to think about the desired sheen—whether you prefer a matte, satin, or high-gloss finish. Water resistance and ease of application are also key factors to consider when choosing the ideal product for your stone.
Tools and Materials You’ll Need
To achieve the best results when sealing natural stone, it’s essential to have the right tools and materials. Here’s a comprehensive list:
- Stone Sealant: Choose between Penetrating Sealers and Topical Sealers. Penetrating sealers for porous stones, providing internal protection, and topical sealers for polished surfaces, enhancing shine and stain resistance with a surface coating.
- pH-Neutral Stone Cleaner: Necessary to thoroughly clean the stone surface before applying the sealer. Avoid acidic or abrasive cleaners, as they can damage the stone.
- Clean Cloths or Sponges: Used for both cleaning and applying the sealant. Ensure they are lint-free to avoid leaving residue on the stone.
- Soft-Bristle Brush: Helps scrub away any stubborn dirt or stains during the cleaning process without scratching the stone surface.
- Rubber Gloves and Safety Goggles: Essential for protecting your hands and eyes from chemicals in the stone sealant.
- Masking Tape: Useful when sealing near walls, skirting boards, or other surfaces to prevent accidental contact with the sealant.
- Measuring Cup (for Dilutable Sealants): Some sealants require mixing or dilution, so a measuring cup helps achieve the correct ratio.
- Spray Bottle (Optional): Can be used for even application of penetrating sealers, especially on large surfaces like floors or walls.
- Spirit Level: Helpful when sealing stones on uneven surfaces to ensure proper alignment and prevent pooling of sealant.
- Soft Towels: Used for buffing the stone surface after sealing to enhance shine and remove any excess sealer.
Step-by-Step Guide to Sealing Natural Stone
Sealing natural stone isn’t as complicated as it may seem, and with the right tools and technique, you can do it yourself. Here’s a simple guide to help you get started:
Step 1: Prepare the Surface
Thoroughly cleaning the stone is the first and most important step. Any dirt, oils, or previous residue must be removed before applying the sealer, as these can interfere with the bonding process.
Use a pH-neutral cleaner, as harsh chemicals can damage the stone or strip away its natural finish. Be sure to avoid abrasive scrubbers that could scratch or damage the surface. After cleaning, allow the stone to dry completely. Moisture left on the surface can prevent the sealer from adhering properly and affect its effectiveness.
Step 2: Apply the Sealer
Once the stone is clean and dry, it’s time to apply the sealer. Use a soft cloth or sponge to apply the sealer in small, manageable sections. Work in a circular motion to ensure that the sealer is evenly distributed across the surface.
Do not over-saturate the stone; instead, apply a thin, even layer to prevent streaking or pooling of excess product. Depending on the type of stone and sealer, you may need to apply one or two coats.
Step 3: Allow to Dry
After applying the sealer, let it sit for 15-20 minutes to allow the stone to absorb the product. Wipe off any excess sealer with a clean cloth to prevent a sticky residue. This step ensures that the surface remains smooth and doesn’t develop a thick, shiny layer that could interfere with the stone’s appearance.
After wiping off the excess, let the stone dry completely before using the surface. For optimal protection, allow the stone to cure for up to 24 hours, depending on the sealer type.
Common Mistakes to Avoid
Sealing natural stone is a straightforward task, but there are a few common mistakes that can affect the outcome. Be mindful of the following:
- Sealing Before the Stone is Clean and Dry: One of the biggest mistakes is applying the sealer before ensuring the surface is completely clean and dry. Any leftover dirt or moisture can prevent the sealer from bonding properly, leaving your stone vulnerable to damage.
- Using the Wrong Sealer: Not all sealers are suitable for every type of stone. For instance, topical sealers may not work well with porous stones like sandstone, while penetrating sealers are ideal for marble and granite. Always check the manufacturer’s recommendations.
- Over- or Under-Applying the Sealer: Applying too much sealer can result in streaks while applying too little may leave areas unprotected. Ensure that you follow the instructions carefully for optimal coverage. A thin, even layer is all you need for most stones.
- Sealing in Poor Weather Conditions: Applying sealer in humid, rainy, or extremely hot weather can affect how well it bonds to the stone. Ensure you seal the stone on a dry, mild day for the best results.
- Not Testing the Sealer First: Skipping the test application on a small, hidden section of the stone can result in unexpected reactions like discolouration or staining. Always test the sealer on a small area to ensure compatibility before applying it to the entire surface.
- Ignoring Manufacturer’s Instructions: Each stone and sealer type may require specific instructions for optimal results. Failing to follow the manufacturer’s guidelines can lead to improper application, poor protection, and a subpar finish. Always read the instructions carefully before proceeding.
Maintaining Sealed Stone for Long-Term Beauty
Proper maintenance is essential to ensure that your sealed stone continues to look its best over time. With the right care, you can preserve the beauty and durability of your stone surfaces for years to come.
One of the simplest yet most effective practices is to use a soft, damp cloth to wipe down your stone regularly. This prevents dirt and grime from accumulating and keeps the surface looking fresh.
However, it’s crucial to avoid harsh abrasives or acidic cleaners, as these can strip away the sealer and damage the stone’s natural surface. Instead, opt for a pH-neutral cleaner that’s gentle yet effective.
Another key aspect of maintaining a sealed stone is resealing it every 1-3 years, depending on the type of stone and the level of use or foot traffic it experiences. Some stones, like granite, may require resealing less frequently, while others, such as marble, might need more frequent attention.
If water no longer beads up on the surface, it’s a clear sign that the sealer is wearing off, and it’s time to reapply to ensure continued protection.
Lastly, keep an eye out for signs of wear on the surface. If the stone begins to appear dull, or if stains start to penetrate, it may be time for a fresh coat of sealer.
Resealing your stone ensures that it remains protected from daily wear and tear and continues to look beautiful for years to come. Regular maintenance will not only extend the life of the sealer but also keep your stone looking as vibrant as the day it was sealed.
Conclusion
Sealing natural stone is crucial for preserving its beauty and durability. By choosing the right sealer and maintaining the surface, you can enjoy your stone for years.
If you haven’t sealed it yet, or it’s time for a reseal, act now to protect your investment. Transform your stone into a lasting masterpiece that enhances your home’s beauty.
More To Explore

5 Reasons to Choose Porphyry Pavers for Your Landscaping Project
Porphyry is a unique natural stone valued for its volcanic origin, dense composition, and rich colour variation. With embedded crystals and earthy tones like grey,

Combining Natural Stone with Wood for a Modern Look
Imagine a living space where the raw, earthy beauty of wood meets the sleek elegance of natural stone. This powerful combination creates a perfect balance


