Stone vs Concrete: What’s Best for Outdoor Entertaining Areas?
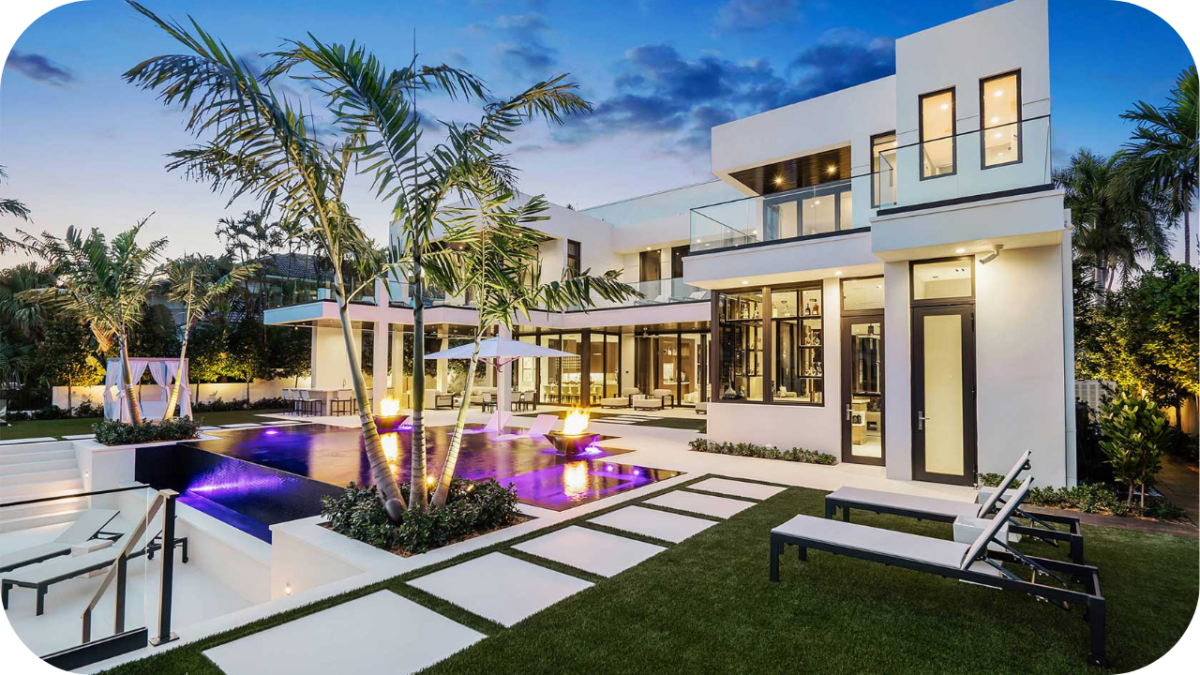
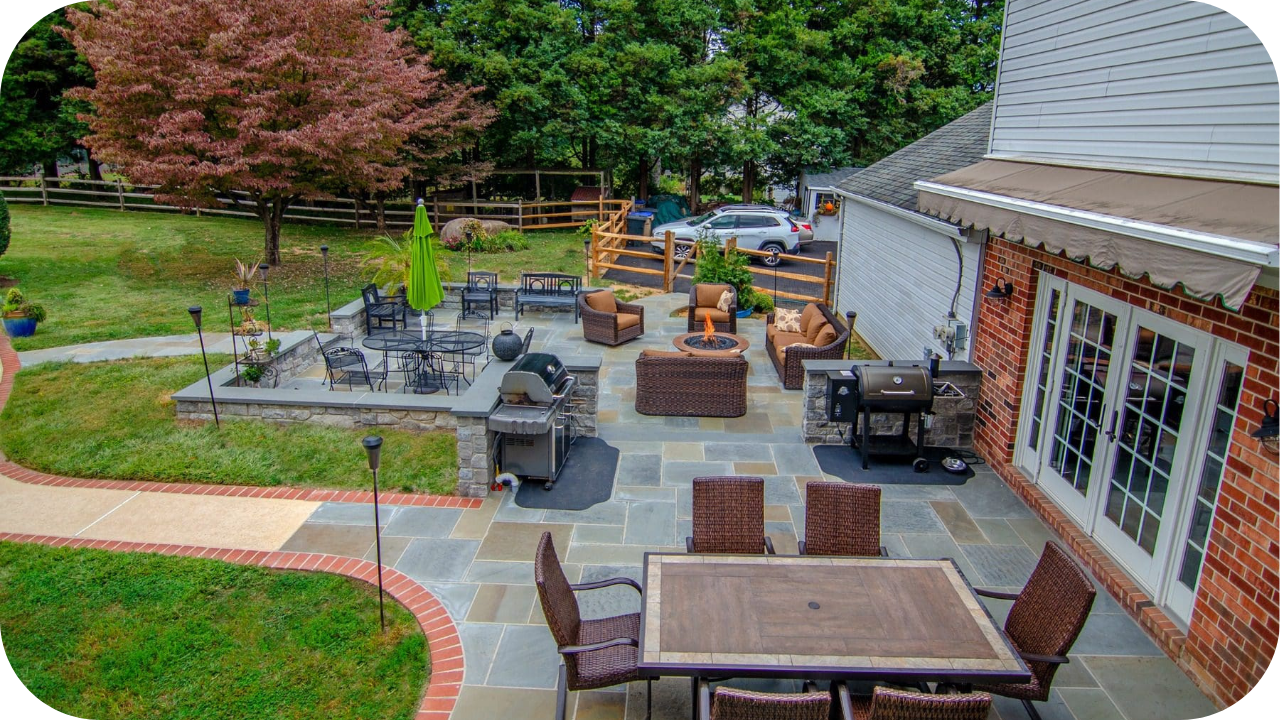
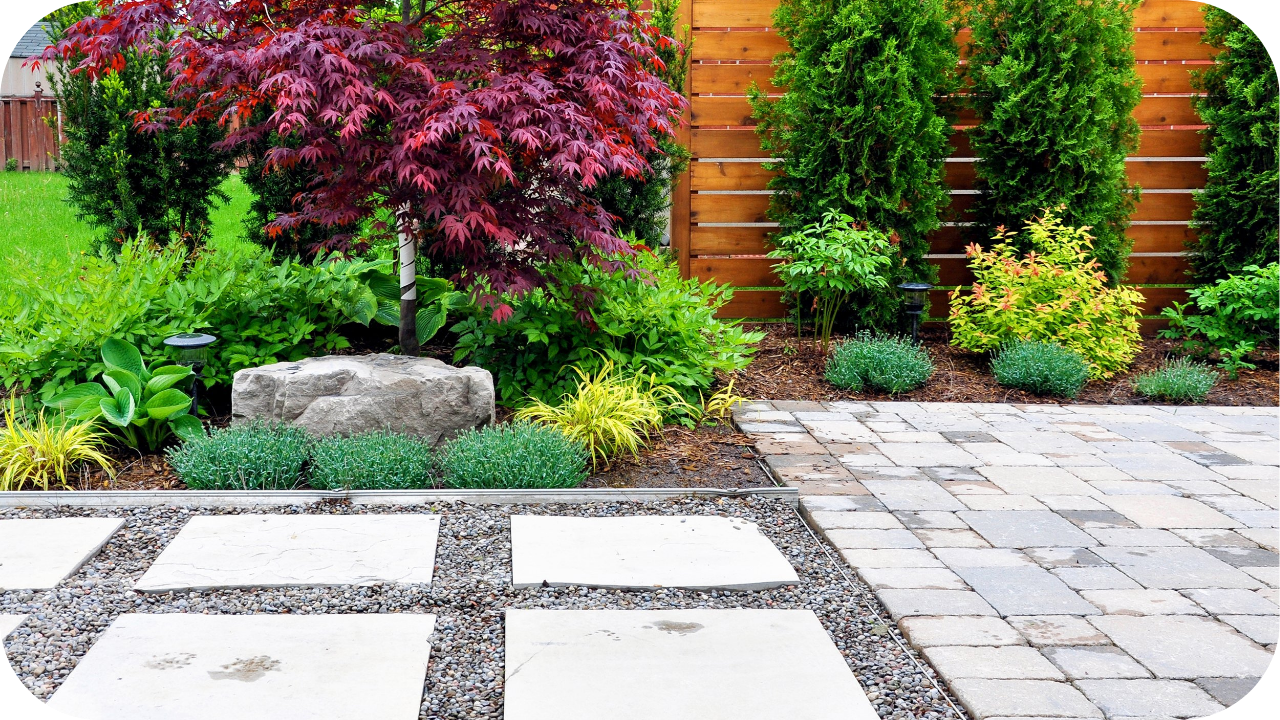
Outdoor entertaining is a way of life in Australia, from summer BBQs to twilight drinks with friends. When designing the perfect alfresco space, the materials underfoot set the tone.
Natural stone and concrete are two of the most popular paving options, but which one truly elevates your outdoor entertaining area? Let’s break it down.
1. Aesthetic Appeal and Style
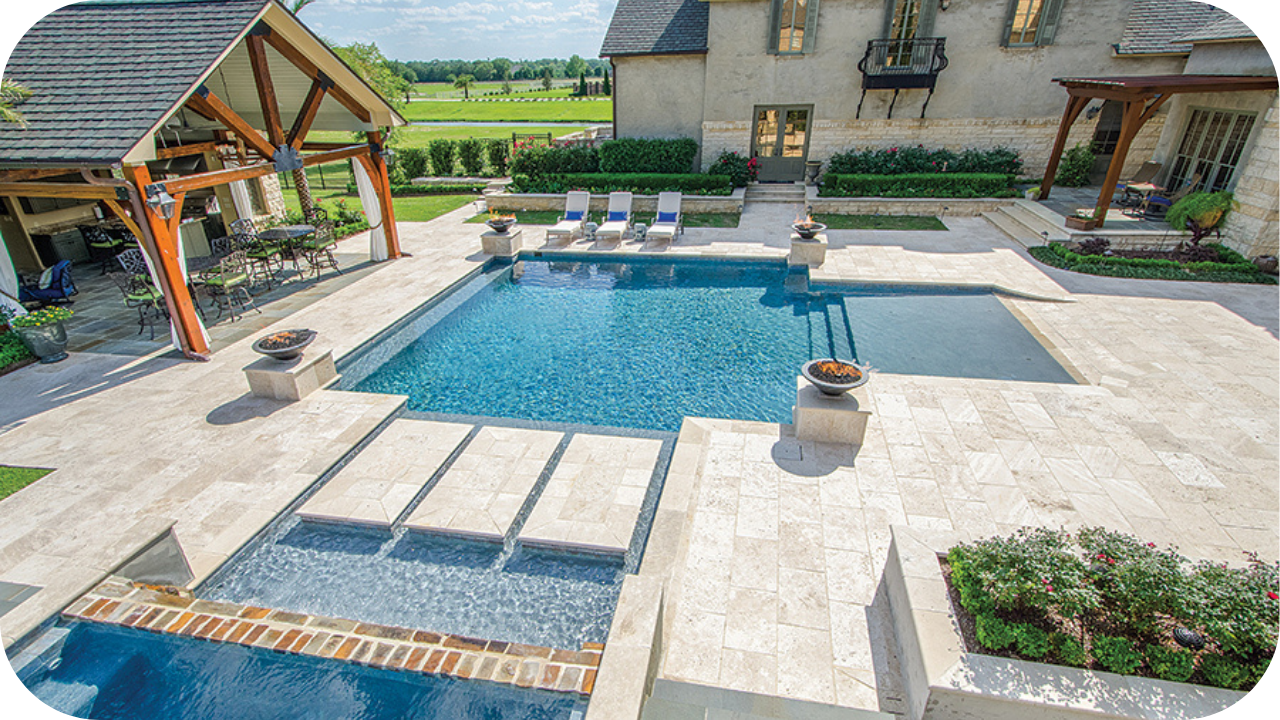
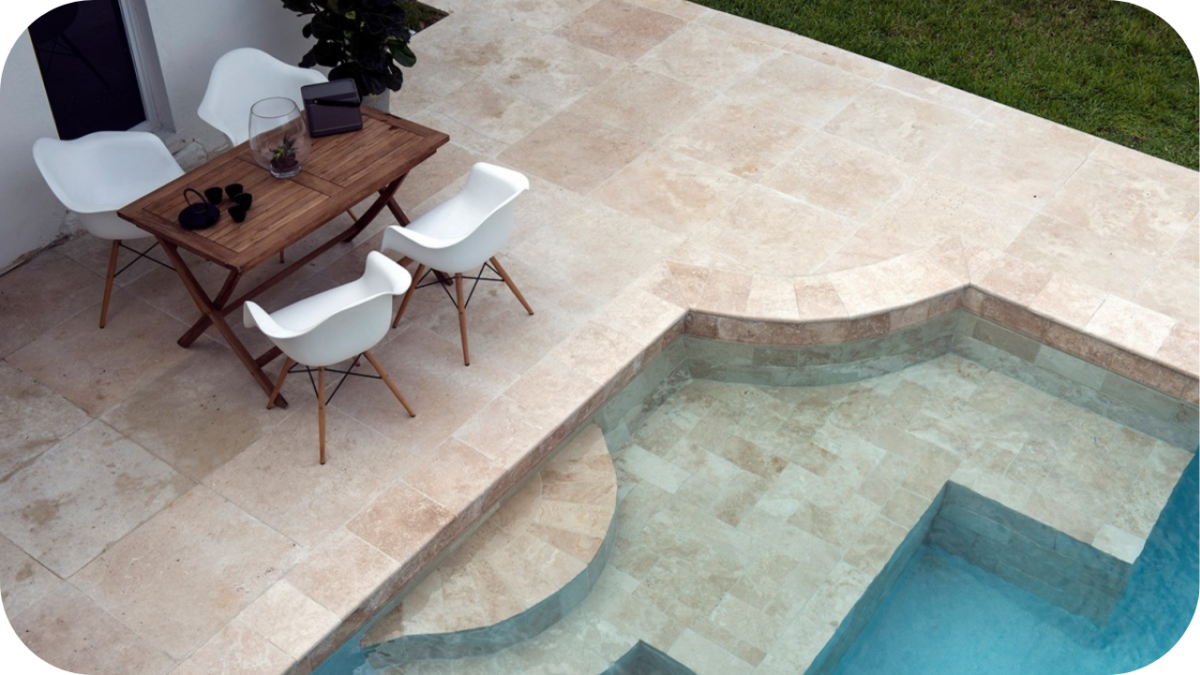
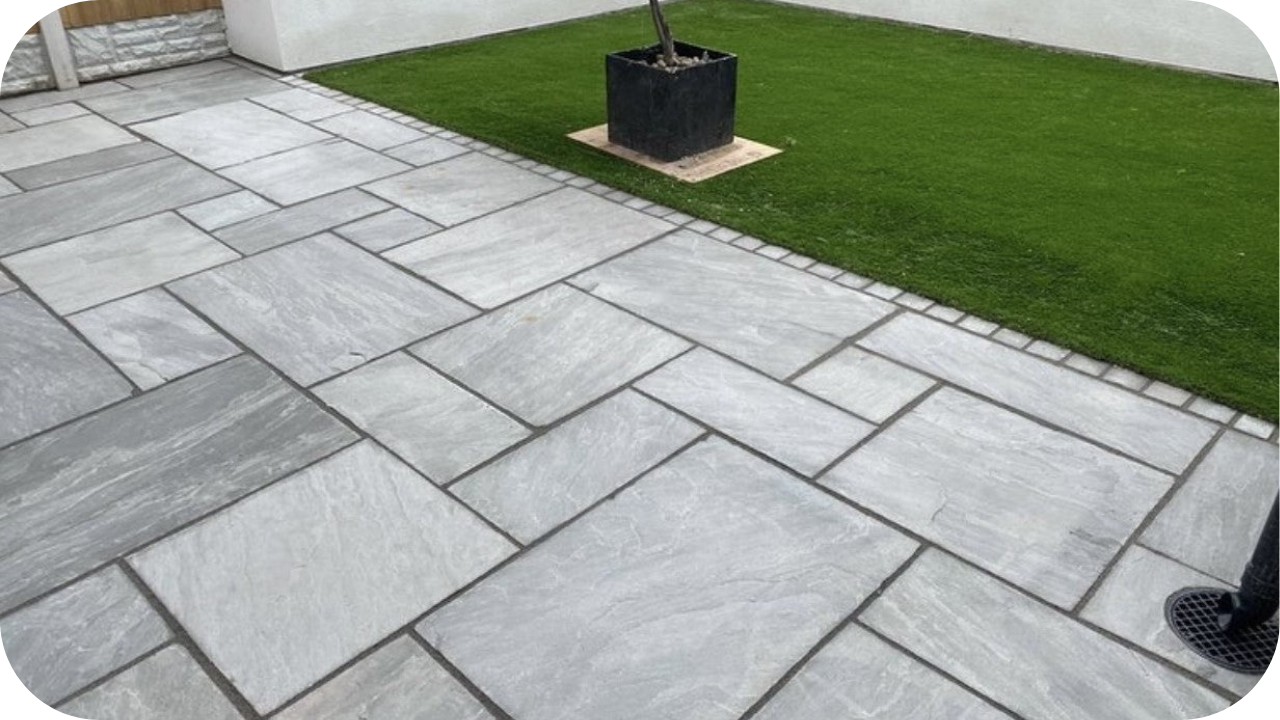
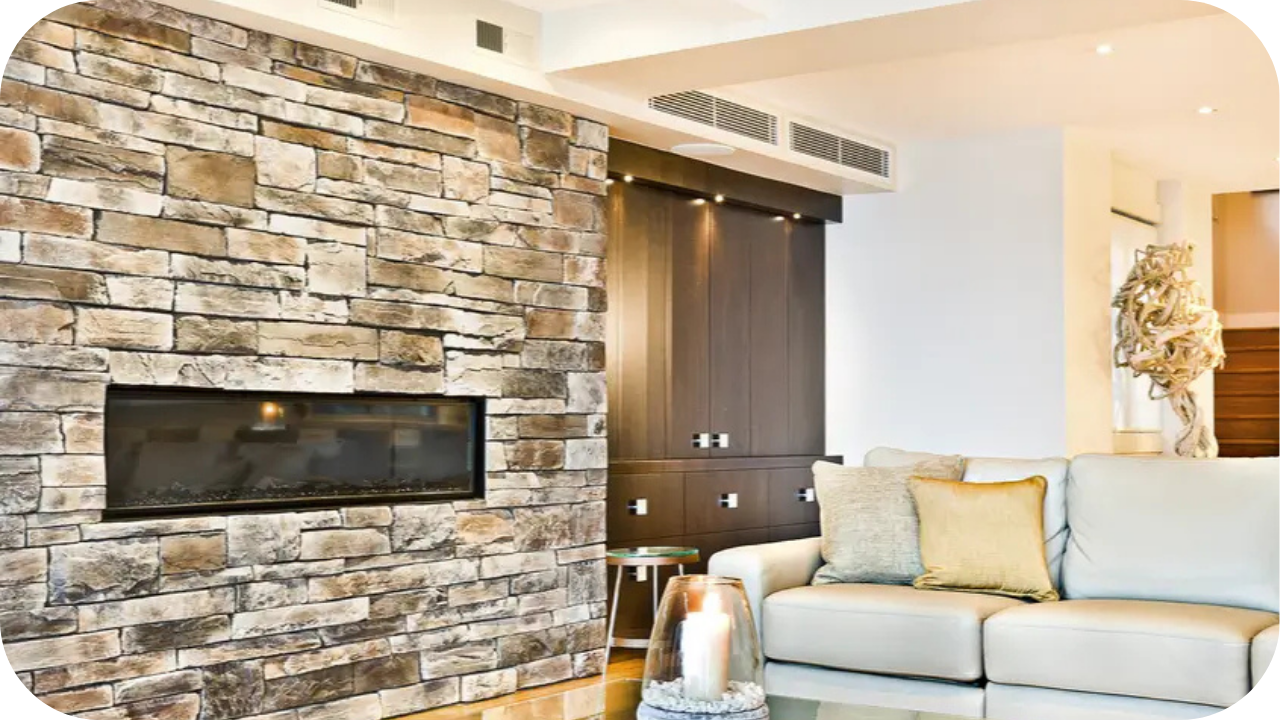
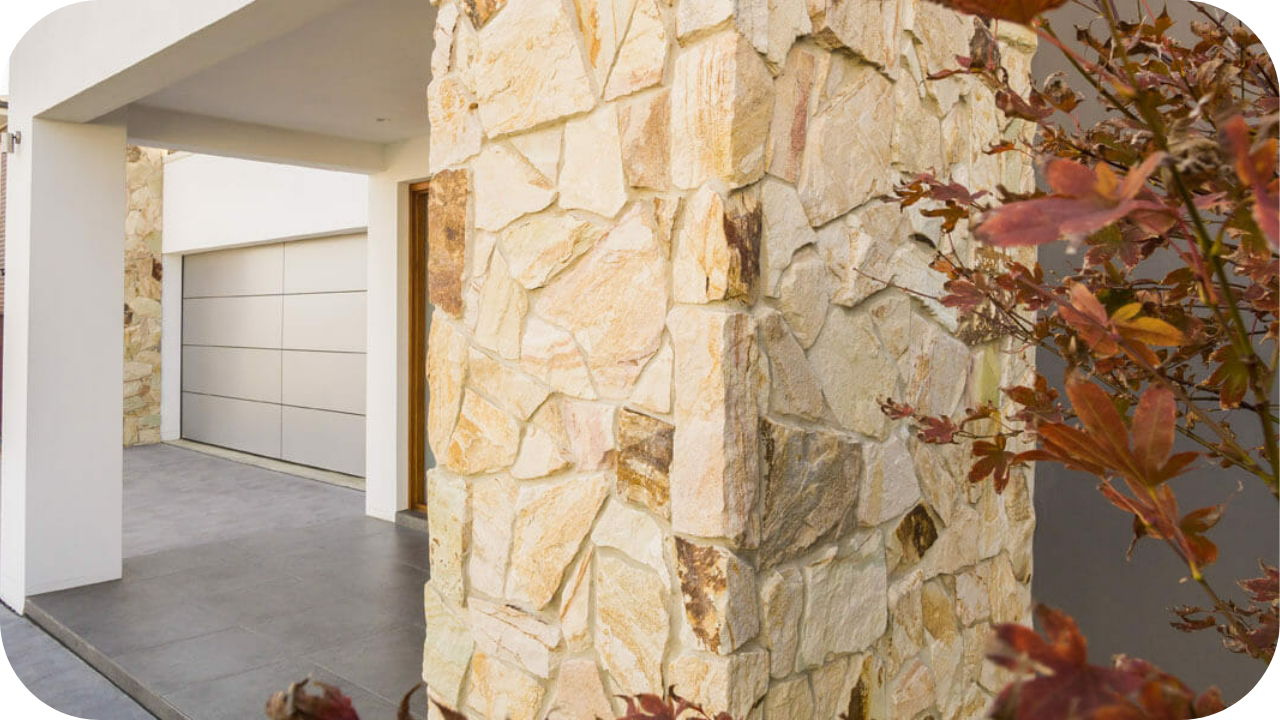
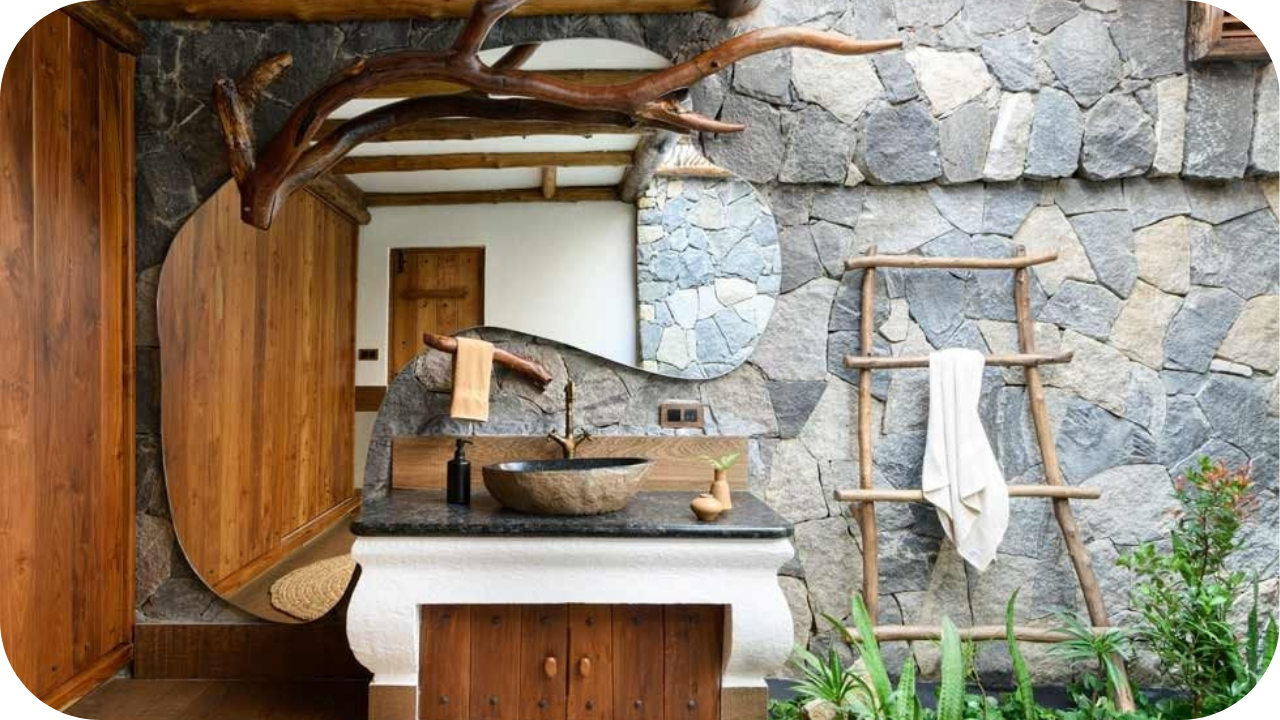
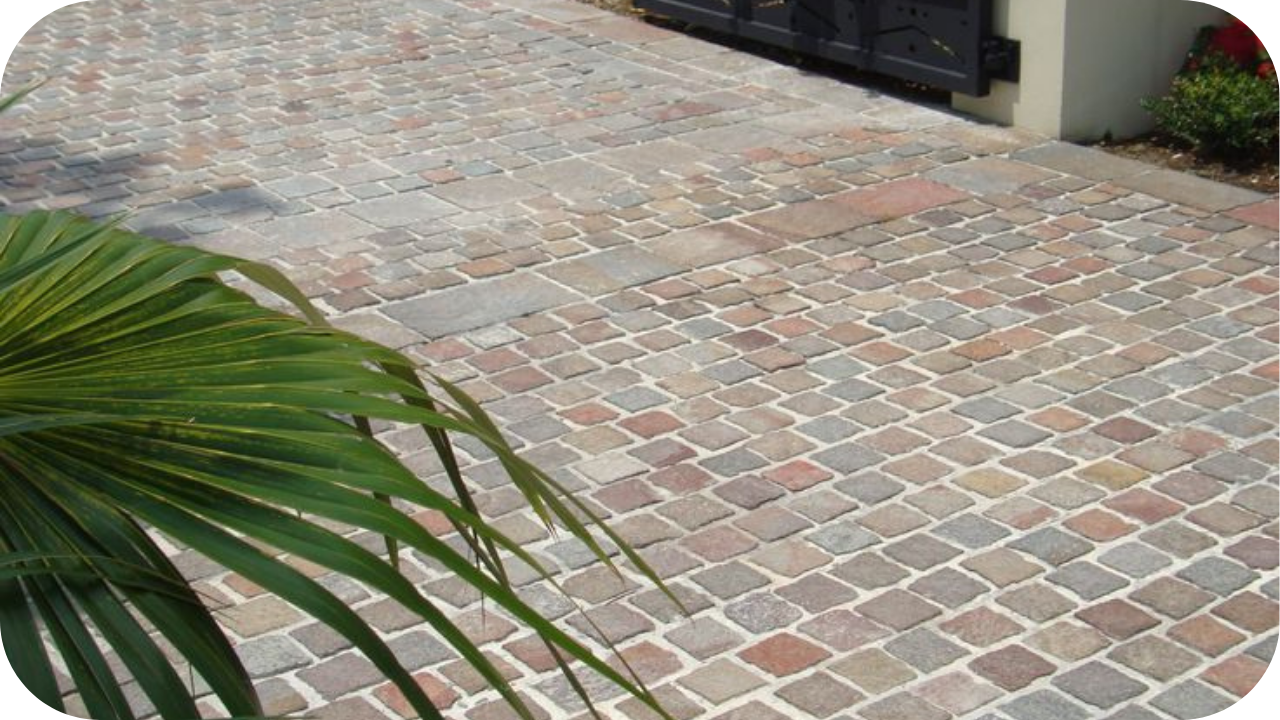
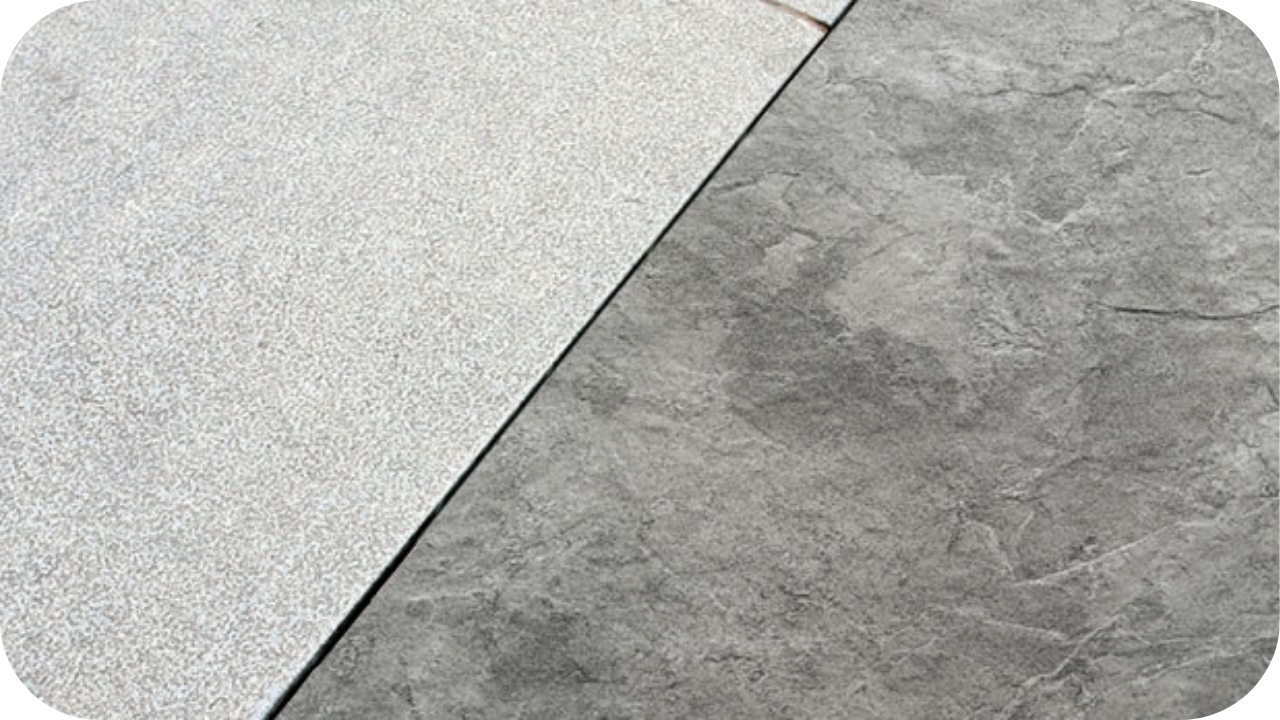
Natural stone offers unmatched aesthetic appeal. Each piece comes with its own colour variation, grain, and texture, giving your outdoor space a unique, timeless charm. Sandstone, bluestone, travertine, and granite all offer distinct aesthetics that suit different design styles, from rustic to ultra-modern.
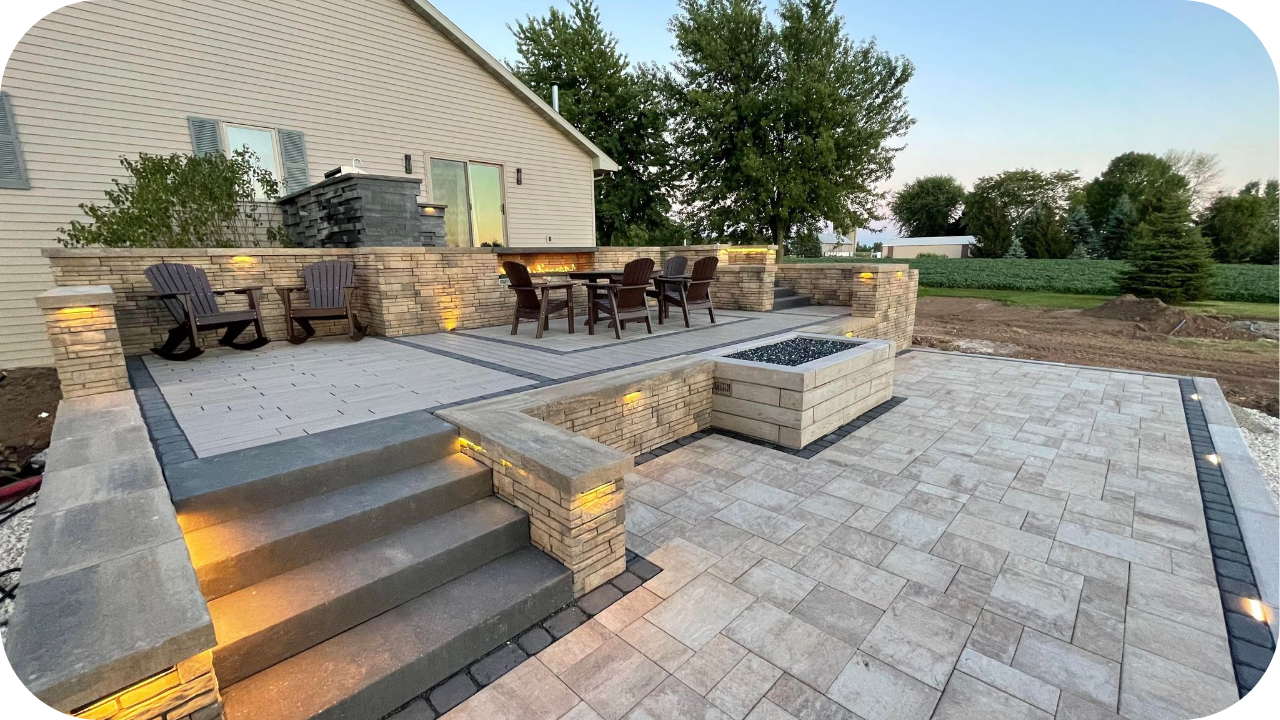
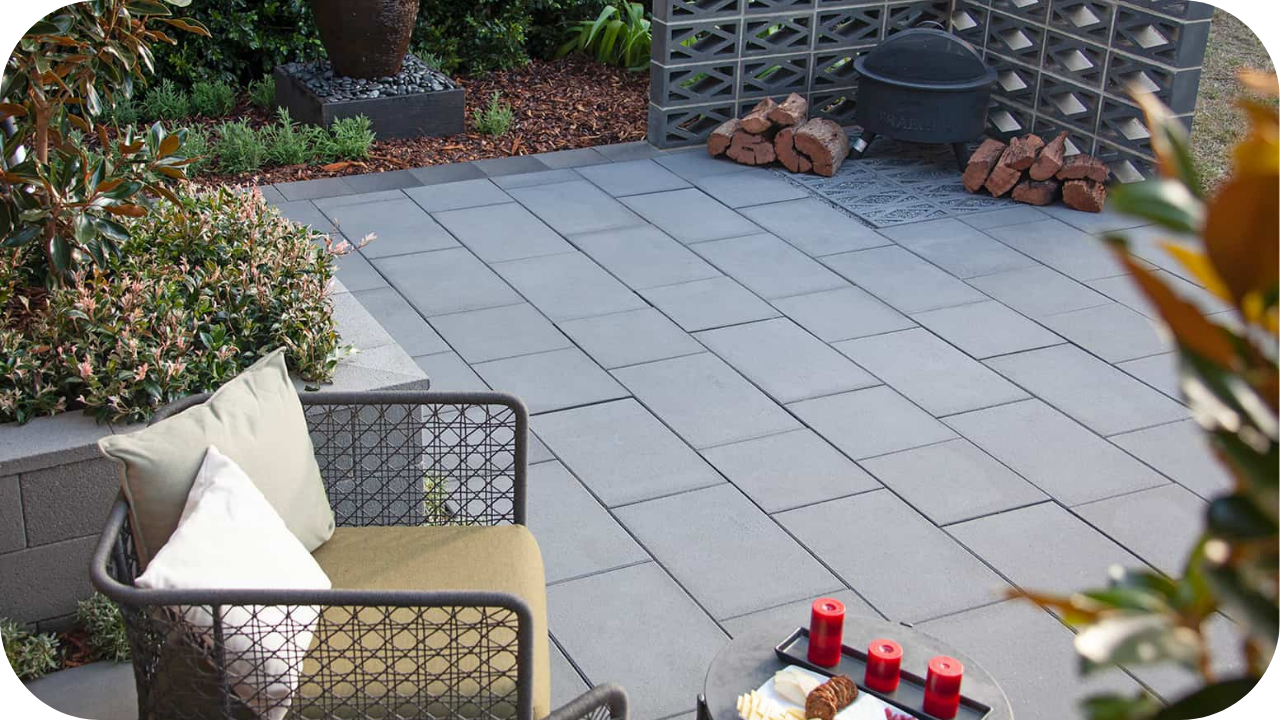
Concrete, on the other hand, provides a sleek, uniform look. Available in coloured, exposed aggregate, and even stamped finishes, it offers greater freedom in mimicking other materials. If you’re aiming for a minimalist or contemporary vibe, concrete can deliver with sharp lines and bold surfaces.
2. Durability and Weather Resistance
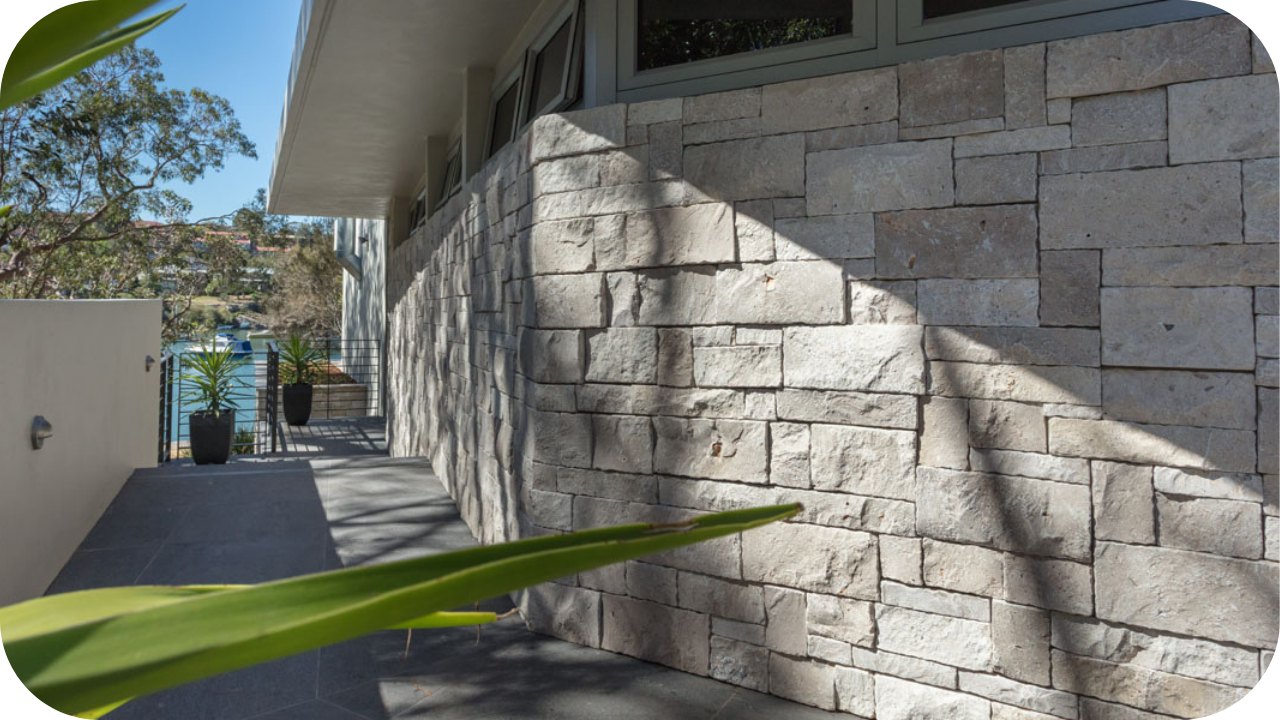
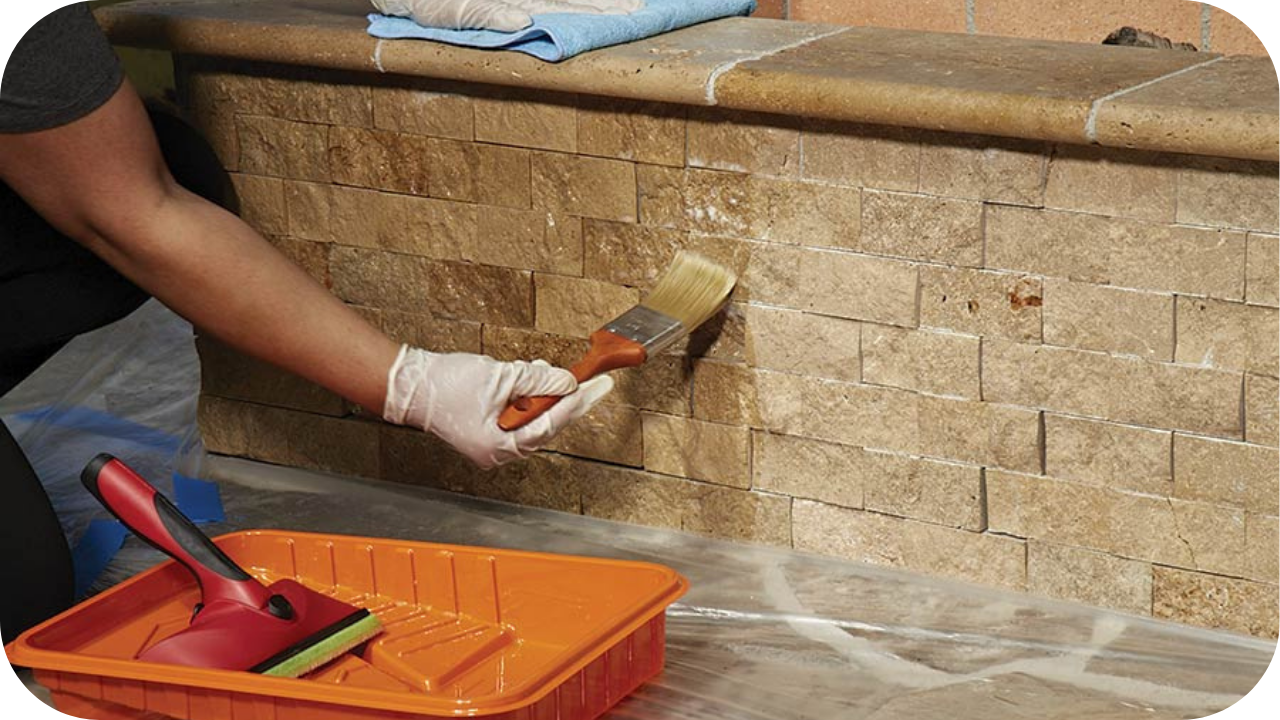
Stone is naturally durable. It can withstand the harshest weather conditions, extreme heat, moisture, and freeze-thaw cycles, without cracking or degrading. With proper sealing, it resists stains, mould, and erosion, making it ideal for high-traffic zones like outdoor kitchens and patios.
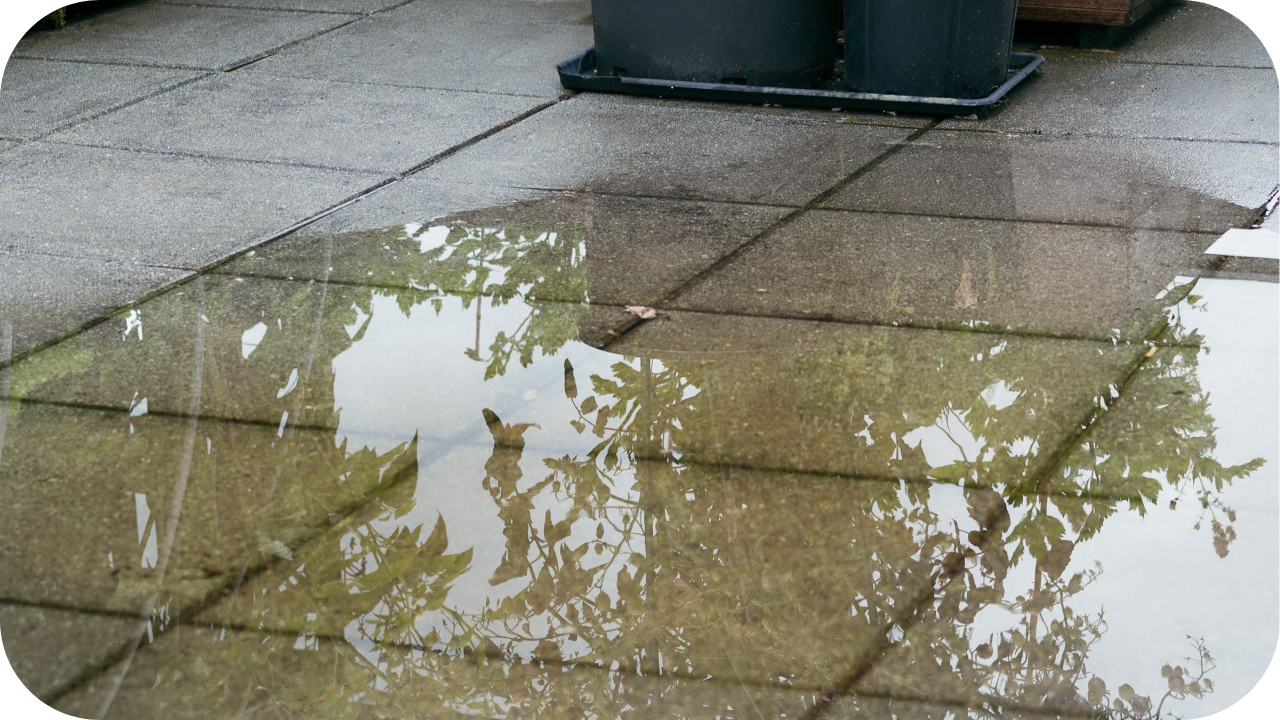
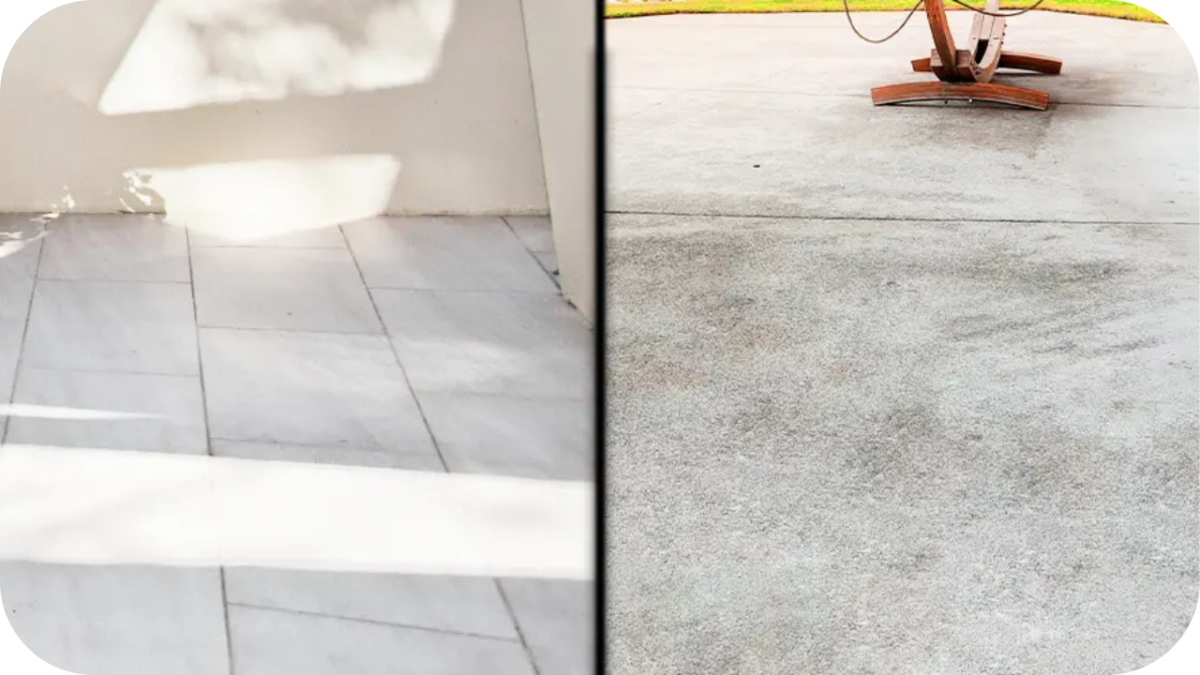
Although tough, concrete is more susceptible to the elements. Temperature fluctuations and ground movement can cause cracks over time. Without consistent sealing, fading and surface wear may appear more quickly than with stone.
3. Installation and Design Flexibility
Installing natural stone demands precision. Its irregular shapes and varied sizing require expert placement, resulting in a custom finish that’s hard to replicate with any other material.
Concrete might be more appealing if speed and design versatility are top priorities. It can be poured into virtually any shape, easily adapting to curves, angles, and multi-use layouts. Decorative treatments like exposed aggregate or stamping further enhance its flexibility.
4. Maintenance and Longevity
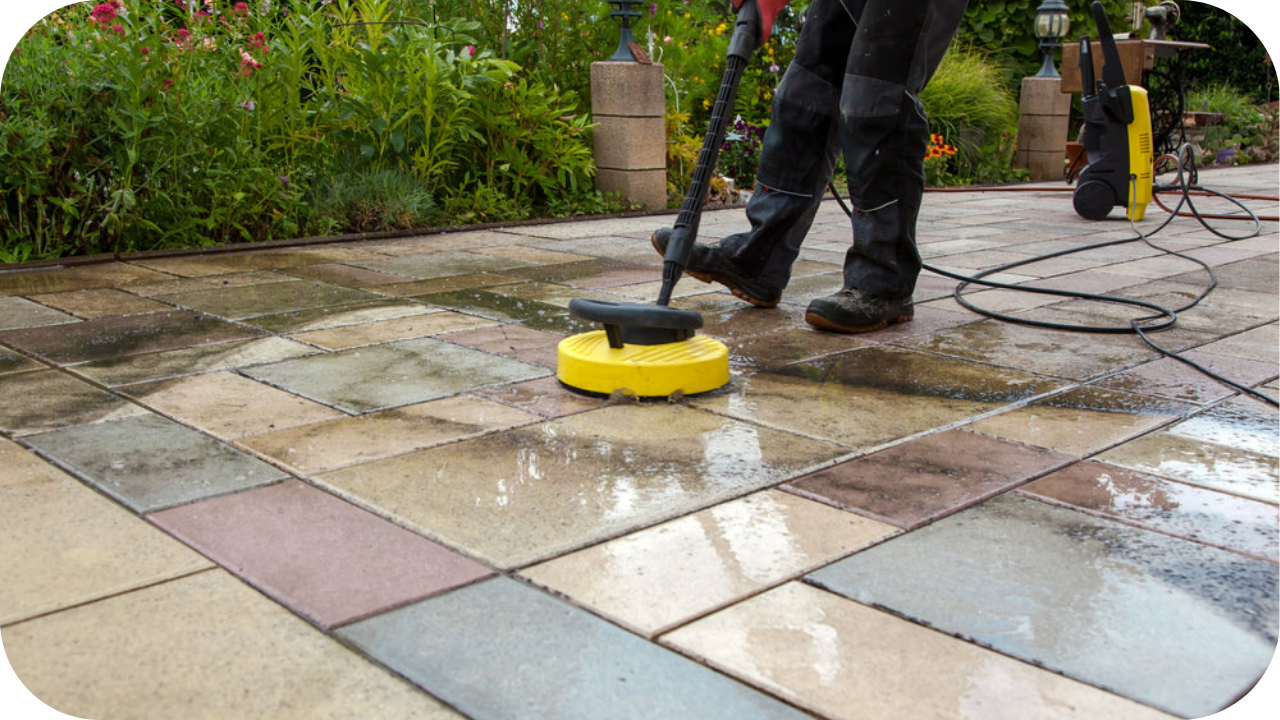
Many homeowners love natural stones, which develop their character as they age. A gentle patina forms naturally over time, adding to its beauty. Regular sweeping and occasional sealing are often all that’s needed to keep it looking fresh for decades.
In contrast, surfaces made of concrete can show their age sooner. Cracks, discolouration, and surface erosion may appear, especially in exposed areas. Ongoing maintenance, like resealing and cleaning, becomes essential to preserve its appearance.
5. Cost Comparison: Upfront vs Long-Term
Initial costs for stone tend to be higher, factoring in both the material and expert installation. Yet the longevity and low maintenance often make it a worthwhile investment for the long haul.
Choosing concrete can reduce upfront expenses. It’s faster to install and generally less costly by the square metre. However, long-term upkeep and potential repair costs can chip away at those early savings.
6. Sustainability and Eco-Friendliness
As a naturally occurring material, stone leaves a smaller environmental footprint, particularly when locally sourced. With minimal processing, recyclability, and extreme durability, it offers one of the most sustainable options for outdoor spaces.
On the other hand, producing concrete involves energy-intensive cement manufacturing, contributing to higher CO₂ emissions. That said, newer low-carbon formulations and recycled aggregates are helping to improve its green credentials.
7. Heat Retention and Comfort Underfoot
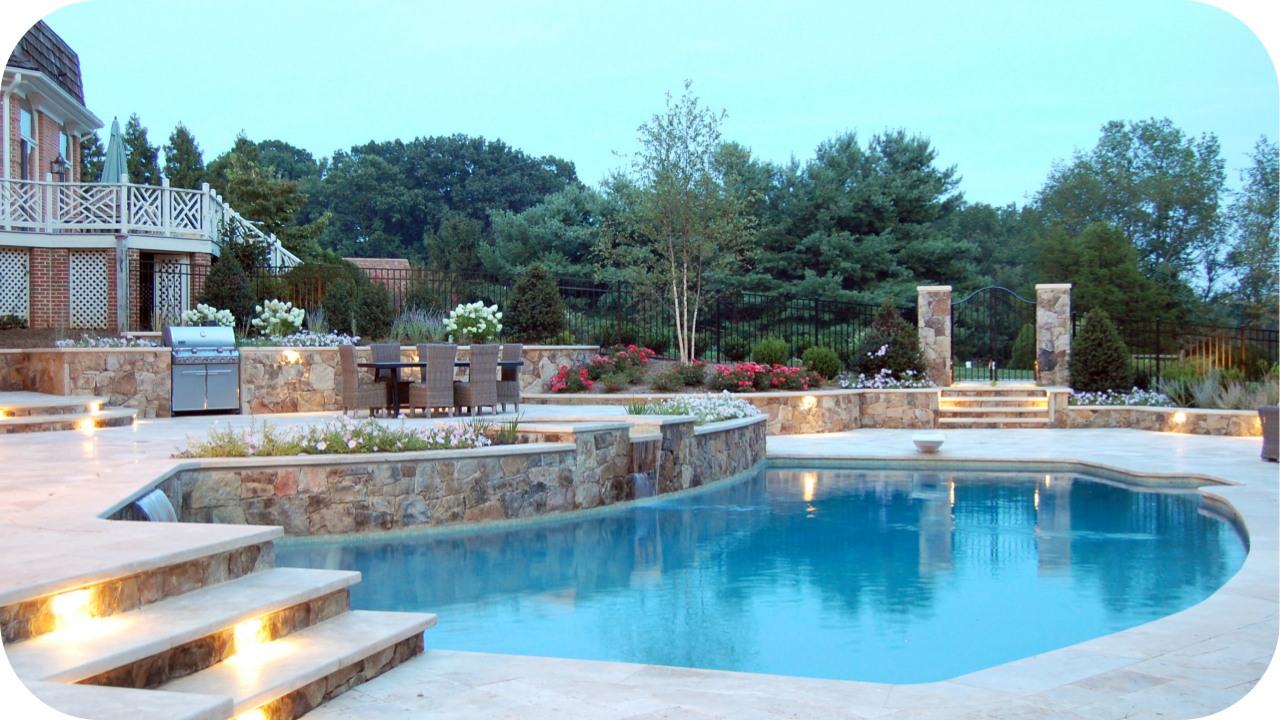
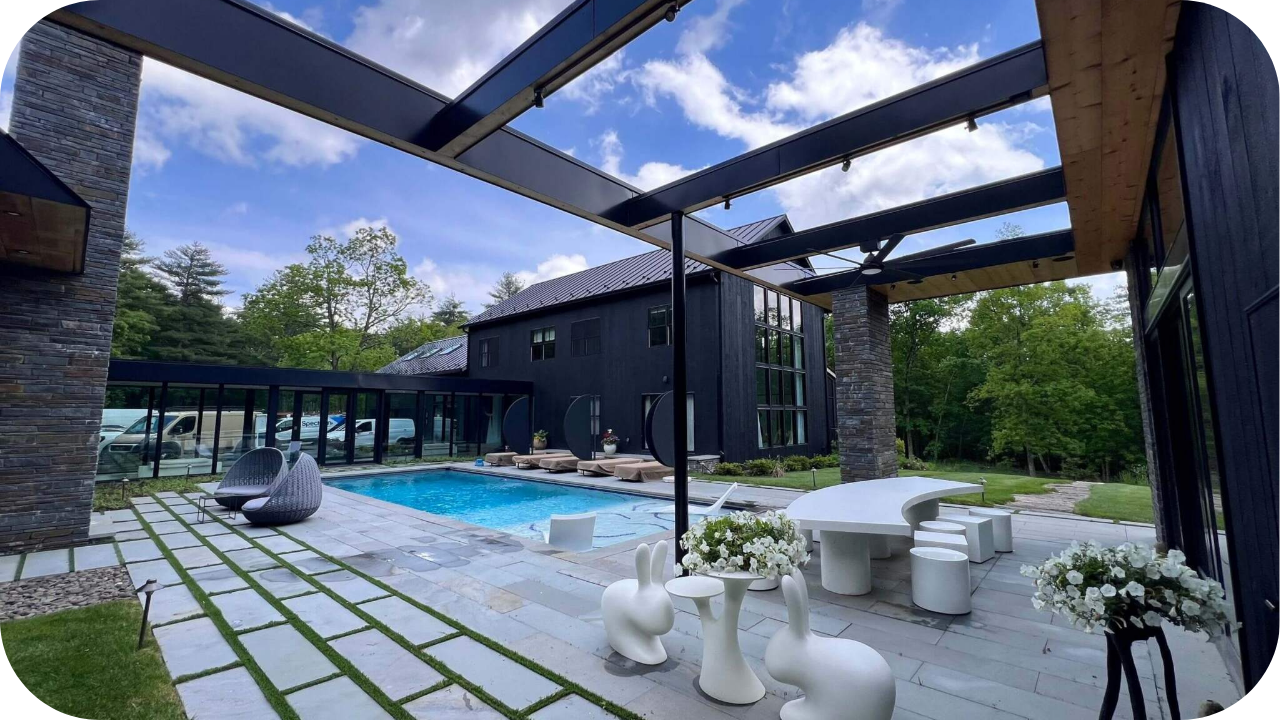
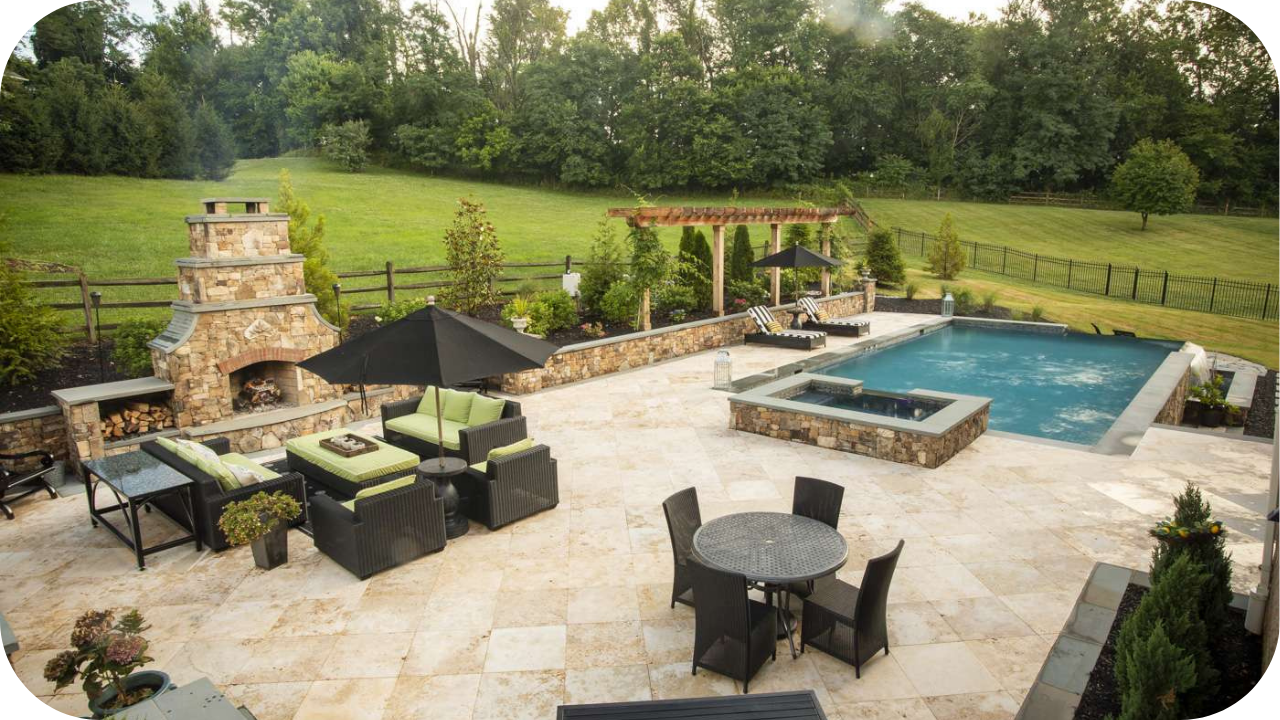
Comfort underfoot can make or break an outdoor entertaining area, especially in Australia’s scorching summer heat. Some types of natural stone, such as travertine and sandstone, remain cool even under direct sunlight. These materials provide a barefoot-friendly surface ideal for pool surrounds or lounge areas.
Concrete, especially darker shades or sealed surfaces, tends to absorb and retain more heat. This can lead to uncomfortably hot surfaces during summer afternoons. For entertaining areas exposed to full sun, it’s worth considering how often you’ll be walking barefoot and whether cooling materials like light-coloured stone will improve usability.
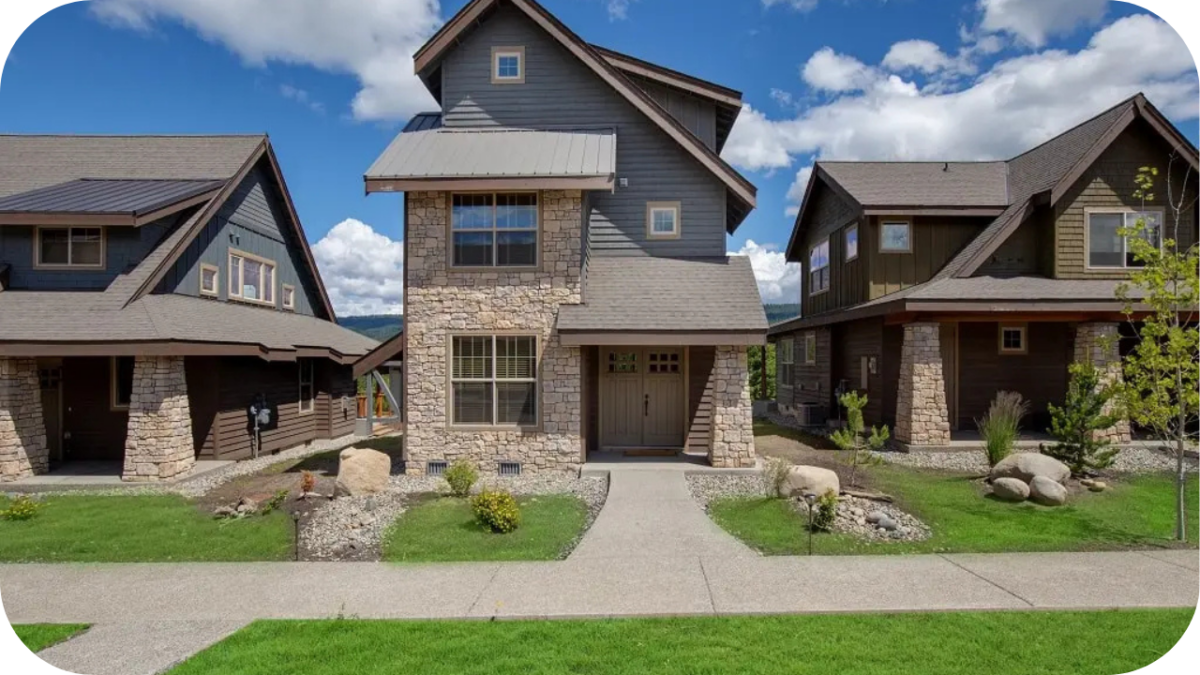
8. Impact on Property Value
The materials you choose for your outdoor space can influence your home’s overall value. Natural stone is often associated with premium, high-end finishes. Its durability, uniqueness, and luxurious appearance make it a major selling point, especially in competitive markets.
While concrete is more cost-effective, it may not offer the same wow factor. However, if well-maintained and integrated into a cohesive landscaping design, it can still add solid value. Homebuyers often appreciate low-maintenance surfaces, so condition and design matter just as much as material choice.
9. Repair Options and Surface Restoration
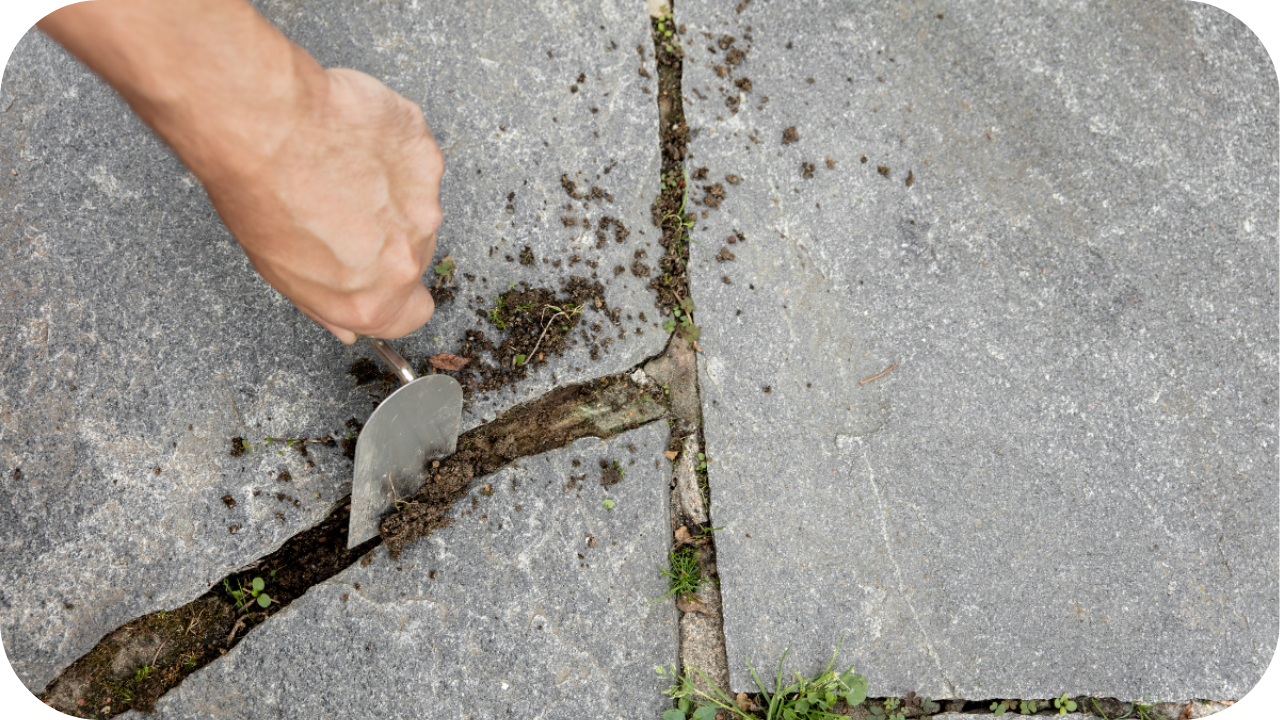
No outdoor surface is entirely maintenance-free. Over time, damage from weather or use is inevitable, but how easy it is to fix can vary.
Natural stone is easier to spot-repair. If a tile or slab cracks, it can be individually replaced without disturbing the rest of the surface. Some types of stone also hide wear and tear better due to their organic variation in texture and colour.
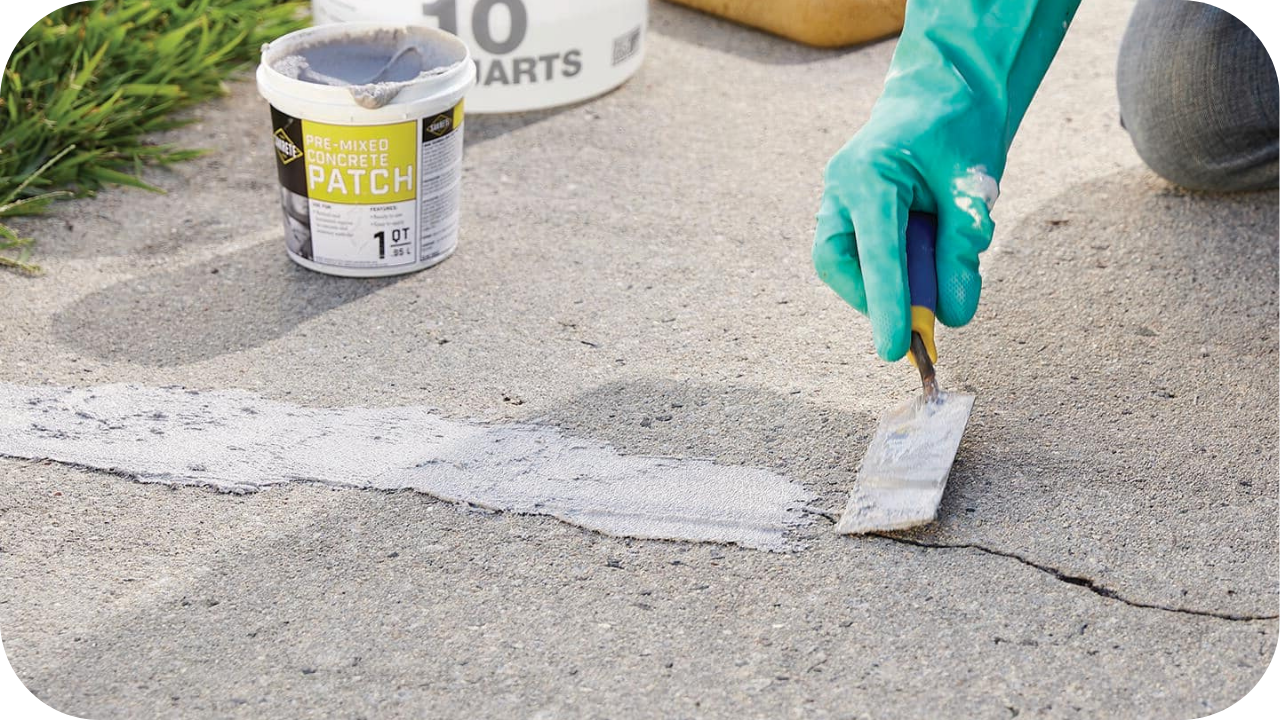
Concrete repair can be more challenging. Cracks often require full resurfacing or patching, which may be visible if not done perfectly. Decorative finishes like stamping or colouring can be hard to replicate during repairs, making mismatches more noticeable.
10. Compatibility with Other Outdoor Features
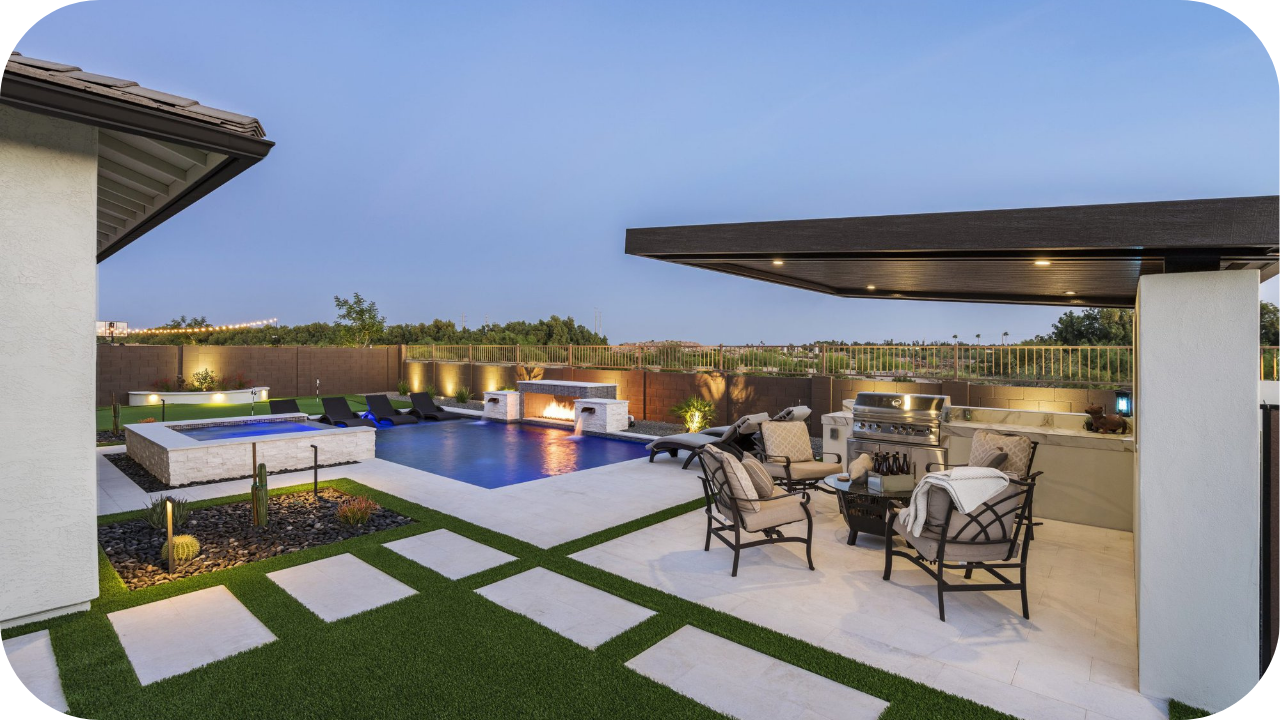
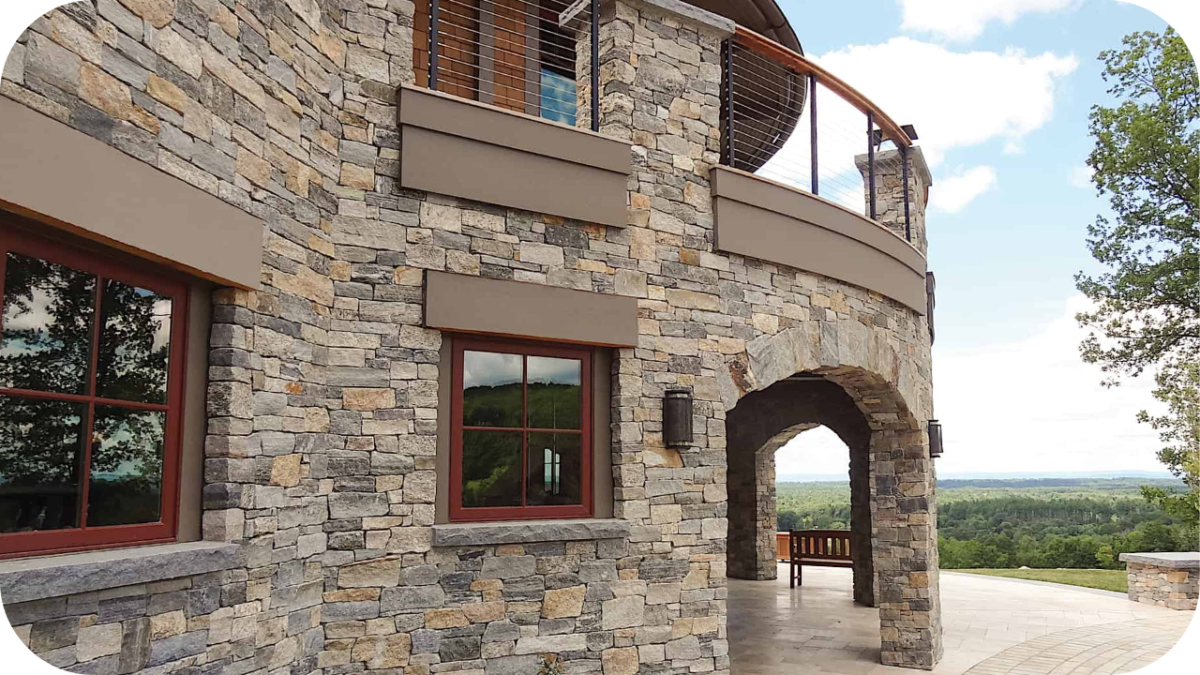
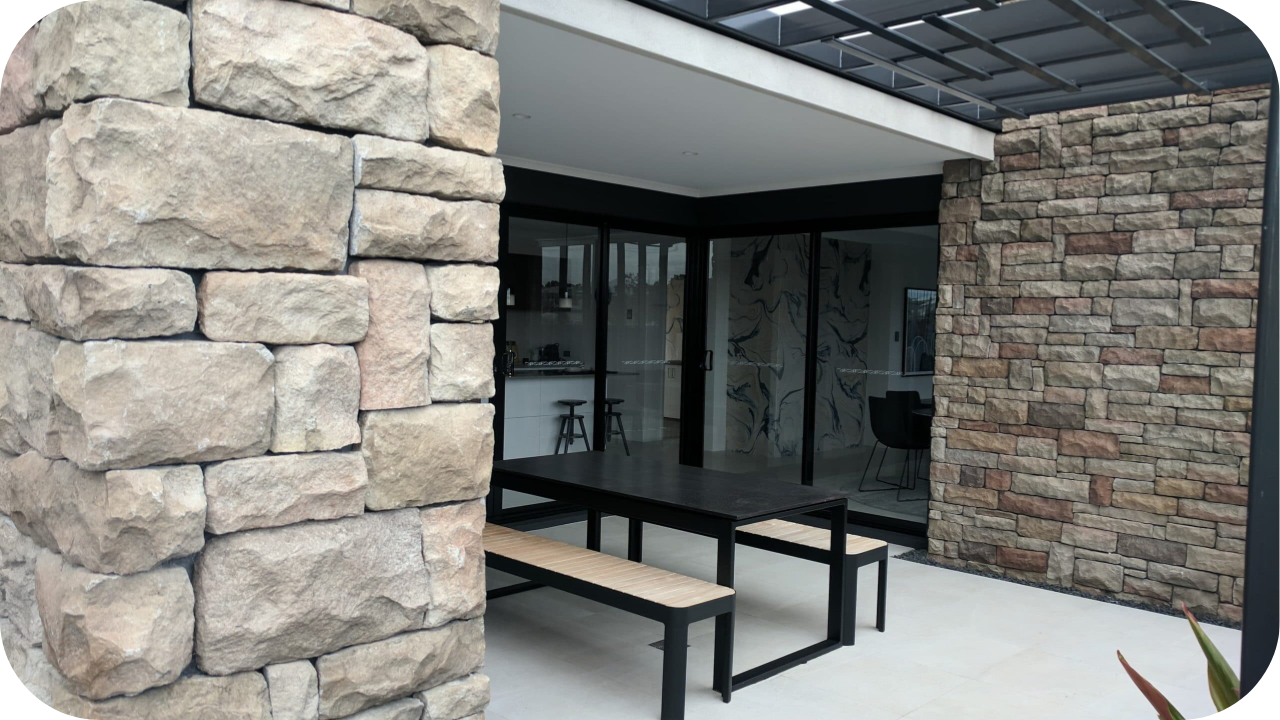
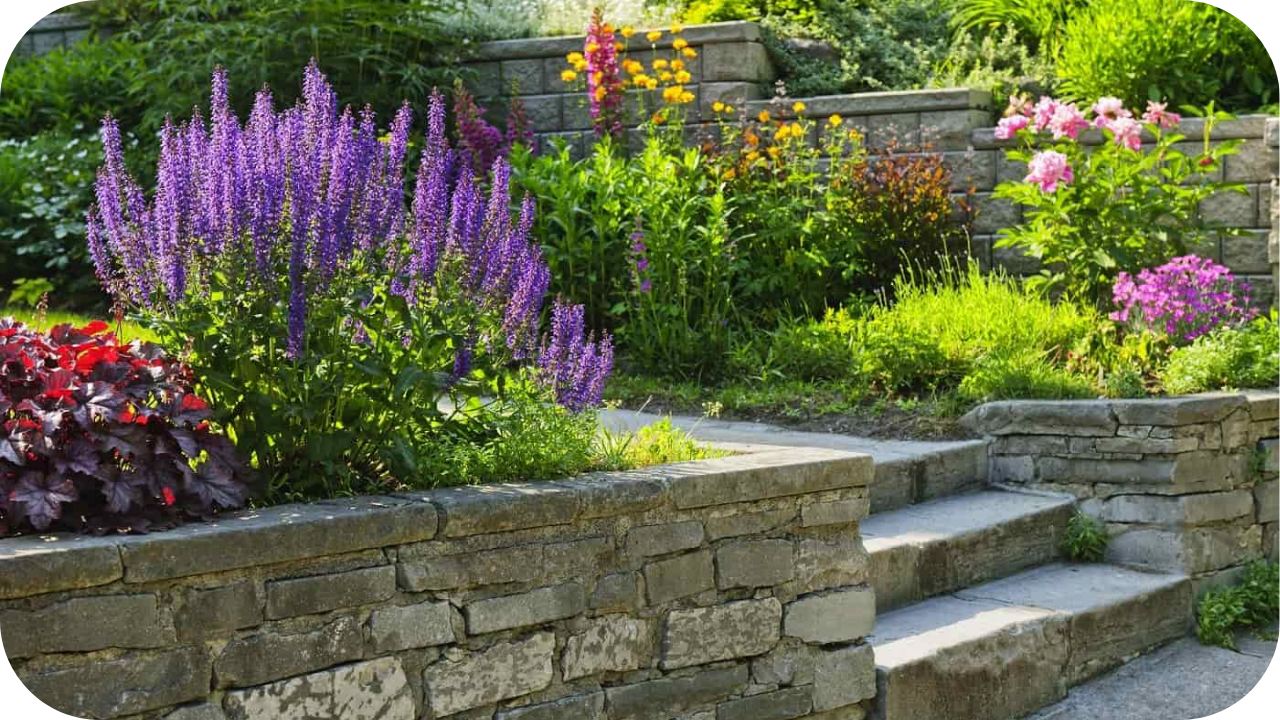
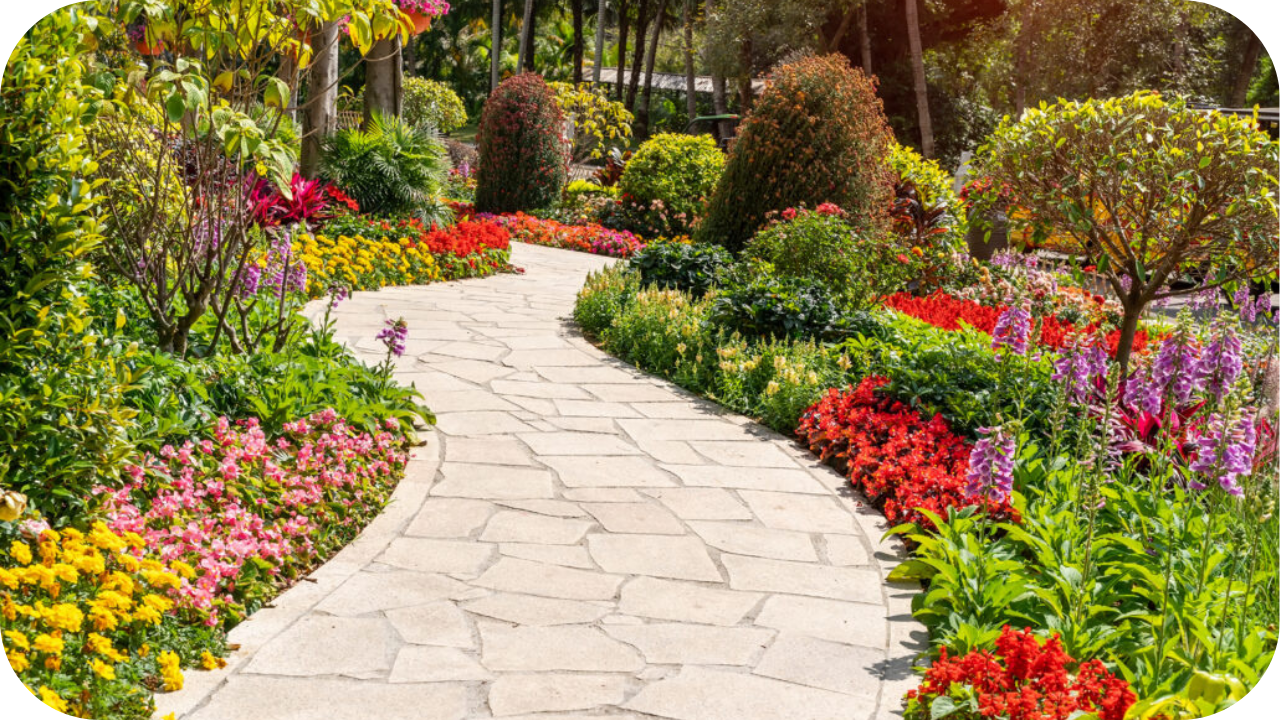
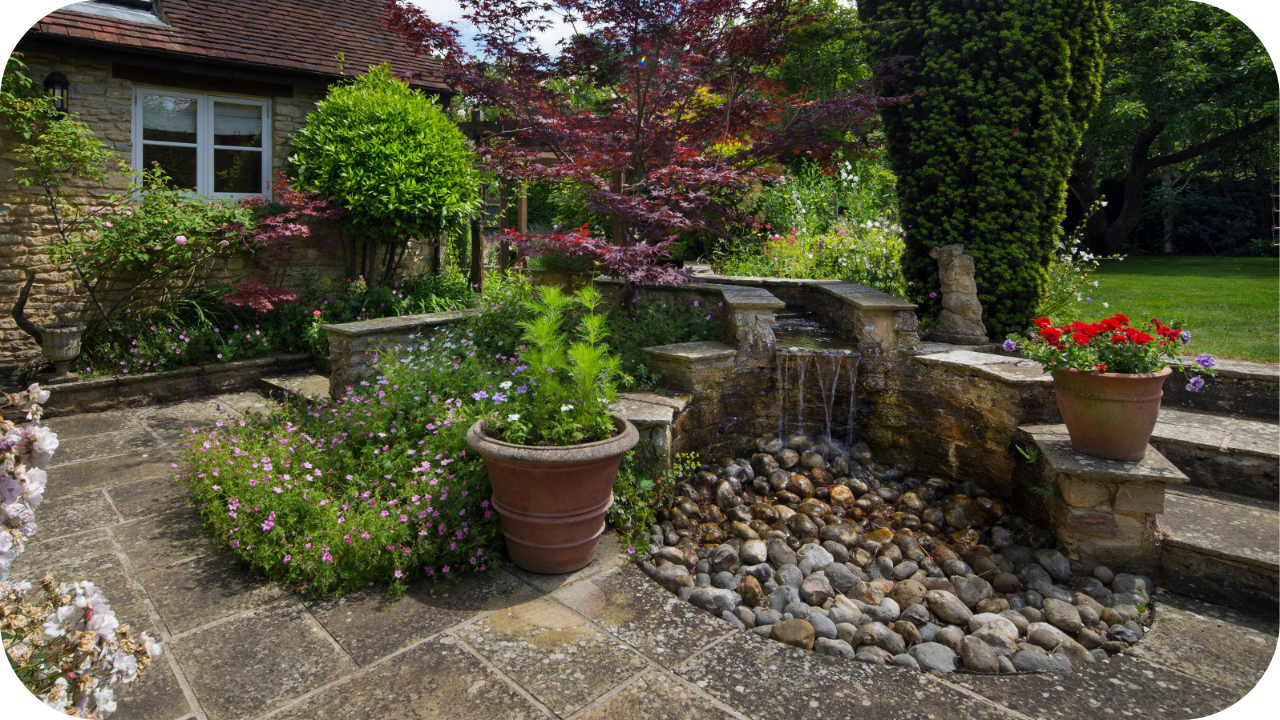
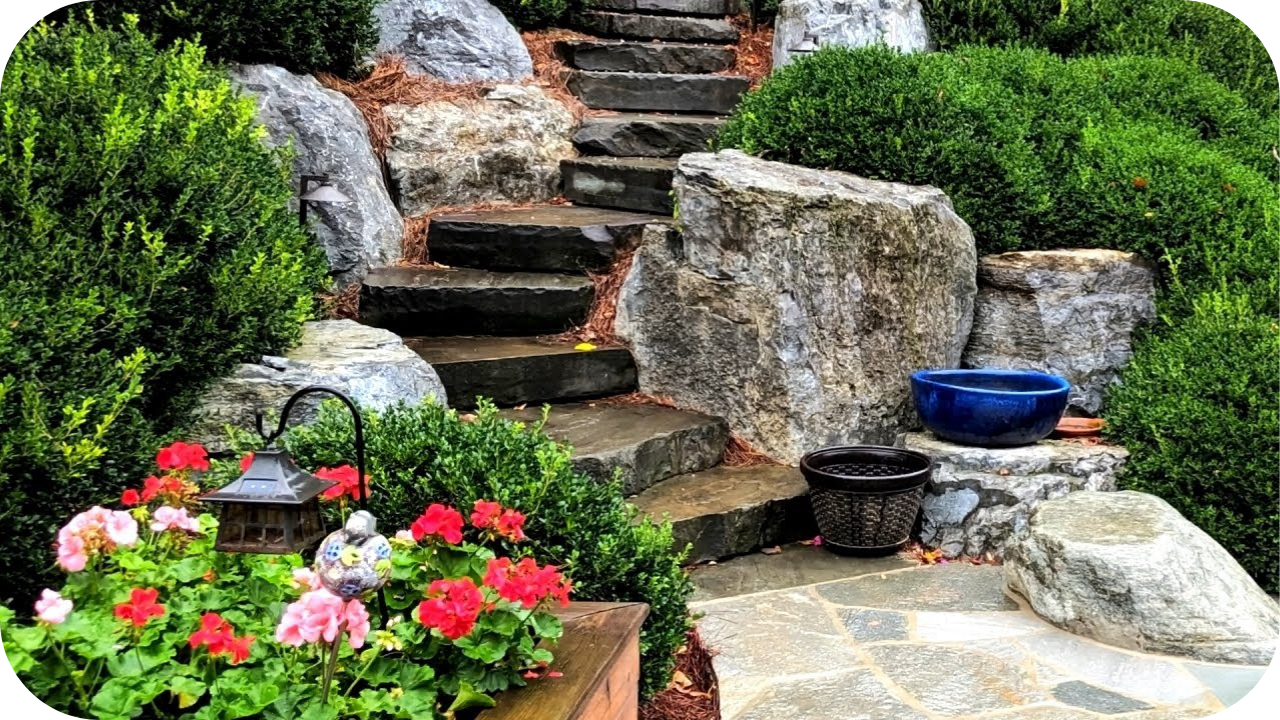
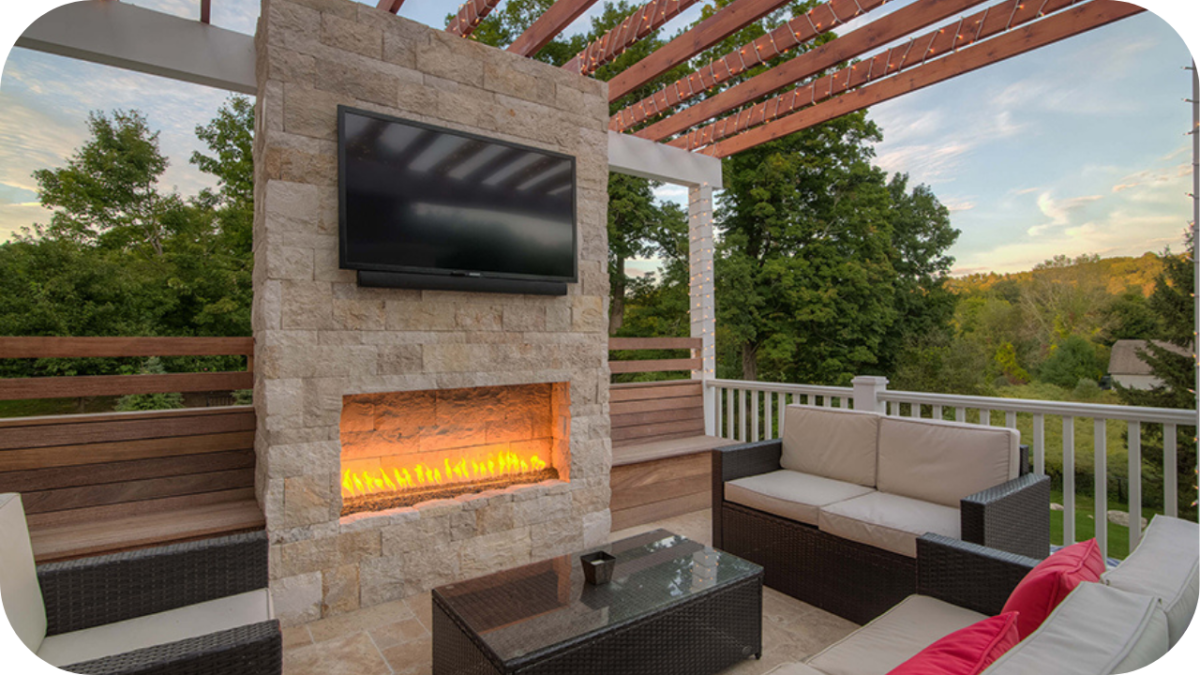
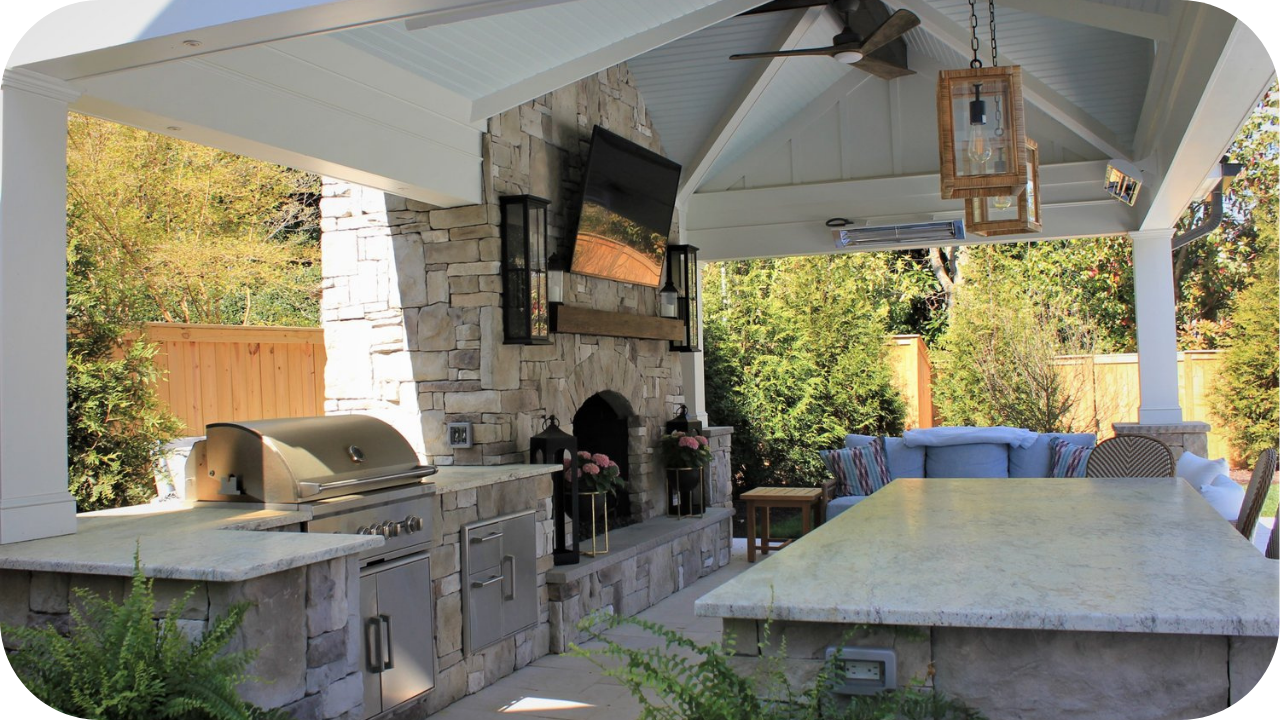
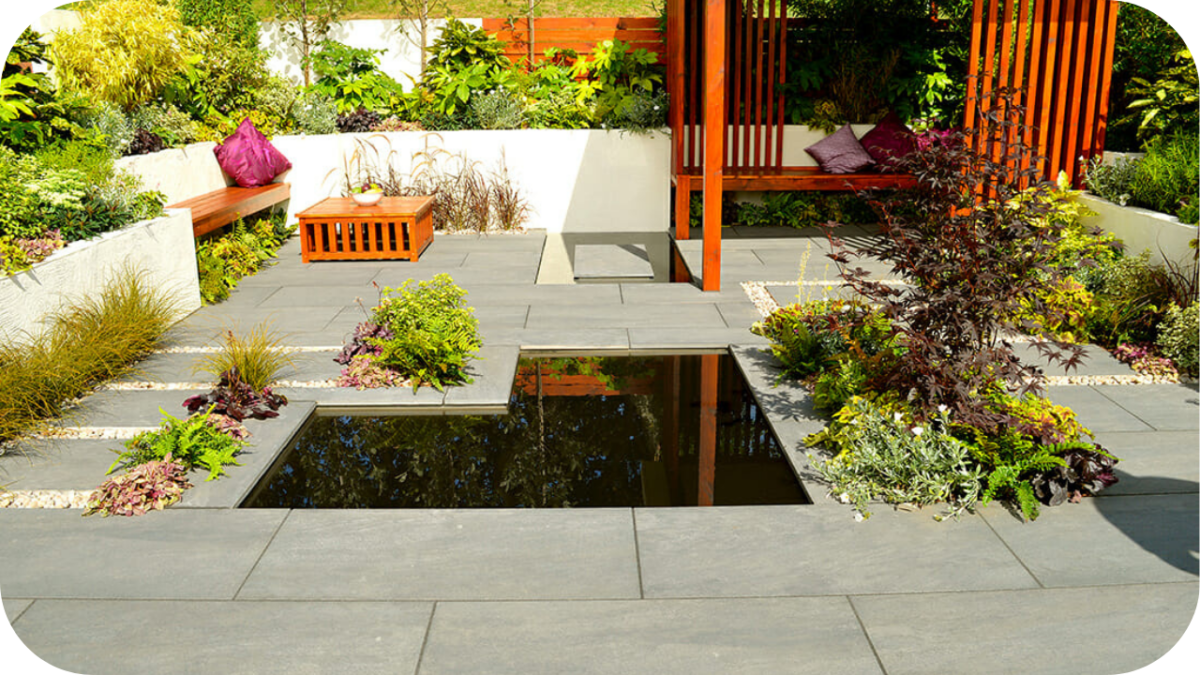
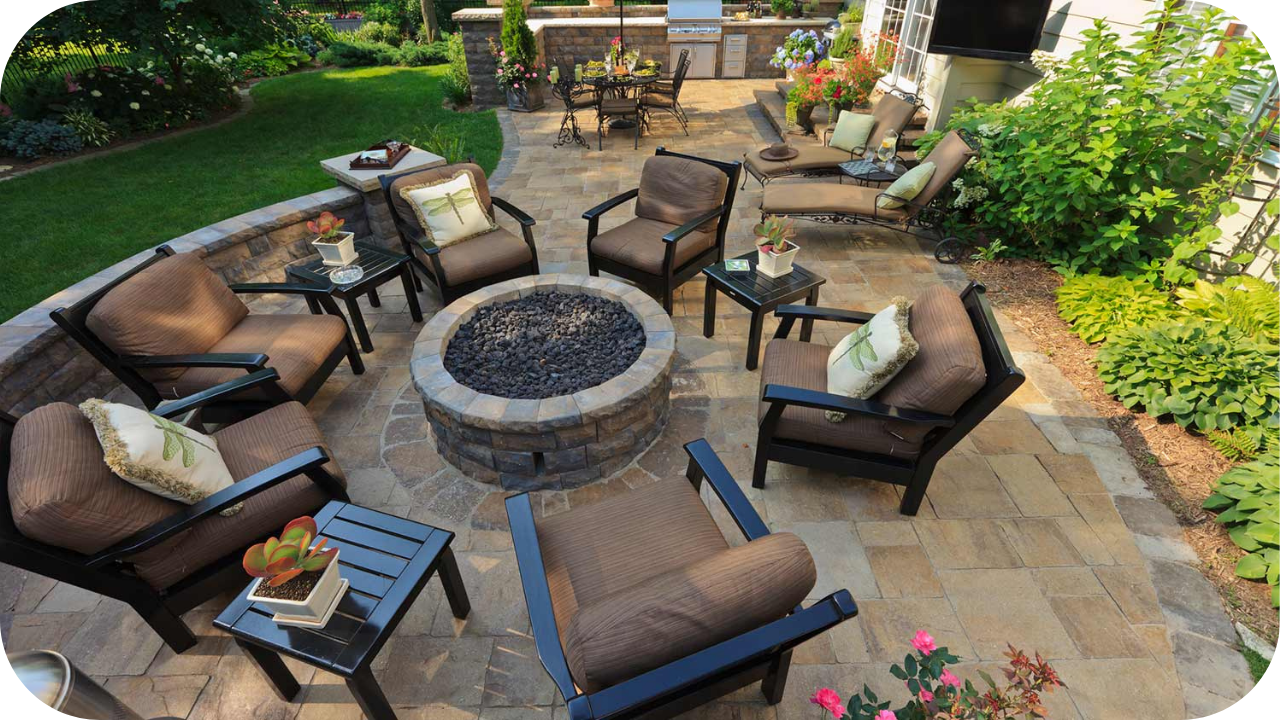
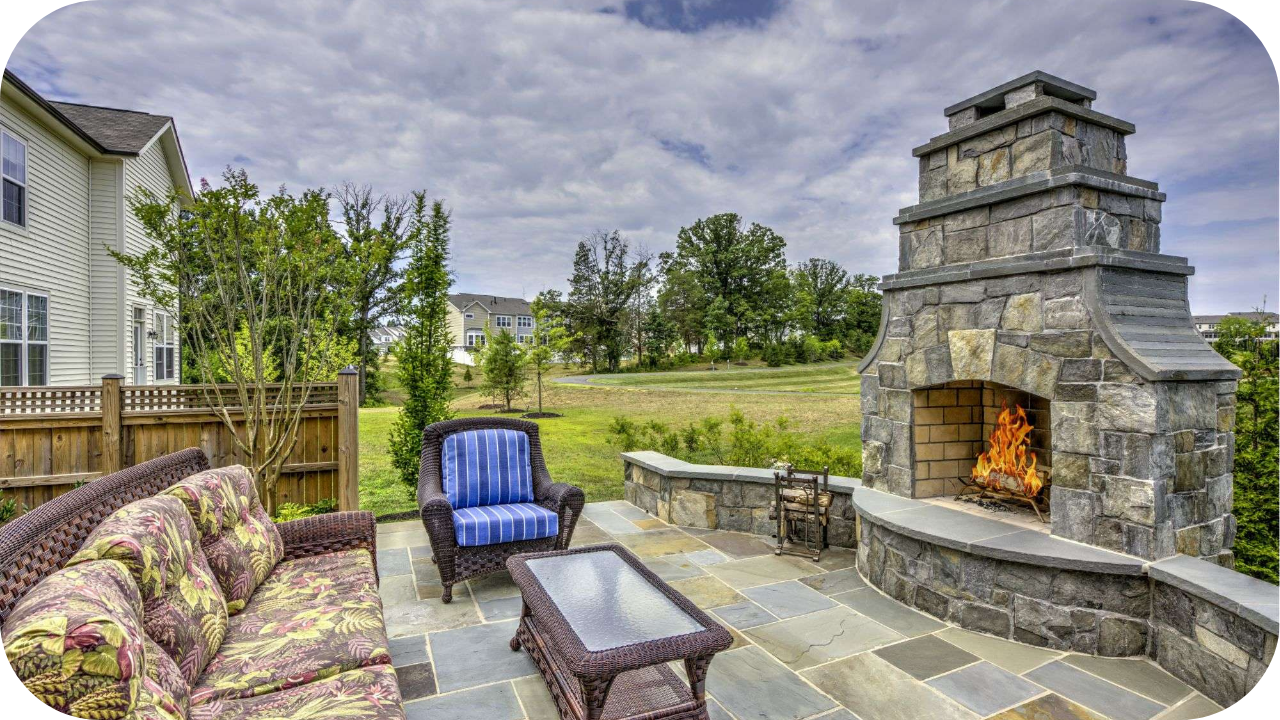
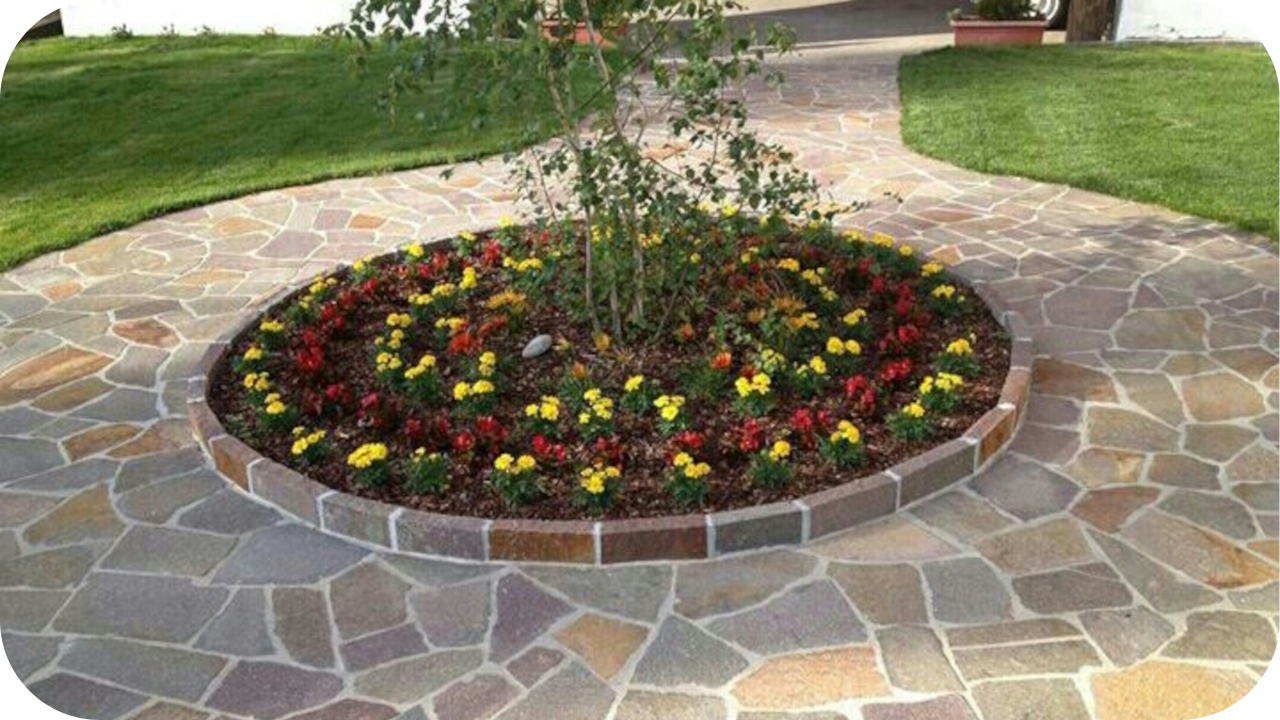
The success of your entertaining area often depends on how well your flooring integrates with the rest of your design. Natural stone complements earthy, organic elements such as timber pergolas, native plantings, and stone-clad fire pits. It feels cohesive in coastal, Mediterranean, and country-style outdoor spaces.
Concrete excels in minimalist, industrial, or urban landscapes. It pairs well with sleek aluminium frames, steel structures, and modern architecture. Its flexibility in shaping and colouring allows for seamless integration with built-in benches, raised planters, or polished outdoor kitchens.
When to Choose Each: Scenario-Based Suggestions
Still not sure what suits your space? Let’s make it practical:
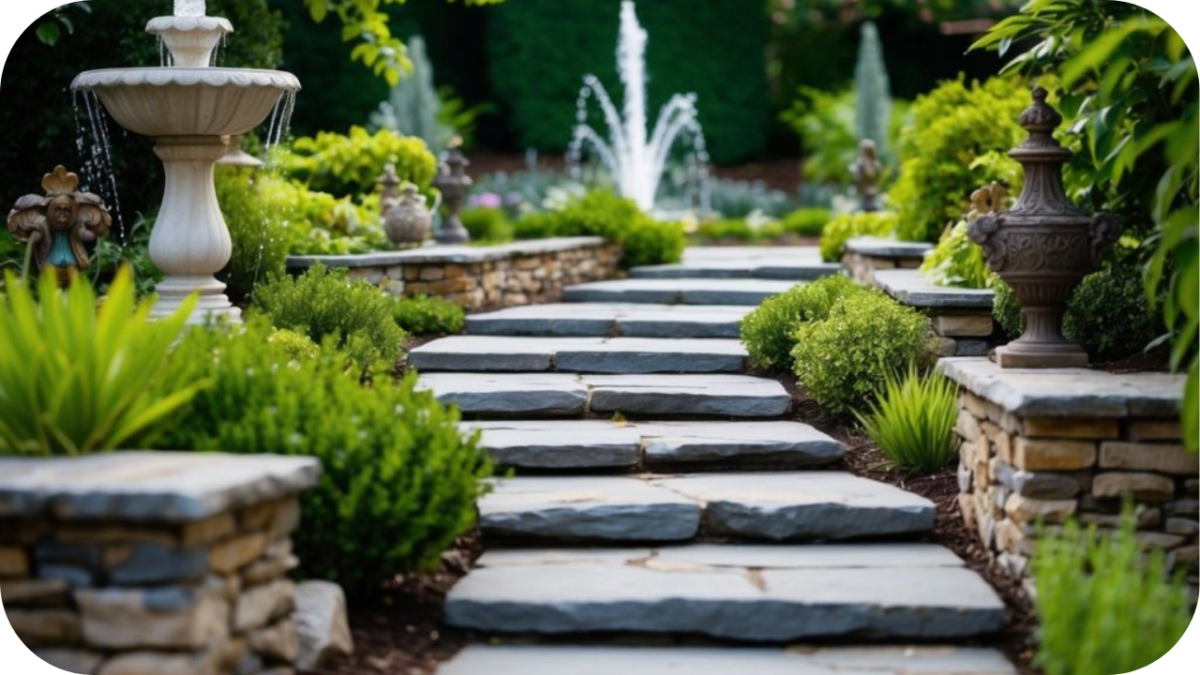
- Choose Stone if you’re after timeless luxury, natural texture, and long-term value. Ideal for high-end homes, pool areas, or designing stunning gardens that favour organic materials.
- Choose Concrete if you’re building on a budget, want custom shapes or curves, and don’t mind a bit of upkeep. Perfect for contemporary homes, large-scale spaces, or DIY-friendly projects.
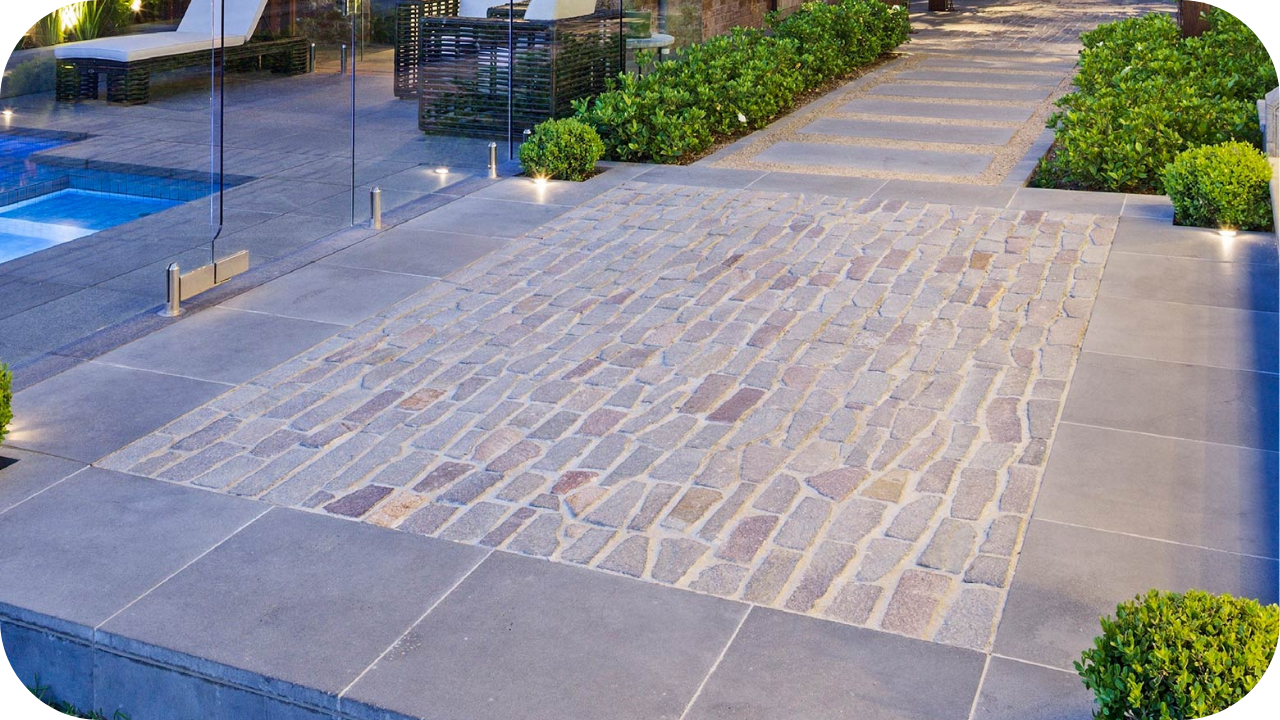
- Use Both in combination, opt for a concrete base and lay natural stone as a top layer, or define zones with stone insets within a broader concrete pour. This hybrid approach delivers the best of both worlds.
Conclusion
Choosing between stone and concrete depends on what matters most to you. If you’re after enduring beauty, minimal upkeep, and natural charm, stone is hard to beat.
If budget and design flexibility take priority, concrete offers a practical alternative. Either way, your outdoor space deserves materials that reflect your lifestyle and stand up to the Aussie elements.
Want to create a standout entertaining space? Browse Splendour in Stone’s premium collection of natural paving and cladding solutions, crafted to impress and built to last.