Stone Tiles vs Stone Pavers: What’s the Difference
When it comes to stone surfaces, choosing the right material for your space is crucial. Whether you’re designing a stylish new patio, adding a splashback to your kitchen, or enhancing your bathroom, the decision between stone tiles and stone pavers can be confusing.
Both materials offer distinct advantages, but understanding their key differences can help you make the best choice for your project.
In this article, we’ll compare stone tiles and pavers in terms of material, durability, aesthetic appeal, maintenance, and ideal uses.
What Are Stone Tiles?
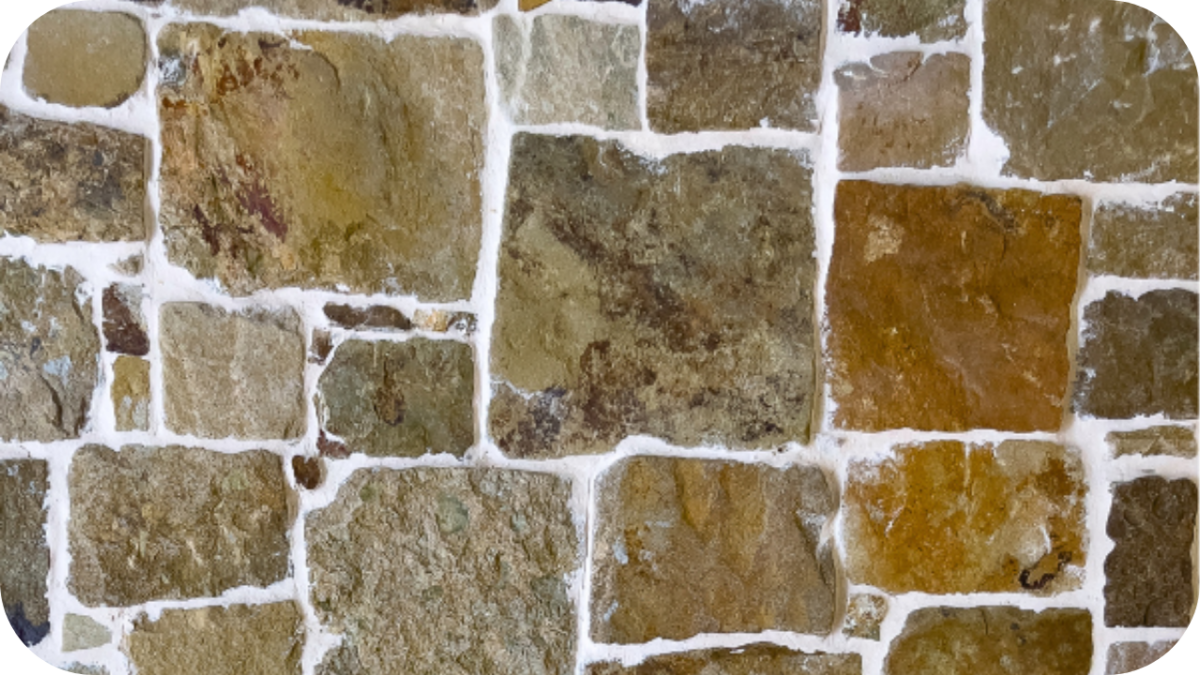
Stone tiles are natural stone materials that have been cut and shaped into thin, flat pieces, primarily used for flooring, walls, and other surface coverings. They come in various types of stone, such as granite, marble, slate, limestone, and travertine.
Each type of stone offers unique textures, colours, and durability features. Stone tiles are renowned for their beauty, timeless appeal, and long-lasting nature, making them ideal for both residential and commercial applications.
They are also valued for being eco-friendly, as they are made from natural resources and require minimal processing.
What Are Stone Pavers?
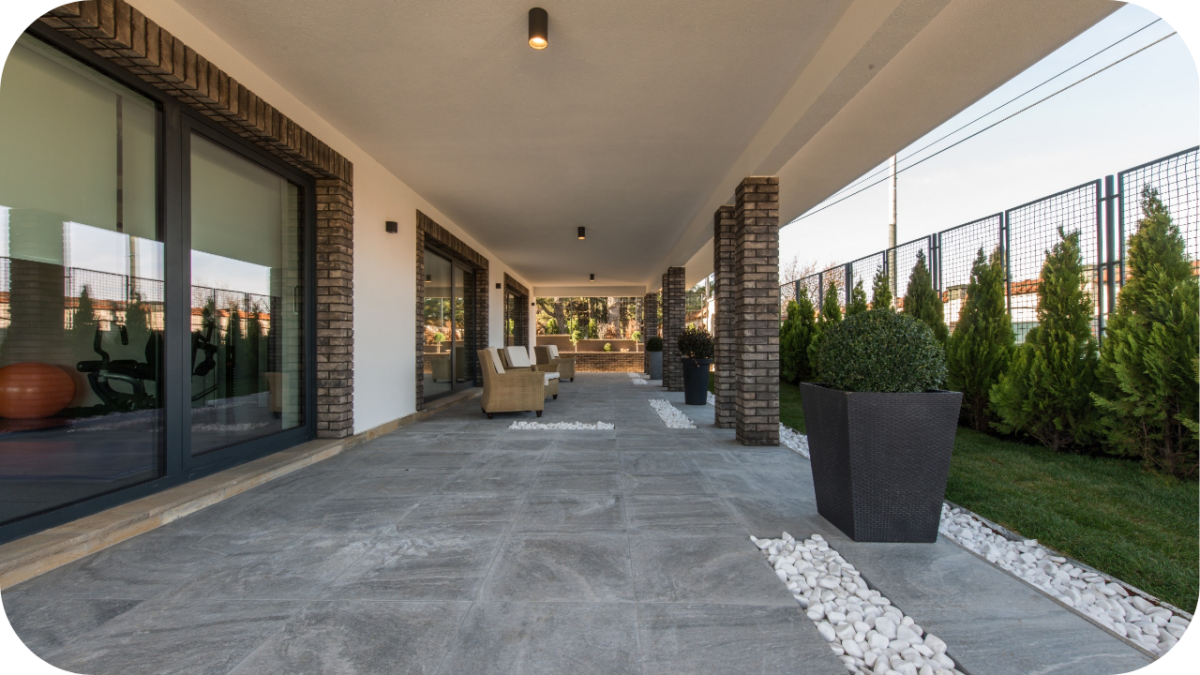
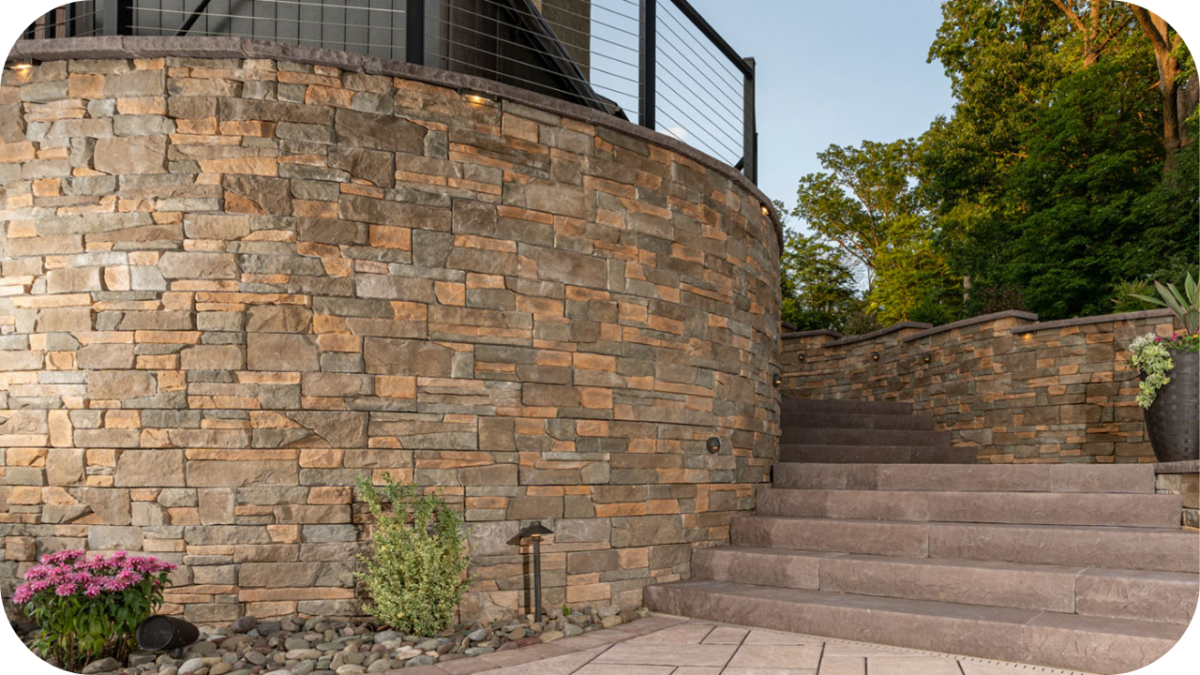
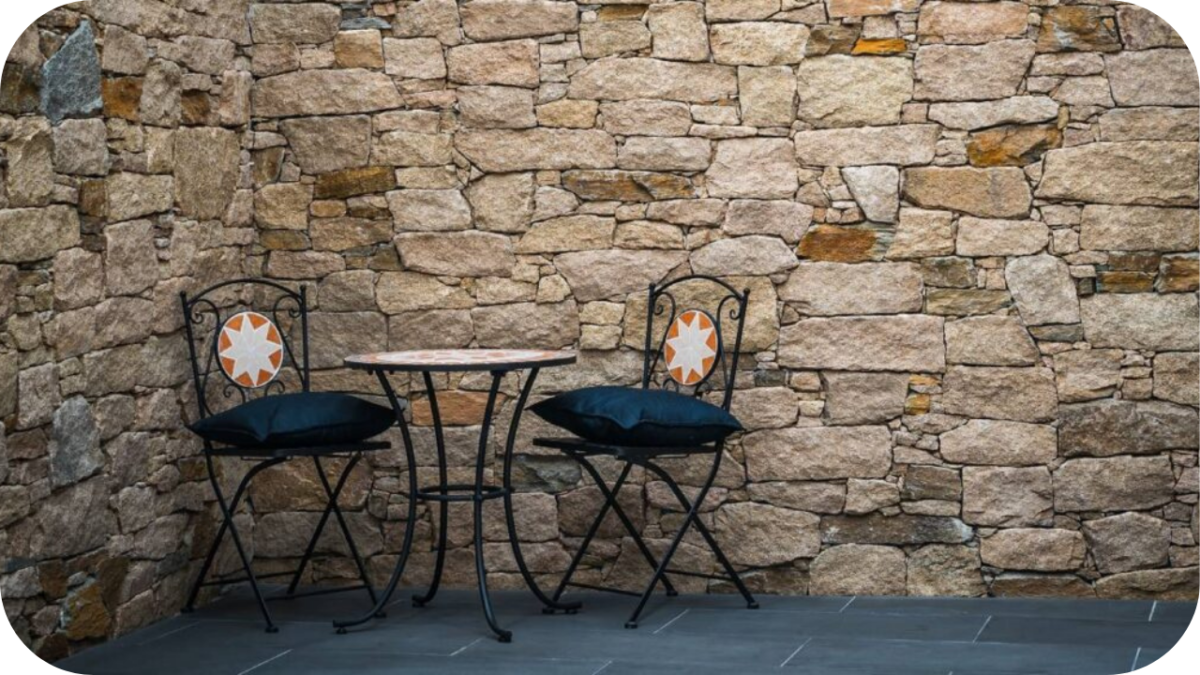
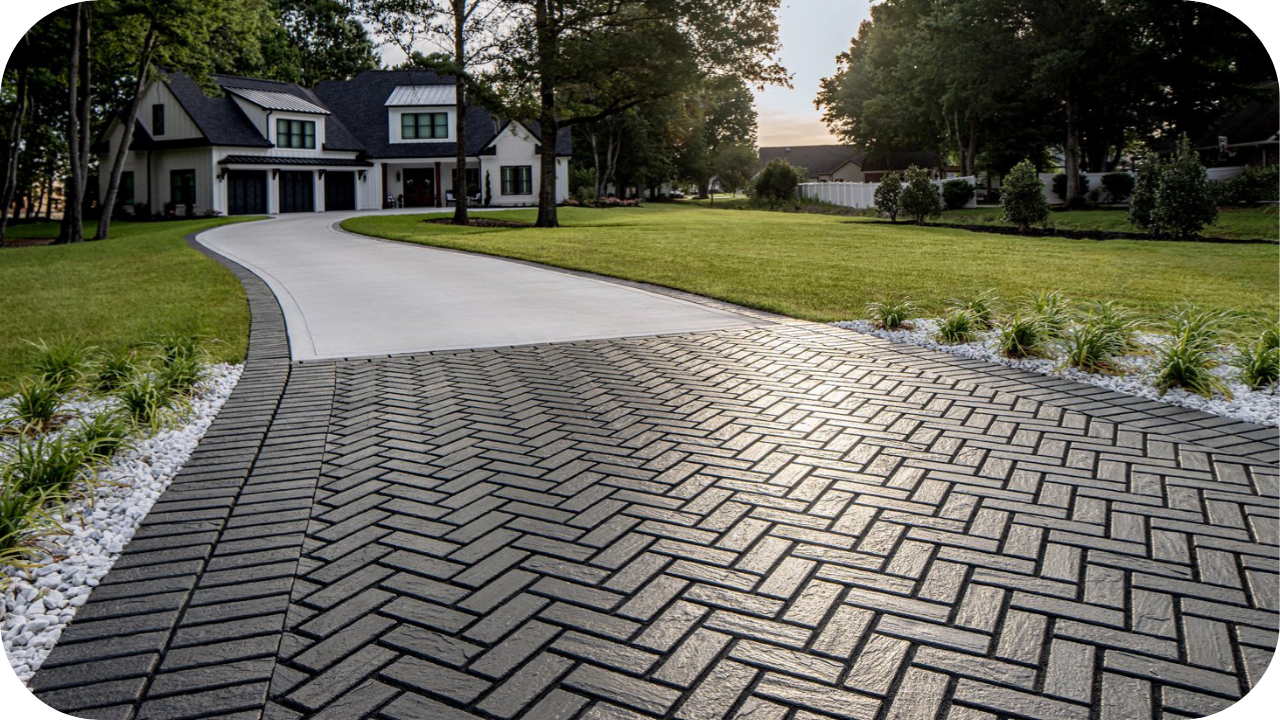
Stone pavers are individual stones that are typically cut into flat, rectangular, or square shapes and are used to create durable and attractive surfaces for driveways, patios, walkways, and other outdoor areas.
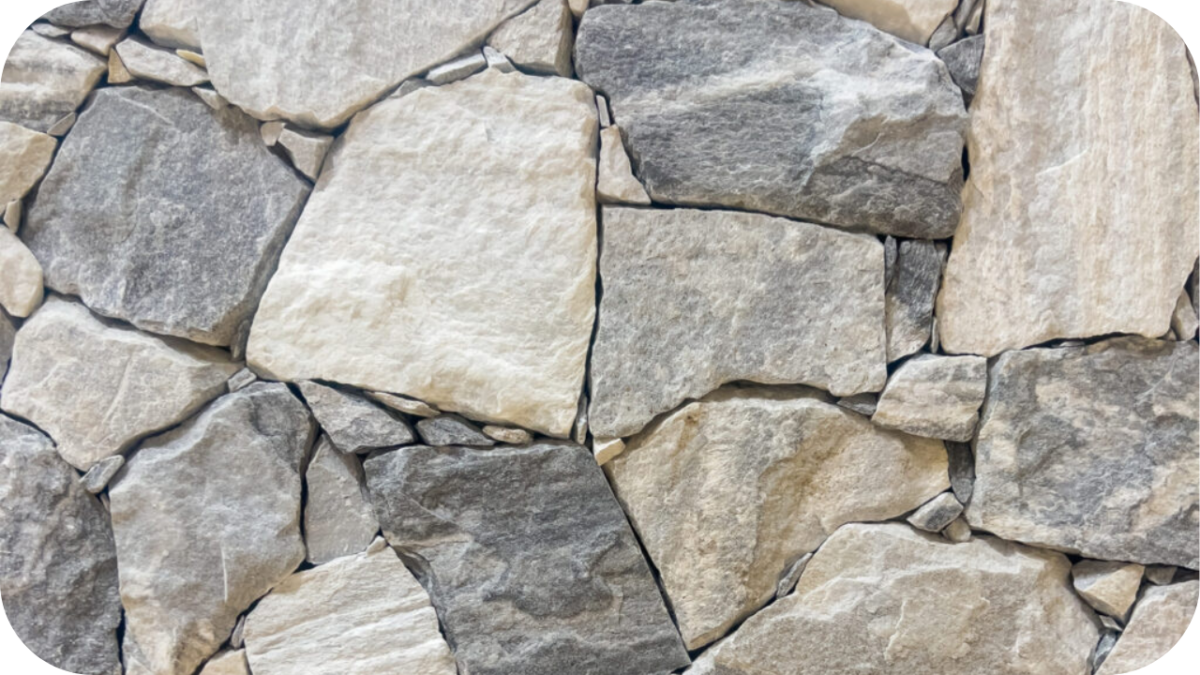
Made from natural stones like granite, sandstone, limestone, or slate, stone pavers offer a timeless aesthetic and are highly resistant to wear and tear.
These pavers are known for their strength, versatility, and ability to withstand harsh weather conditions, making them a popular choice for landscaping and hardscaping projects.
Additionally, stone pavers can be arranged in various patterns to enhance the visual appeal of outdoor spaces.
Key Differences Between Stone Tiles and Stone Pavers

The key differences between stone tiles and stone pavers are mainly related to their use, thickness, and installation. Here’s a breakdown:
1. Usage
Stone tiles are primarily used indoors for flooring and walls in spaces like kitchens, bathrooms, and living areas. Their sleek and polished appearance is perfect for creating an elegant, refined atmosphere.
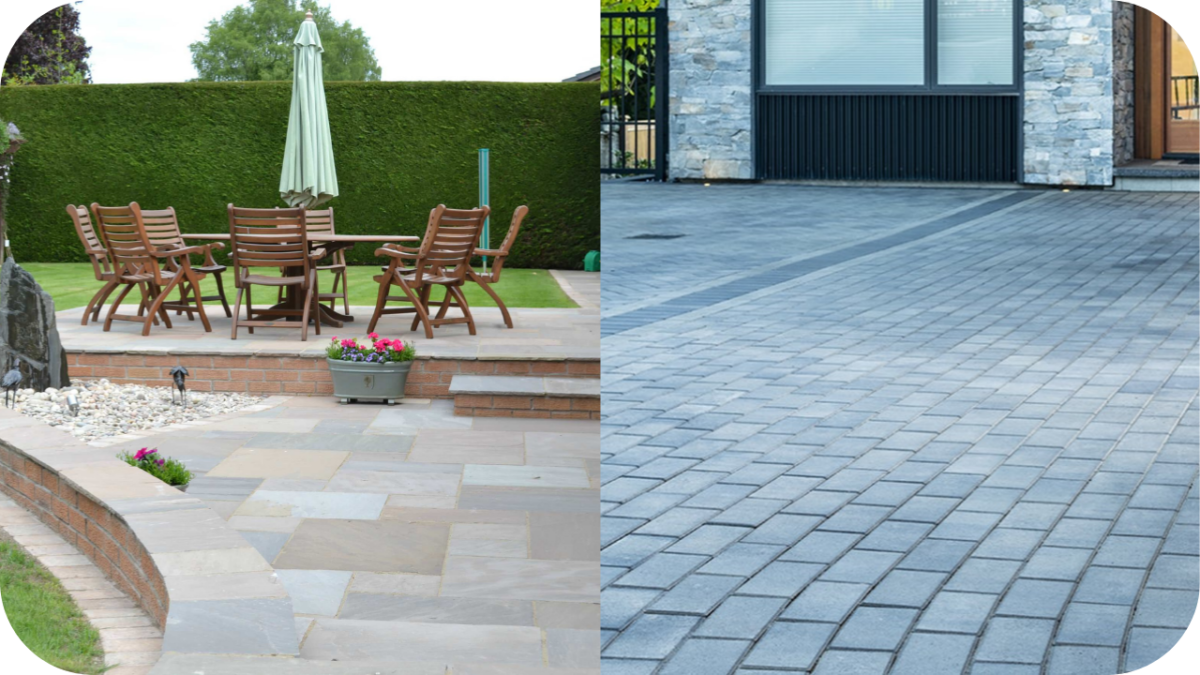
On the other hand, stone pavers are designed for outdoor applications such as patios, driveways, walkways, and garden paths. They are ideal for areas that need durability and the ability to withstand external elements.
2. Thickness
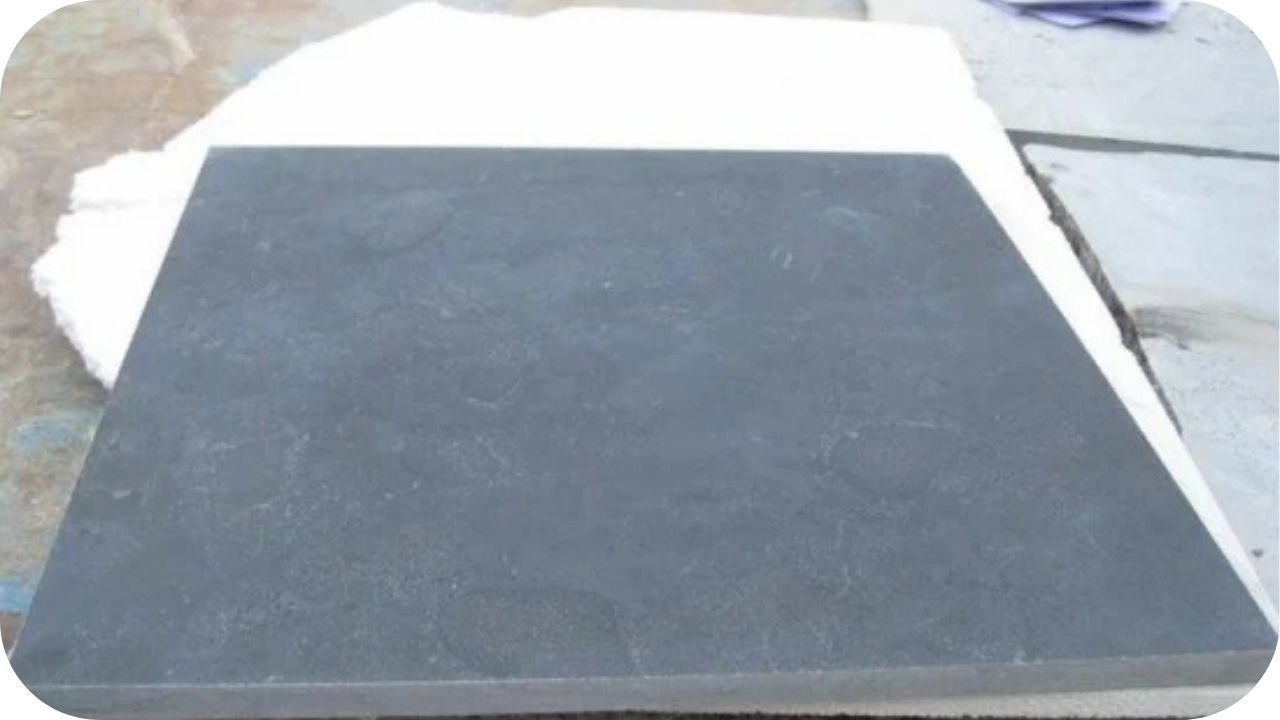
Stone tiles are typically thinner, ranging from 8mm to 12mm, making them suitable for indoor use where weight and pressure are less of a concern. Their lighter profile allows for easier installation on smooth surfaces.
In contrast, stone pavers are much thicker. They generally range from 20mm to 50mm, to endure outdoor conditions, heavy foot traffic, and vehicle load, offering greater structural strength.
3. Installation
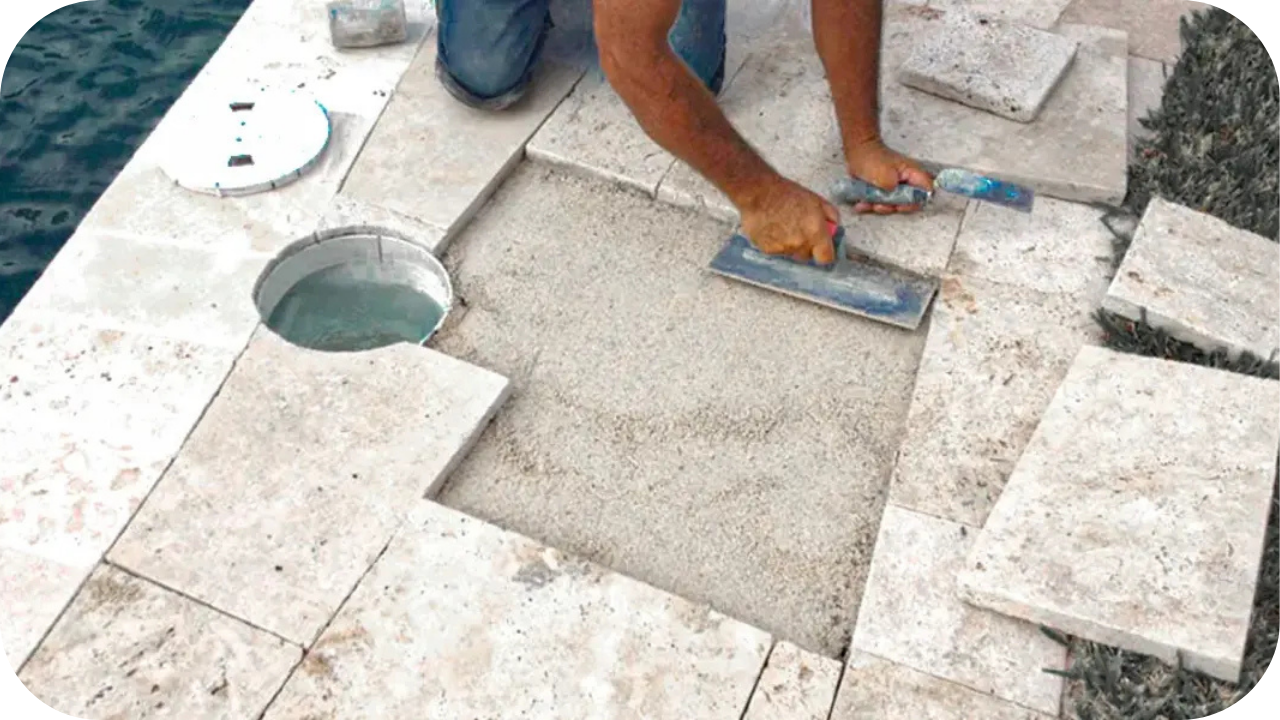
Stone tiles are usually installed with mortar or adhesive on a smooth, prepared surface and grouted between the pieces for a seamless finish. They require a level base and precise alignment for a polished look.
Stone pavers, however, are laid on sand or gravel with minimal gaps, allowing for easier installation without grout. This method offers flexibility and ensures proper drainage, making it better suited for outdoor settings.
4. Surface Finish
Stone tiles typically have a polished or honed finish, giving them a smooth, glossy, and elegant appearance. This finish enhances their aesthetic appeal, making them ideal for creating a high-end, sophisticated look indoors.
In contrast, stone pavers usually feature a rougher, textured surface designed to provide better traction, making them more practical for outdoor spaces like driveways and patios.
5. Durability
Stone tiles are durable but can be more susceptible to cracking under heavy impact or pressure, especially in high-traffic areas. While they are suitable for moderate indoor use, they may not withstand the rigours of outdoor conditions.
Stone pavers, on the other hand, are highly durable and designed to endure heavy foot traffic, vehicles, and changing weather. Their thickness and robust construction make them an excellent choice for outdoor spaces exposed to harsh conditions.
6. Maintenance
Stone tiles require regular cleaning and occasional sealing to maintain their polished finish. Due to their smooth surface, dirt and moisture can be easier to wipe off, but grout lines between tiles can collect dirt and require attention.
Stone pavers, however, are easier to maintain outdoors, as their rougher surface naturally hides dirt and debris. They typically require less maintenance than tiles, though occasional cleaning and sealing may still be necessary to preserve their appearance and prevent moss growth.
Advantages of Stone Tiles and Stone Pavers
This table helps you compare the advantages side by side for a better understanding of their differences and benefits.
| Advantages | Stone Tiles | Stone Pavers |
| Aesthetic Appeal | Offers a polished, sophisticated look for indoor spaces. | Provides a rugged, natural look ideal for outdoor spaces. |
| Durability | Strong and long-lasting when properly maintained. | Extremely durable, built to withstand heavy loads and weather. |
| Easy to Clean | A smooth surface makes cleaning easier and more convenient. | Low maintenance, resistant to stains, and easy to wash. |
| Eco-friendly | Made from natural stone with minimal processing. | Environmentally friendly, made from natural resources. |
| Versatility in Design | Available in various colours and textures for interior design. | Available in multiple shapes and sizes, offering design flexibility. |
| Natural Drainage | Not applicable for drainage. | Allows for natural drainage, preventing water pooling. |
| Maintenance | Requires sealing and attention to grout lines. | Requires minimal upkeep, with occasional cleaning needed. |
Which Option Works Best for Your Project?

Deciding between stone tiles and stone pavers depends on the nature of your project and the environment in which the material will be used:
- For indoor use: Stone tiles are ideal for floors, walls, and surfaces in spaces like kitchens, bathrooms, and living rooms. They’re easier to install and offer a sleek, uniform appearance.
- For outdoor areas: Stone pavers excel in outdoor settings, providing a durable surface for driveways, patios, and garden paths. They can withstand extreme weather and high traffic, making them perfect for hardscaping projects.
- For high-traffic or functional spaces: Choose stone pavers for their strength and slip-resistant properties. They’re the better option for areas like driveways or pool surrounds that need durability and safety.
- For decorative or modern applications: Opt for stone tiles for their refined look and versatility in both classic and contemporary interiors.
Conclusion
The decision between stone tiles and stone pavers depends on your specific needs—whether it’s the sleek look of tiles for interiors or the durability of pavers for outdoor, high-traffic spaces. Understanding the key differences between the two can help you make a more informed choice, ensuring your investment stands the test of time.
Need help choosing the right material for your project? Contact Splendour in Stone for expert advice, premium stone options, and professional installation services.