Why Hire a Stonemason? The Benefits of Expert Stonework for Your Home
Finding the right materials and techniques for home improvement projects can be daunting.
Poorly executed stonework diminishes aesthetic appeal and can lead to structural issues, costing time and money.
Hiring a professional stonemason ensures quality craftsmanship, durability, and timeless beauty, transforming your home with expert precision.
Why Hire a Stonemason?
Hiring a stonemason ensures expert craftsmanship for your stonework projects, enhancing durability and aesthetic appeal. They bring specialised skills, experience, and tools to precisely cut, shape, and install stone, creating timeless, high-quality finishes. Their knowledge of materials and techniques guarantees your project is completed efficiently and to the highest standards.
Types of Stonework for Your Home
Stonework can significantly enhance the beauty and value of your home. Understanding the different types of stonework available can help you make informed decisions about your renovation or construction project.
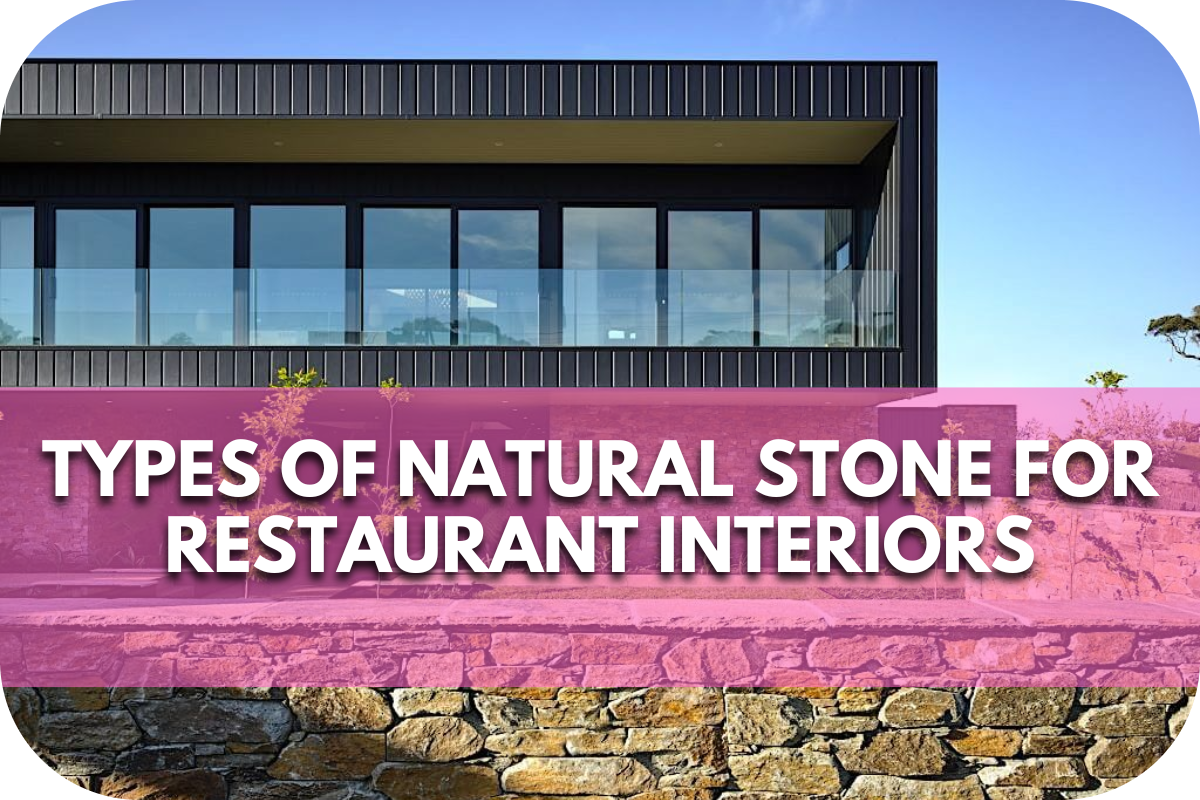
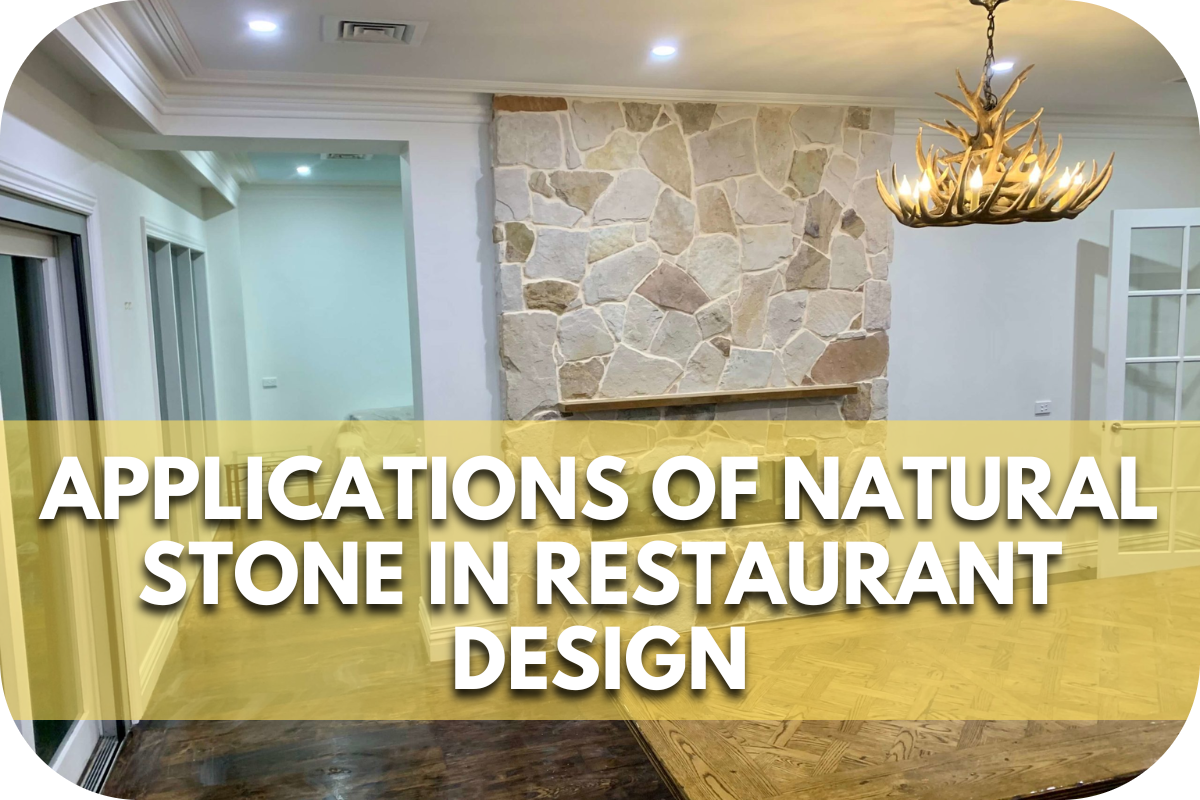
- Wall Cladding involves applying a natural or engineered stone layer to the exterior or interior walls. It adds texture, durability, and a sophisticated aesthetic to any space, providing excellent insulation and protection from weather elements.
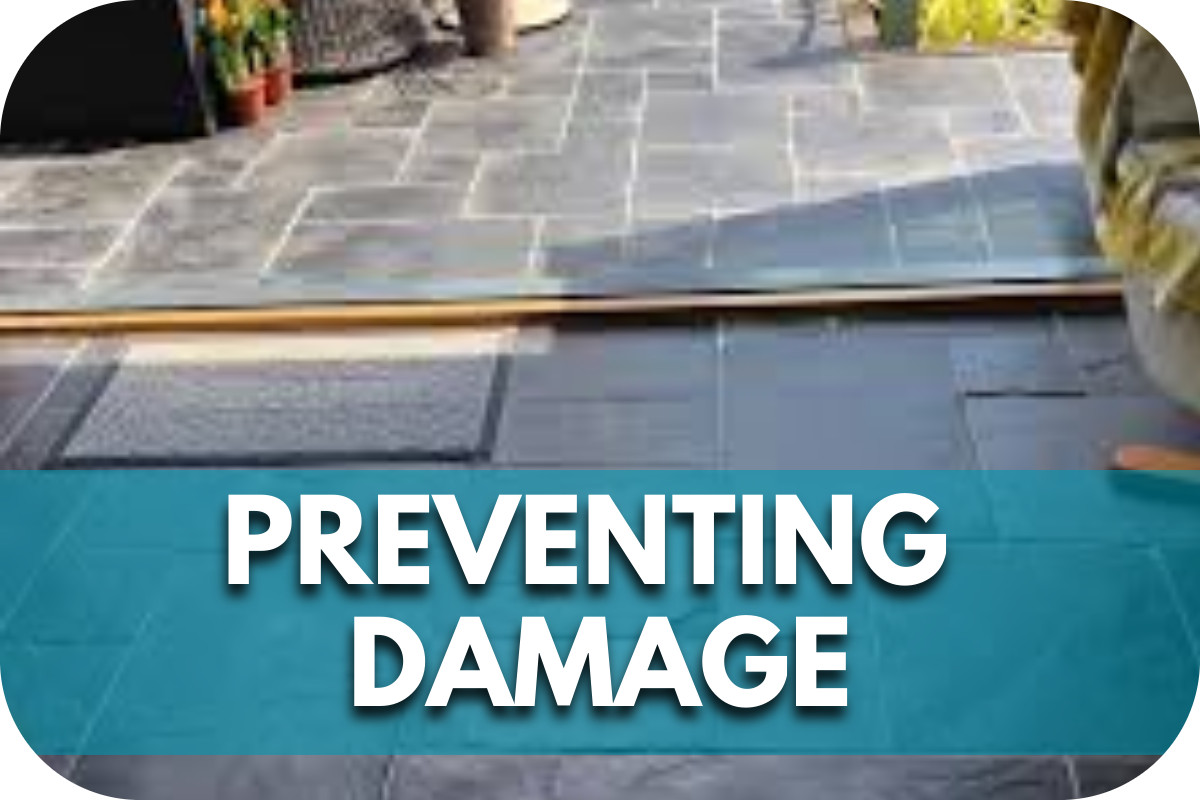
- Paving: Stone pavers are perfect for creating durable and attractive patios, pathways, and driveways. They come in various shapes, sizes, and materials, such as granite, sandstone, and limestone, each offering unique benefits and visual appeal.
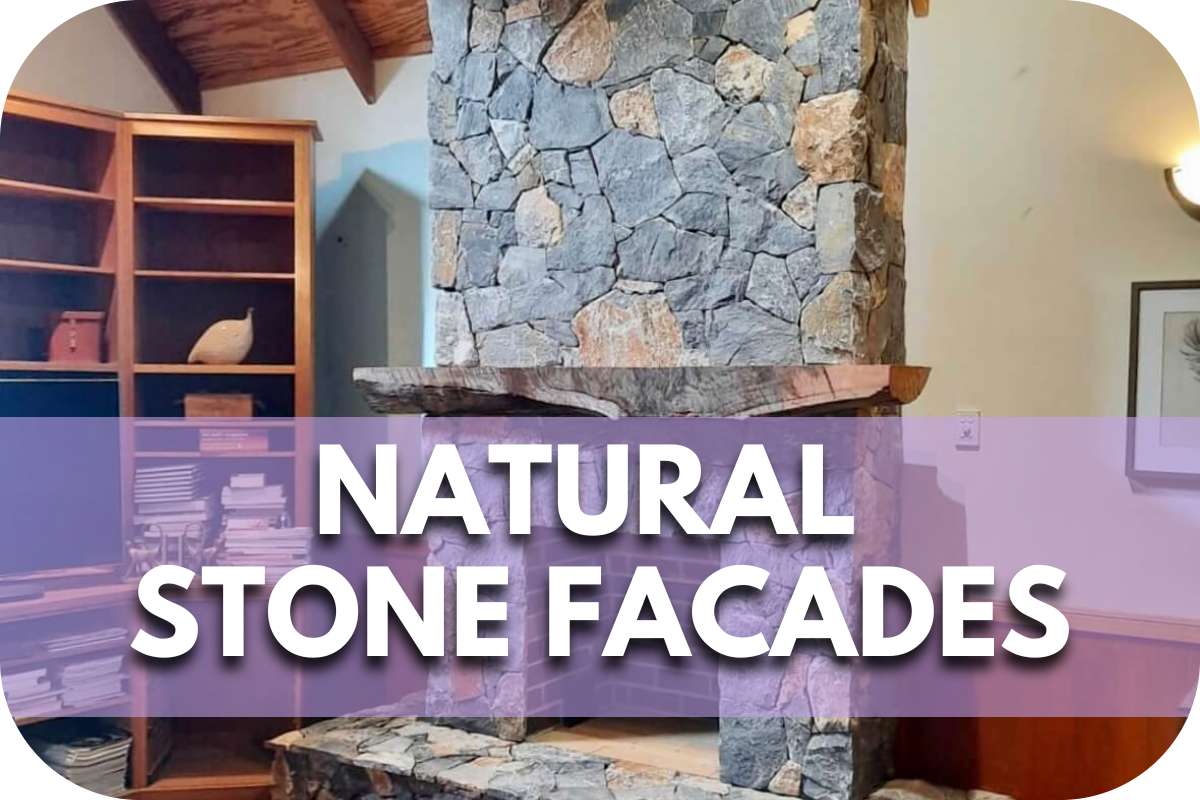
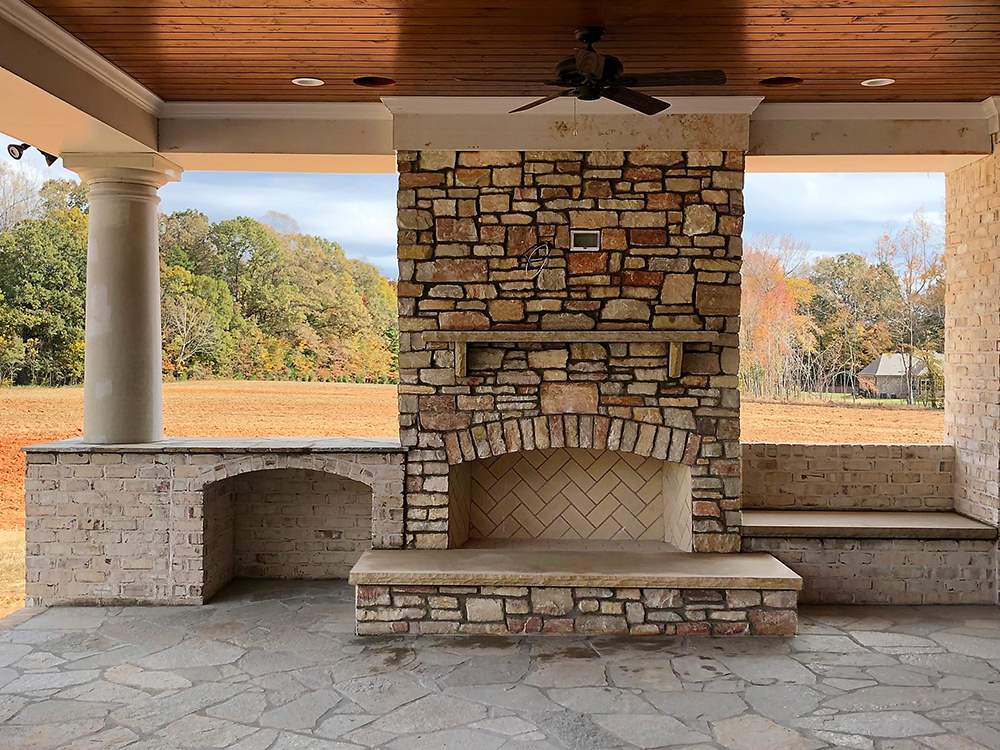
- Fireplaces: A stone fireplace is a stunning focal point in any living area. Whether you choose traditional masonry or a modern design, stone fireplaces provide warmth and a rustic charm that enhances your home’s cosiness.
- Retaining Walls: These structures are not only functional but also add an element of beauty to your landscape. Stone retaining walls help manage soil erosion, create usable garden space, and offer a natural, elegant look.
Benefits of Hiring a Professional Stonemason
Investing in expert stonework enhances both the beauty and value of your home. Hiring a professional stonemason ensures your vision is realised with precision and excellence.
1. Unparalleled Craftsmanship
A professional stonemason offers unmatched craftsmanship. They possess deep knowledge of stone properties and work with materials like granite, limestone, and sandstone with precision.
Their artistry ensures each project is unique, combining traditional techniques with modern innovations for aesthetic appeal and structural soundness.
Professional stonemasons excel at problem-solving and handling challenges like uneven surfaces and intricate designs. They create custom features like arches and carvings, adding distinctive touches to your home.
They ensure durable, long-lasting stonework by adhering to industry standards and using high-quality materials.
2. Durability and Longevity
One of the most compelling reasons to hire a professional stonemason is the durability and longevity of expertly crafted stonework. Stone is inherently strong and resistant to weather, wear, and time, making it an ideal choice for interior and exterior applications.
Professional stonemasons ensure that your stonework is beautiful and built to last. They meticulously select high-quality stones and apply precise techniques to enhance the material’s natural durability.
This attention to detail means your stone features can withstand harsh weather conditions, resist erosion, and maintain their structural integrity over decades.
Additionally, expert stonemasonry involves proper installation techniques that prevent common issues such as shifting, cracking, or settling. A well-laid stone structure by a skilled stonemason will require minimal maintenance and repair, saving you time and money in the long run.
3. Customisation and Unique Design
Customisation and unique design are key benefits of hiring a professional stonemason for home projects. These craftsmen possess the skill and creativity to tailor stonework to your specifications, ensuring it complements your home’s architecture and reflects your style.
Professional stonemasons can create bespoke features such as intricate carvings, archways, and decorative elements that add character and charm to any space. Whether you desire a modern, minimalist design or a traditional, ornate finish, they can translate your vision into a tangible masterpiece.
Moreover, professional stonemasons offer expertise in material selection. They guide you through various options, including granite, limestone, and sandstone, helping you choose the best stone type, colour, and texture to achieve your desired aesthetic.
4. Increased Property Value
Investing in expert stonework through a professional stonemason can significantly increase the value of your property. Well-crafted stonework enhances curb appeal and makes a lasting impression on potential buyers, highlighting the quality and durability of your home.
Professional stonemasons utilise high-quality materials and craftsmanship that add a sense of luxury and sophistication to your property. Features like stone cladding, paved pathways, or a custom fireplace enhance aesthetic appeal and contribute to your home’s overall functionality and desirability.
Moreover, stonework is known for its durability and low maintenance, making it an attractive feature for buyers looking for long-term investments. Properties with well-maintained stonework often command higher prices in the real estate market due to their timeless appeal and perceived value.
5. Expert Material Selection
Expert material selection is crucial when hiring a professional stonemason for home projects. These specialists possess in-depth knowledge of various stone types, such as granite, limestone, and sandstone, enabling them to recommend the most suitable materials based on your specific needs and preferences.
When selecting materials for your project, professional stonemasons consider factors like durability, aesthetics, and maintenance requirements.
They ensure that the chosen stones enhance the visual appeal of your home and meet functional requirements, such as weather resistance for exterior applications or ease of maintenance for high-traffic areas.
Moreover, professional stonemasons source high-quality materials from reputable suppliers, ensuring consistency and reliability in every project. Their expertise lets them advise on colour options, textures, and finishes that align with your design goals, creating a cohesive and visually pleasing result.
6. Compliance with Building Regulations
Ensuring expert compliance with building regulations is a paramount reason to hire a professional stonemason for your home projects.
These specialists thoroughly understand local building codes and regulations, ensuring all stonework meets legal requirements and safety standards.
Professional stonemasons are adept at obtaining necessary permits and approvals for your project and can easily navigate bureaucratic processes.
They ensure that your stonework is structurally sound and meets all safety guidelines, mitigating potential risks associated with improper installation or non-compliance.
Moreover, professional stonemasons prioritise quality and precision in their work, adhering to industry best practices to achieve compliance. From foundation integrity to load-bearing considerations, they handle all aspects of stonework construction with meticulous attention to detail.
7. Time and Cost Efficiency
Expert stonemasonry services offer significant time and cost efficiencies for your home improvement projects. Professional stonemasons streamline the process from planning to completion, ensuring deadlines are met without compromising quality.
Experienced stonemasons possess honed skills that enable them to work efficiently, reducing project timelines compared to DIY or inexperienced labour. They can access specialised tools and techniques that facilitate precise craftsmanship and minimise errors.
Moreover, professional stonemasons manage costs effectively by accurately estimating project expenses and avoiding unnecessary expenditures. They source materials at competitive prices, utilise efficient labour practices, and plan meticulously to prevent delays and budget overruns.
8. Design and Planning
Expert design and planning are foundational advantages of engaging a professional stonemason for home projects.
These specialists combine creative vision with technical expertise, ensuring that your stonework perfectly complements your aesthetic preferences and practical needs.
Professional stonemasons begin with a thorough consultation to understand your goals and vision for the project. They assess your space, propose design concepts, and provide detailed plans that outline every aspect of the stonework, from materials and colours to structural considerations.
Moreover, professional stonemasons leverage their experience to foresee potential challenges and develop practical solutions during the planning phase. They consider site conditions, architectural style, and integration with existing features to ensure seamless execution.
How to Choose the Right Stonemason
Choosing the right stonemason is crucial to achieving superior quality and durability in stonework projects.
Begin by assessing their experience and expertise in the type of stonework you require, whether it’s intricate stone cladding or robust paving. Look for certifications and memberships in professional associations that validate their skills and commitment to industry standards.
References and testimonials from previous clients are invaluable. They provide insight into the stonemason’s reliability, craftsmanship, and ability to meet deadlines.
Additionally, inquire about their portfolio to evaluate the diversity and scale of their past projects. A reputable stonemason will be transparent about their capabilities and gladly showcase their work.
Discuss the materials they use and their sourcing practices. Quality materials are essential for long-lasting results, so ensure they have access to premium stones suited to your aesthetic and practical requirements.
Moreover, clarify their approach to project management and communication. Clear timelines, regular updates, and a collaborative workflow are indicators of a professional stonemason who values client satisfaction.
Conclusion
Hiring a professional stonemason guarantees unmatched quality, durability, and aesthetic appeal for your home. From precise craftsmanship to superior materials, expert stonework transforms spaces with lasting beauty.
Consider the transformative power of skilled stonemasonry for your next home improvement project and elevate your living environment today.