Pool Coping vs Paving: What’s the Difference?

When designing your pool area, choosing the right materials for pool coping and pool paving is essential for both aesthetics and functionality.
Pool coping finishes the edges of the pool, offering protection and safety, while pool paving surrounds the area, creating a comfortable space. Understanding these elements will help you make the best choice for your outdoor space.
In this article, we’ll cover the key differences between coping and paving, their types, benefits, and how to choose the right option for your pool. Let’s dive in!
What is Pool Coping?
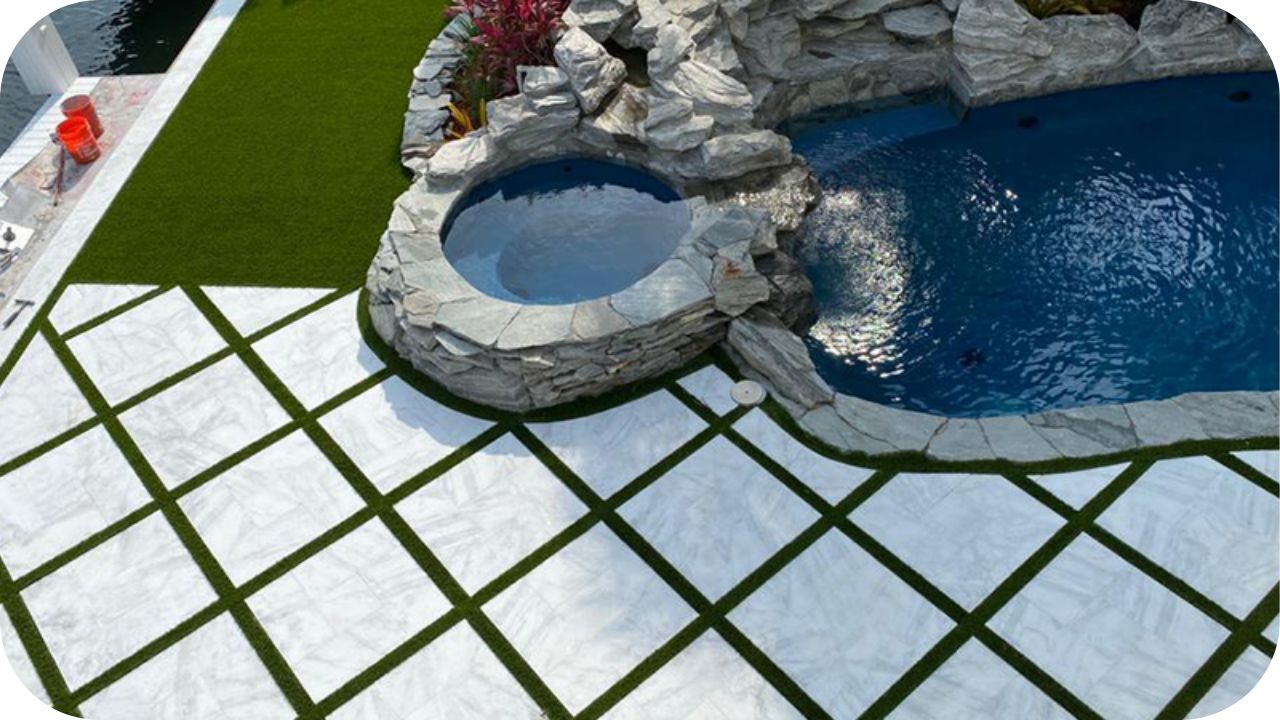
Pool coping refers to the material used to finish the edges of your pool. It serves both functional and aesthetic purposes, playing a crucial role in the overall design of the pool area.
Pool coping not only provides a clean, polished look but also offers protection against water damage by diverting water away from the pool’s edge.
Additionally, it improves safety by reducing sharp edges and creating a smoother transition between the pool and surrounding areas. Pool coping is essential for enhancing both the appearance and safety of your pool.
Types of Pool Coping
There are several different types of pool coping, each offering unique characteristics to suit different pool designs and personal preferences. Here’s a breakdown of the most popular options:
- Bullnose Coping: Features a smooth, rounded edge that provides a soft, elegant look. It creates a seamless and comfortable transition around the pool, ideal for achieving a sleek, polished, and refined finish.
- Square-edged coping: Known for its clean, sharp lines, square-edged coping offers a modern, minimalist appearance. It’s perfect for creating a contemporary design with defined boundaries between the pool and the surrounding area.
- Mitered Coping: This type allows for seamless corner transitions, ideal for pools with curves or intricate shapes. Mitered coping offers design flexibility, with sharp, clean corners providing a polished and sophisticated look.
- Cantilevered Coping: Features a floating edge, creating the illusion that the pool’s edge extends outward. This luxurious and modern style is perfect for contemporary pool designs, adding elegance and high-end appeal to the space.
Benefits of Pool Coping
Pool coping provides several key advantages that go beyond aesthetics. Here are some of the top benefits:
1. Improved Safety
Coping reduces the risk of injury by eliminating sharp edges. It provides a smooth, rounded transition around the pool, making the area safer for swimmers and reducing the likelihood of accidents, especially when the pool area is wet.
2. Effective Water Management
Coping helps manage water flow by directing it away from the pool’s edge. This prevents water from spilling over, which can damage the surrounding area or create unwanted puddles, ensuring that the landscape stays intact and water is properly diverted.
3. Enhanced Aesthetic Appeal of Your Pool
The right coping enhances the overall appearance of your pool. It frames the pool beautifully, providing a sleek, finished look that complements your outdoor space. Coping helps tie together the pool design, creating a polished and professional finish.
4. Long-Lasting Durability
Materials like stone, concrete, and brick are built to withstand harsh conditions. Coping protects the edges of the pool from water exposure, chemicals, and weather, offering long-lasting durability. It ensures your pool remains functional and visually appealing for years to come.
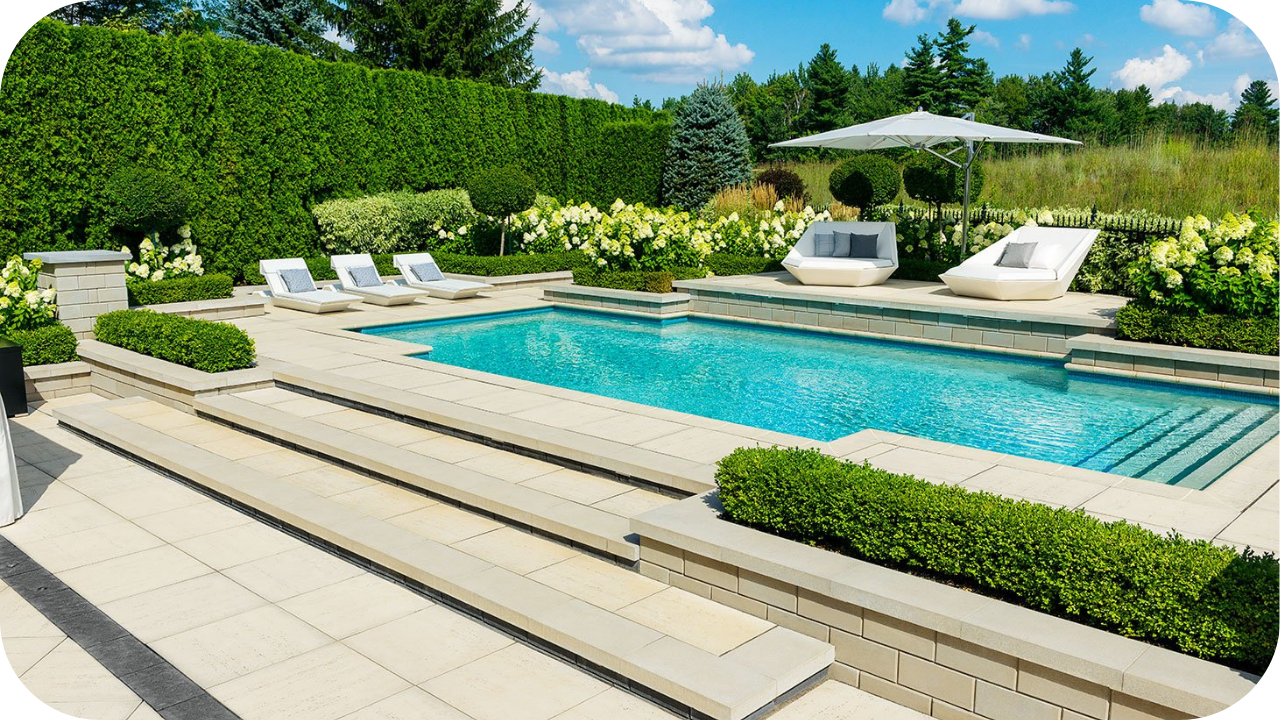
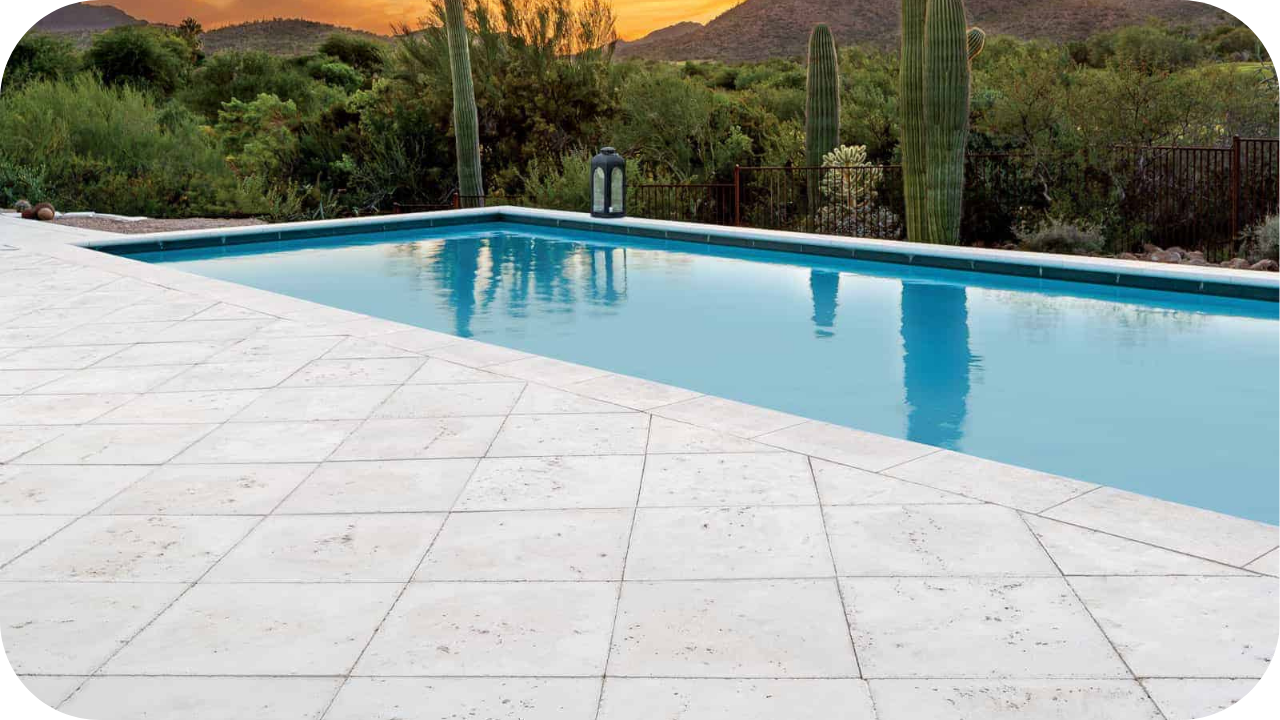
What is Pool Paving?
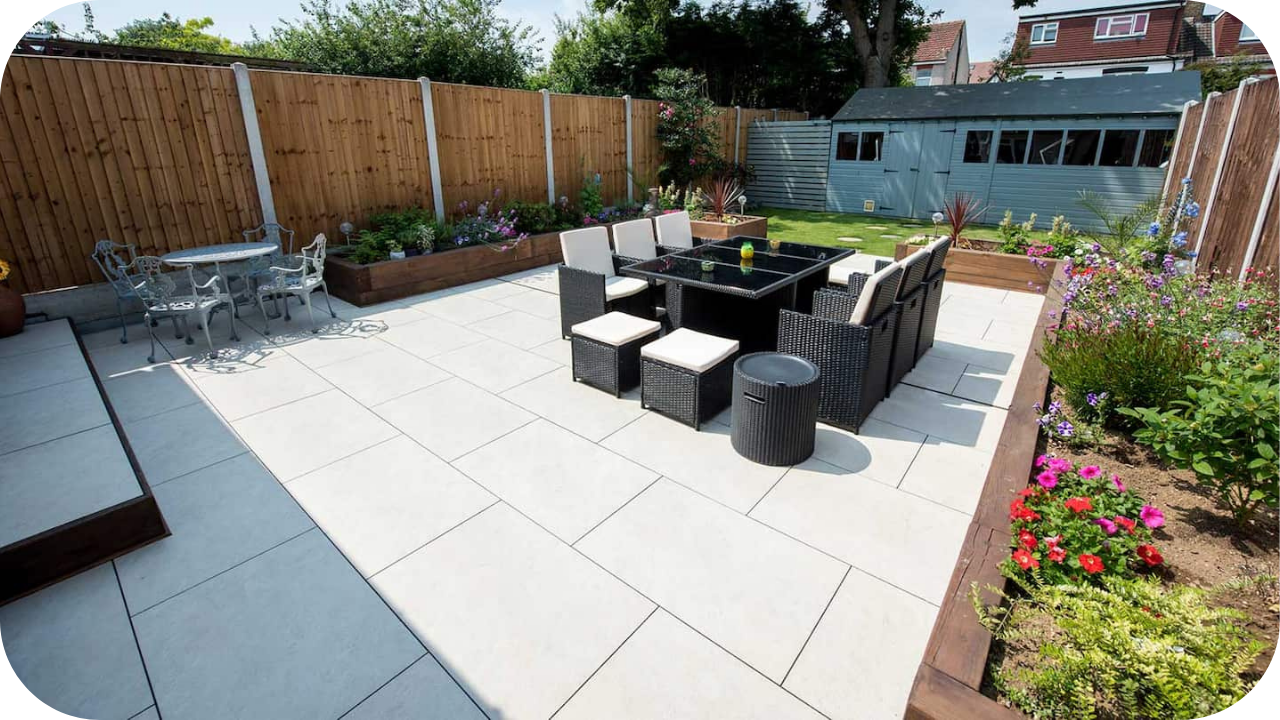
Pool paving refers to the material used to cover the area surrounding your pool. It serves both aesthetic and practical purposes by creating a comfortable, functional space. Paving provides a durable surface for walking, lounging, and entertaining, while complementing the overall design of the pool area.
The primary role of pool paving is to enhance the functionality of the poolside while providing a safe, slip-resistant surface that can withstand exposure to water and weather conditions. It also adds visual appeal by framing the pool and creating a cohesive look for your outdoor space.
Types of Pool Paving
When selecting the right paving for your pool, there are several options to consider, each offering unique benefits based on style, durability, and performance. Here are some of the most popular types of pool paving:
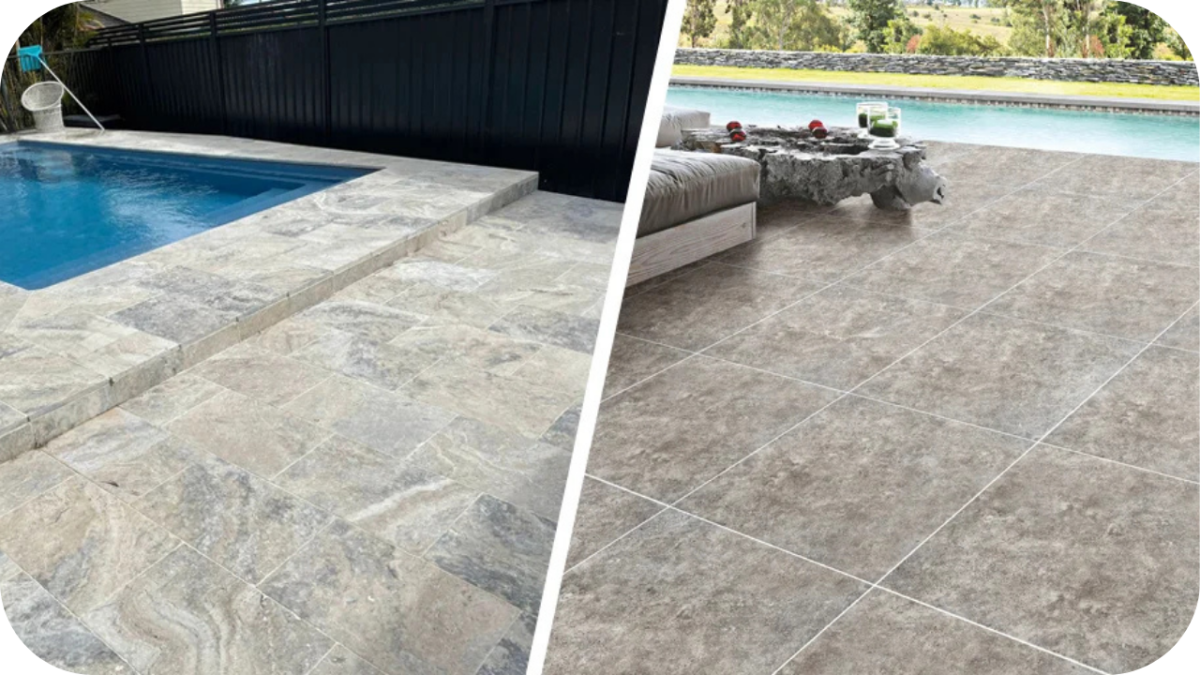
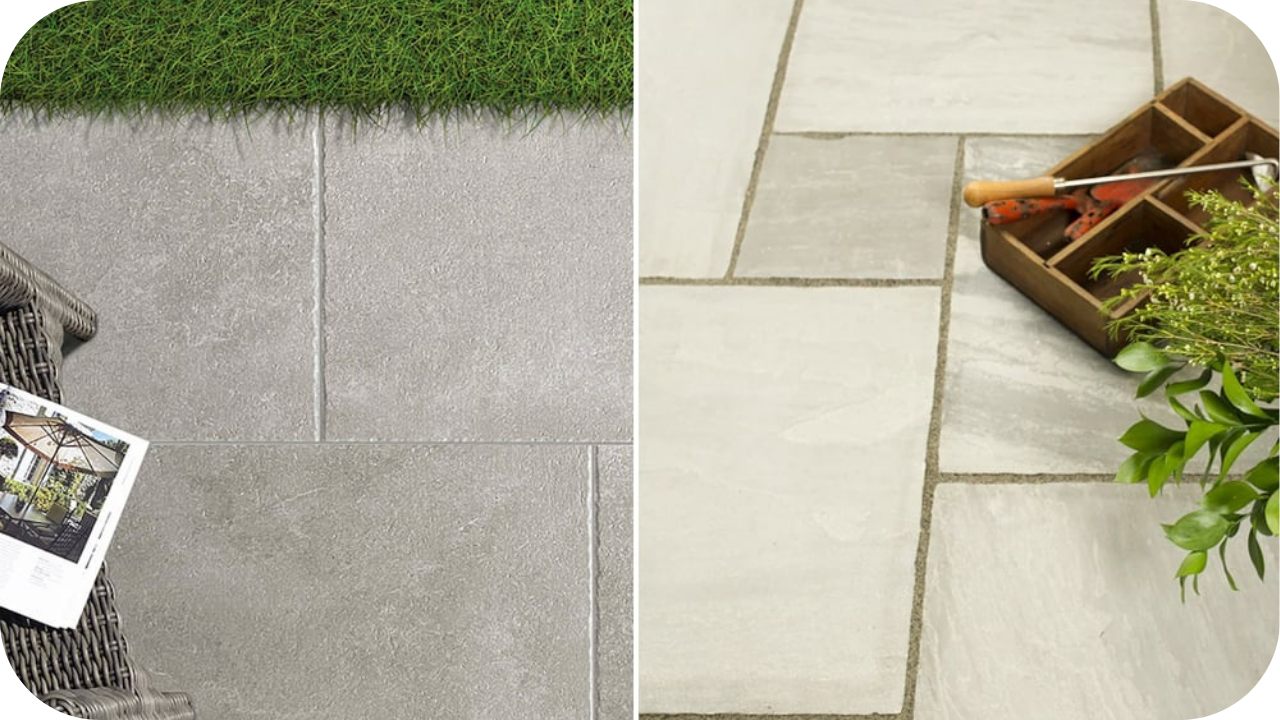
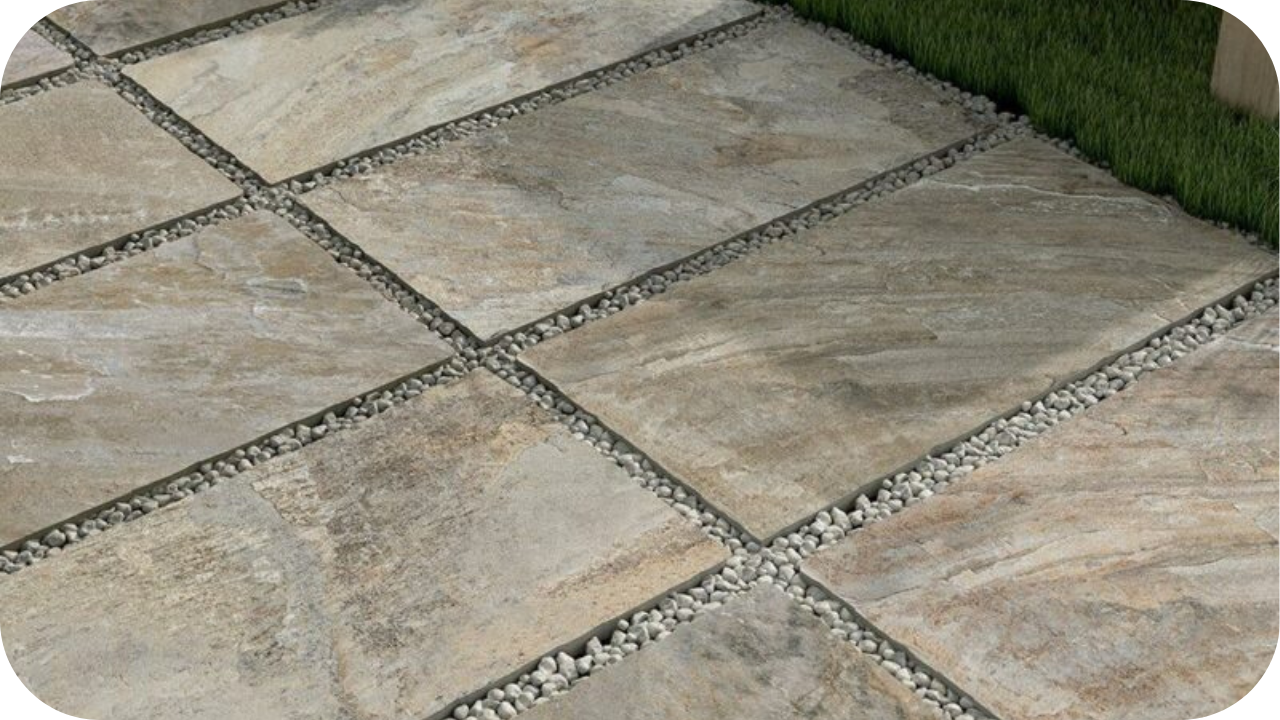
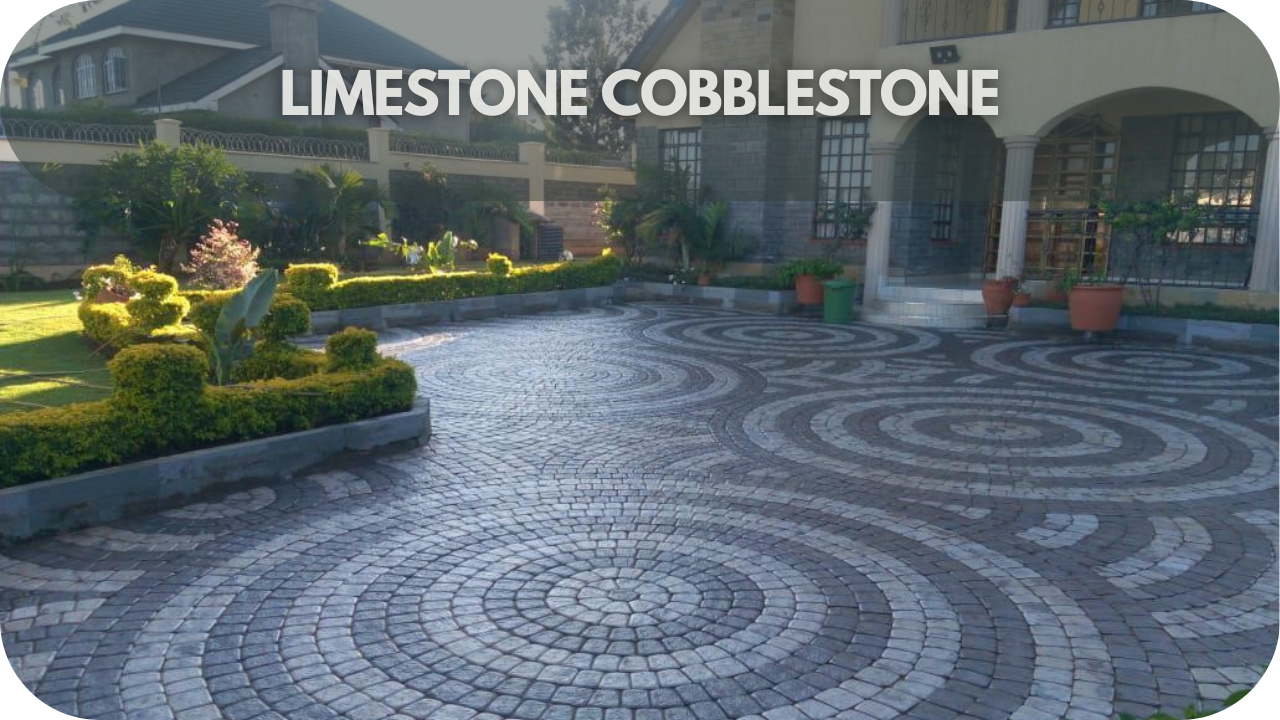
- Natural Stone Paving: Materials like limestone, travertine, and granite offer a timeless, elegant look with natural textures. These stones are durable, weather-resistant, and perfect for creating a luxurious poolside environment.
- Concrete Paving: A versatile, cost-effective option, concrete can be customised with finishes like stamped or textured. It’s durable, easy to maintain, and available in a variety of colours and styles to suit your design.
- Clay Paving: Known for its rustic charm, clay paving provides a traditional, Mediterranean-style look. It’s heat-resistant and durable but requires regular maintenance to maintain its appearance and longevity around the pool.
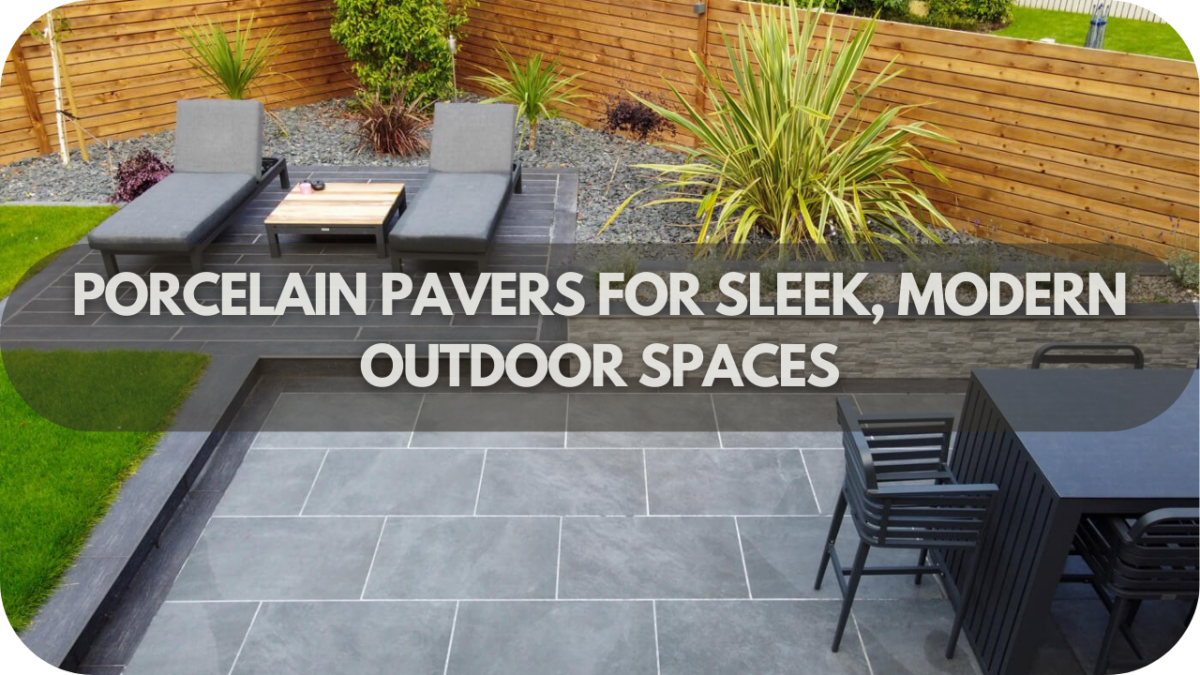
- Porcelain Paving: A low-maintenance, durable option, porcelain is resistant to staining, fading, and moisture. Porcelain is ideal for pool areas, and comes in a variety of styles to suit any design.
Benefits of Pool Paving
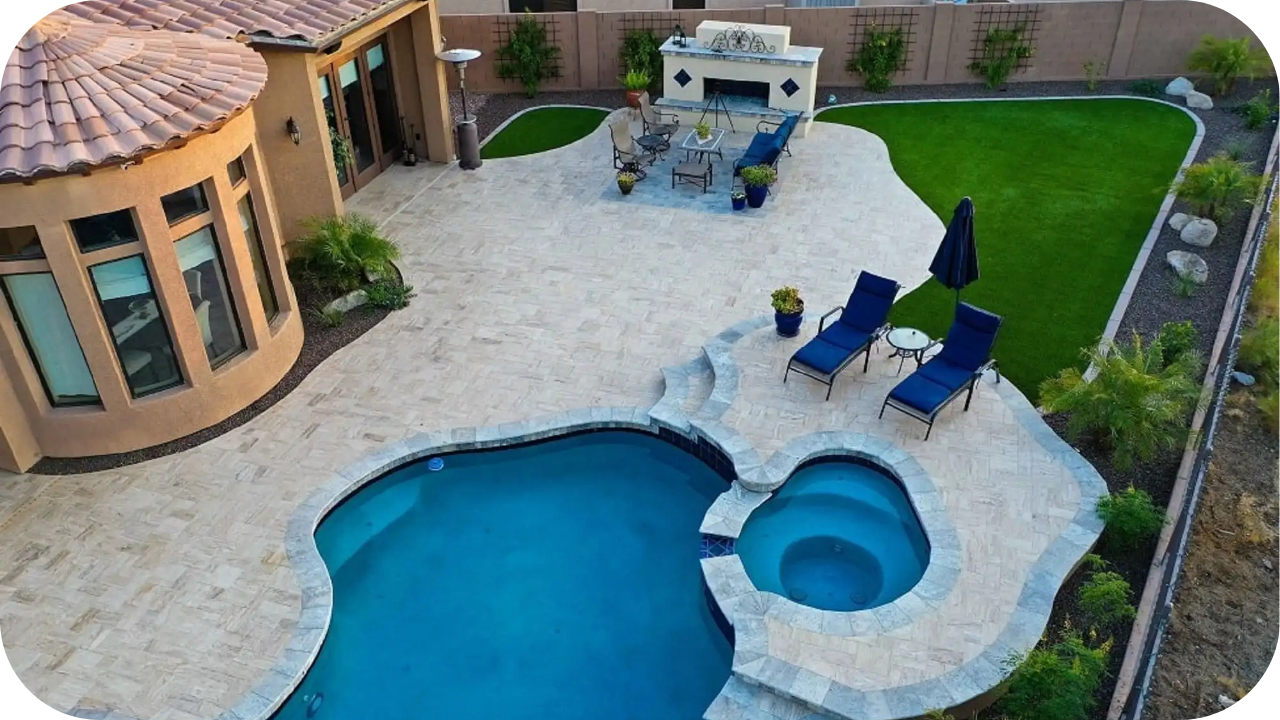
Choosing the right paving for your pool can elevate both its look and functionality. Let’s take a closer look at how pool paving offers comfort, durability, and aesthetic appeal, making your pool area a standout feature.
1. Comfort and Practicality
Pool paving provides a stable, comfortable surface for walking, lounging, and entertaining around the pool. It’s designed to enhance the usability of the pool area, ensuring you can enjoy outdoor activities with ease and comfort, especially in high-traffic areas.
2. Durability and Low Upkeep
Pool paving materials like concrete, porcelain, and natural stone are built to last.. These options are highly resistant to wear, weather, and exposure to pool chemicals, requiring little maintenance while offering long-term durability and reliability, even under harsh conditions.
3. Aesthetic Diversity
Pool paving comes in a variety of materials, colours, and textures, allowing you to customise your poolside to match your style. Whether you prefer a modern, traditional, or rustic look, there’s a paving option that will perfectly complement your pool’s design.
4. Temperature Control
Hot summer days can make pool areas uncomfortable, but certain paving materials, like natural stone, remain cool underfoot, providing comfort for anyone walking around the pool. This temperature control feature ensures a pleasant experience, even during the hottest weather.
Pool Coping vs Paving: Key Differences
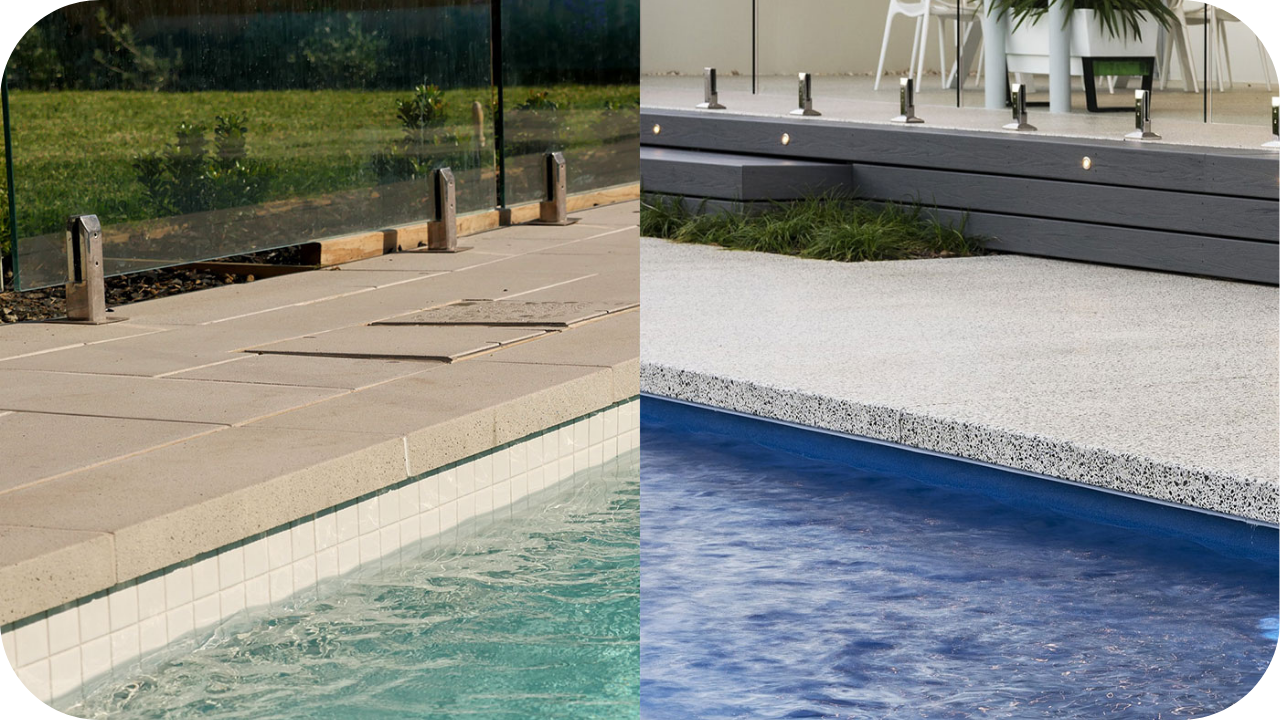
Understanding the differences between pool coping and paving is crucial when designing your pool area. Both serve distinct roles, complementing each other to create a functional and beautiful outdoor space. Here’s how they compare:
1. Aesthetic Differences
Pool coping is focused on framing the edges of the pool with a sleek, finished appearance. It creates a polished look by providing a clean boundary between the pool and the surrounding area.
Paving, on the other hand, surrounds the entire pool, playing a larger role in creating the overall design. It enhances the pool area’s visual appeal, adding texture, colour, and continuity throughout the entire space.
Coping highlights the pool’s shape, while paving ties together the entire design of the pool area, complementing both the pool and landscaping.
2. Functional Differences
Pool coping plays a crucial role in water management. It directs water away from the pool’s edge, preventing water from spilling over and causing damage to the surrounding area. It also provides a smoother transition around the pool for safety, reducing sharp edges.
Paving, however, focuses on creating a comfortable, usable space around the pool. It’s designed for activities like walking, lounging, and entertaining, providing a durable and visually pleasing surface for outdoor enjoyment.
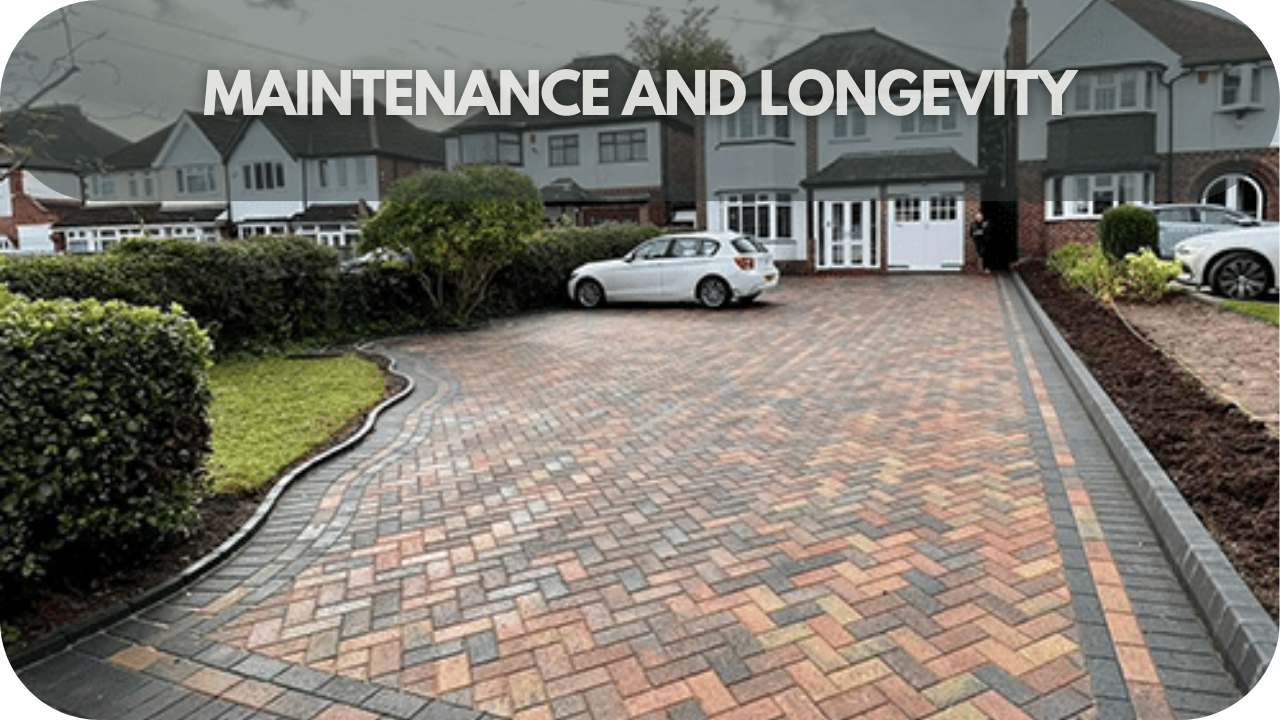
3. Durability and Maintenance
Both pool coping and paving are built to withstand exposure to water, weather, and pool chemicals. Pool coping materials like stone, concrete, and brick are highly durable, protecting the pool from damage over time.
However, coping may require occasional maintenance depending on the material. Paving materials like concrete, porcelain, and natural stone are also durable and can last for years.
Certain materials like porcelain require less upkeep, while stone may need sealing to maintain its appearance and durability.
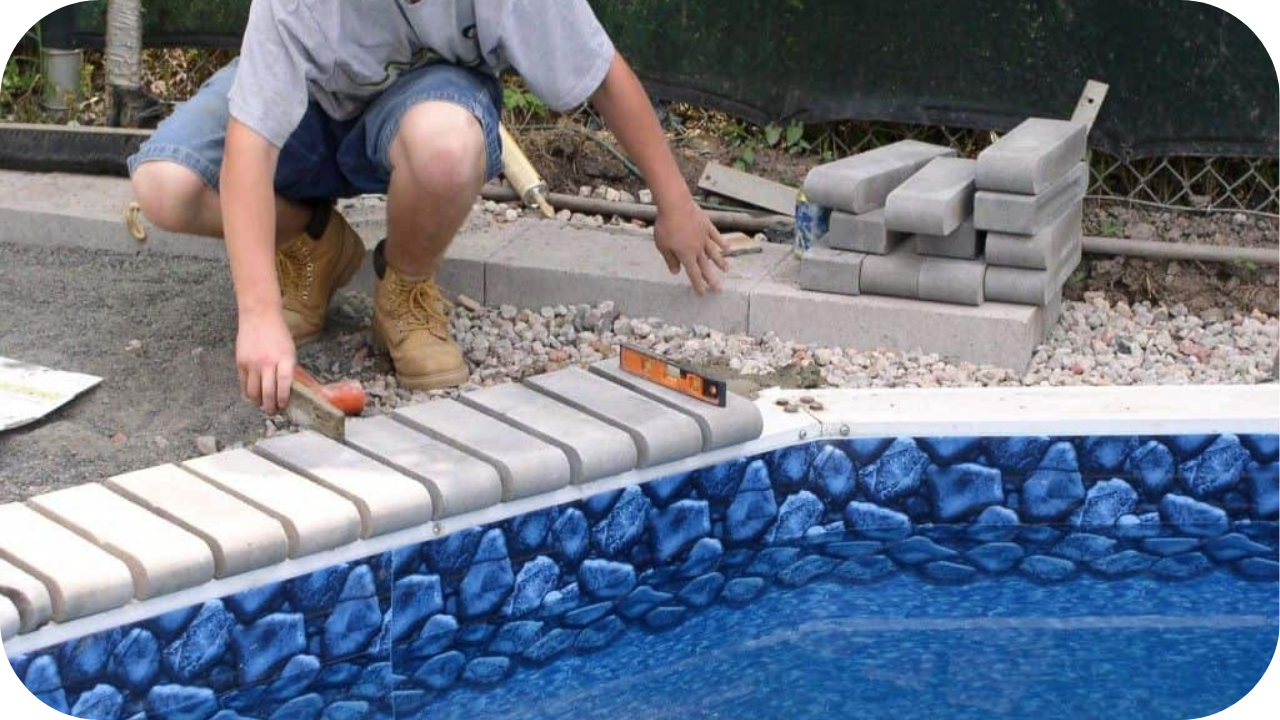
4. Installation Process and Cost
The installation process for pool coping typically involves more precision, as it must be carefully applied to the edges of the pool. Depending on the material, it may require custom cutting and shaping.
Paving installation, however, is generally more straightforward, as it covers larger areas around the pool. Costs can vary widely based on material choice, with natural stones being a higher-end option for both coping and paving. However, the overall cost is also influenced by the size of the area and installation complexity.
Which Option is Right for Your Pool?

Choosing between pool coping and paving depends on your pool’s design, budget, safety needs, and maintenance preferences.
The style of your pool is a key factor—modern pools may benefit from square-edged coping paired with sleek paving, while traditional pools might suit natural stone coping with rustic paving options.
Budget also plays a role, with paving typically covering larger areas and costing more, especially with premium materials. Coping is often more affordable but can still become costly with high-end materials. Safety is another consideration; coping protects the pool edges and prevents slips, while paving creates a comfortable walking surface.
For low-maintenance options, concrete and porcelain are great for both coping and paving, offering durability and minimal upkeep. Consider your pool’s aesthetics, functionality, and budget to find the perfect combination of coping and paving that works for your space.
Conclusion
Both pool coping and paving are crucial for the safety, functionality, and aesthetics of your pool area. Coping frames the pool, offering protection and enhancing the look, while paving creates a comfortable, usable space.
Your choice depends on factors like design, budget, and maintenance preferences. With the right materials, your pool area will remain durable, beautiful, and practical for years. Contact Splendour in Stone for expert advice and premium materials for your pool project.