6 Best Natural Stones for Cold Climates
In regions where biting cold and relentless winters prevail, selecting the right natural stone is crucial for both safety and style. Choosing a stone that withstands freeze-thaw cycles while maintaining its innate beauty can transform outdoor spaces into enduring masterpieces.
This article reveals six top natural stones that excel in cold climates, offering unrivalled durability and visual appeal. Alongside expert installation and maintenance advice, you’ll gain the insights needed to make an informed, lasting investment. Read on to discover the perfect stone for your next project.
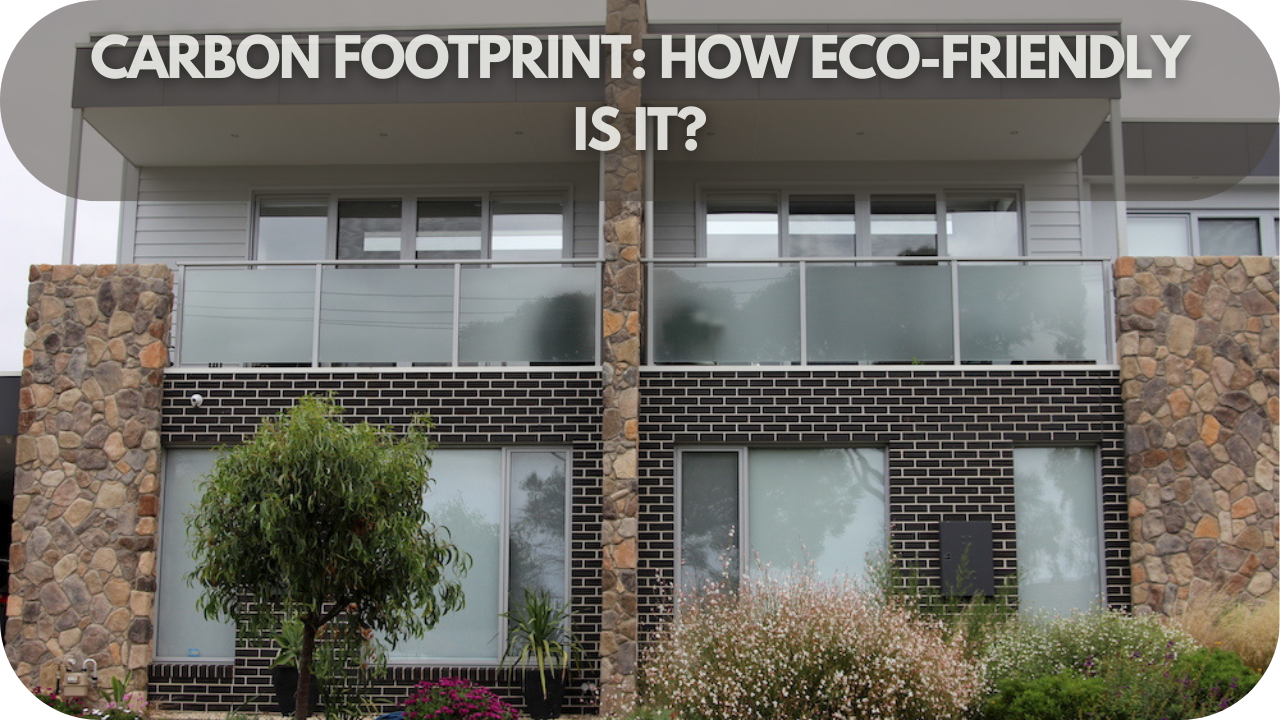
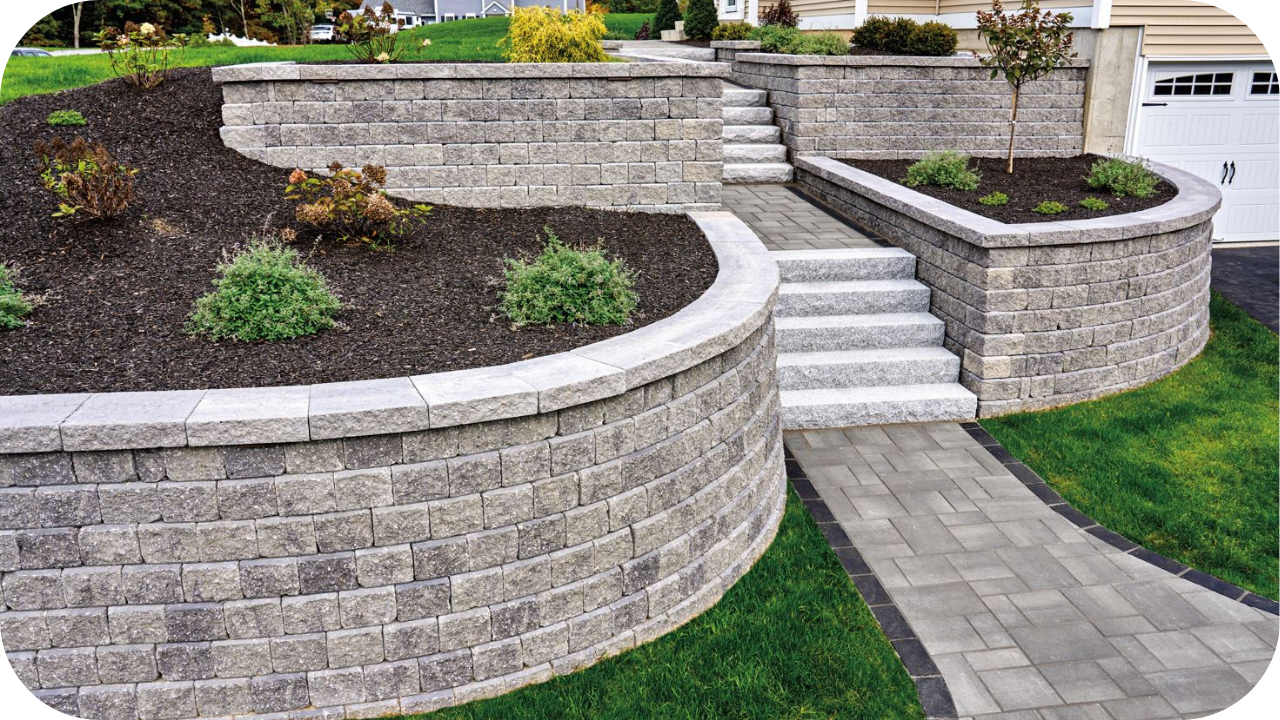
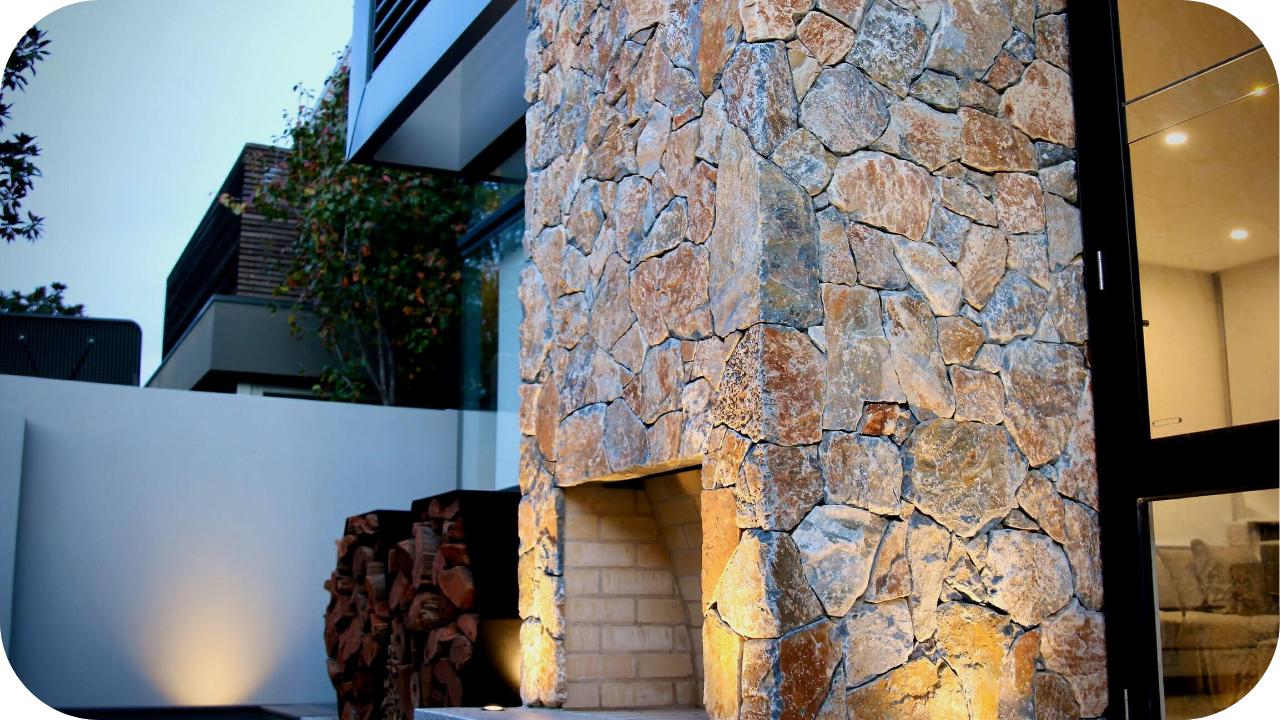
1. Granite
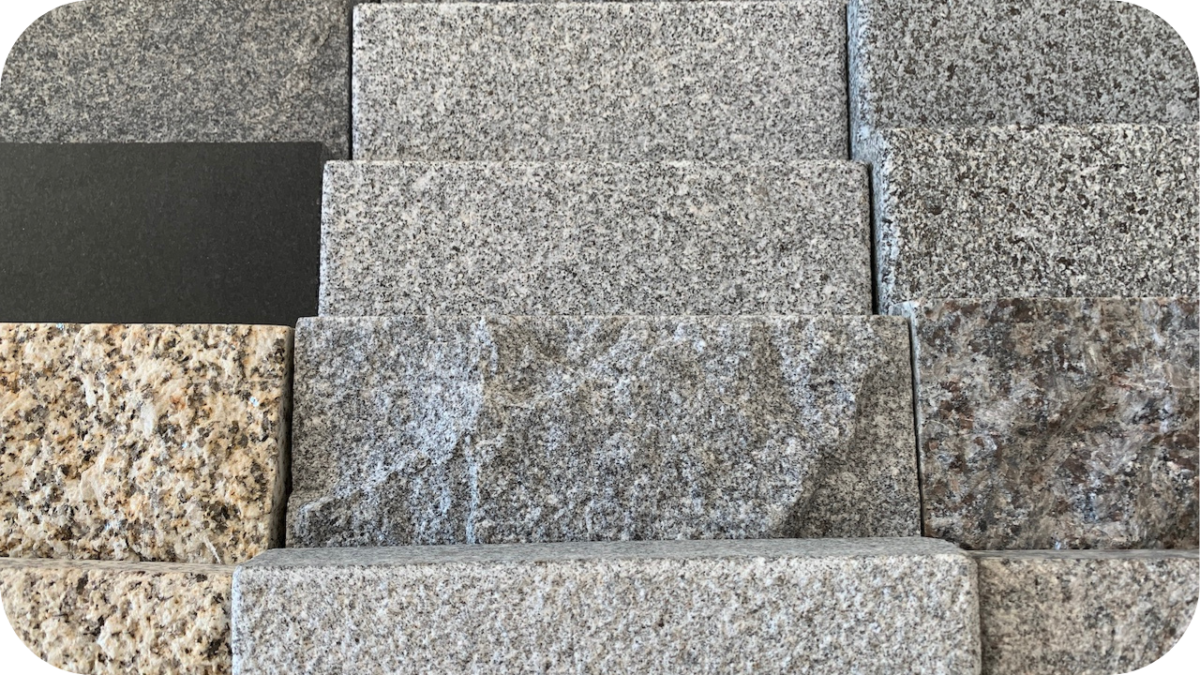
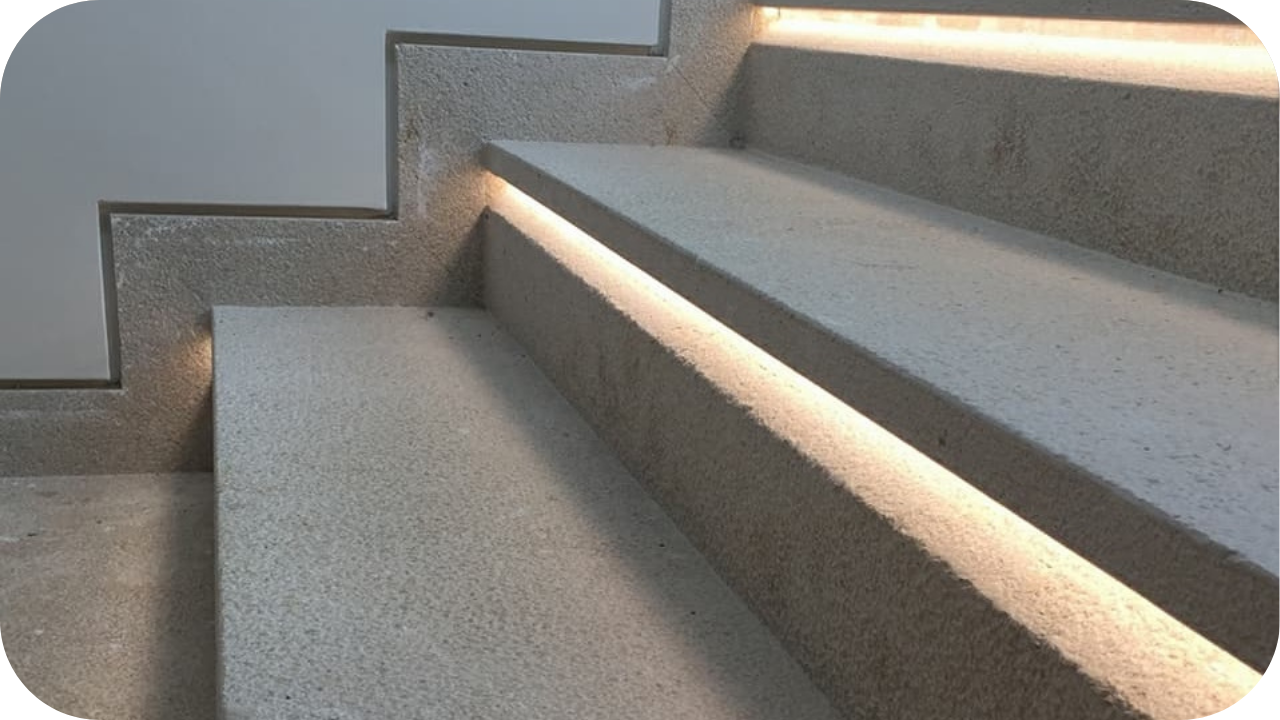
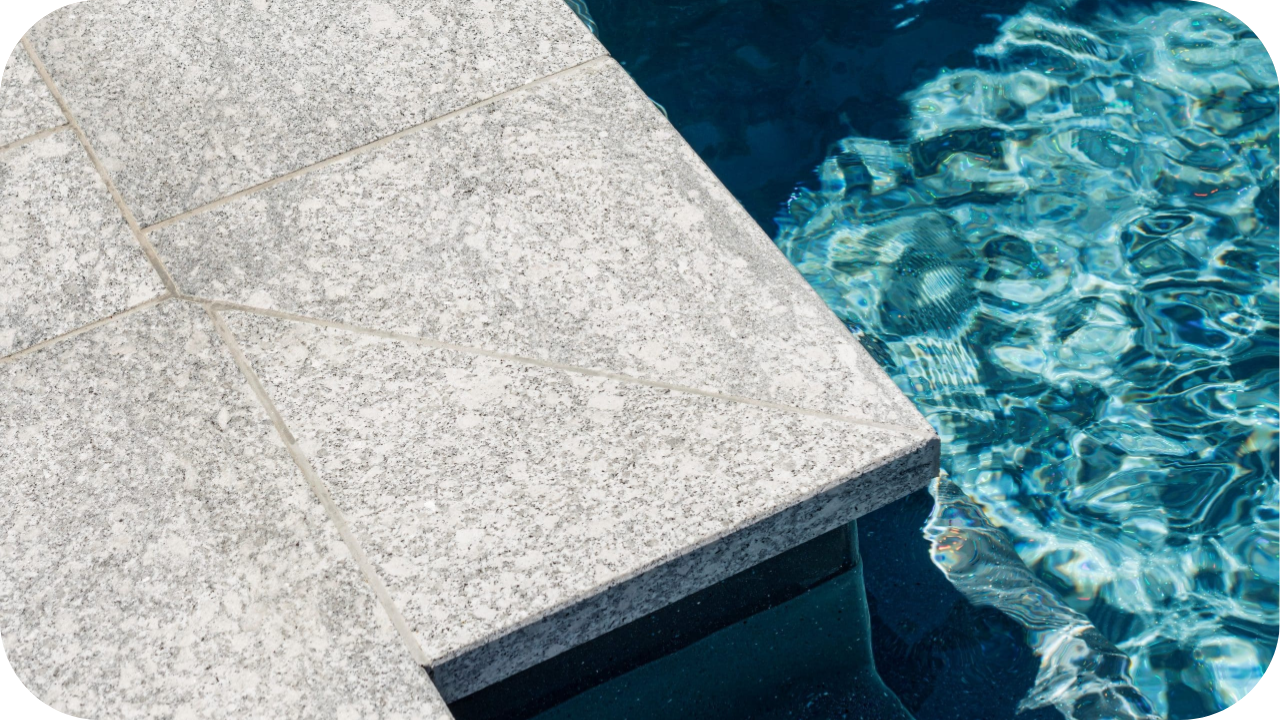
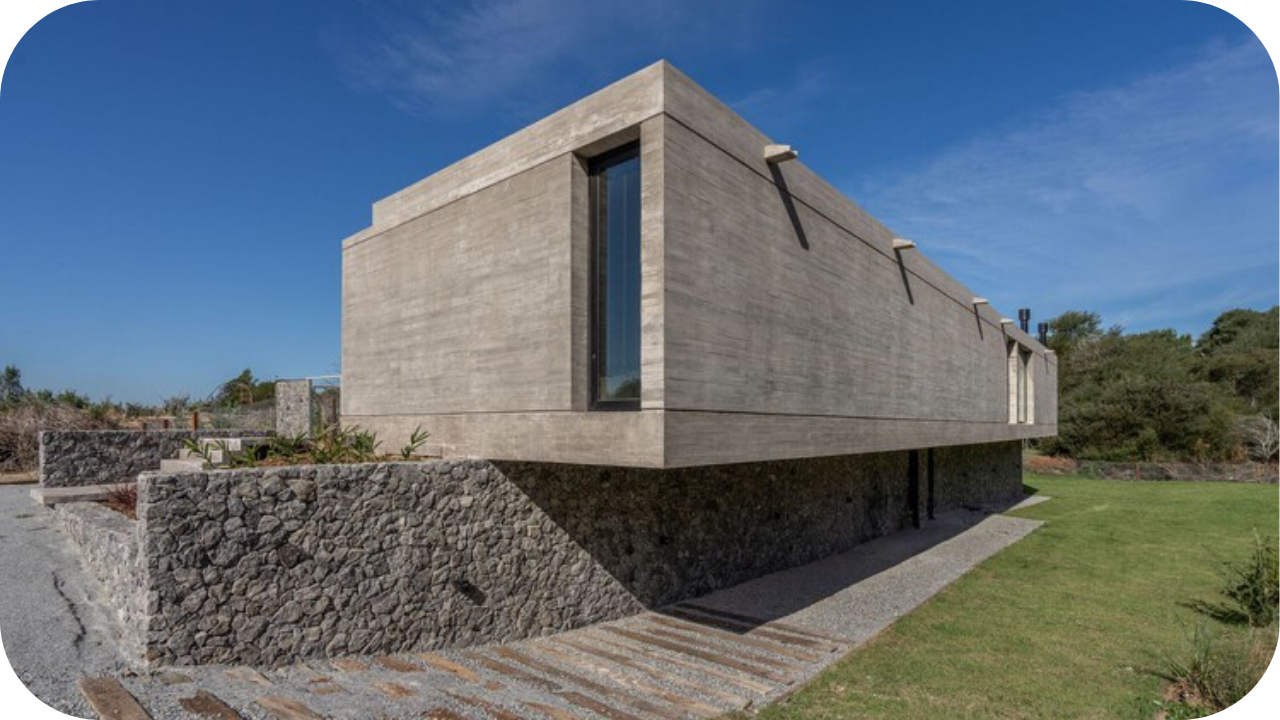
Granite is renowned for its strength and timeless elegance, making it a favourite among architects and homeowners alike. Its exceptional durability and low porosity allow granite to resist the damaging effects of freeze-thaw cycles, ensuring minimal water absorption and a reduced risk of cracking.
The stone’s natural formation creates a spectrum of colours and textures that can be tailored to complement any design vision, from contemporary minimalism to classic traditional looks. Frequently used in driveways, patios, and cladding. Granite’s high compressive strength enables it to support heavy loads even in the harshest weather conditions.
Maintenance is straightforward, requiring only periodic sealing to enhance its moisture resistance further. Additionally, granite’s resistance to abrasion and impact makes it ideal for high-traffic areas where durability is paramount.
This robust stone not only offers practical benefits but also adds a sophisticated, natural charm to any outdoor setting, ensuring it remains a wise long-term investment for those facing the challenges of cold climates. Its enduring beauty and reliability continue to make granite a top choice for a variety of applications, ensuring both functionality and style are never compromised.
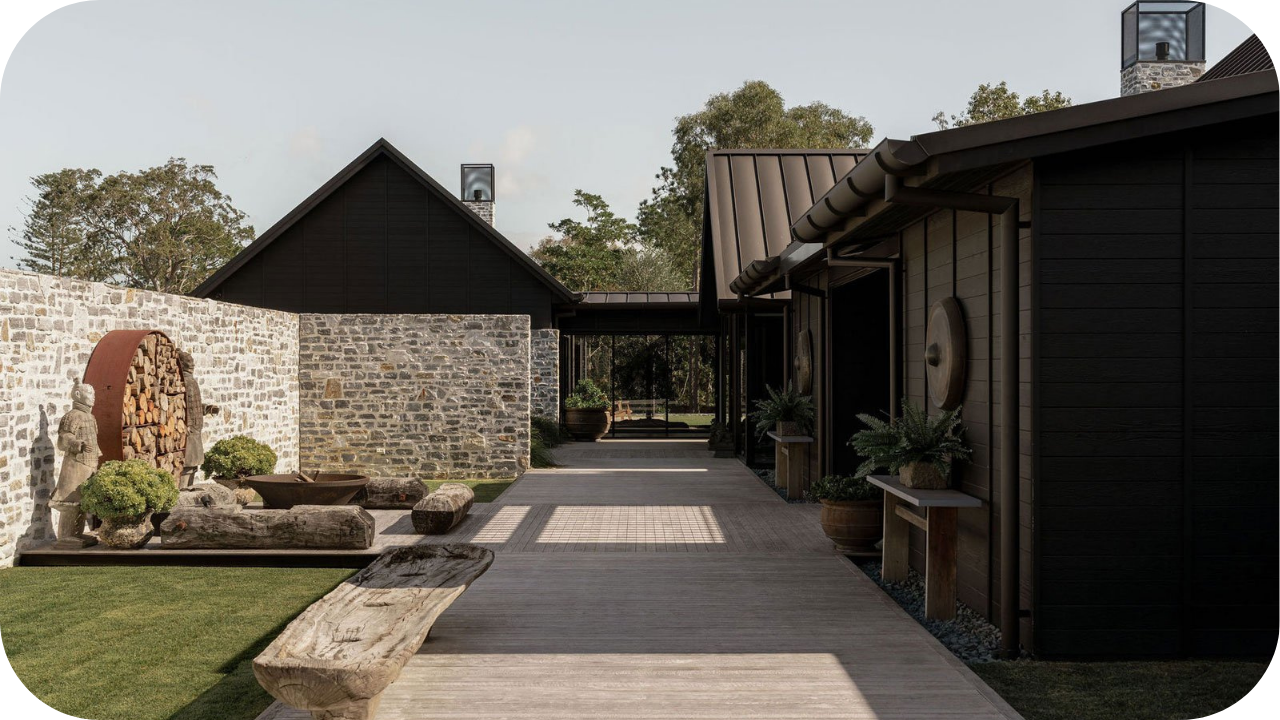
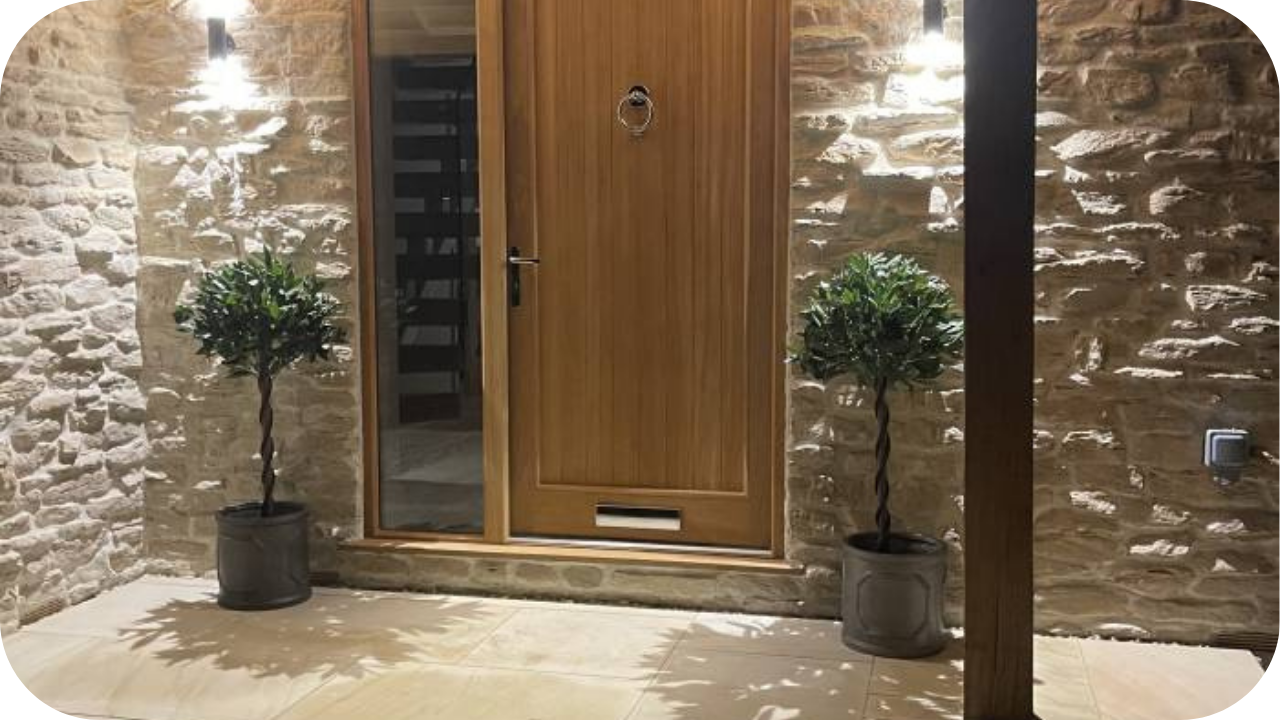
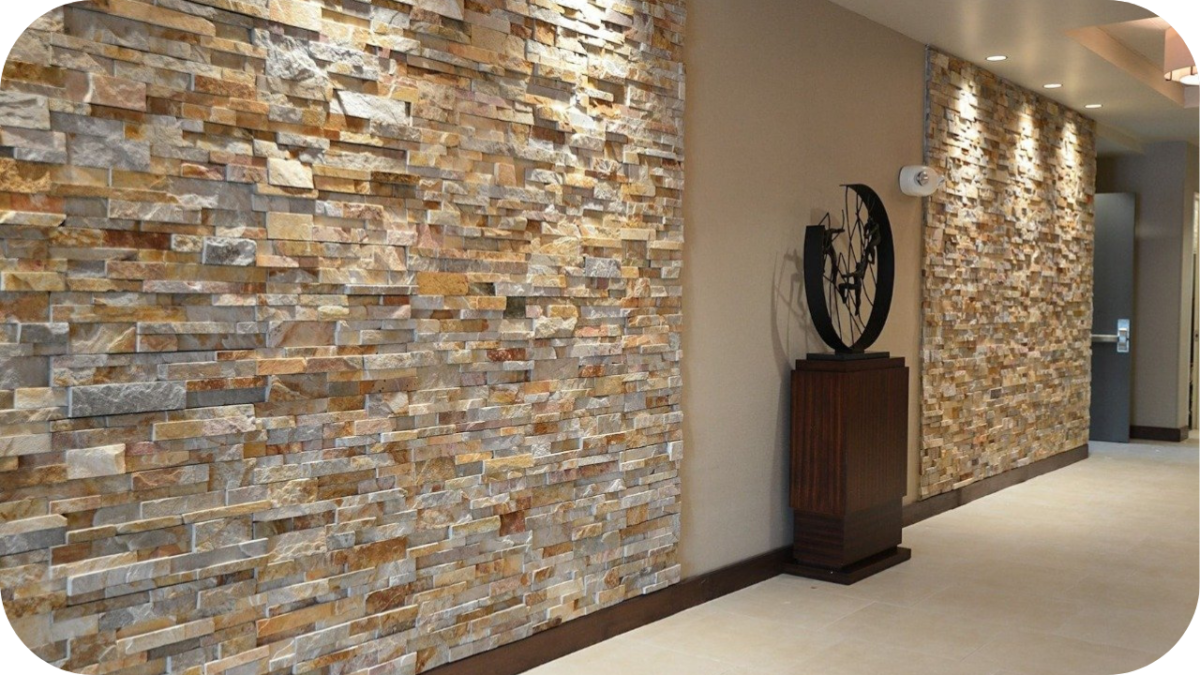
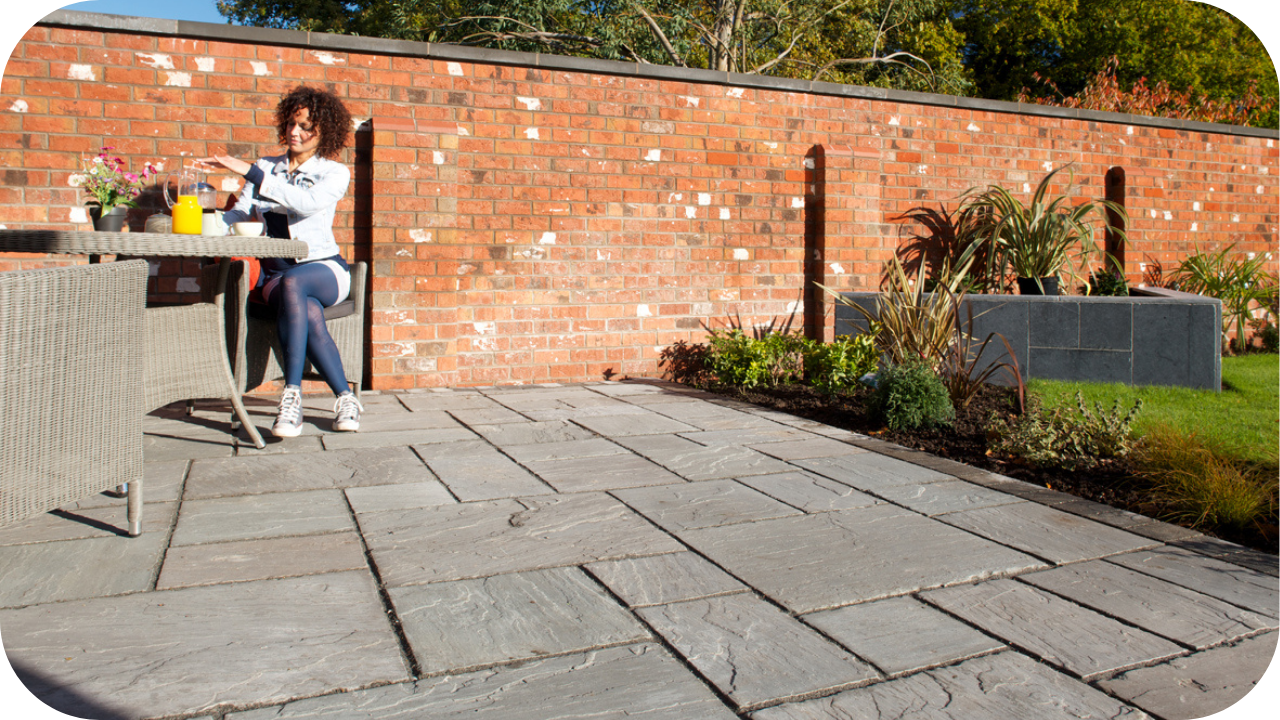
2. Slate
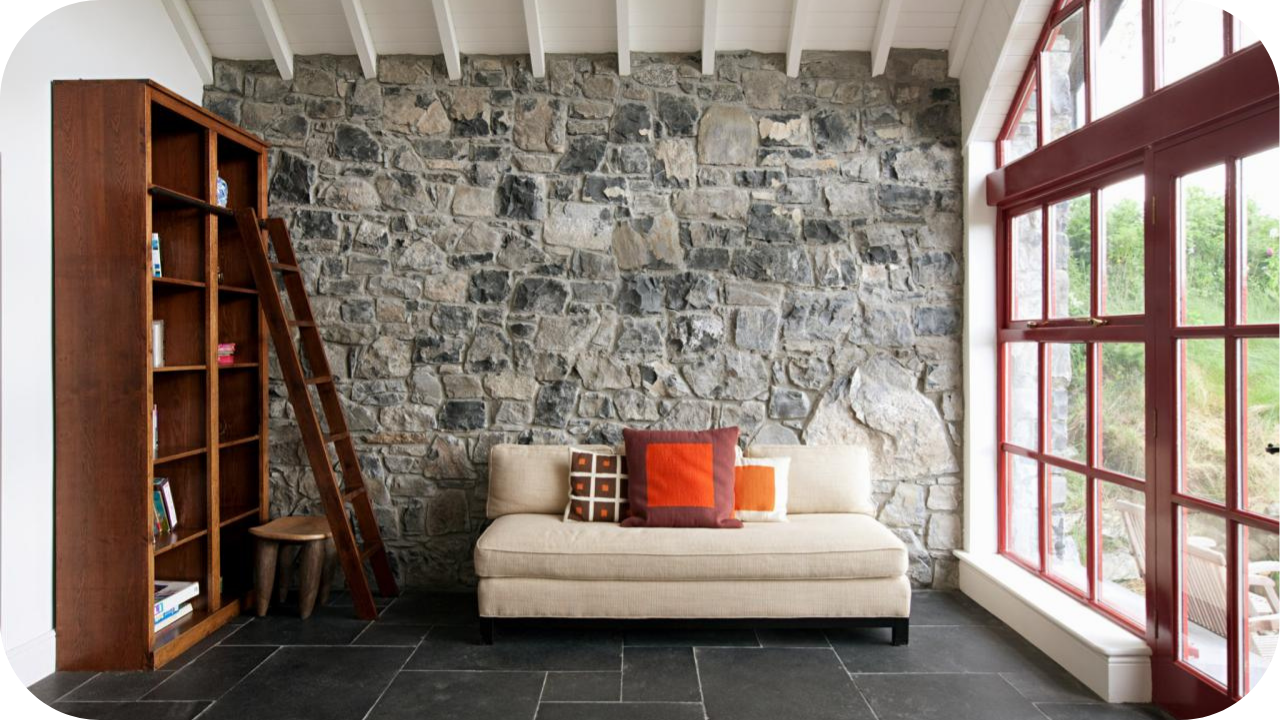
Slate is a naturally elegant stone, prized for its distinct layered appearance and impressive durability. Its fine-grained structure provides a naturally non-slip surface, which is essential in icy conditions where safety is a top priority.
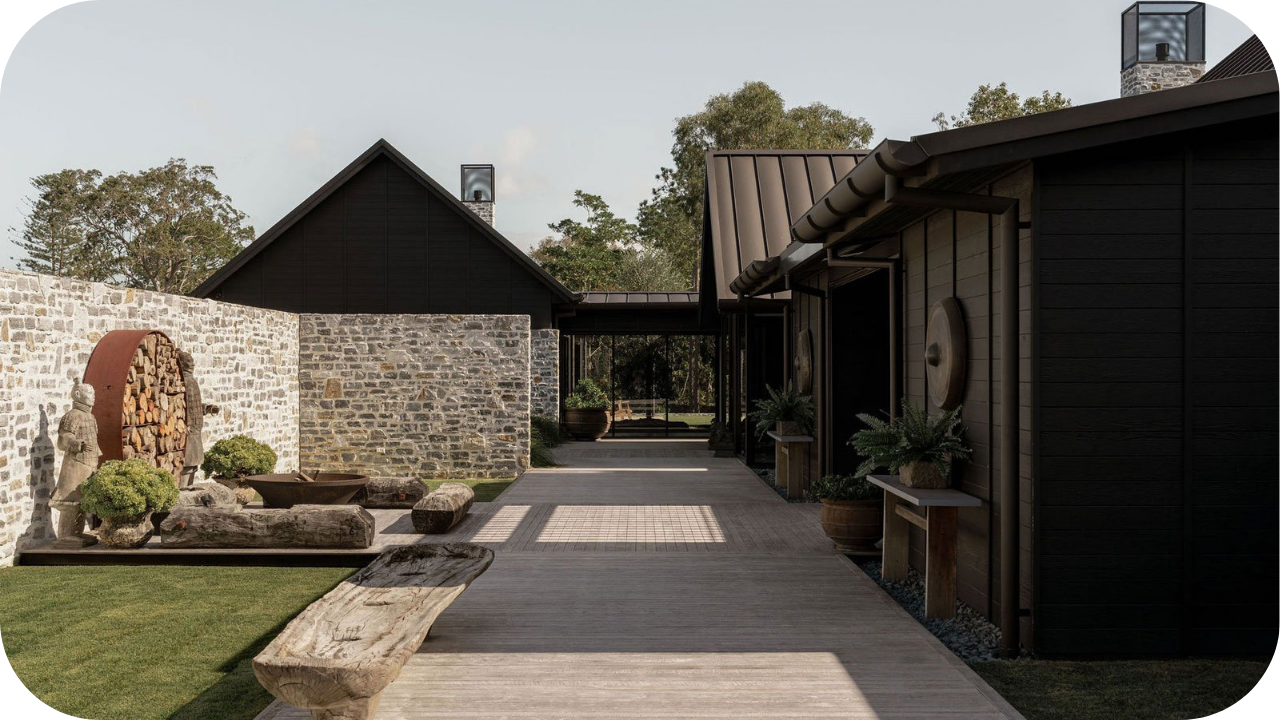
Slate’s resistance to weathering makes it an outstanding choice for cold climates, as it tolerates extreme temperature fluctuations without significant deterioration. Commonly used for roofing, flooring, and outdoor walkways, slate offers versatility in design while ensuring reliable performance in harsh weather.
Available in a diverse array of colours—from deep blues and greens to earthy browns—slate can be integrated into any architectural style with ease. Proper installation, which includes secure fixing systems, guarantees that the slate’s natural resilience is fully exploited, providing longevity and stability.
For those seeking a blend of natural beauty and rugged performance, slate presents a compelling combination of form and function. Its low maintenance requirements further add to its appeal, making slate a preferred material for enduring the rigours of severe winter conditions while maintaining an elegant appearance year after year.
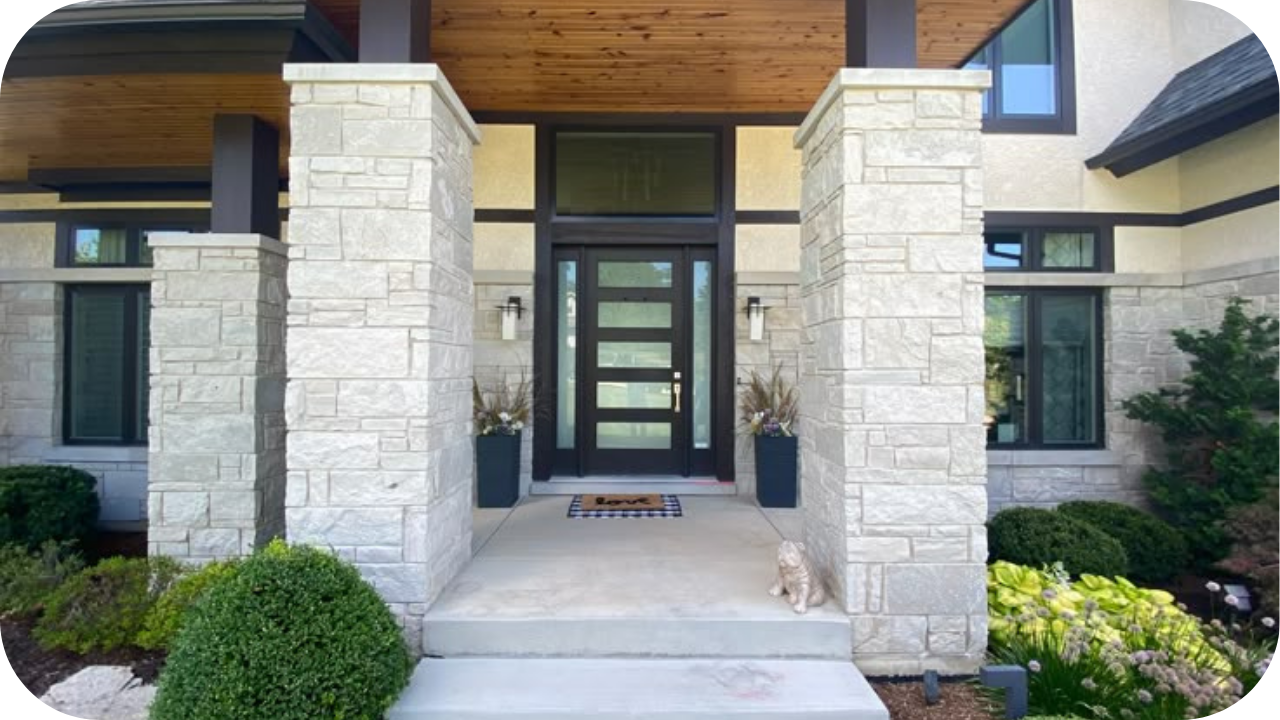
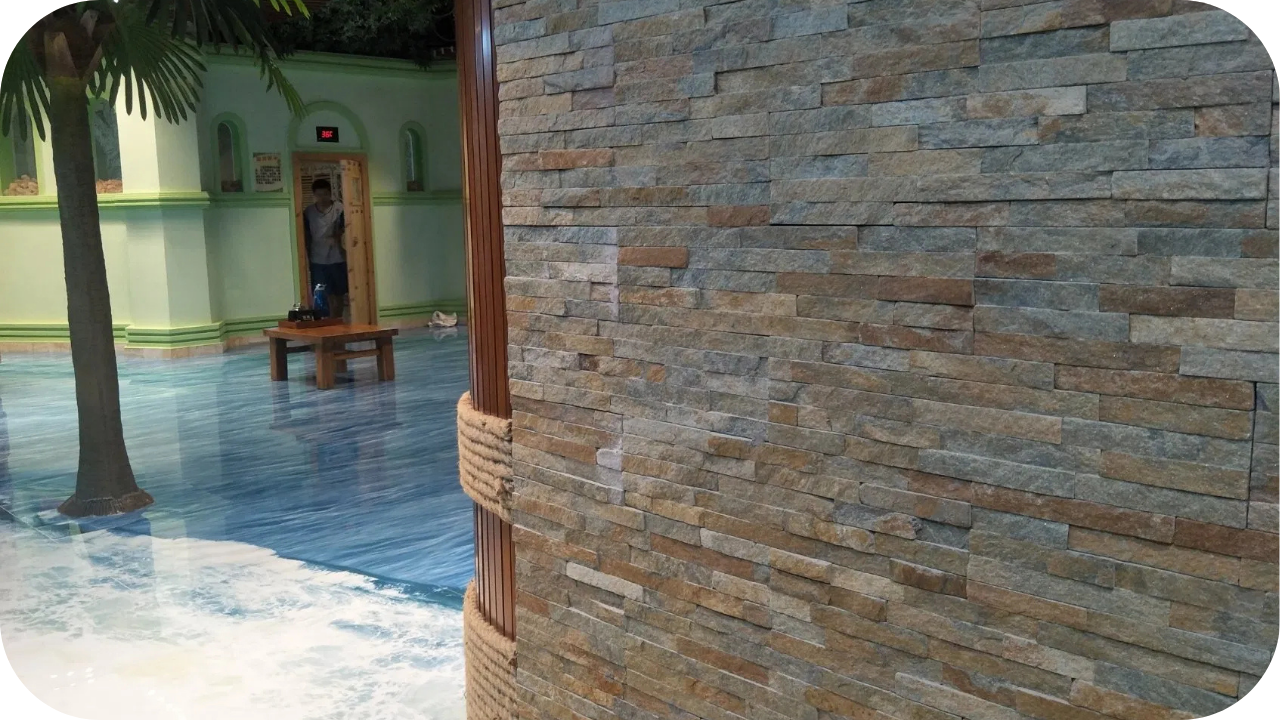
3. Quartzite
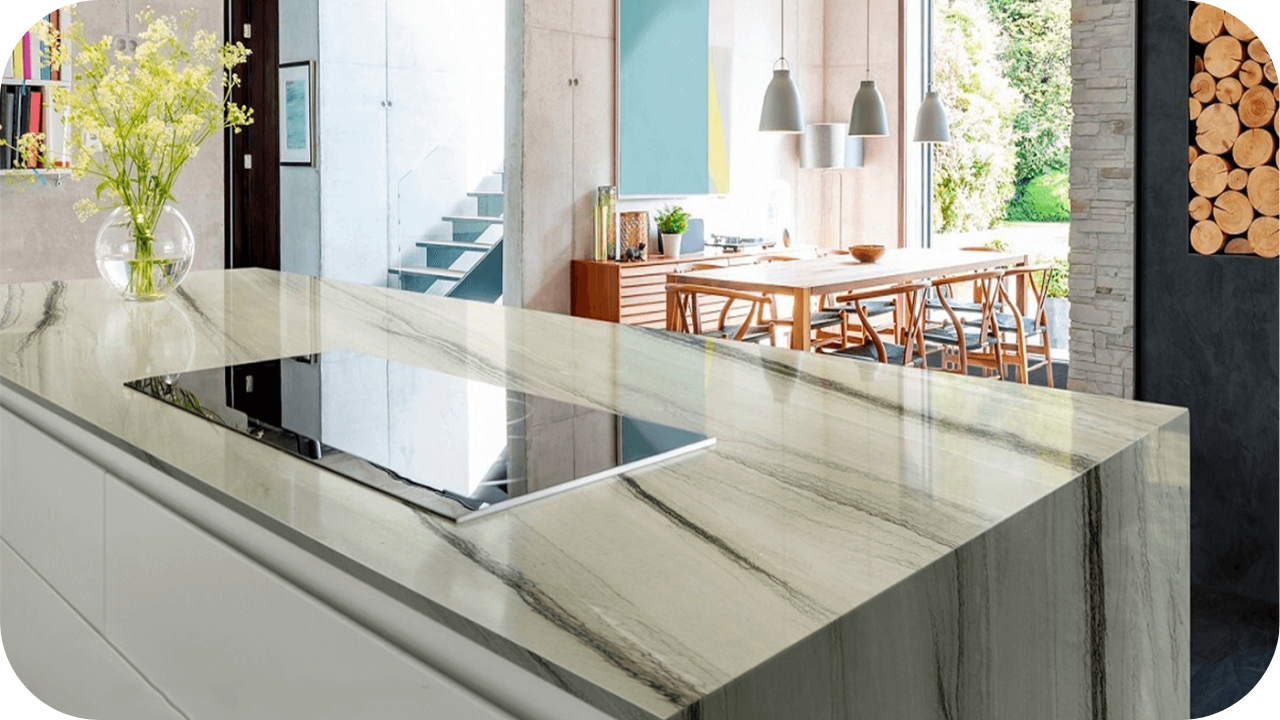
Quartzite stands as one of the hardest natural stones available, making it an exceptional candidate for regions with frigid climates. This metamorphic rock, formed from sandstone under intense heat and pressure, boasts remarkable durability and a strong abrasion resistance. Its dense composition significantly limits water absorption, which is crucial in preventing damage caused by freeze-thaw cycles.
Quartzite’s natural brilliance is exhibited in a range of hues—from pristine whites and light greys to deeper, more earthy tones—ensuring it complements a variety of design aesthetics. Often chosen for countertops, flooring, and cladding, quartzite maintains its lustre and structural integrity even under heavy use.
Its resilience in extreme weather conditions, coupled with its low maintenance requirements, underscores its suitability for cold climates. For homeowners and designers aiming for both functionality and sophistication, quartzite offers a robust yet elegant solution that promises longevity and enduring appeal. Its natural elegance and performance in challenging conditions make quartzite a standout choice for creating sophisticated, resilient outdoor spaces that truly last.
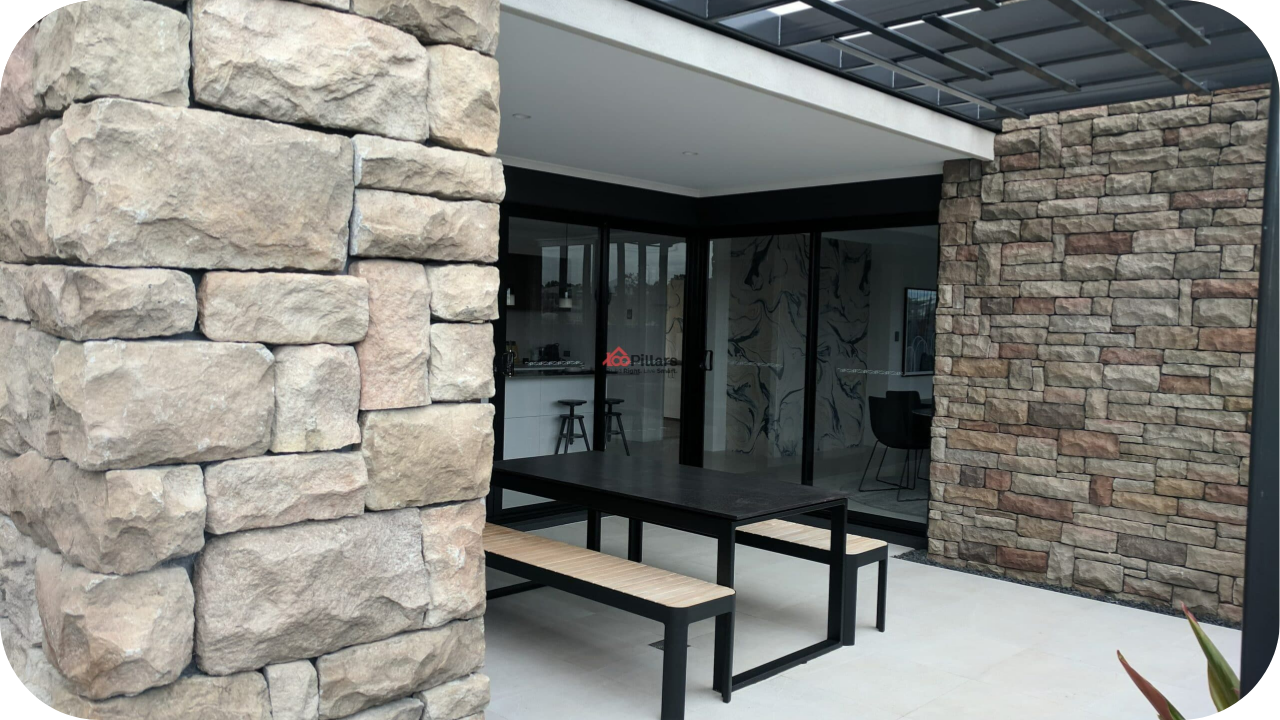
4. Basalt
Basalt is a volcanic rock formed from rapidly cooled lava, renowned for its natural density and impressive resistance to frost. Its fine-grained texture and dark, uniform appearance lend a modern yet timeless quality to any outdoor space, making it a versatile design element.
Basalt’s high strength and low water absorption rate are critical features for areas that experience frequent freeze-thaw cycles, ensuring the stone remains structurally sound over time.
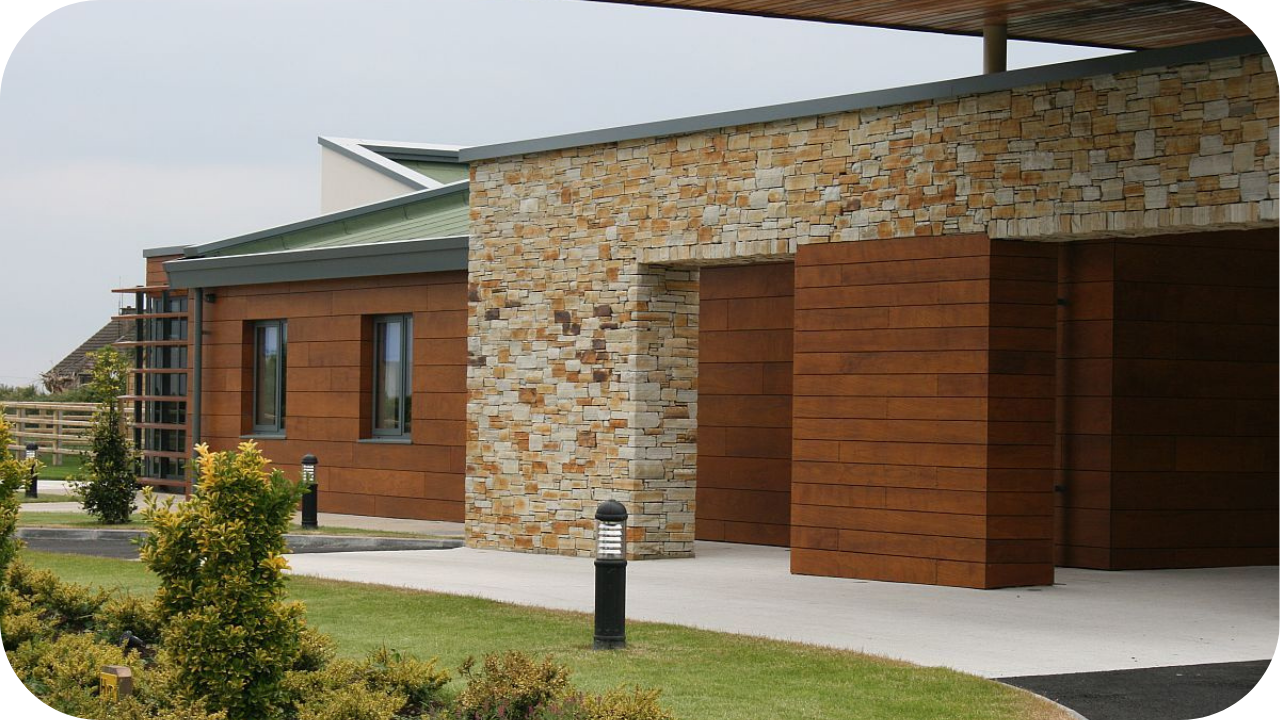
Commonly used in paving, wall cladding, and landscaping projects, basalt withstands the challenges posed by harsh winter weather without compromising on aesthetics.
Its inherent resistance to abrasion and weather-induced wear means that even after years of exposure, basalt surfaces retain their visual appeal and functionality. Installation techniques that consider its substantial weight and require precise jointing can further optimise its performance.
For those seeking a stone that combines rugged durability with a sleek, contemporary look, basalt is an ideal choice that delivers both beauty and longevity. Its minimal maintenance requirements further reinforce basalt’s position as a resilient, high-performance material for cold climates.
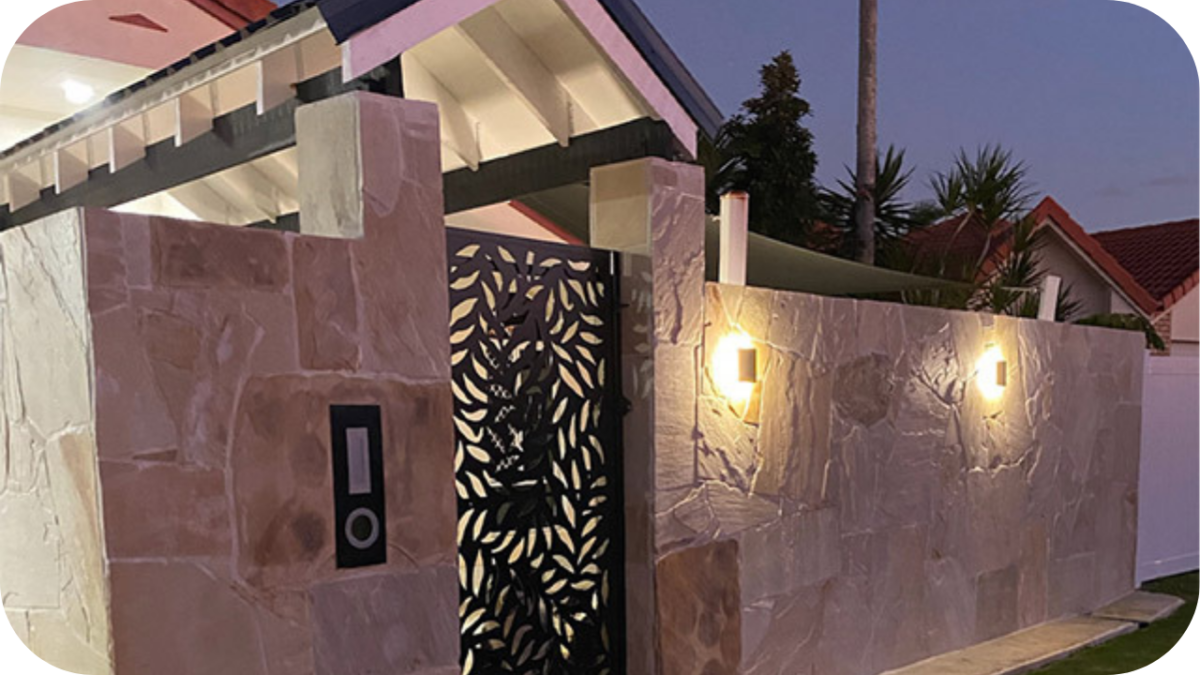
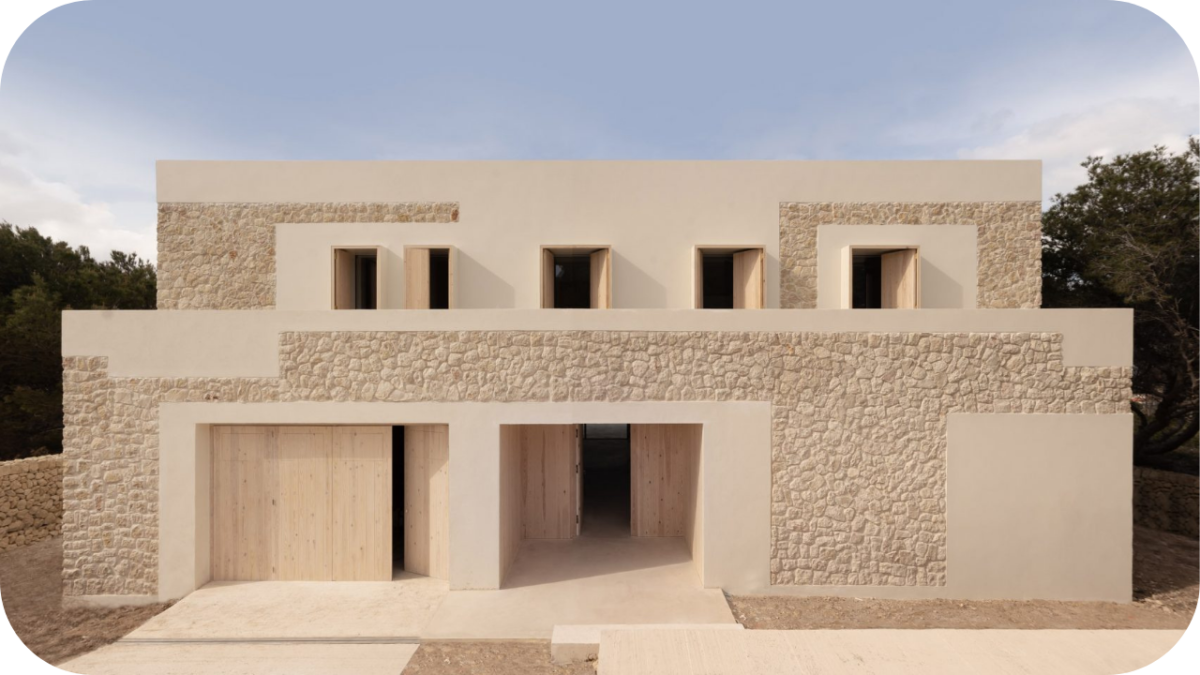
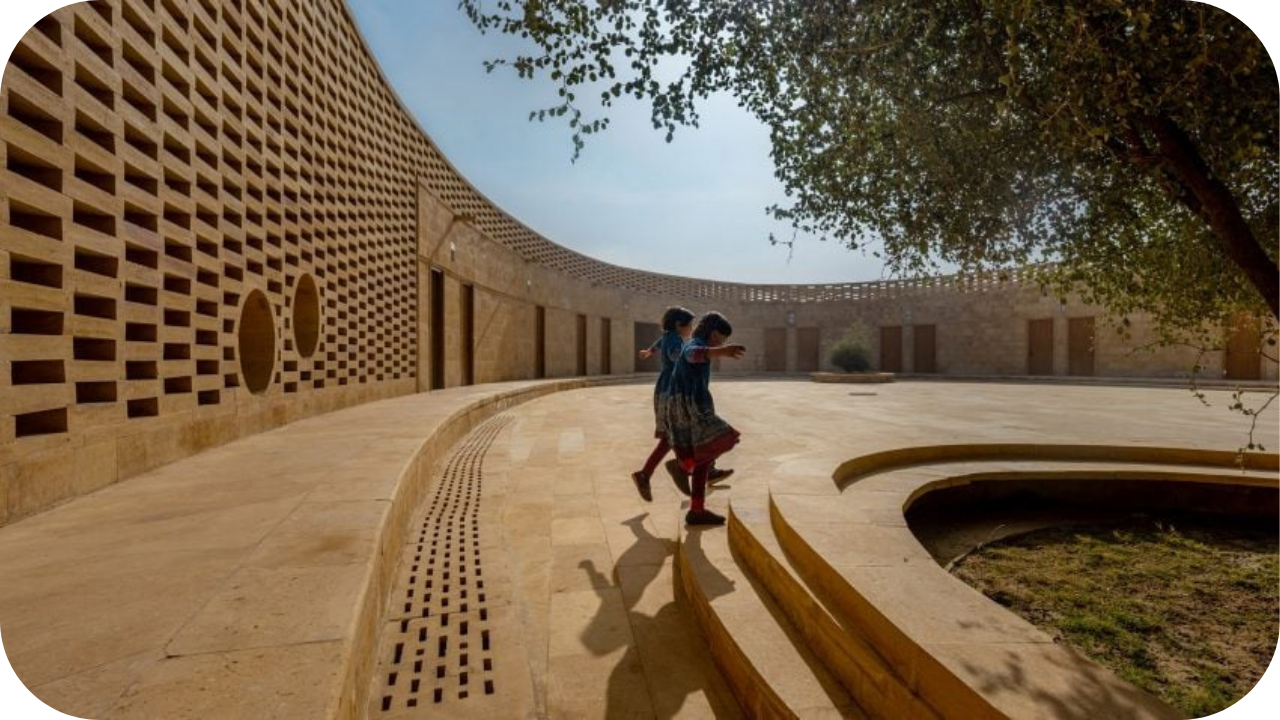
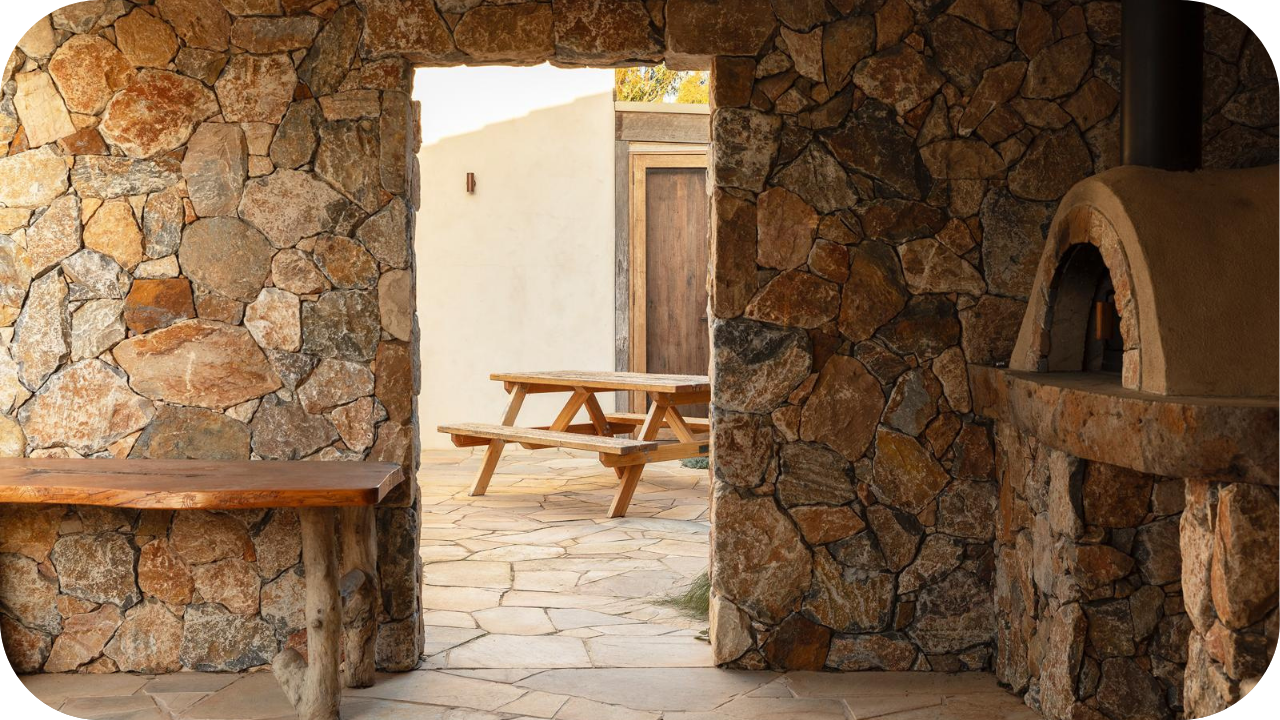
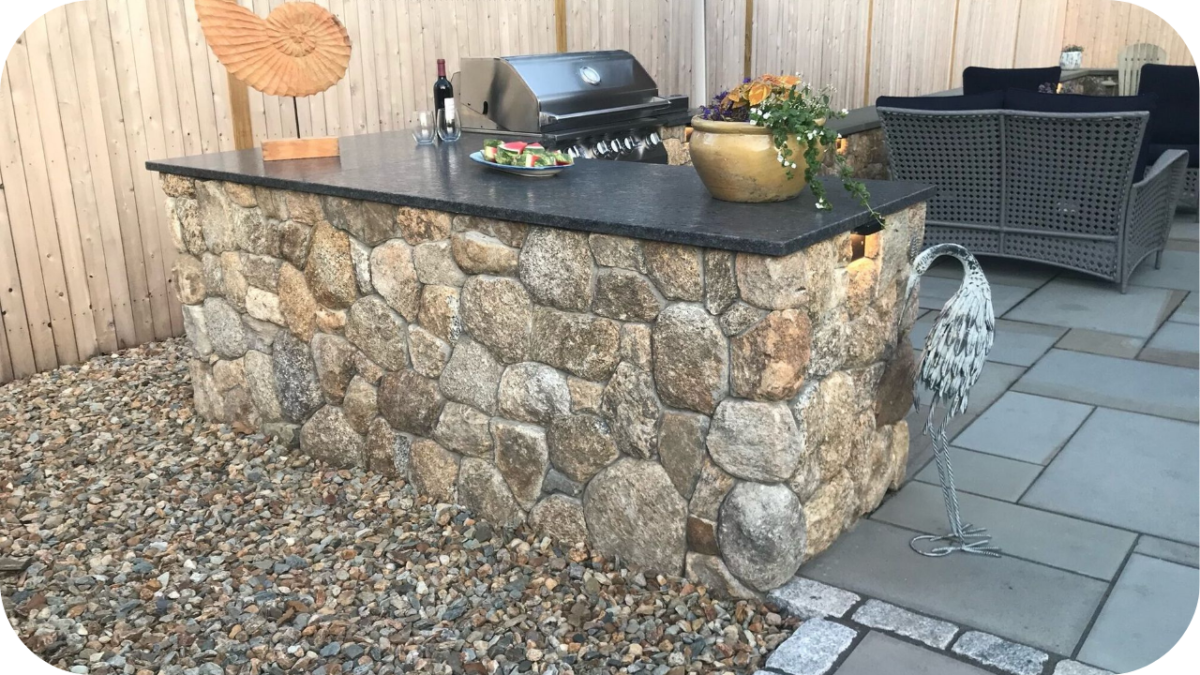
5. Sandstone
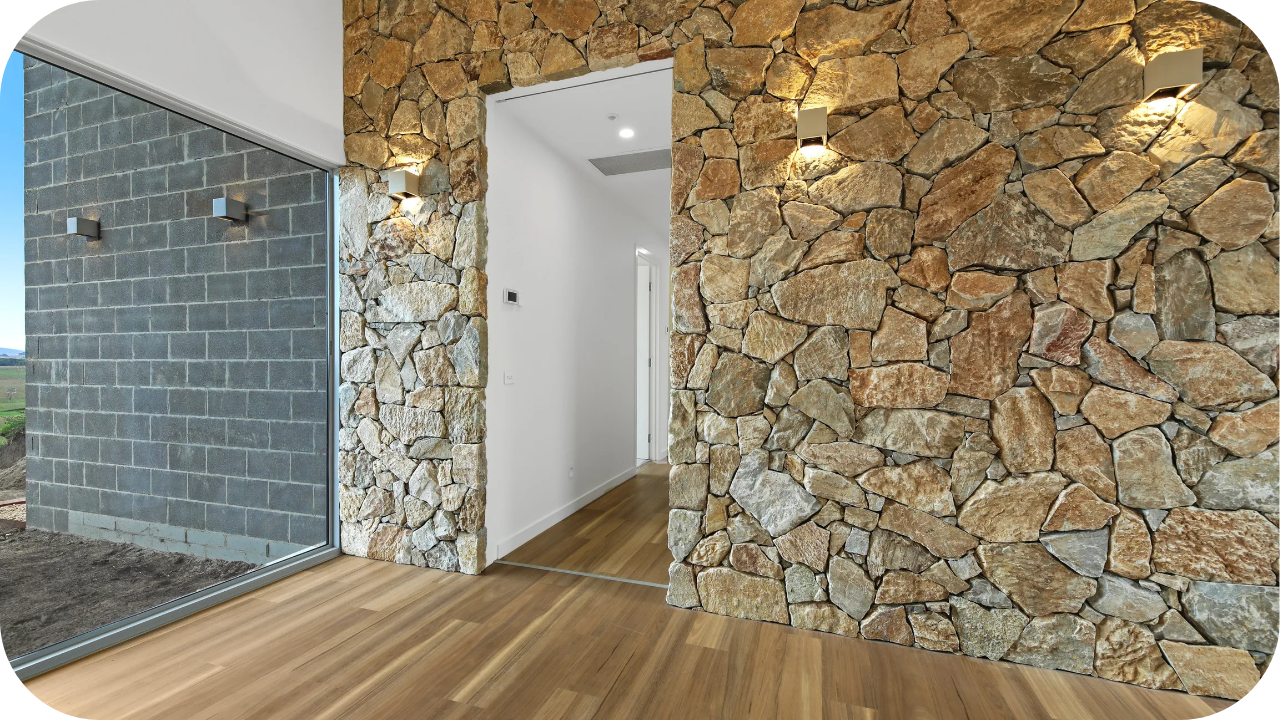
Sandstone offers a unique blend of aesthetic charm and functional resilience, especially when employed in cold climates. Its naturally warm tones and textured surfaces create a welcoming ambience, making it ideal for patios, walkways, and garden walls where visual appeal is as important as durability.
Although sandstone is inherently more porous than many other natural stones, modern sealing techniques have significantly improved its resistance to moisture and the detrimental effects of freeze-thaw cycles.
This stone’s layered composition results in a distinctive, rugged appearance that adds character to any exterior space.
When maintained properly with regular cleaning and re-sealing, sandstone can effectively withstand the challenges of harsh winter conditions while continuing to offer both beauty and structural integrity.
For those seeking an affordable yet attractive option, sandstone delivers a versatile solution that combines traditional elegance with practical performance. Its natural variations in colour and texture ensure that each installation is unique, creating a lasting impression while providing a robust, enduring material for cold climate applications.
6. Porphyry
Porphyry is a volcanic rock distinguished by its large, interlocking crystals set within a fine-grained matrix, creating a uniquely speckled appearance that exudes character. Its exceptional durability and resistance to extreme weather conditions make porphyry an outstanding option for regions experiencing severe winters.
The stone’s robust structure enables it to withstand the stress of freeze-thaw cycles and dramatic temperature fluctuations with minimal deterioration.
Frequently employed in high-traffic areas such as paving, monuments, and cladding, porphyry not only delivers long-lasting performance but also enhances the aesthetic appeal of any outdoor installation.
Its natural resistance to abrasion and low maintenance requirements further add to its appeal, making it a practical choice for both residential and commercial projects.
When installed with precision, porphyry enhances both the beauty and functional performance of exterior spaces, promising a durable solution for the harsh conditions of cold climates. Its timeless elegance and impressive resilience ensure that porphyry remains a wise and enduring investment for those seeking quality and style.
Installation and Maintenance Considerations

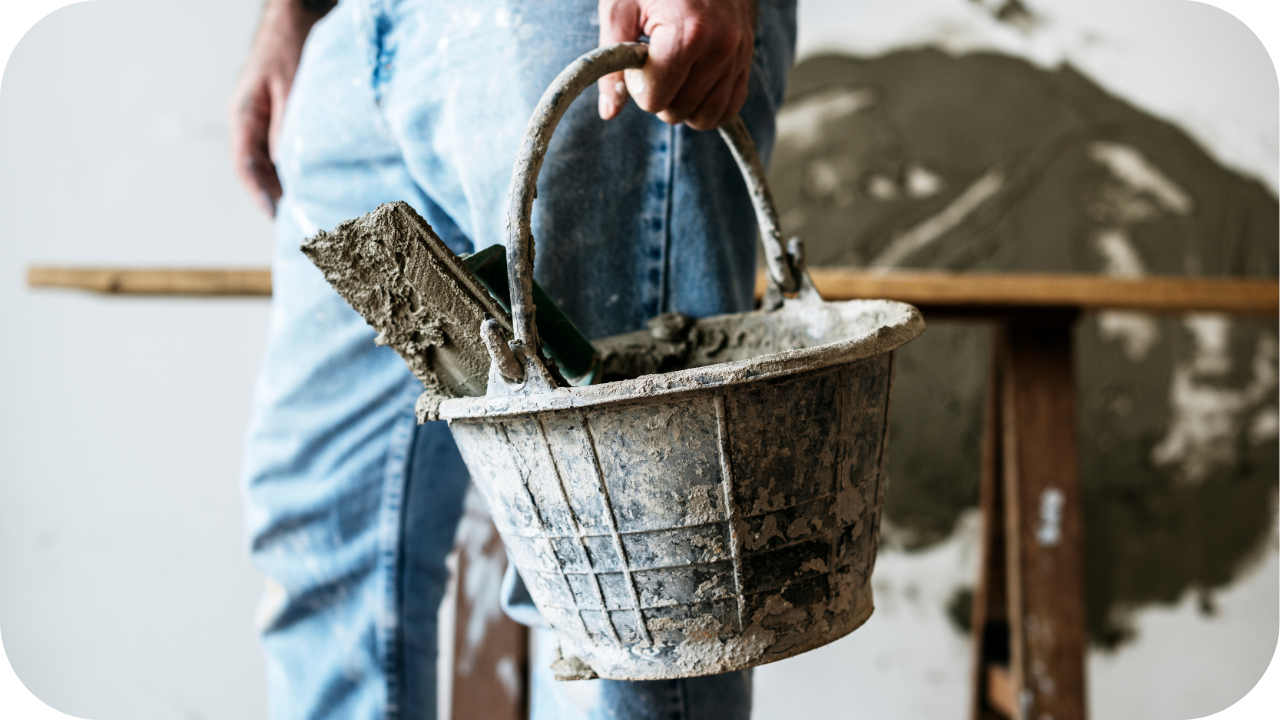
Proper installation and regular maintenance are crucial to maximising the lifespan and performance of natural stones in cold climates. Ensuring that stones are laid on a well-prepared, stable base is essential to prevent shifting and cracking due to freeze-thaw cycles.
Adequate drainage systems must be in place to reduce water accumulation beneath and around the stones, minimising the risk of damage. Using high-quality sealants can protect porous stones, such as sandstone, from moisture absorption and subsequent frost damage.
- Regular inspection: Check for cracks or loose stones after severe weather events.
- Timely maintenance: Reseal surfaces as recommended by manufacturers to maintain water resistance.
- Professional installation: Hiring experienced professionals ensures that the correct techniques are applied for your specific stone type.
- Proper cleaning: Regularly clean the stone surfaces with recommended cleaners to remove debris and prevent the build-up of moss or algae that can accelerate deterioration.
- Snow and ice management: Use stone-safe de-icing products and avoid harsh chemicals, ensuring that the stone surface is not damaged during winter care.
- Surface protection: Consider using temporary protective covers during severe storms or prolonged snowfall to minimise physical impact and maintain the stone’s appearance.
Conclusion
Selecting the right natural stone for cold climates is paramount to achieving both durability and visual appeal. Granite, slate, quartzite, basalt, gneiss, and sandstone each offer unique benefits tailored to withstand the challenges of freezing temperatures and severe weather.
With proper installation and ongoing maintenance, these stones not only enhance the beauty of outdoor spaces but also provide lasting value. Take action today—consult with us, evaluate your project’s specific needs, and choose a stone that will transform your space into a resilient, elegant haven.
Check out this article to learn about the best stones for different climatic zones.