How to Maintain Limestone Pavers for Long Term Surface Quality
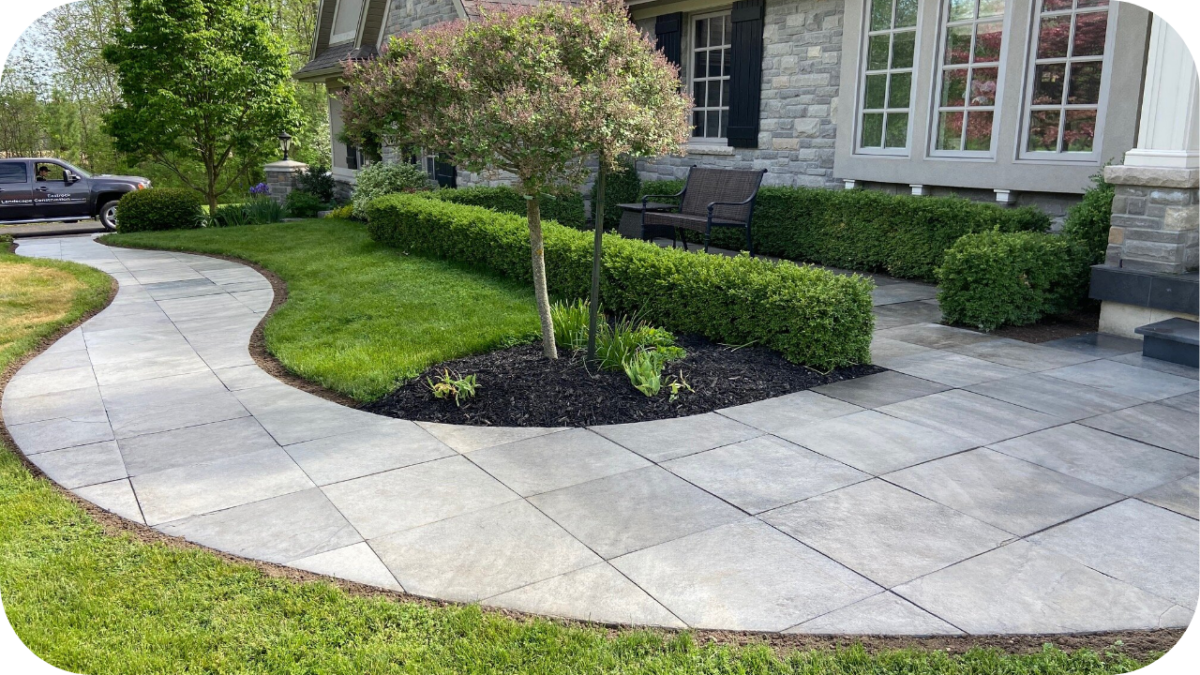
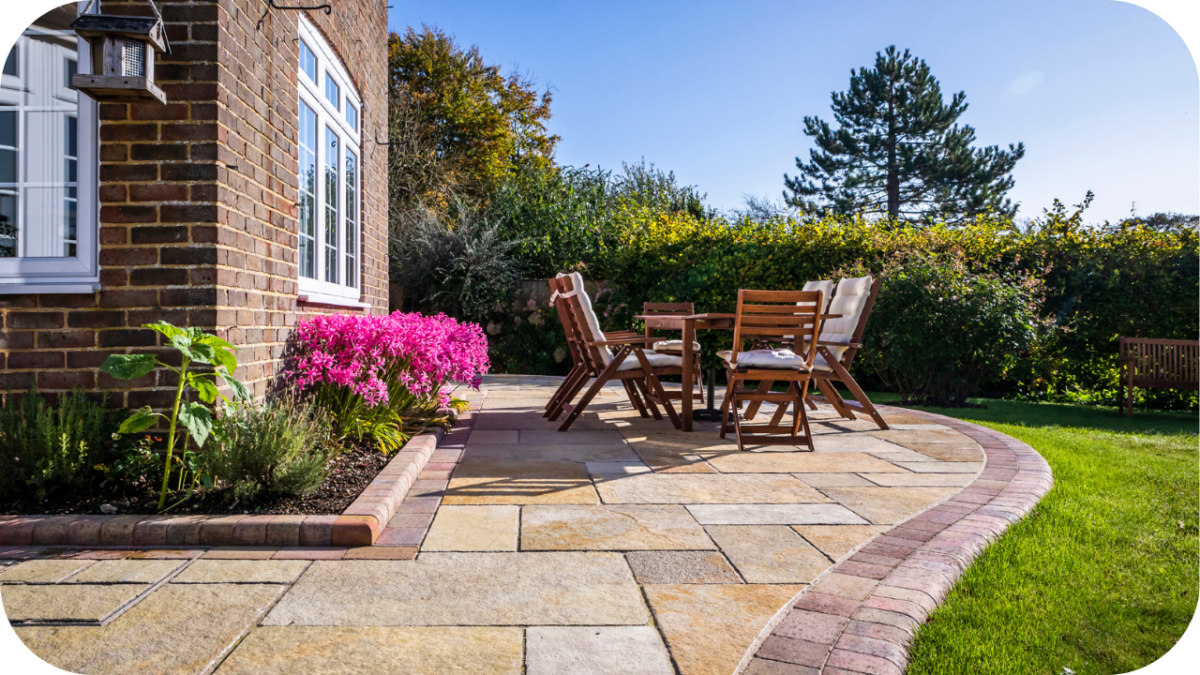
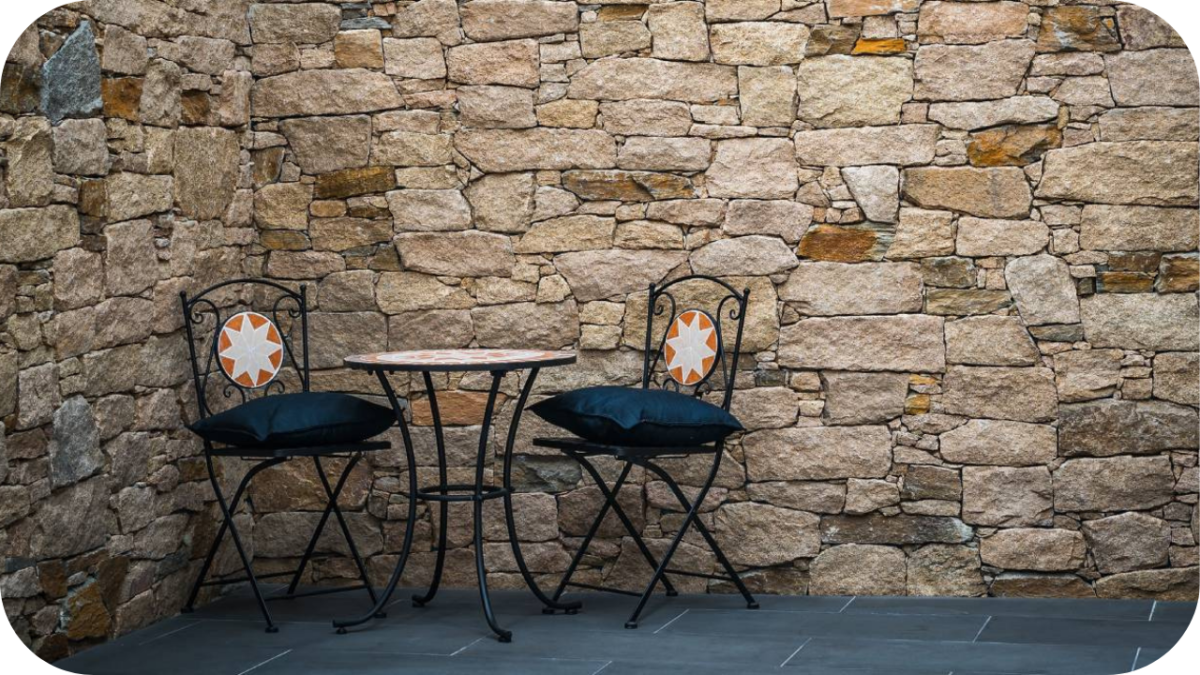
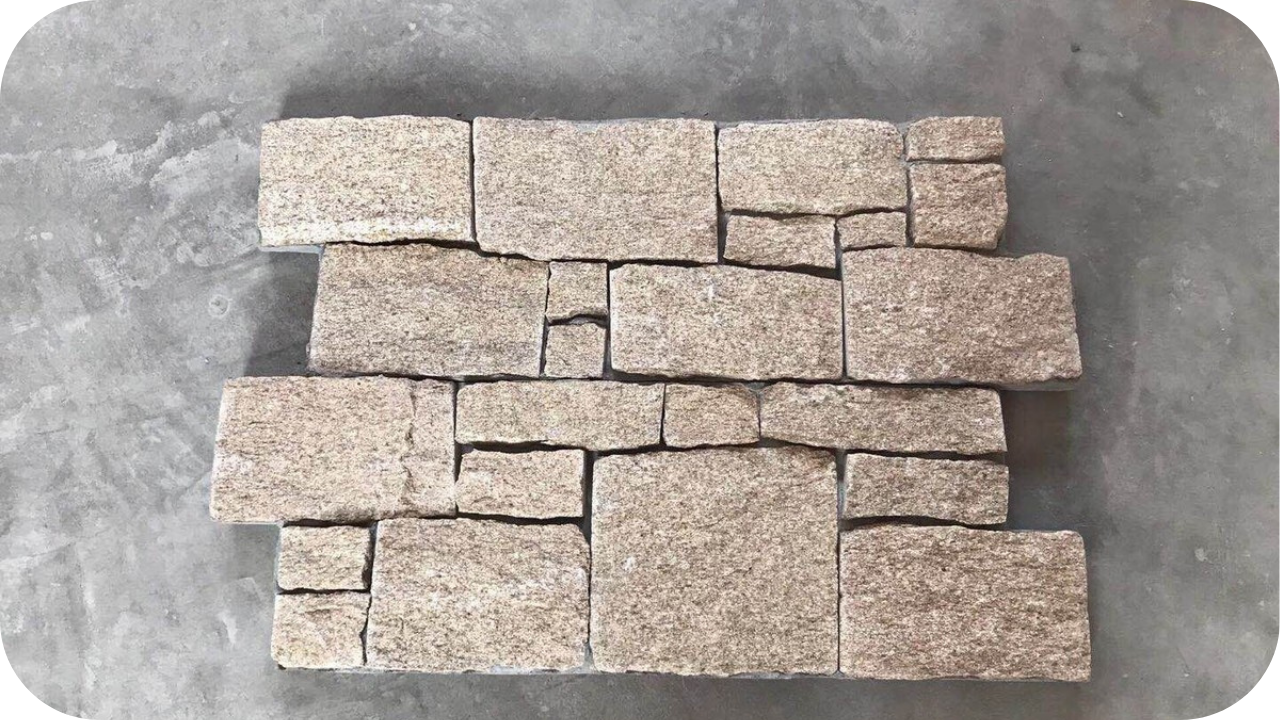
Limestone is a favourite choice for Australian outdoor spaces because its soft texture and natural warmth bring a relaxed, timeless feel to patios, pathways, and pool areas. Homeowners appreciate how easily it blends with modern and classic landscapes.
Although limestone is durable, it needs thoughtful care to stay strong, clean, and visually appealing across years of sun, rain, and everyday use. Without the right maintenance, stains, moisture, and surface wear can appear sooner than expected.
This guide explains how to maintain limestone pavers through daily care, safe cleaning, sealing, stain prevention, and long-term protection.
Essential Routine Care for Limestone Pavers
Regular care helps limestone stay clean, stable, and visually balanced across changing conditions. Here are the key maintenance routines every homeowner should follow to protect long-term surface quality.
- Daily: Sweep away leaves, soil, and loose debris to prevent organic pigments from settling, stop grit from scratching the surface, and keep the stone feeling clean and comfortable for everyday outdoor use.
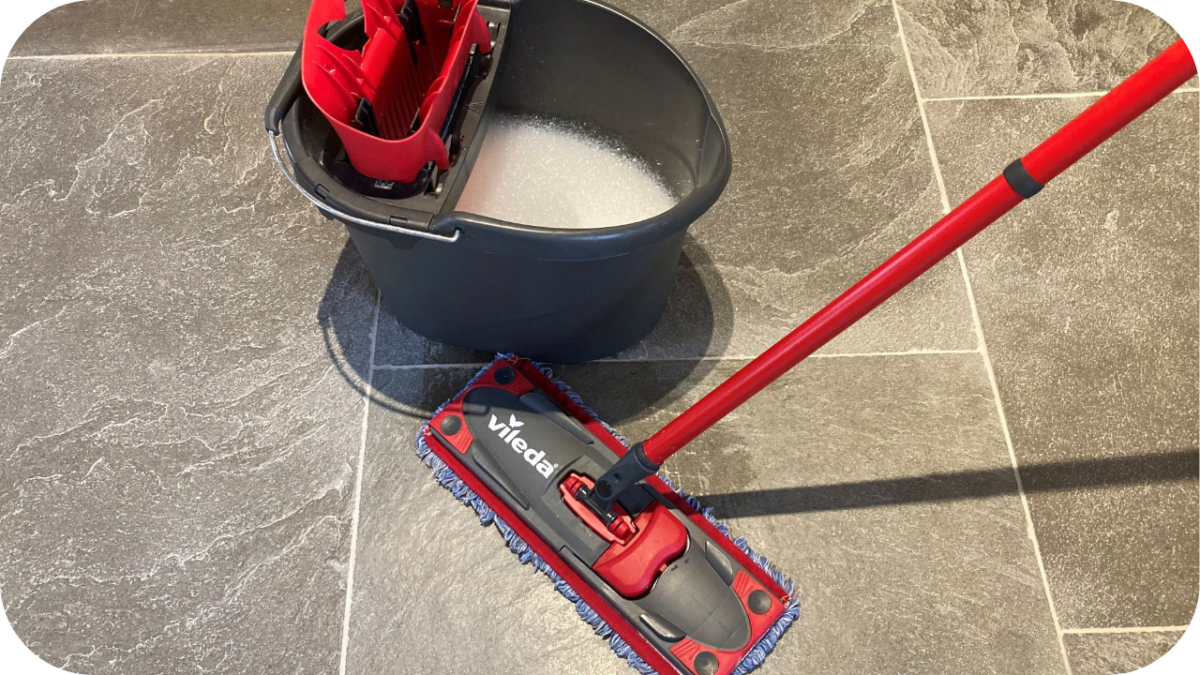
- Weekly: Rinse the pavers with clean water and spot-clean busy zones with a pH-neutral cleaner to lift early dirt buildup, preserving colour clarity and preventing marks from becoming harder to remove.
- Monthly: Check for colour changes, early stains, dirt accumulation, and movement in the joints so any developing issues can be managed promptly, helping maintain an even, stable, and well-presented outdoor surface.
- Yearly: Complete a deep clean with a pH-neutral stone cleaner and assess whether the pavers require resealing, which boosts moisture resistance, preserves colour depth, and enhances long-term durability in exposed outdoor areas.
- Seasonal and Climate-Based Care: Increase rinsing during summer heat, monitor moisture during rainy seasons, and protect exposed areas in colder months to ensure the limestone handles Australia’s shifting climate without unnecessary surface stress or imbalance.
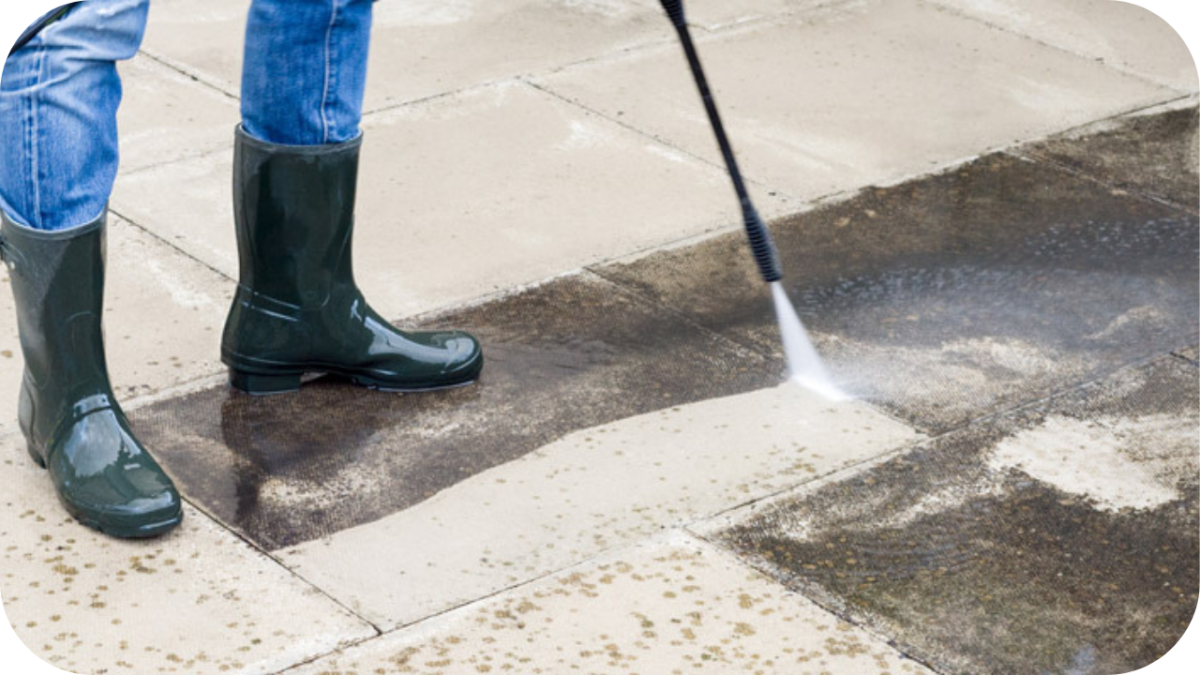
Deep Cleaning Limestone the Right Way

Deep cleaning limestone is most effective when you follow a careful sequence that protects the stone while effectively lifting dirt. These are the deep cleaning steps homeowners should follow to maintain long-term surface quality.
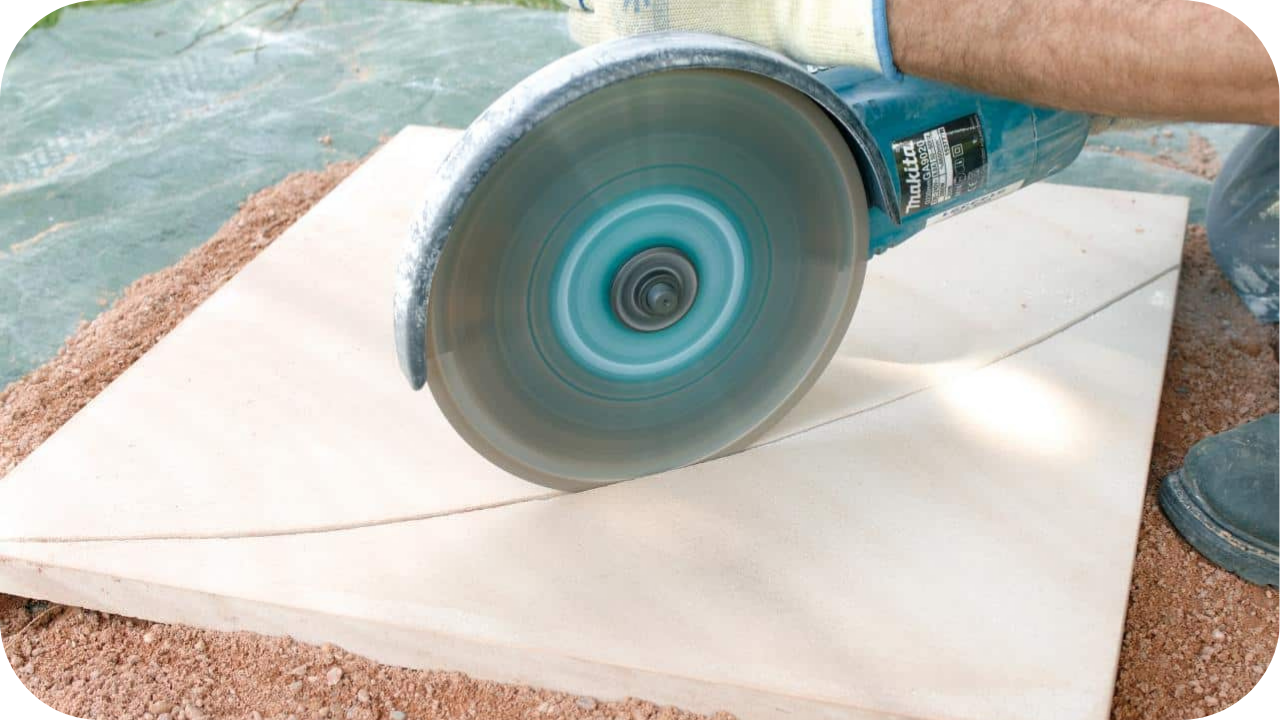
1. Clear the Surface Before You Begin
Sweep away leaves, soil, and loose debris so they do not grind into the stone during cleaning. Preparing the surface helps prevent scratching, keeps dirt from spreading, and ensures the limestone is ready for deeper cleaning that follows.
2. Wet the Stone to Prepare for Cleaning
Lightly hose the pavers to loosen dust and open the stone’s pores before applying cleaner. This step allows the product to spread evenly, reduces friction during brushing, and supports a safer, more effective deep clean across all outdoor areas.
3. Apply a pH Neutral Cleaner Evenly Across the Surface
Use a pH-neutral stone cleaner and spread it evenly so it reaches into the pores without damaging the finish. Allowing the product to sit briefly softens grime, protects the colour, and prepares the stone for gentle agitation.
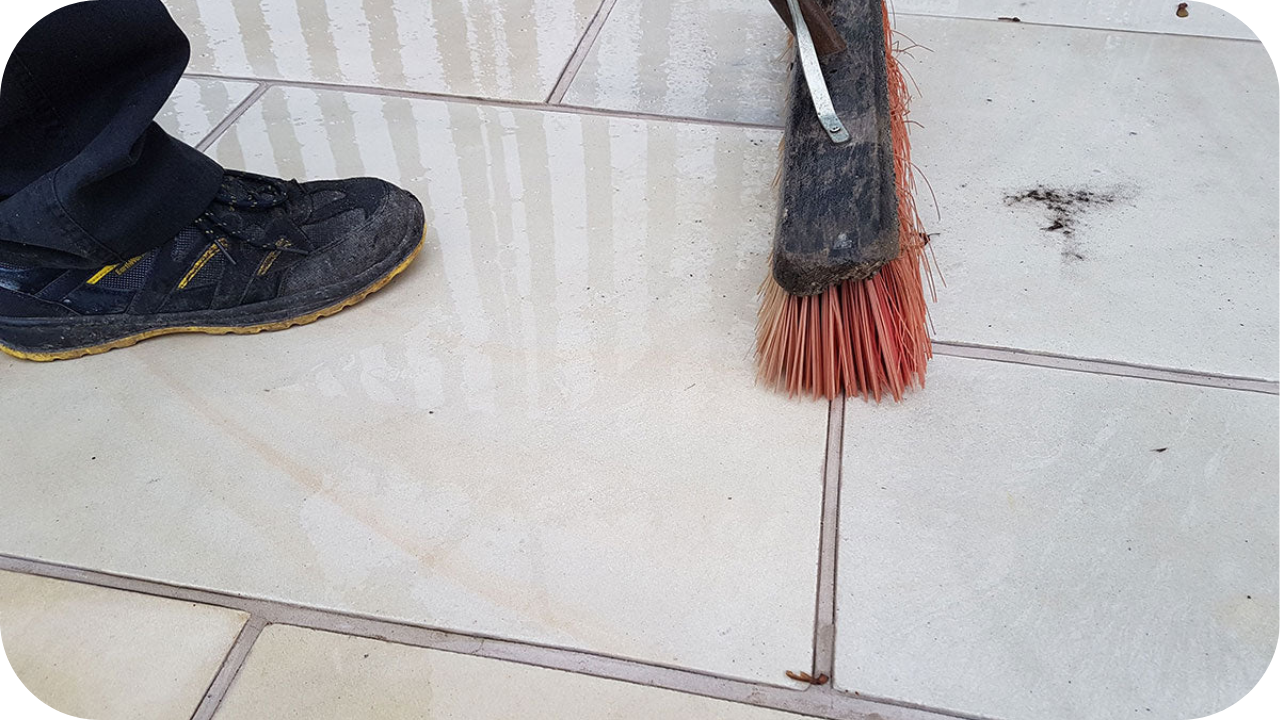
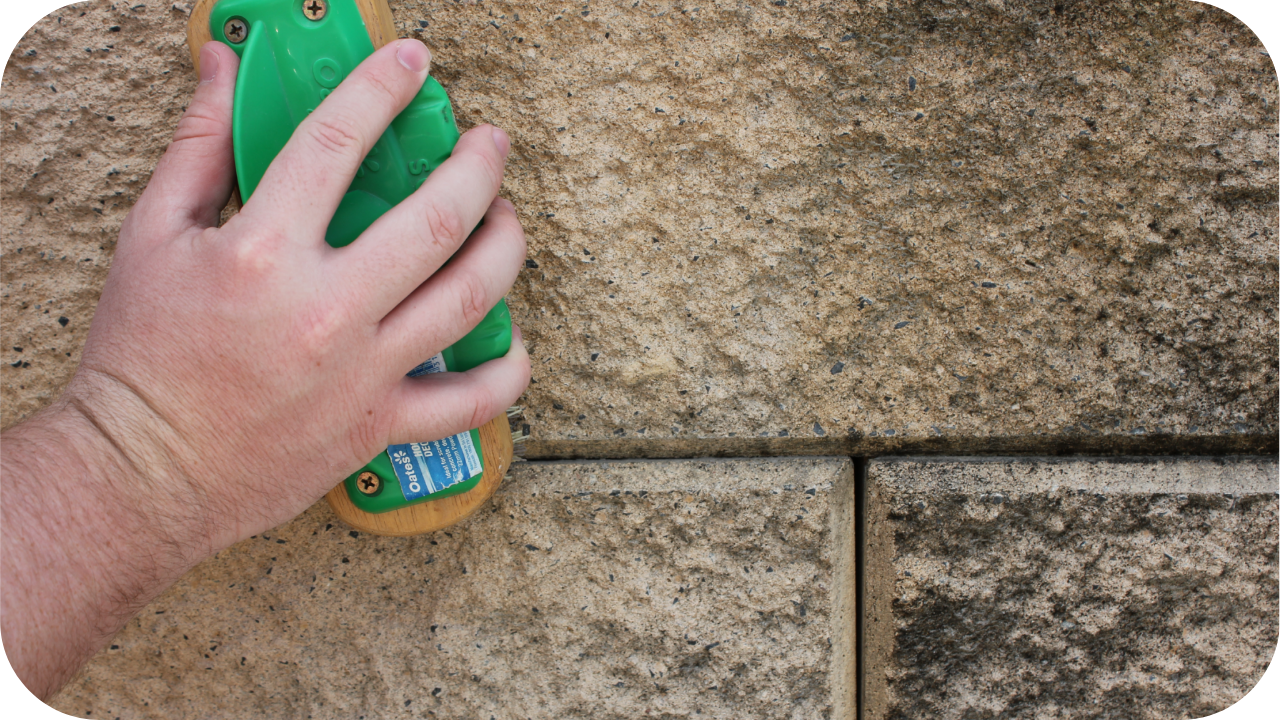
4. Agitate the Stone Gently with a Soft Bristle Brush
Work the cleaner into the surface using soft bristles to lift dirt without leaving scratches. Gentle agitation reaches deeper particles, preserves the natural texture, and supports long-term surface quality by preventing unnecessary damage during the cleaning process.
5. Rinse Thoroughly to Remove All Residue and Dirt
Flush the stone with clean water until all loosened dirt and cleaner residue are gone. Proper rinsing prevents streaks, maintains colour consistency, and ensures no remaining product dries on the surface or attracts additional grime.
6. Allow the Limestone to Dry Fully Before Use
Let the stone dry naturally so moisture can lift out of the pores and the surface returns to a balanced condition. This final step prevents streaking, avoids trapped dampness, and ensures the limestone is ready for sealing or regular use afterwards.
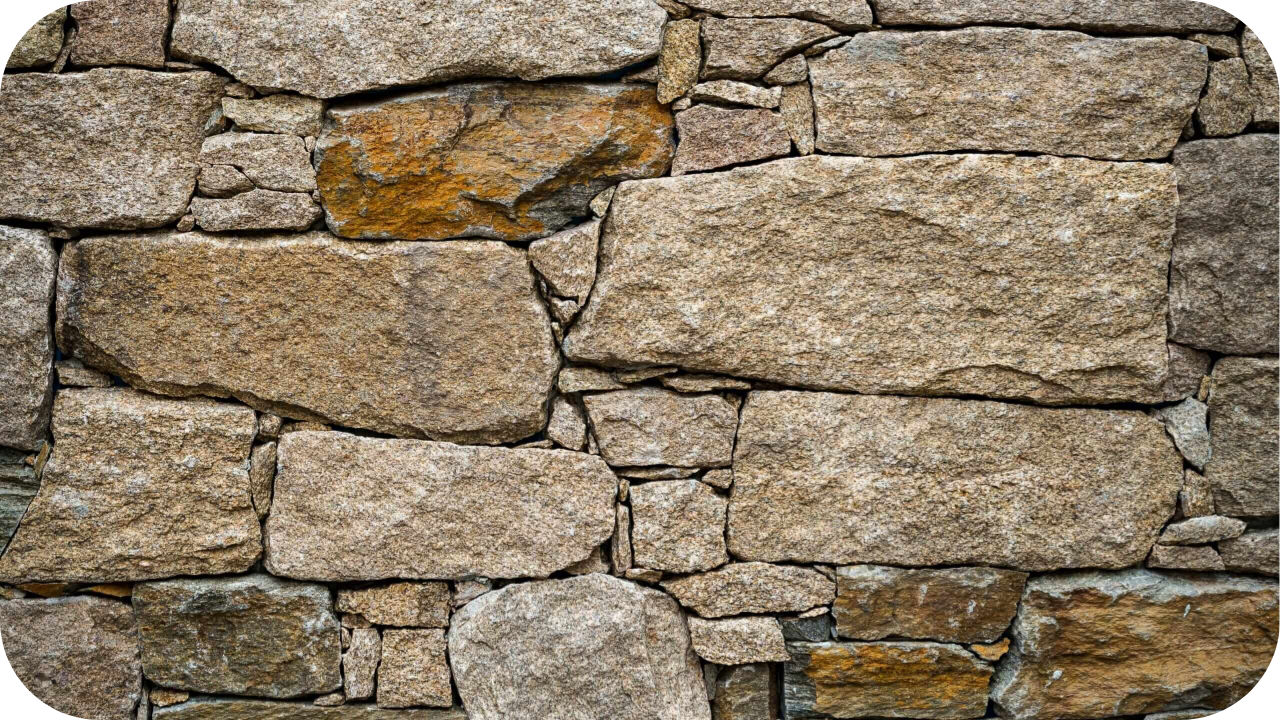
Preventing and Managing Common Limestone Stains

Limestone can show marks when spills or outdoor debris sit for too long, so understanding each stain type helps you choose the right cleaning method. Here are the main stains you will encounter and how to treat them effectively.
1. Organic Stains from Leaves, Soil, and Garden Debris
Leaves, soil, and plant matter release natural pigments that settle into porous limestone. Clear debris quickly, rinse lightly, and use a pH-neutral cleaner for early marks. For deeper discolouration, apply a gentle poultice to draw pigments from the stone without causing abrasion.
2. Oils and Grease from Cooking and Outdoor Dining
Barbecue residue and food oils can darken limestone quickly if left to soak. Treat spills immediately using a pH-neutral degreasing stone cleaner and work it gently into the surface. Persistent greasy marks respond well to an oil-targeted poultice designed for porous stone.
3. Water Marks and Salt Deposits Around Pools and Wet Zones
Pools, irrigation, and hard water can create pale rings or powdery residue across exposed limestone. Rinse frequently, brush lightly, and use a pH-neutral cleaner to soften build up. For heavier salt deposits, repeat gentle agitation until the stone returns to an even appearance.
4. Mineral Stains from Metal Furniture and Outdoor Runoff
Metal fixtures and garden runoff can leave faint streaks or orange tinges on pale limestone surfaces. Lift these marks with a safe, non-acidic stone cleaner and rinse thoroughly. Addressing mineral stains early prevents deeper bonding and helps preserve the stone’s natural colour consistency.
5. Treating Stubborn or Set-In Stains Safely
When stains remain after standard cleaning, use a stone appropriate poultice formulated for oil, tannin, or mineral marks. This draws residue from the pores without harming the finish. Severe or etched patches benefit from professional stone care to restore surface clarity effectively.
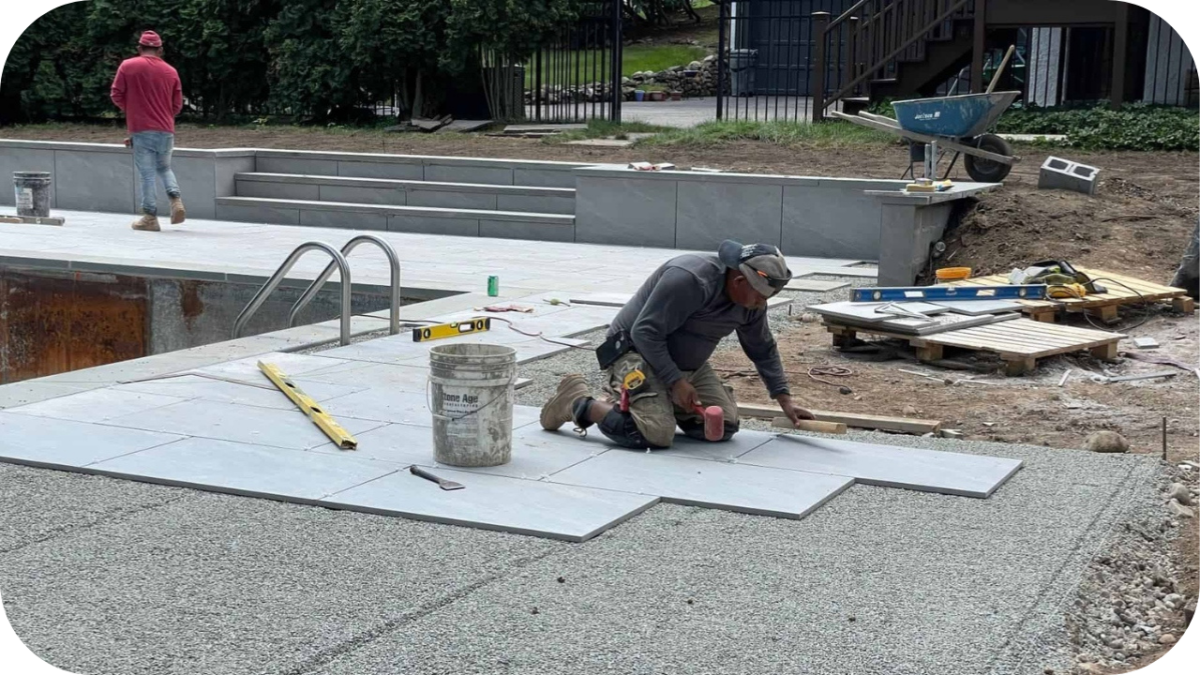
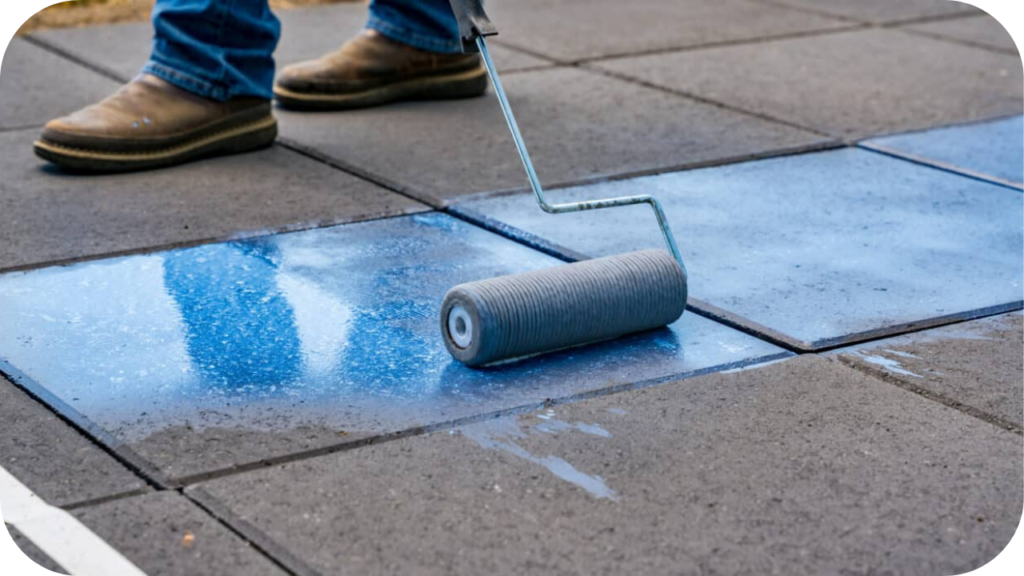
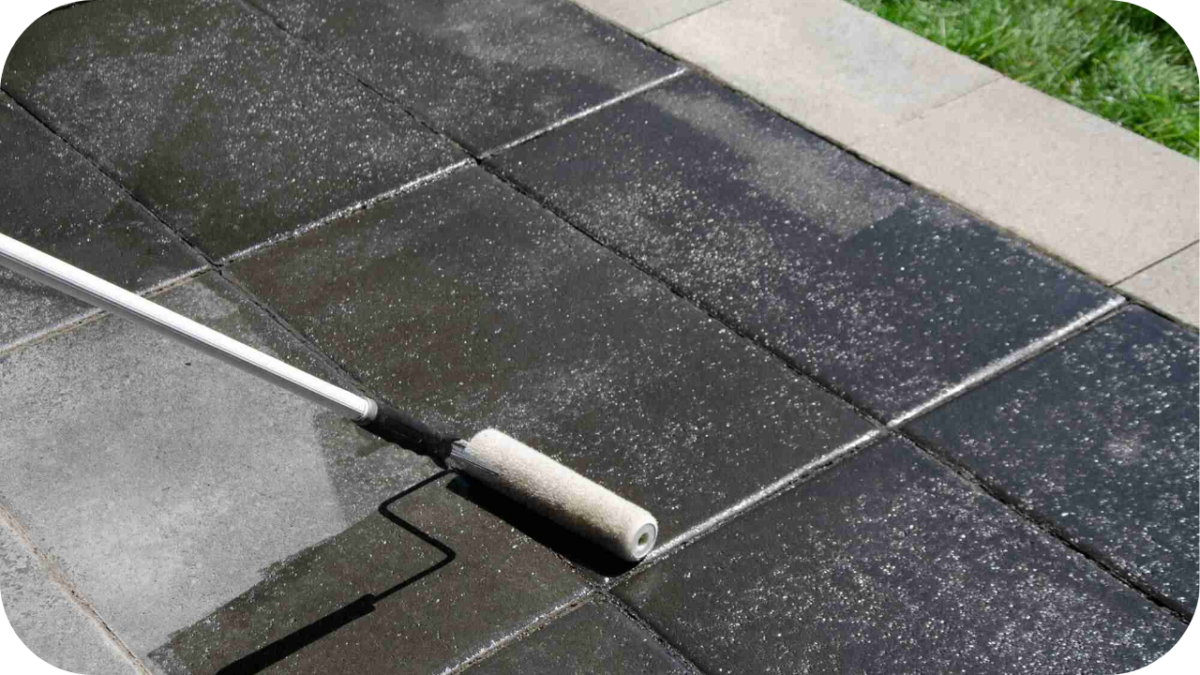
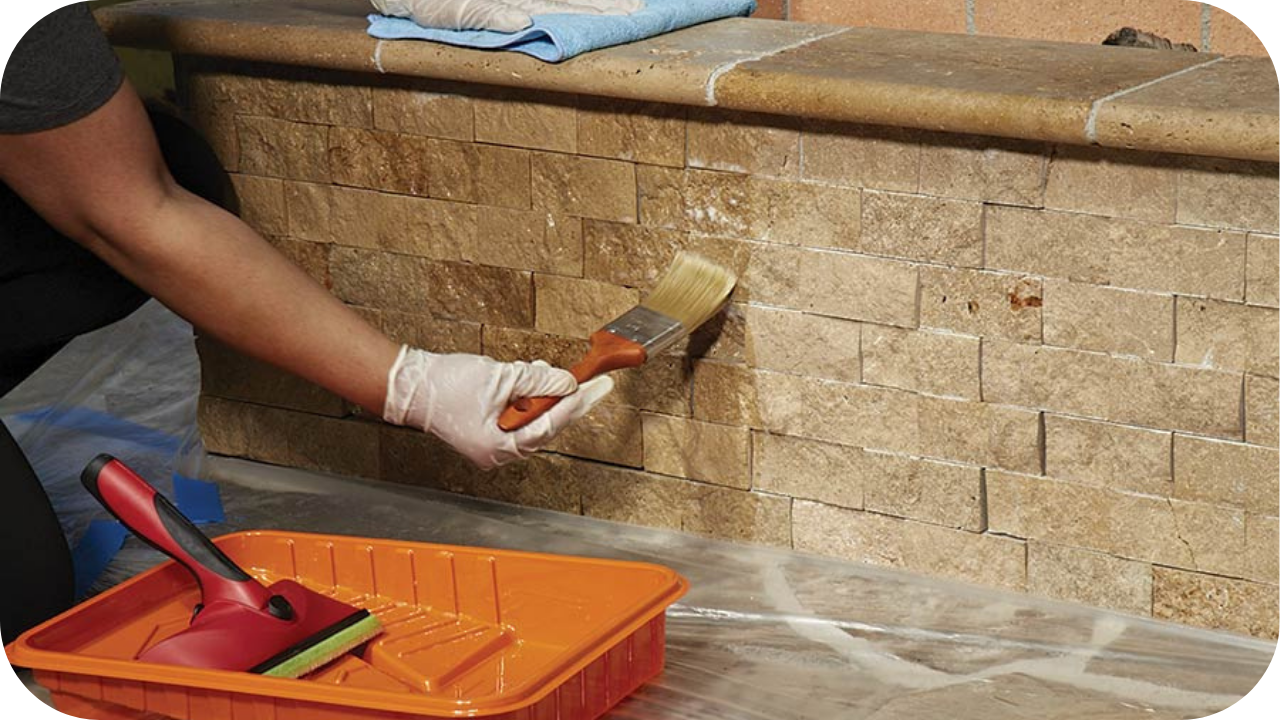
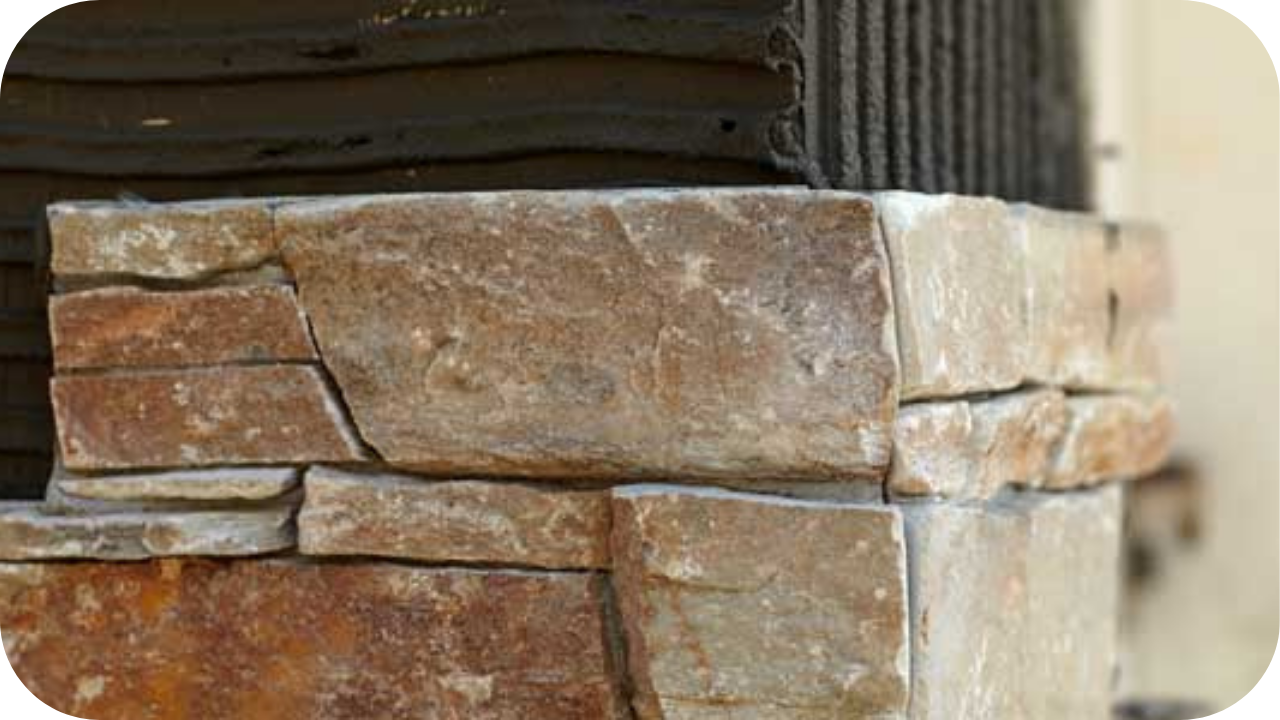
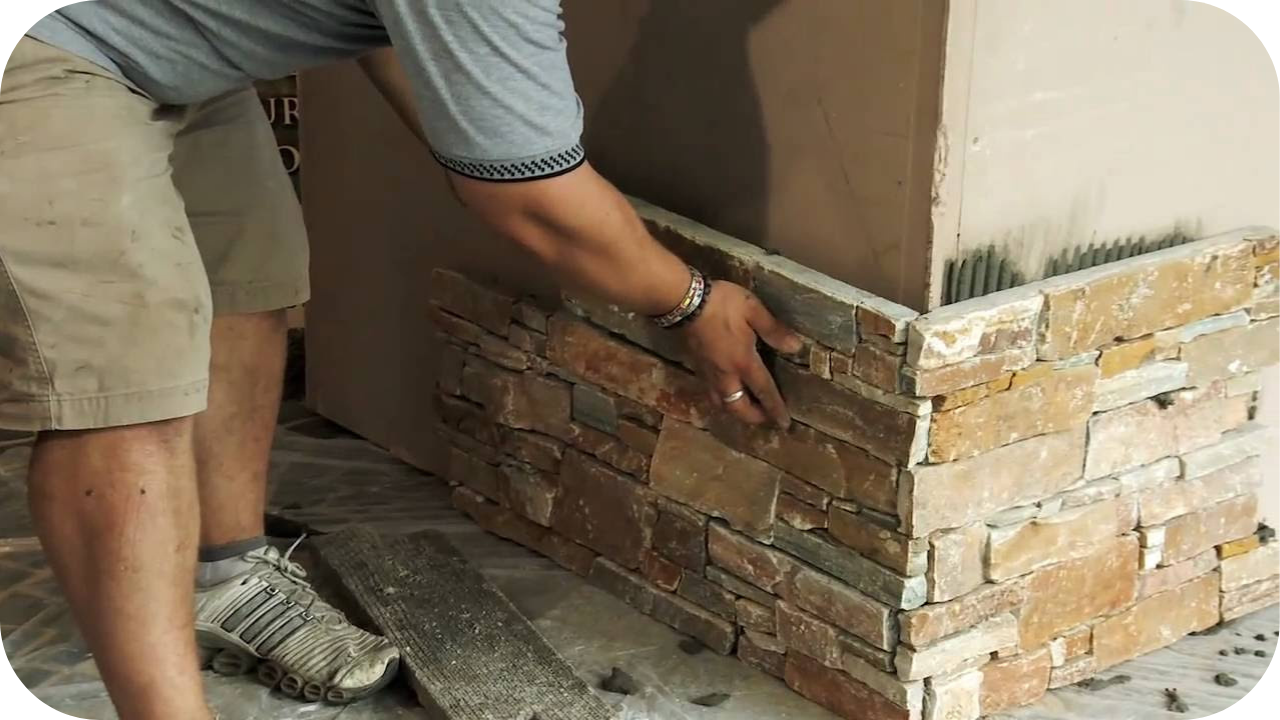
Sealing Limestone Pavers for Long-Term Protection
Sealing plays a major role in keeping limestone strong, balanced, and resistant to everyday outdoor challenges. Because the stone is naturally porous, a good sealer helps protect against moisture, stains, and colour changes that can develop across harsh Australian conditions. It forms a breathable shield that preserves the natural look while adding much needed resilience.
Choosing the right sealer depends on how the space is used and the finish you prefer. Penetrating sealers soak into the stone to guard against deep moisture and stains, while surface sealers create a light protective layer that slightly enriches colour. Both options reduce cleaning needs and help the stone handle weather more effectively.
Limestone should be resealed based on climate and foot traffic, with high-use areas needing slightly more frequent attention. Proper preparation, even application, and correct drying times ensure the sealer performs well, offering long-lasting protection and a consistently attractive finish.
Preventing Physical Damage and Surface Wear
Limestone can wear down when exposed to the wrong movements or pressure, so avoiding a few common habits helps keep the surface strong and looking its best. Here are the key things to avoid.
- Avoid dragging furniture across the stone: Lift pieces rather than slide them to prevent scratching and scuffing, helping the limestone stay smooth and well-maintained in high-traffic areas.
- Avoid using harsh metal or pointed objects: Keep tools and sharp edges away to reduce the risk of chips and surface marks that weaken the stone over time.
- Avoid placing heavy items on unprotected edges: Use pads or supports when positioning outdoor furniture to prevent corner cracks and pressure damage on vulnerable sections of the limestone.
- Avoid wearing hard-soled or studded footwear: Choose softer footwear on limestone surfaces to minimise scraping and reduce long-term wear in frequently used outdoor spaces.
- Avoid letting children’s equipment scrape across the pavers: Move bikes, scooters, and toys carefully to prevent unwanted marks and keep the surface in good condition during everyday play.
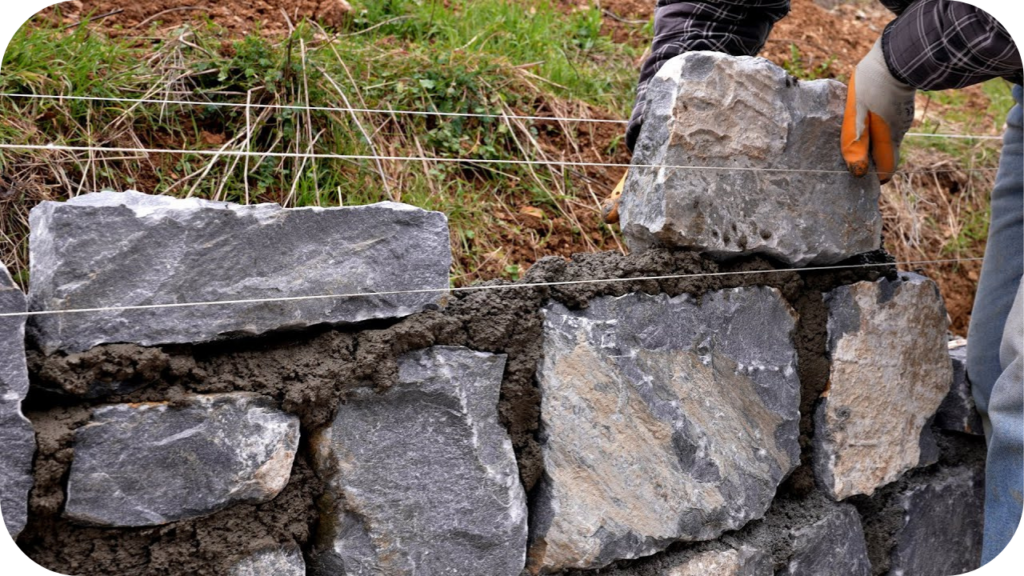
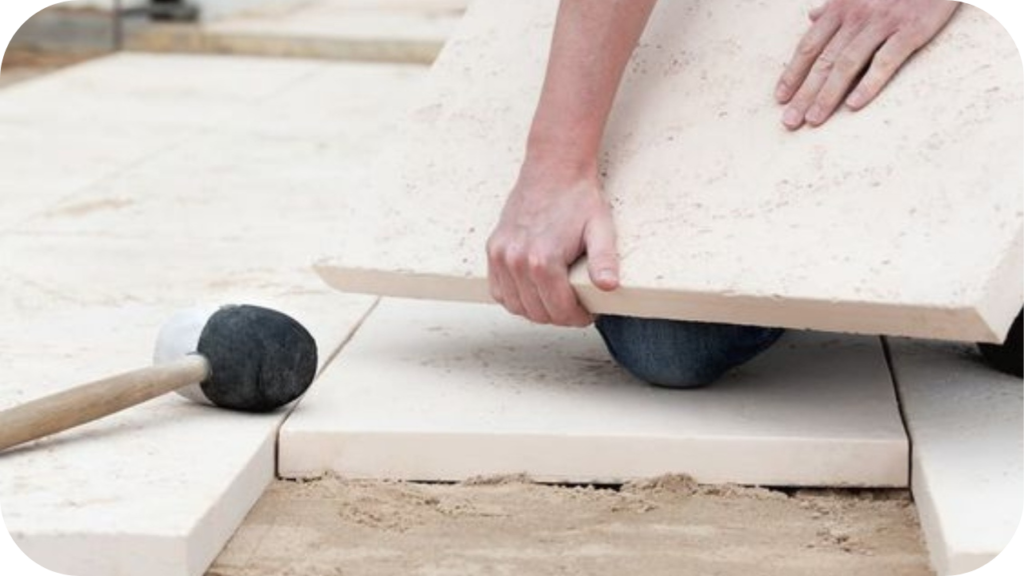
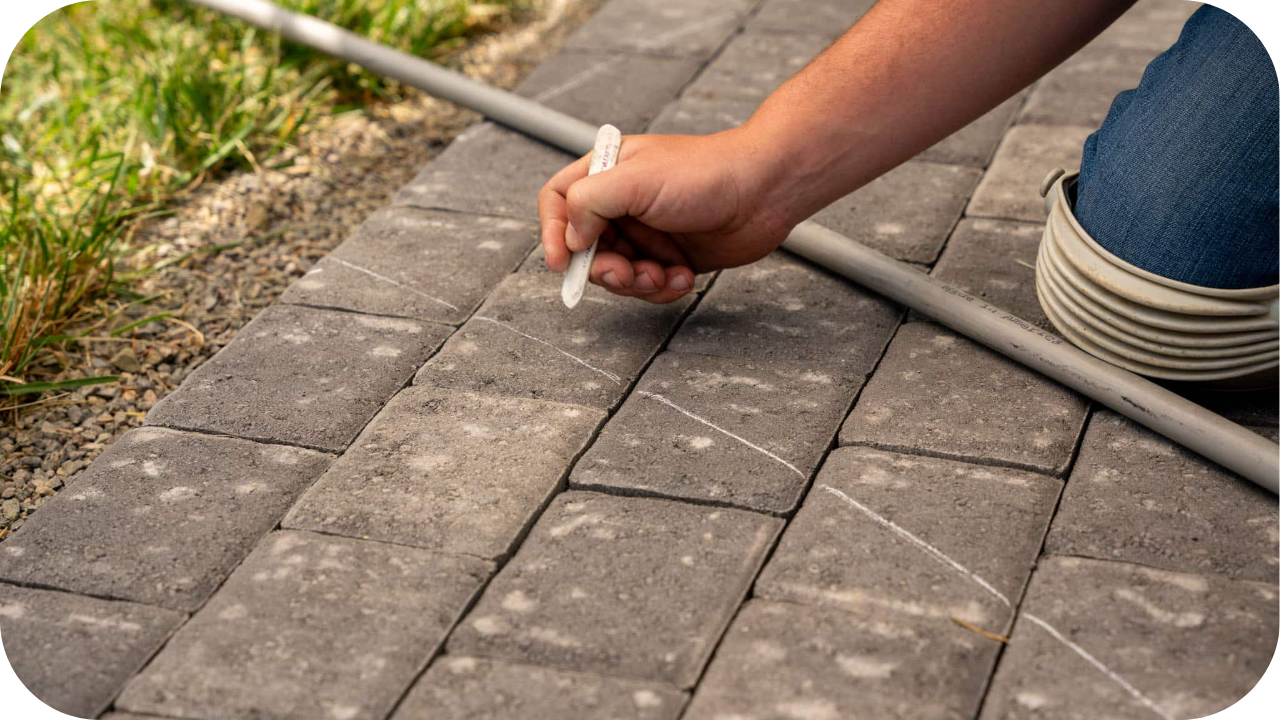
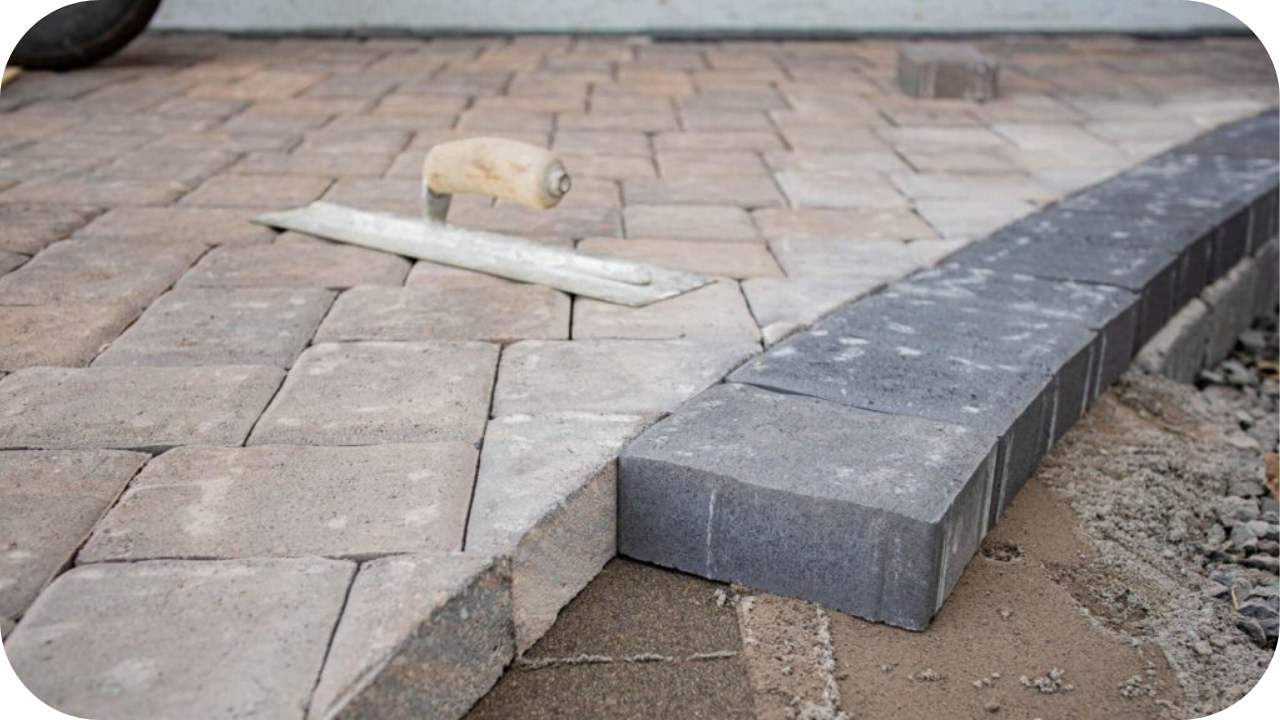
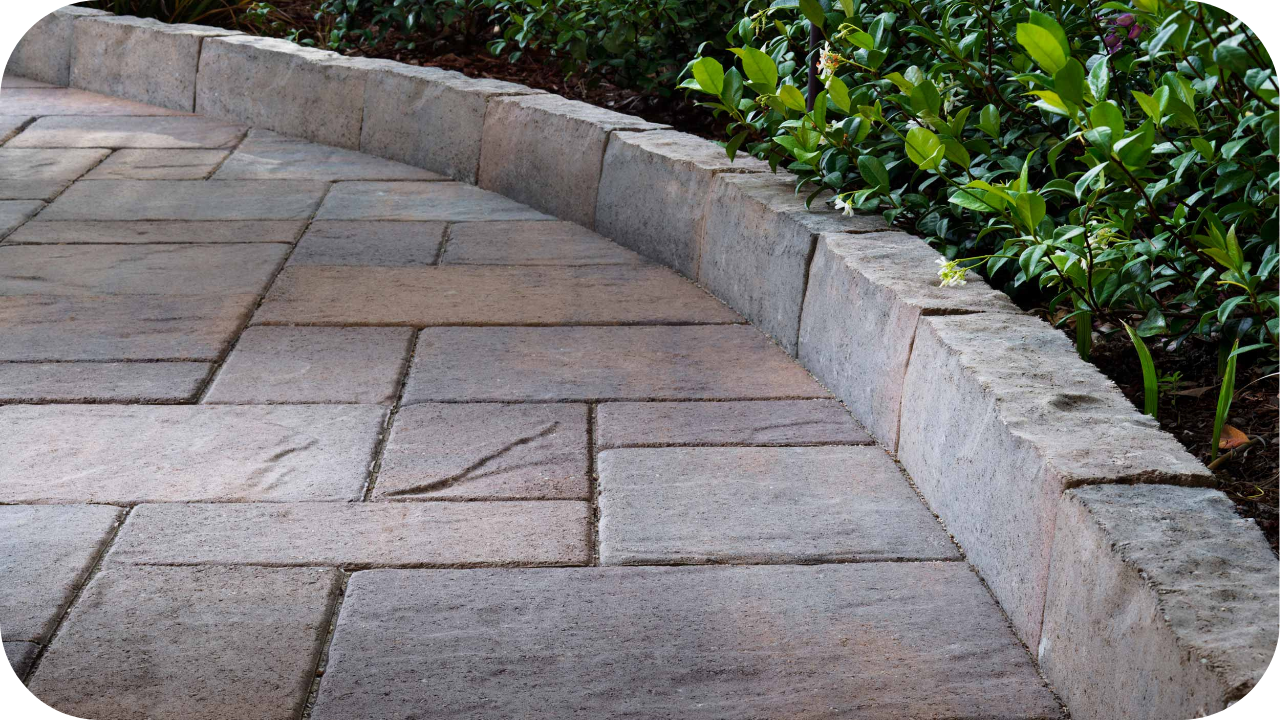
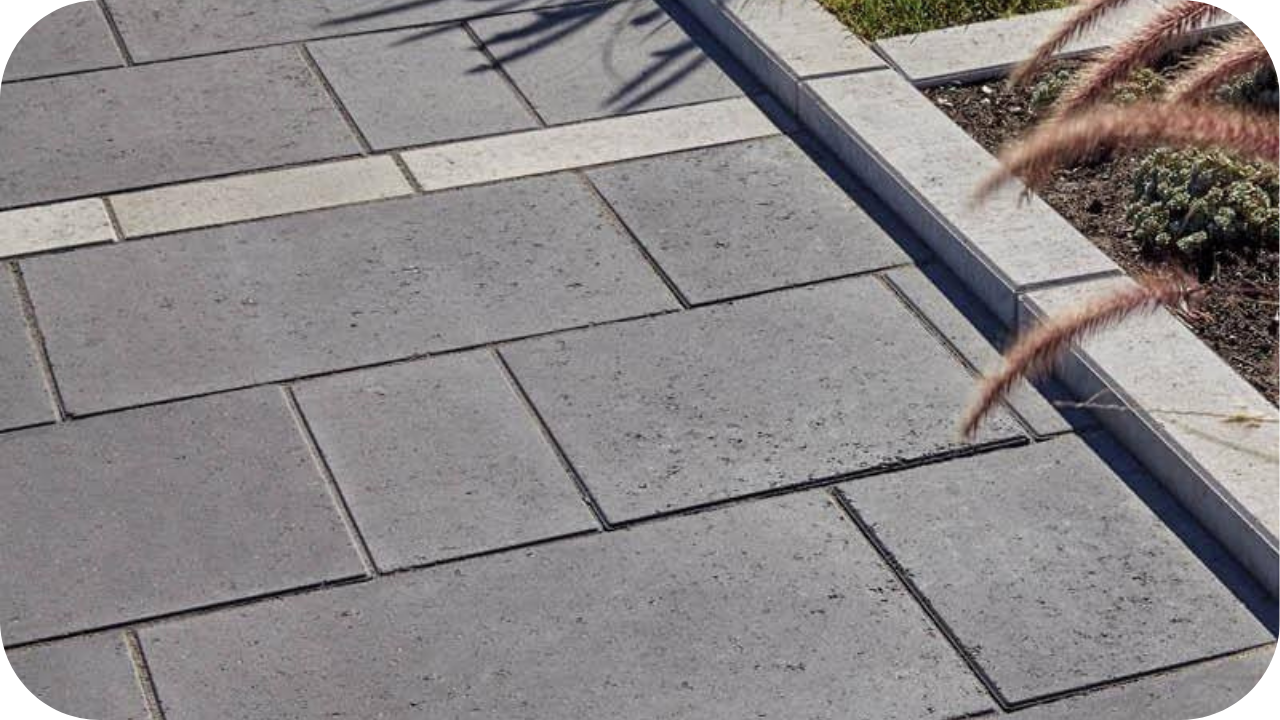
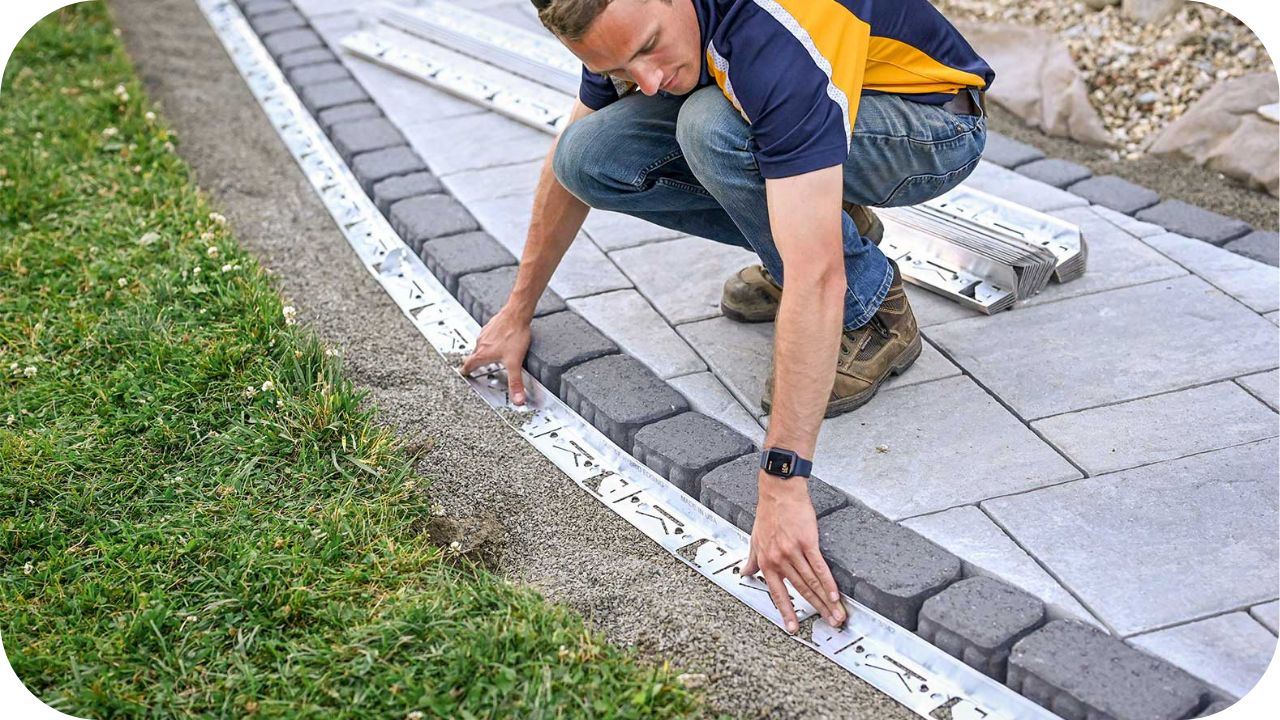
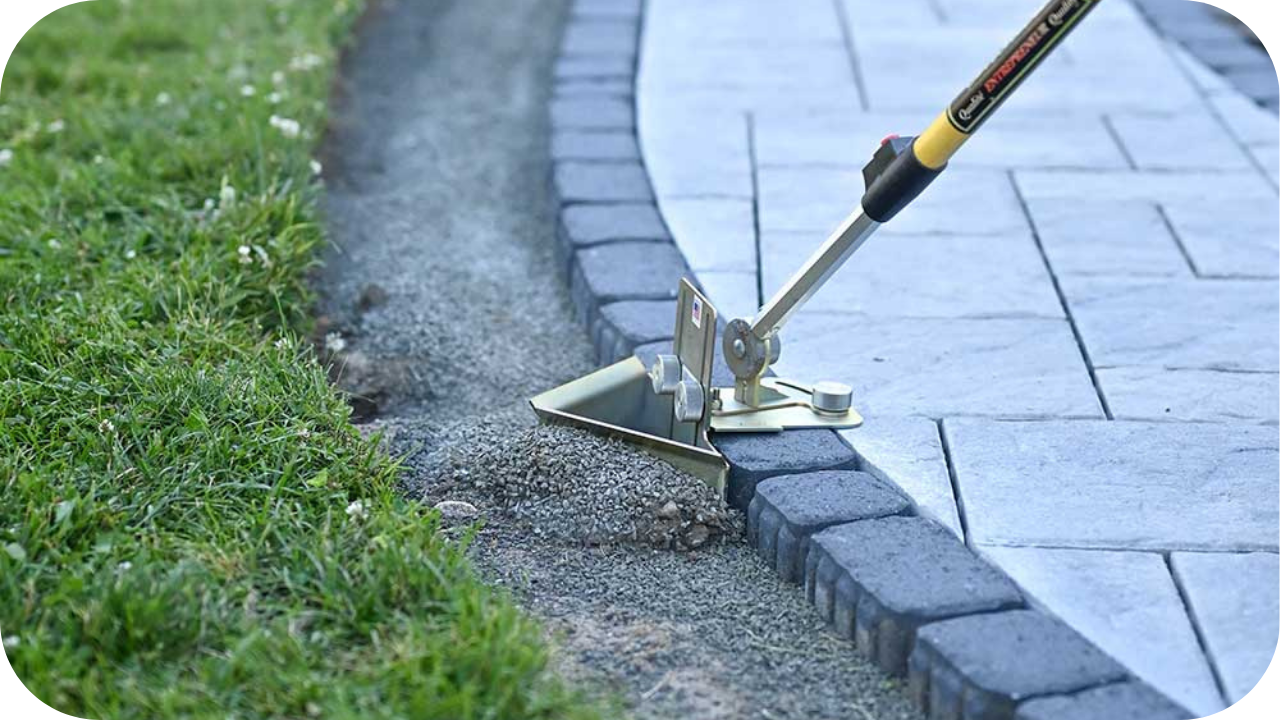
Caring for Joints, Grout, and Bedding Layers
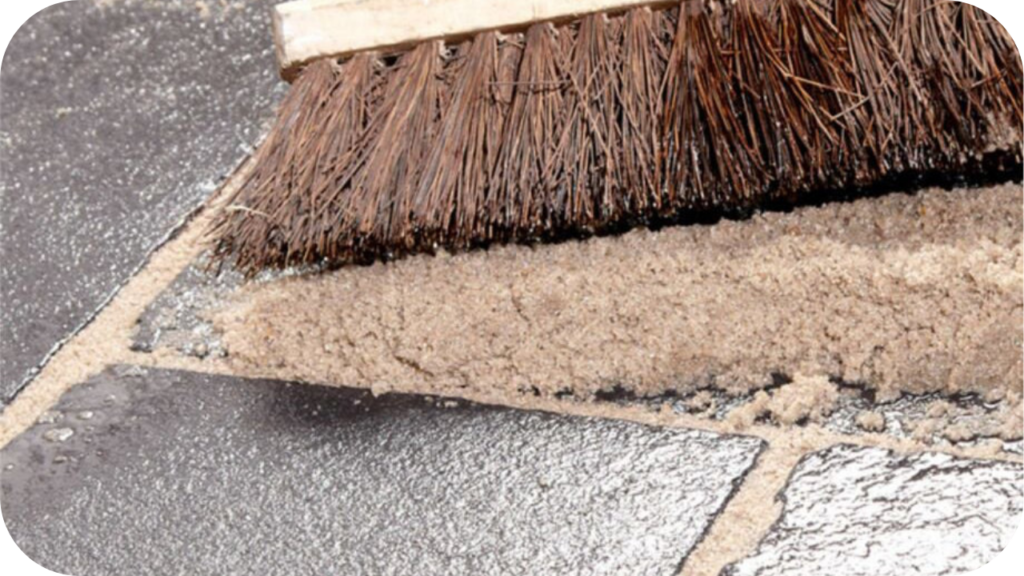
The joints and bedding layers beneath limestone pavers play a major role in long-term stability, drainage, and overall surface performance. When these areas weaken, the stone begins to shift, creating uneven levels, loose edges, and early signs of wear that affect both safety and appearance. Regular attention helps keep everything firmly supported.
Homeowners should monitor joints for erosion, sinking, or cracking, especially after heavy rain or periods of high foot traffic. Refilling gaps with appropriate jointing material prevents moisture from settling beneath the pavers and stops surface movement from developing. Keeping the joints clear of weeds also protects the structure from root interference.
The bedding layer beneath the stone should remain compact, supportive, and well-drained. If you notice dips forming or pavers beginning to rock, early repair prevents larger issues from developing. A stable base ensures the limestone remains even, safe, and comfortable to walk on across all outdoor areas.
Keep Your Limestone Looking Its Best
Caring for limestone pavers consistently helps them stay clean, stable, and visually impressive across Australia’s changing conditions. With the right routine, the stone keeps its natural texture and colour for many years.
Small habits such as sweeping, rinsing, sealing, and treating stains early make a noticeable difference in long-term performance. These simple steps protect the surface and prevent issues from developing quietly underneath.
If you want limestone that stays strong and beautiful, contact Splendour in Stone. Our team can guide you through the right care solutions for your outdoor space.