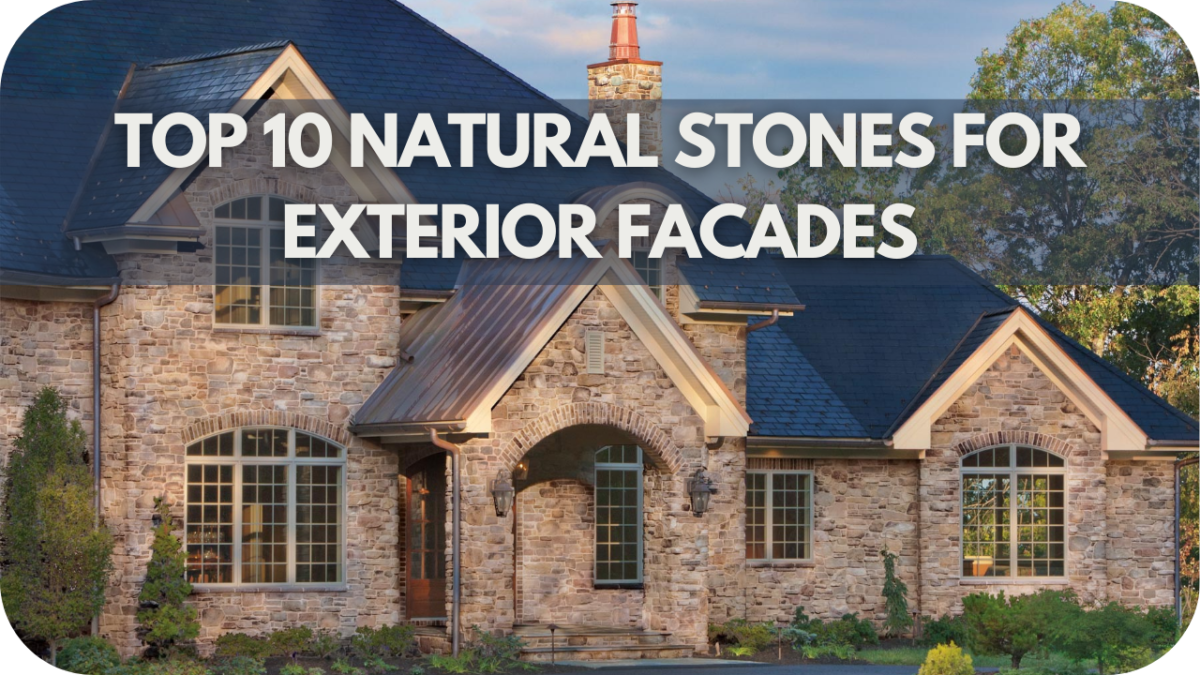
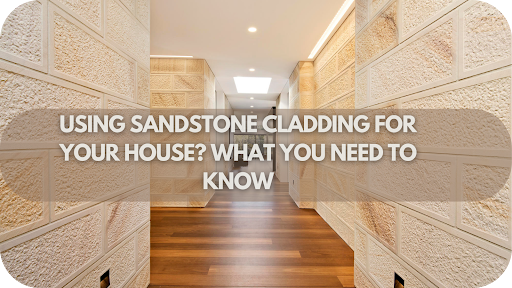
Using Sandstone Cladding for Your House? What You Need to Know
Is your home’s exterior starting to look tired and dated?
Are you longing for a facade that reflects your personal style and adds curb appeal?
Maybe you’re concerned about rising energy costs and want to improve your home’s insulation.
Traditional siding options like paint and stucco can be high-maintenance, prone to cracking, and lack visual interest.
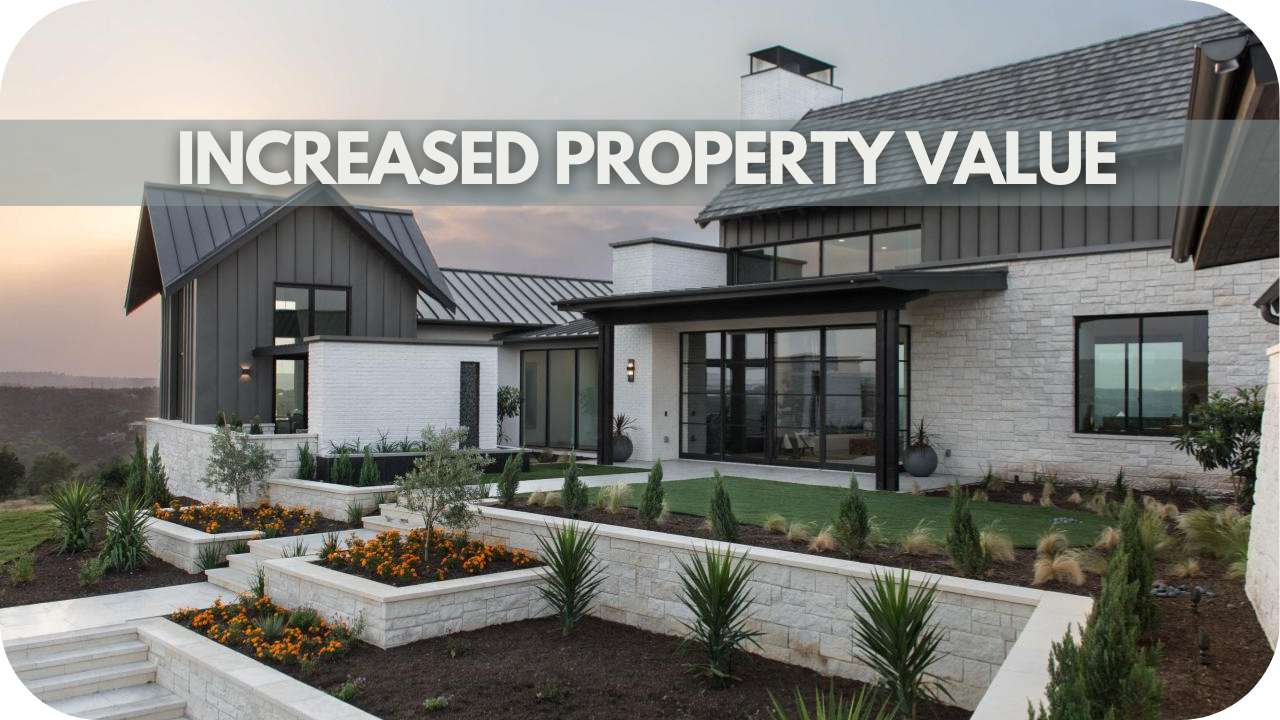
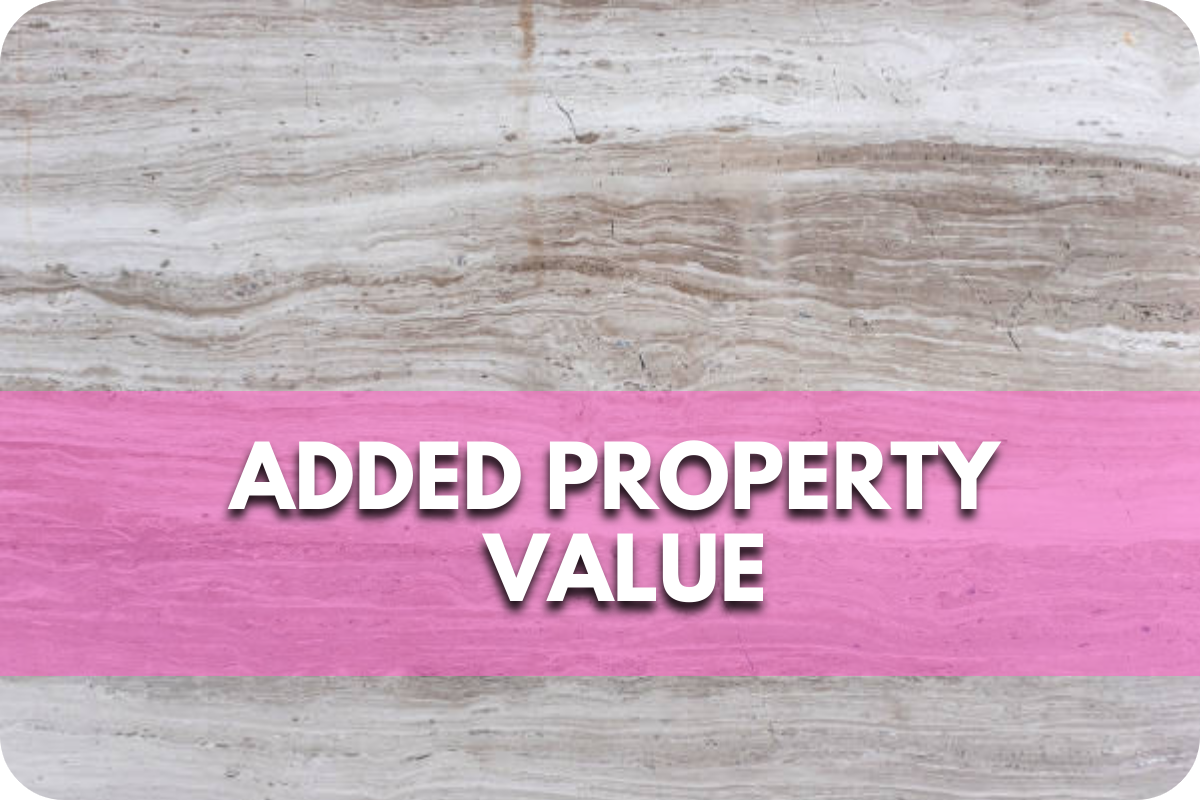
And let’s face it, replacing your siding is a major investment – you want to get it right! You need a solution that’s durable, beautiful and adds lasting value to your home.
Sandstone cladding offers the perfect answer.
This natural stone provides timeless elegance and unmatched durability, transforming your home into a stunning masterpiece. With its exceptional weather resistance, energy-saving properties, and low maintenance requirements, sandstone cladding is an investment that will pay off for years.
Therefore, here’s an article with everything you need to know before using sandstone cladding for your home.
Let’s get started!
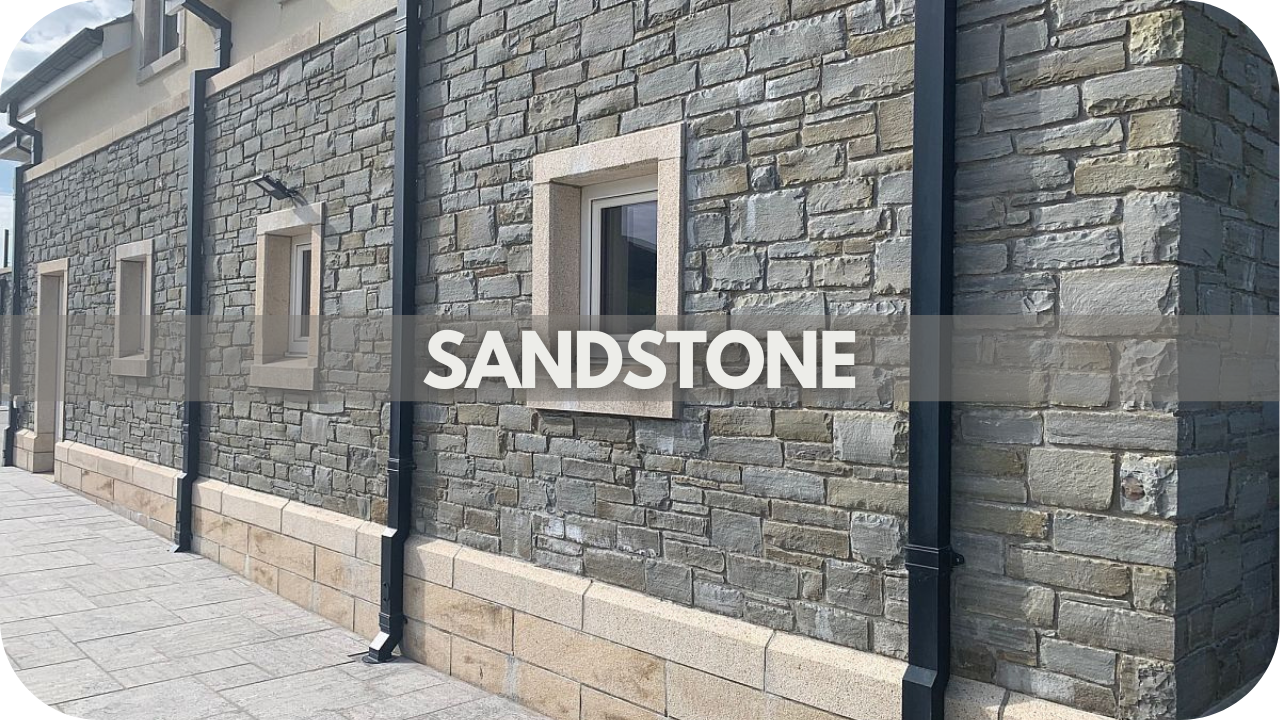
What is Sandstone Cladding?
Sandstone cladding is a type of natural stone veneer used to cover the exterior or interior walls, providing both aesthetic and functional benefits.
Sandstone itself is a sedimentary rock composed mainly of sand-sized mineral particles, primarily quartz. This composition gives sandstone its characteristic durability and resistance to weathering.
Here are some key features which make it a sought-after material for construction and design!
- Durability: Sandstone is known for its strength and longevity, making it an excellent choice for exterior cladding that can withstand various weather conditions.
- Texture: It has a natural, gritty texture that can be smoothed or left rough, depending on the desired finish.
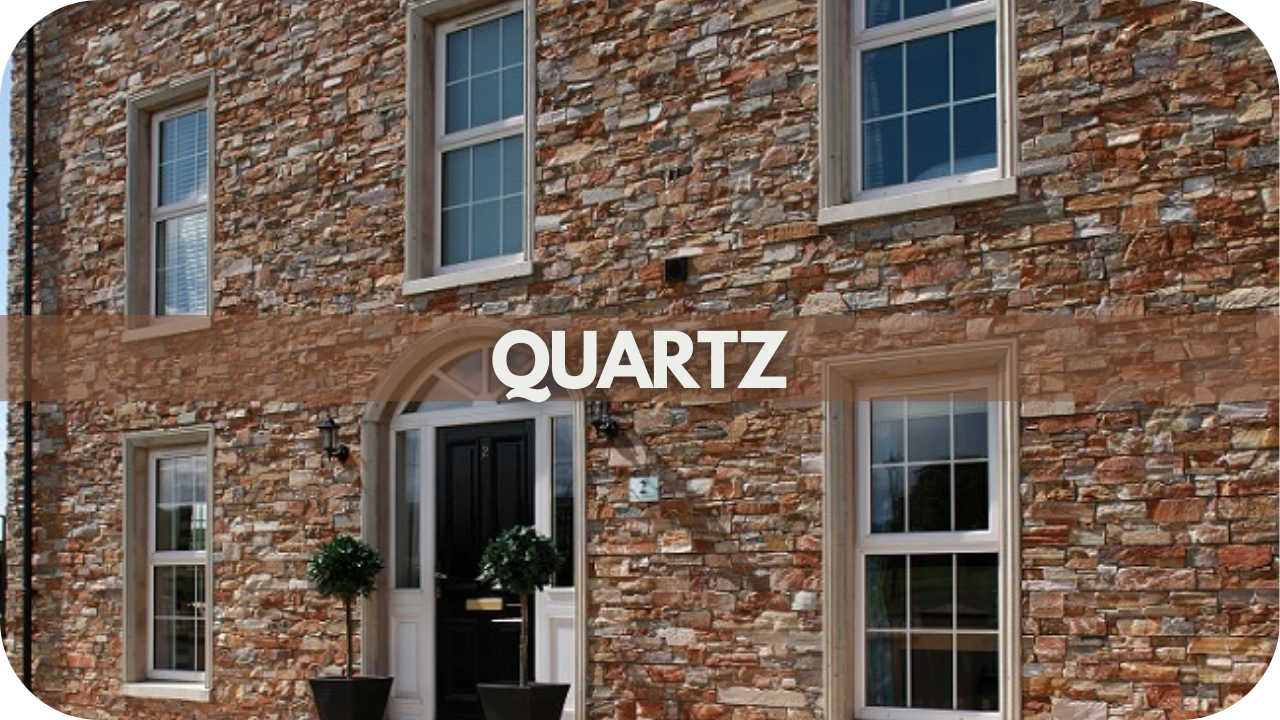
- Colour Variations: Sandstone comes in various colours, from warm browns and reds to cool greys and whites, providing versatile design options.
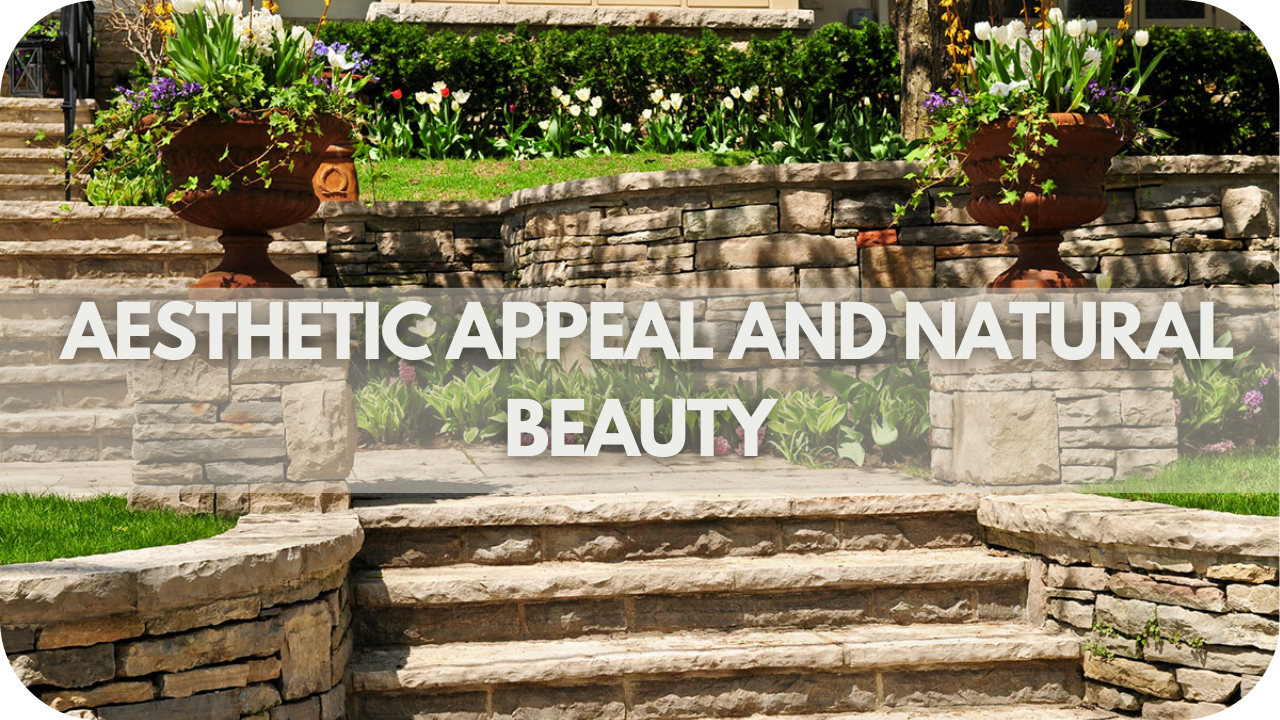
- Natural Beauty and Appeal: Sandstone’s inherent beauty lies in its unique grain patterns and earthy tones, which add a timeless and organic look to any structure. Each piece of sandstone is distinct, offering a unique aesthetic that can enhance a home’s character and elegance. The natural variations in colour and texture create a visually appealing façade that blends seamlessly with the surrounding environment, making it a popular choice for traditional and contemporary architectural styles.
Benefits of Sandstone Cladding
Sandstone cladding offers numerous benefits, making it an excellent choice for enhancing the exterior of your home.
Below are some of them:
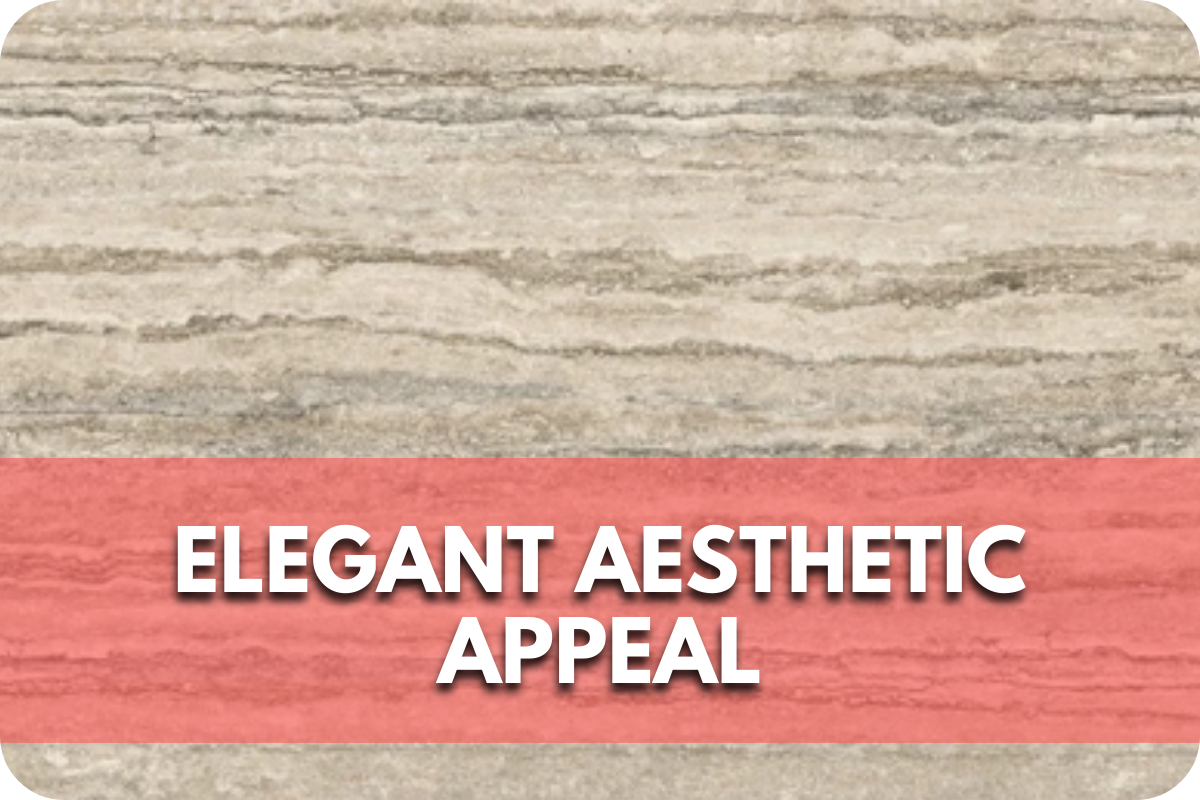
- Aesthetic Appeal and Variety of Colours and Textures: Sandstone cladding is prized for its natural beauty and versatility. It comes in various colours, from warm browns and reds to cool greys and whites, allowing for a customised look. The texture can vary from smooth to rough, providing options that suit traditional and contemporary designs. Its unique grain patterns add a timeless elegance to any structure.
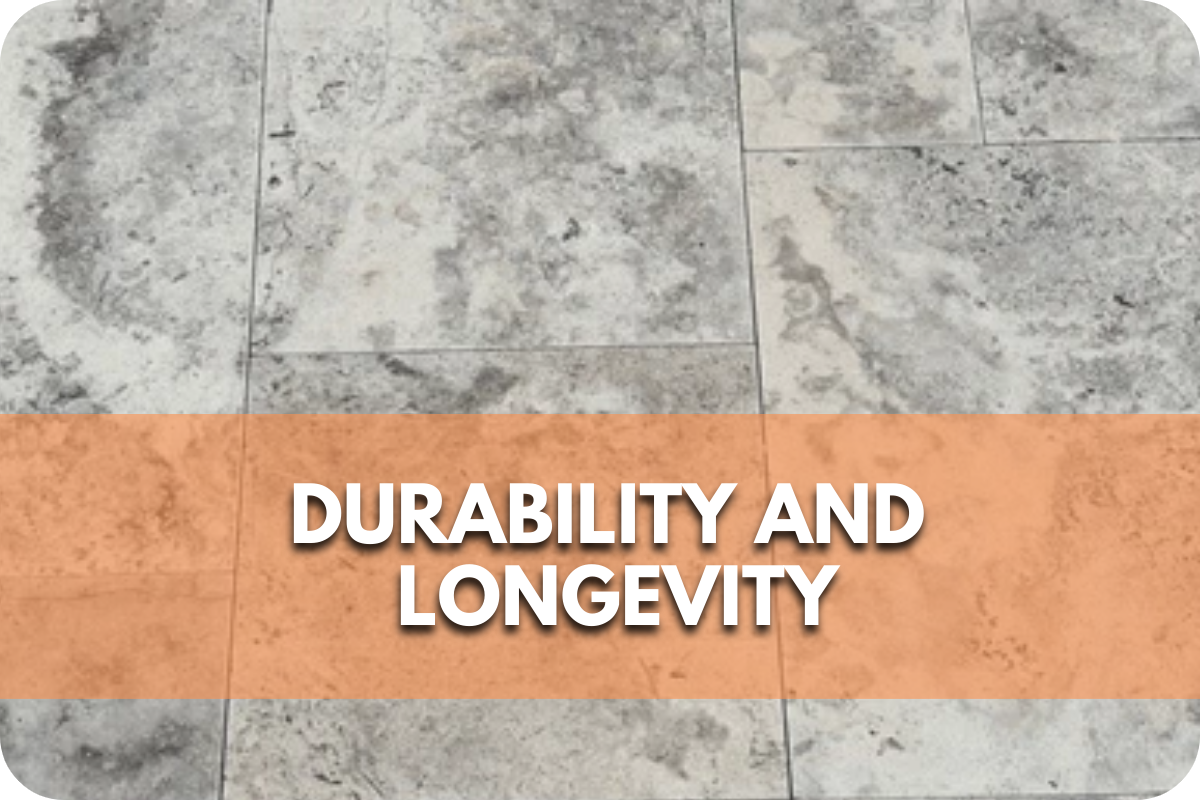
- Durability and Strength: Sandstone is a highly durable material that can withstand harsh weather conditions, including heavy rain, strong winds, and extreme temperatures. Its robust nature ensures that your cladding will remain intact and visually appealing for many years, reducing the need for frequent repairs or replacements.
- Natural Insulation Properties: One significant advantage of sandstone is its natural insulation properties. It helps regulate indoor temperatures by keeping homes cooler in the summer and warmer in the winter, contributing to energy efficiency and comfort.
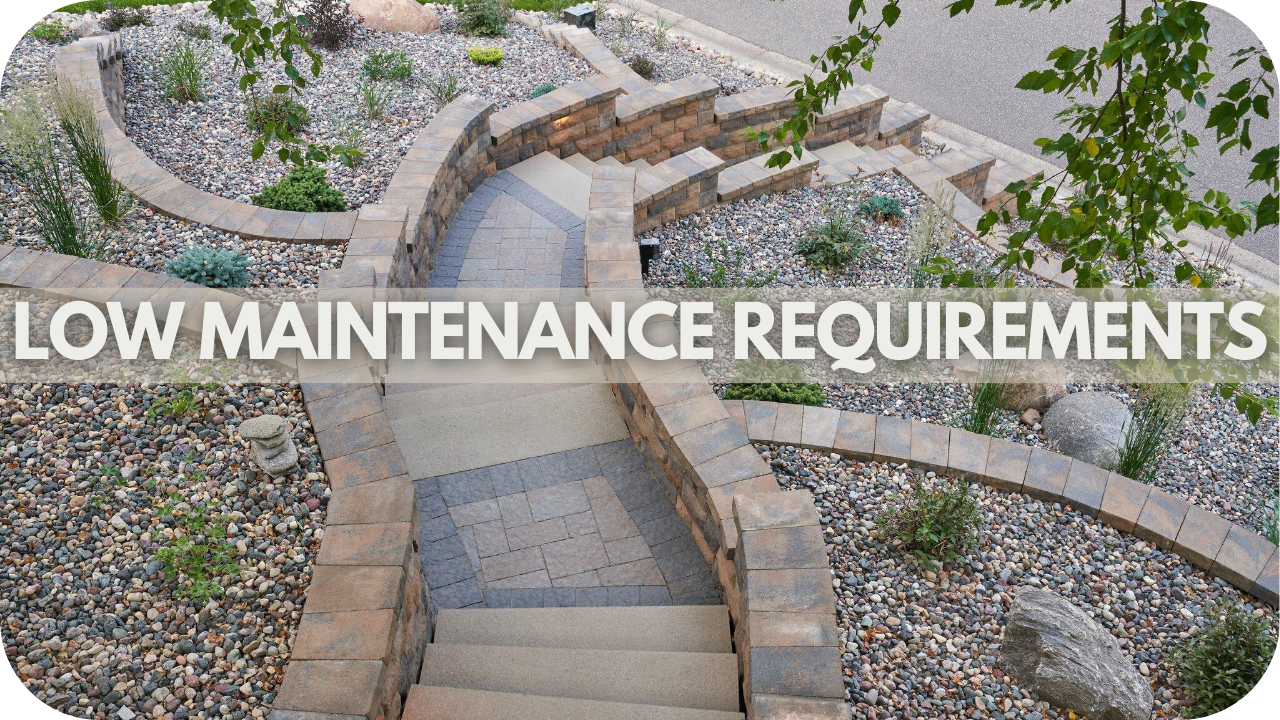
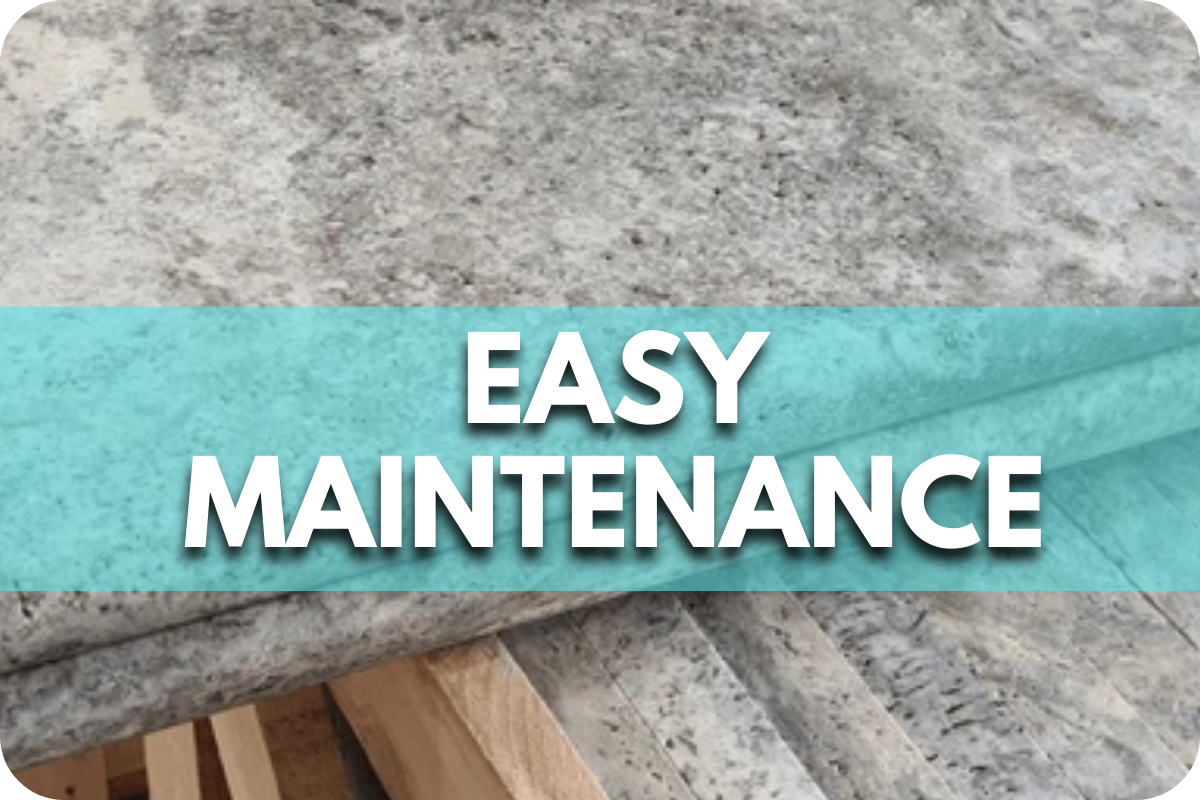
- Low Maintenance Requirements: Sandstone cladding is relatively low maintenance. Its resistance to weathering and natural durability means it requires minimal upkeep. Regular cleaning to remove dust and occasional sealing to protect against stains and moisture are typically sufficient to maintain its appearance.
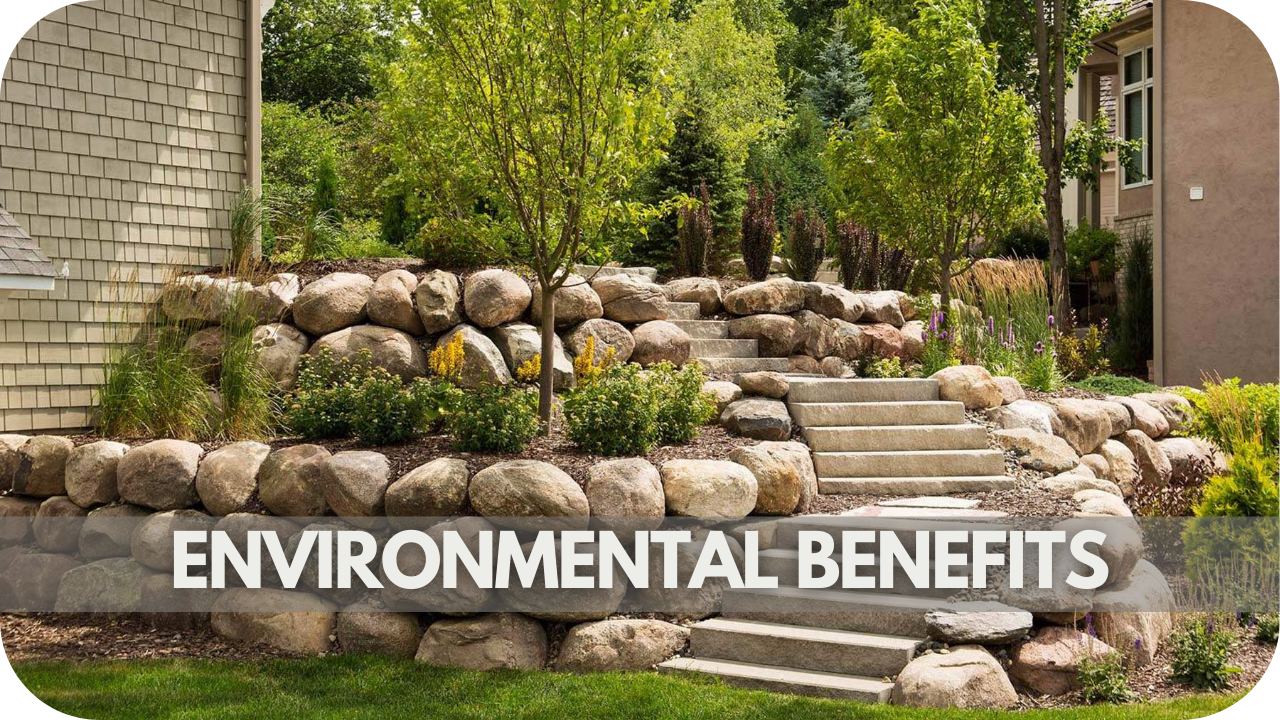
- Environmentally Friendly Option: Sandstone is an eco-friendly choice for cladding. It is a natural material with a low environmental impact. Its long lifespan reduces the need for replacement and can be sourced sustainably. Additionally, sandstone is recyclable, contributing to its green credentials.
Considerations Before Choosing Sandstone Cladding
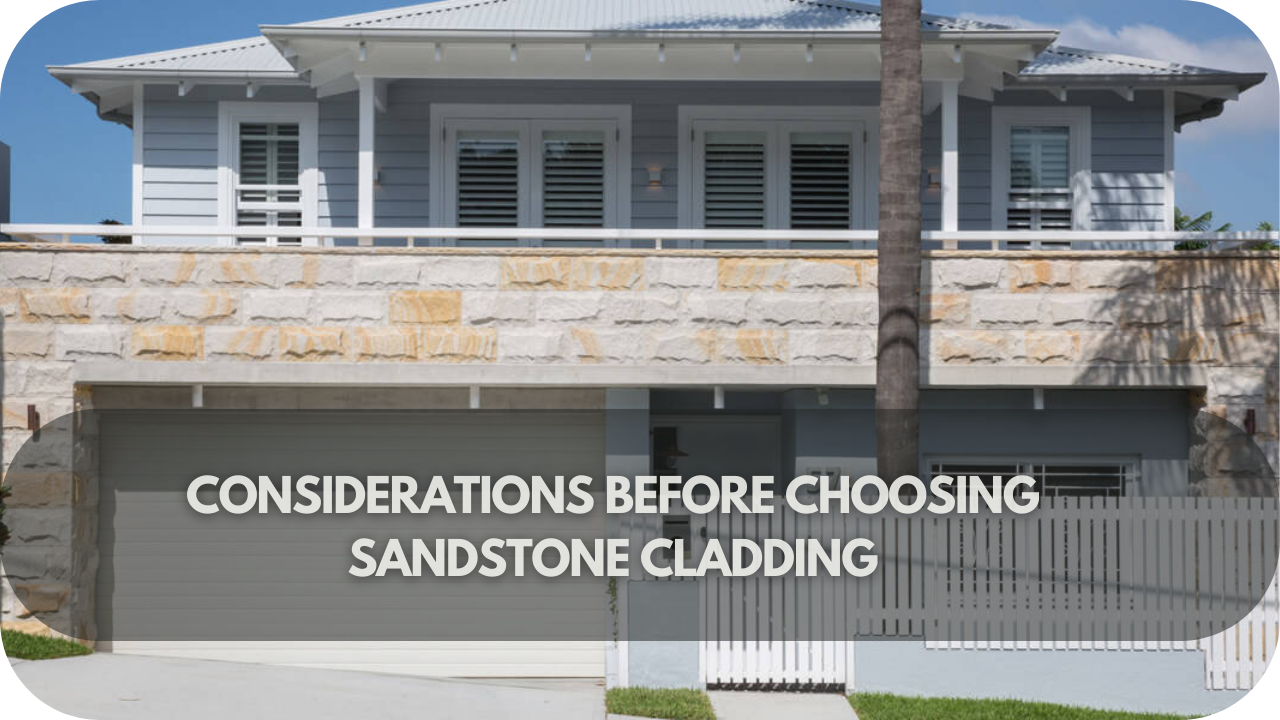
Before opting for sandstone cladding, evaluating several factors is crucial to ensure it’s the right choice for your home.
- Suitability for Your Local Climate: Sandstone cladding performs well in various climates, but it’s essential to consider your local weather conditions. While sandstone is durable, extreme temperatures may necessitate additional treatments or maintenance. For instance, proper sealing is vital in areas with heavy rainfall to prevent water penetration and potential damage.
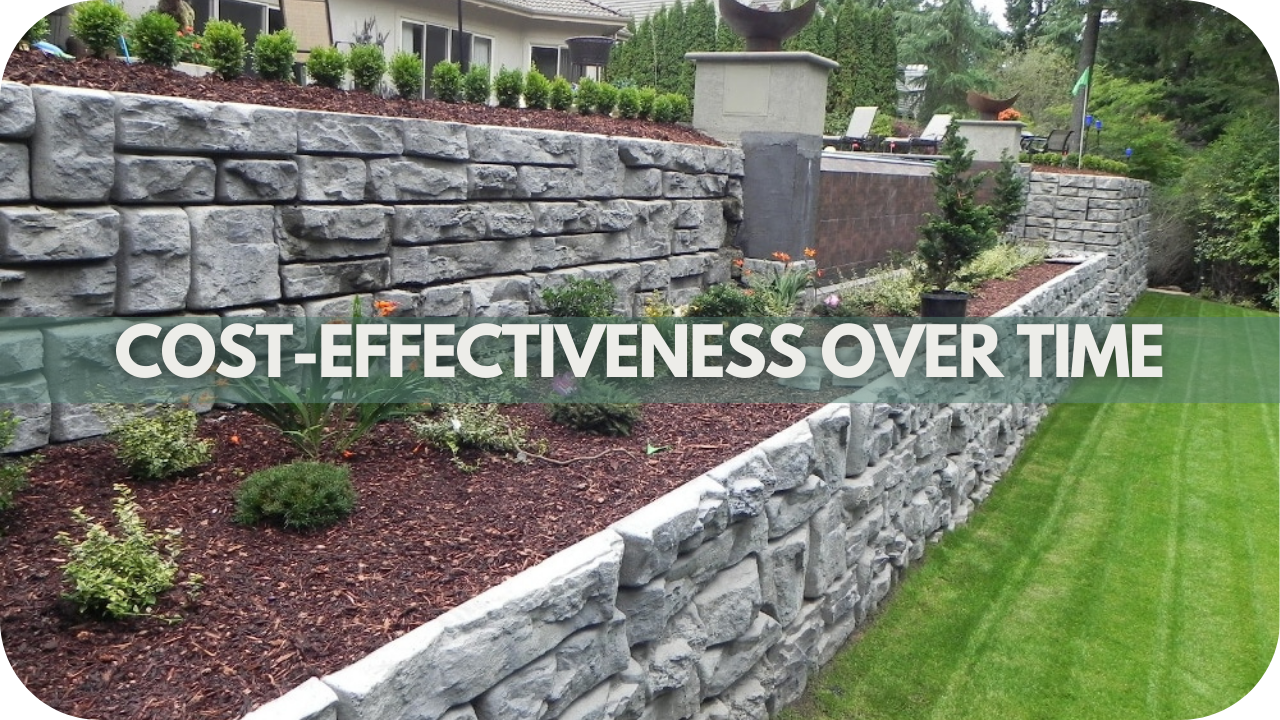
- Cost and Budget Considerations: Sandstone cladding is an investment that varies in cost based on the quality, source, and installation complexity. While it can be more expensive than other materials, its durability and aesthetic appeal often justify the initial expense. Planning your budget is important in factoring in both the material and installation costs.
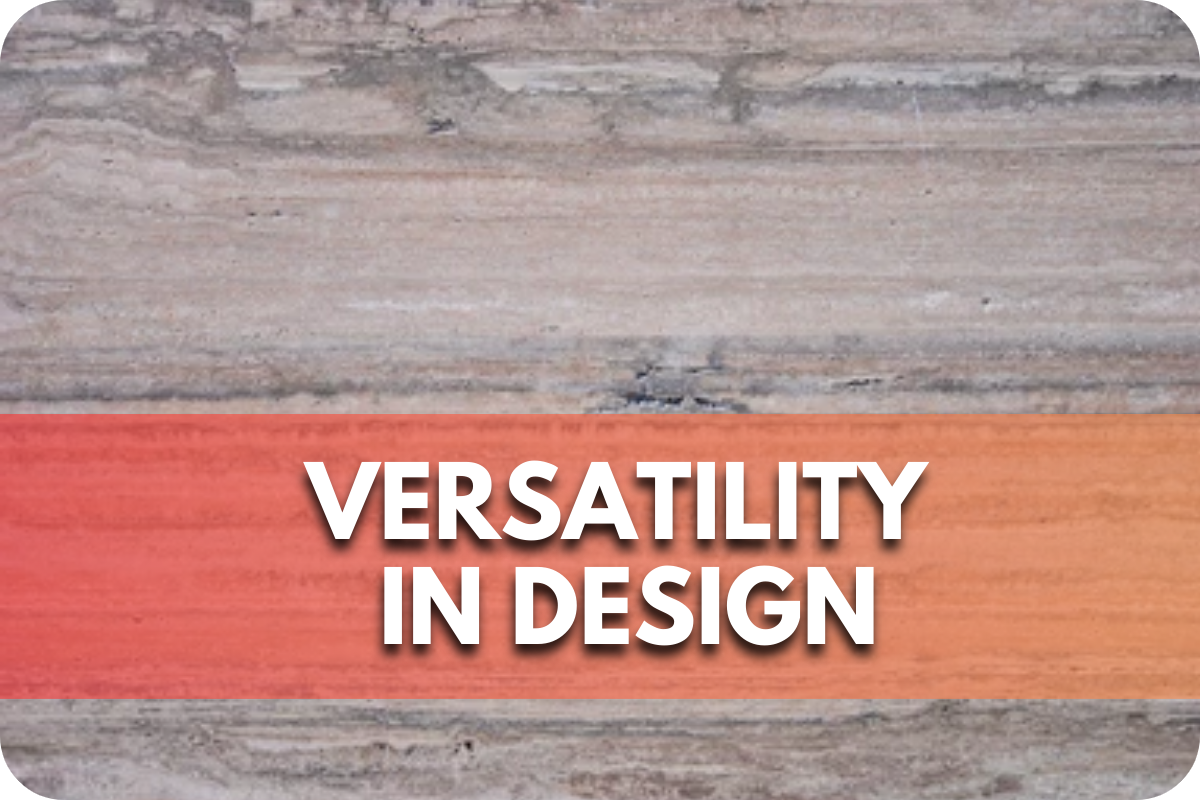
- Compatibility with Your Home’s Architectural Style: Ensure that sandstone cladding complements your home’s architectural style. Sandstone’s versatility makes it suitable for both traditional and contemporary designs. Consider the stone’s colour, texture, and pattern to match or enhance your home’s existing aesthetics.
- Long-Term Maintenance and Care: Although sandstone is low maintenance, it still requires periodic cleaning and sealing to maintain its appearance and integrity. Assess your willingness to commit to regular upkeep, including removing dirt and debris, sealing the stone to protect against moisture and stains, and promptly addressing any potential weathering issues.
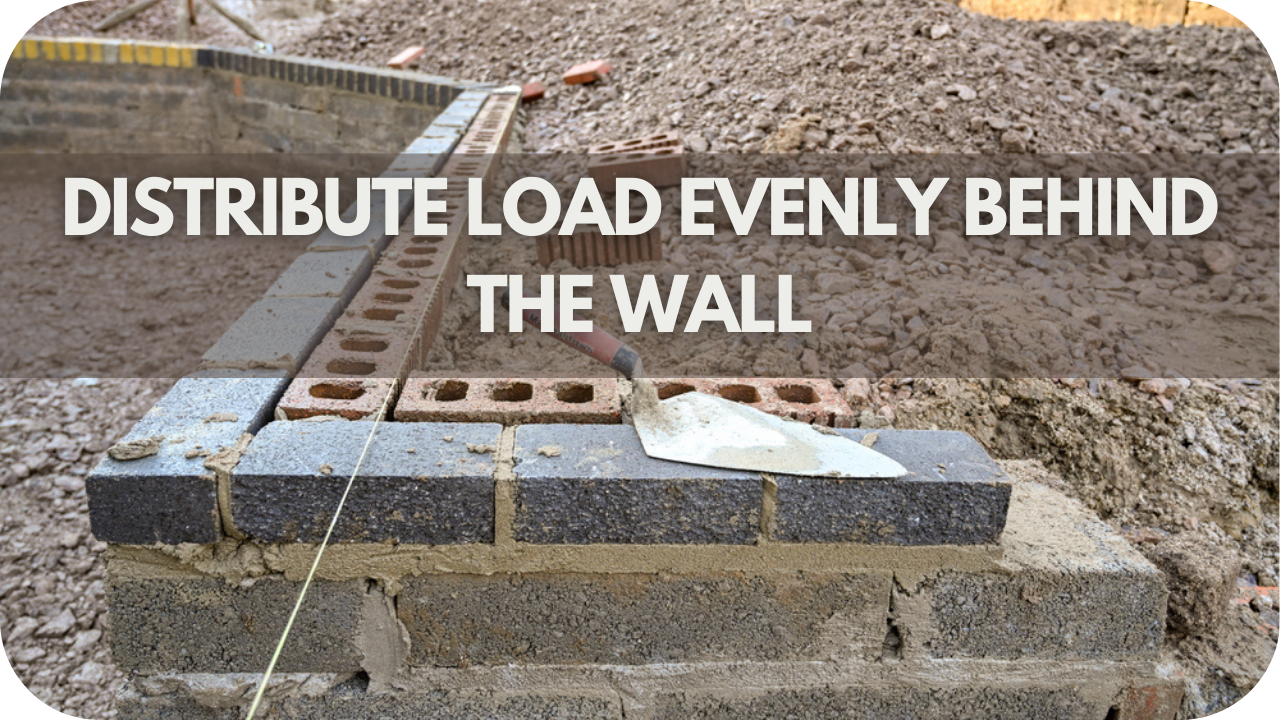
Installation Process
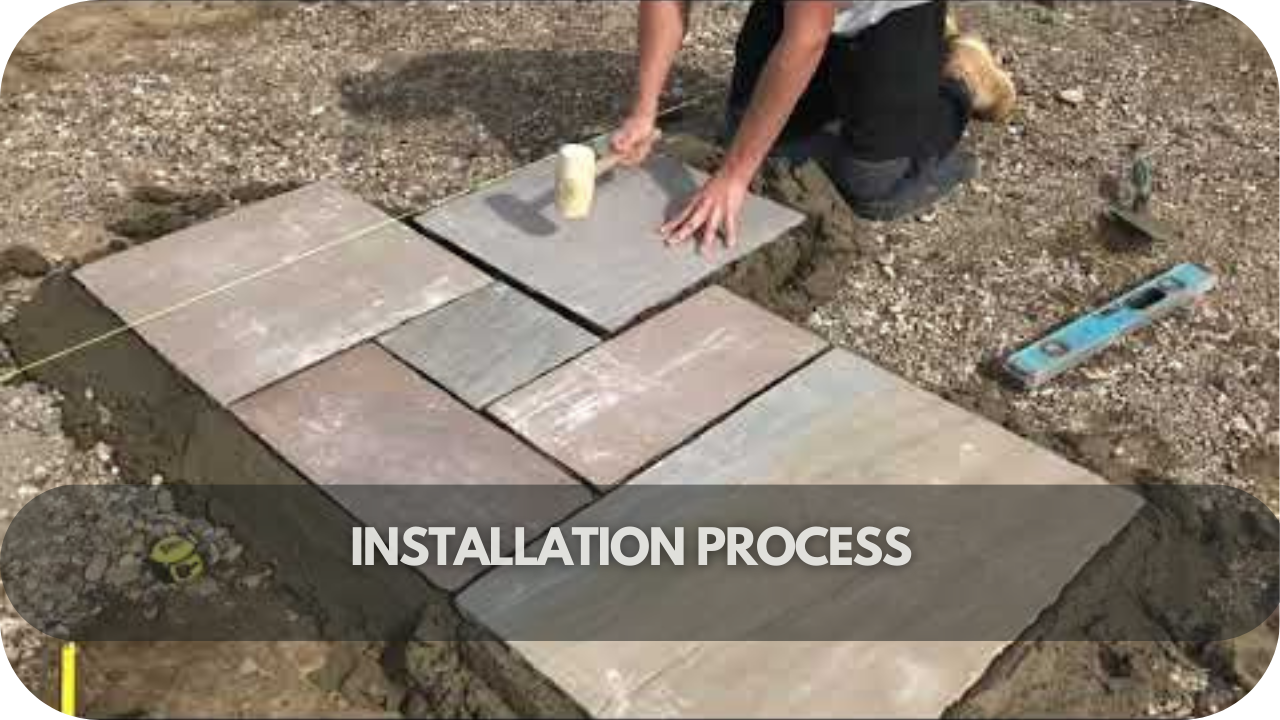
Proper installation is crucial for the durability and appearance of sandstone cladding. Here’s what you need to know about the process.
Here are the essential steps for installing Sandstone Cladding to achieve a stunning and durable finish.
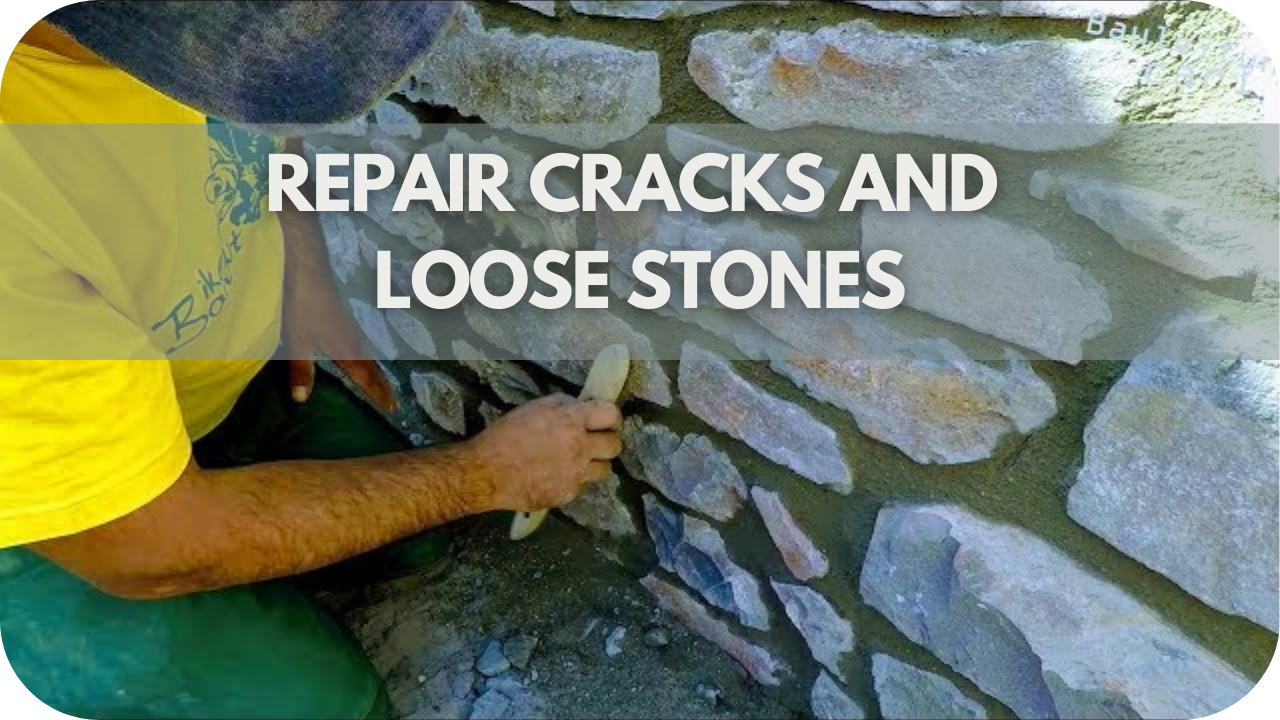
- Surface Preparation: Clean the surface to remove dirt, debris, or loose material. If necessary, repair any cracks or damage to create a stable base. Afterwards, measure the area accurately to determine the amount of sandstone required.
- Applying the Mortar: Mix mortar according to the manufacturer’s instructions and apply a layer to the prepared surface. Ensure an even application to provide a strong adhesive base for the sandstone.
- Laying the Stones: Start from the bottom and work your way up. Press each sandstone piece firmly into the mortar, ensuring it is level and securely attached. Use spacers if needed to maintain consistent gaps between the stones.
- Pointing and Finishing: Once the stones are in place, fill the gaps with mortar or grout to secure them and enhance their overall appearance. Smooth the joints and clean any excess mortar from the surface.
- Curing and Sealing: Allow the mortar to cure as per the manufacturer’s guidelines. After curing, apply a sealant to protect the sandstone from moisture and stains.
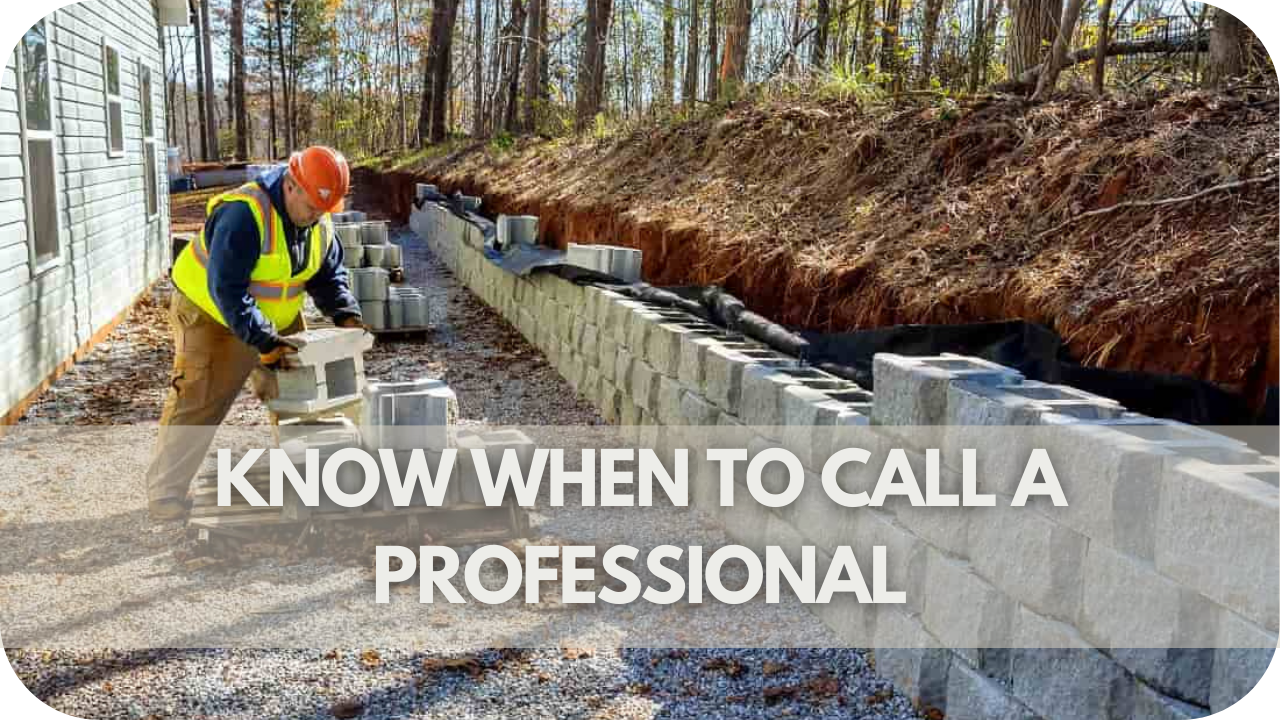
Professional Installation vs. DIY
While DIY installation can be cost-effective, achieving a professional finish requires a significant amount of skill and experience.
Hiring professionals ensures precise installation, adherence to building codes, and a longer-lasting result.
Professionals have the necessary tools and expertise to handle complex installations and troubleshoot any issues that may arise.
Maintenance and Care Tips
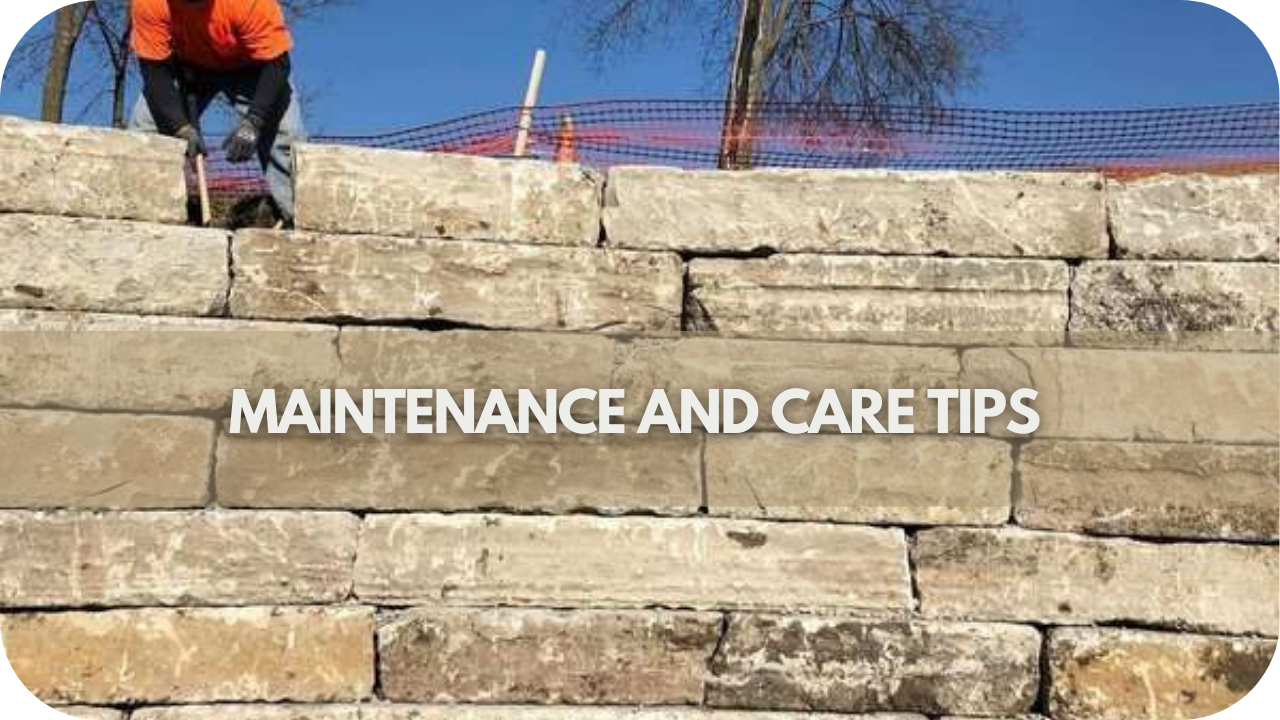
Proper maintenance and care are essential to preserve the beauty and durability of your sandstone cladding, especially in the diverse Australian climate.
Here are some key tips to ensure your sandstone remains in top condition.
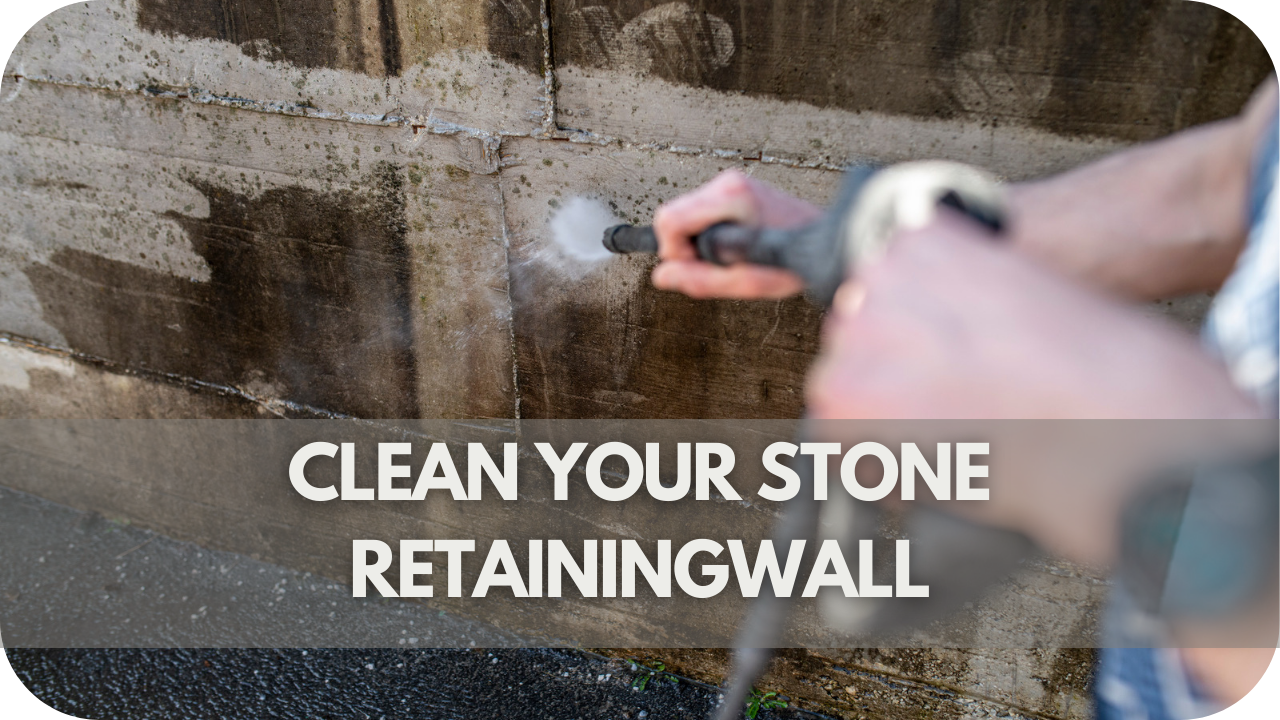
Regular Cleaning Routines
Regularly clean your sandstone cladding to remove dirt, dust, and debris. Use a soft brush or a low-pressure washer to gently clean the surface.
Avoid using harsh chemicals or high-pressure washers, as these can damage the stone.
A mild detergent mixed with water is usually sufficient for regular cleaning.
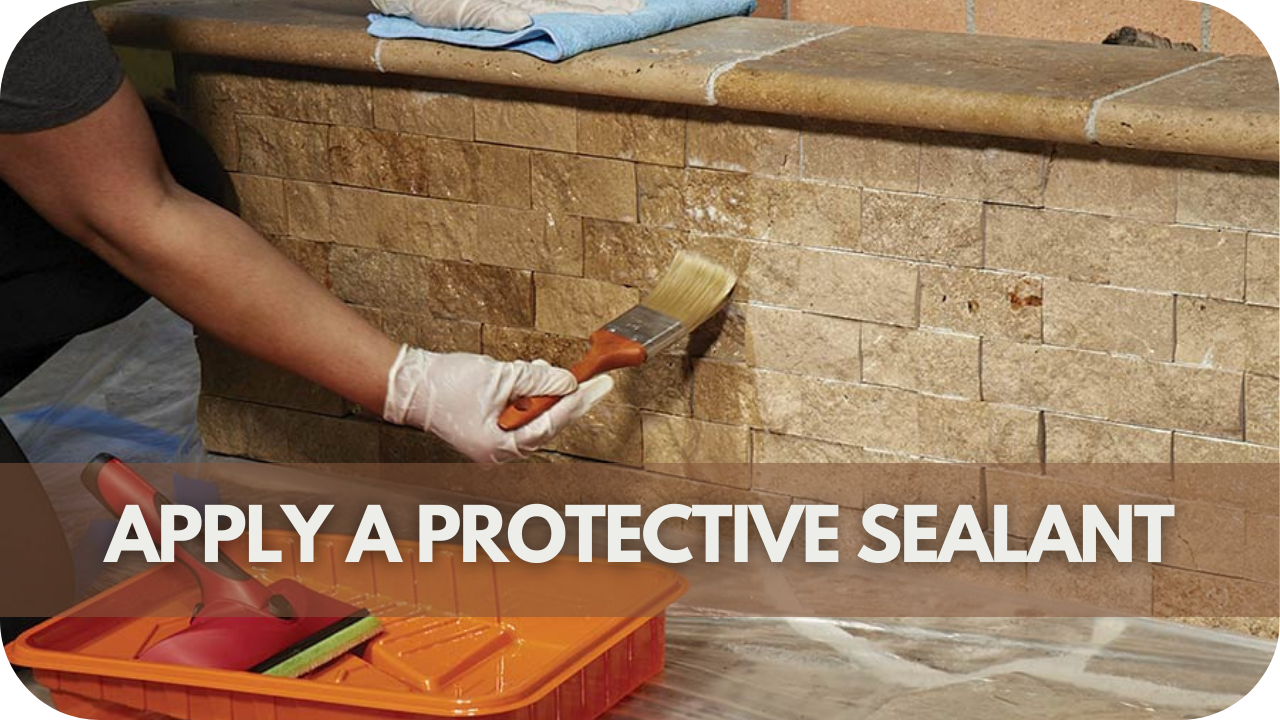
Sealing and Protecting the Sandstone
Sealing your sandstone cladding is crucial to protect it from moisture, stains, and weathering.
Apply a high-quality, breathable sealant specifically designed for natural stone.
This should be done after installation and then reapplied every few years, depending on the product’s recommendations and the local climate conditions.
Addressing Common Issues
- Staining: To remove stains, use a poultice or a specific stone cleaner. For oil-based stains, a mixture of baking soda and water can be effective.
- Weathering: Over time, exposure to the elements can cause weathering. Regular sealing and prompt repair of any damage can minimise these effects. If the sandstone shows significant wear, professional restoration might be necessary.
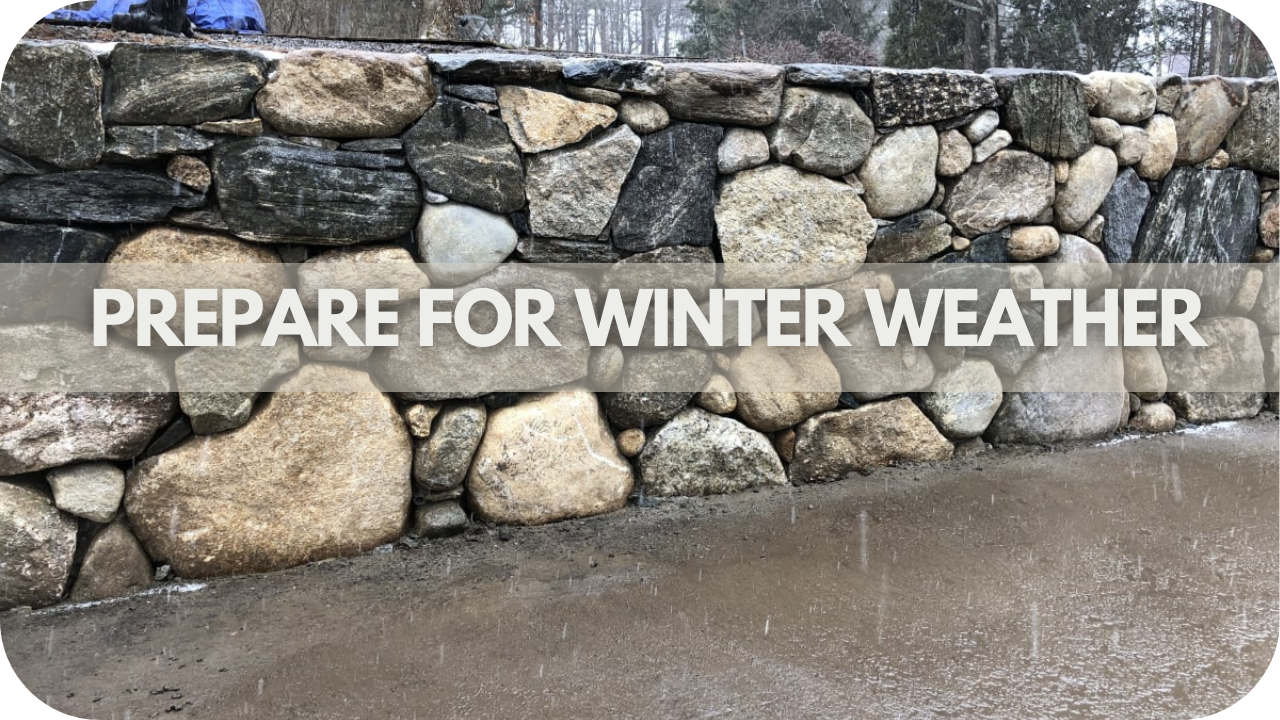
Seasonal Maintenance Advice
Keep your home in top shape year-round with these seasonal maintenance tips! Here’s how to stay ahead of potential issues:
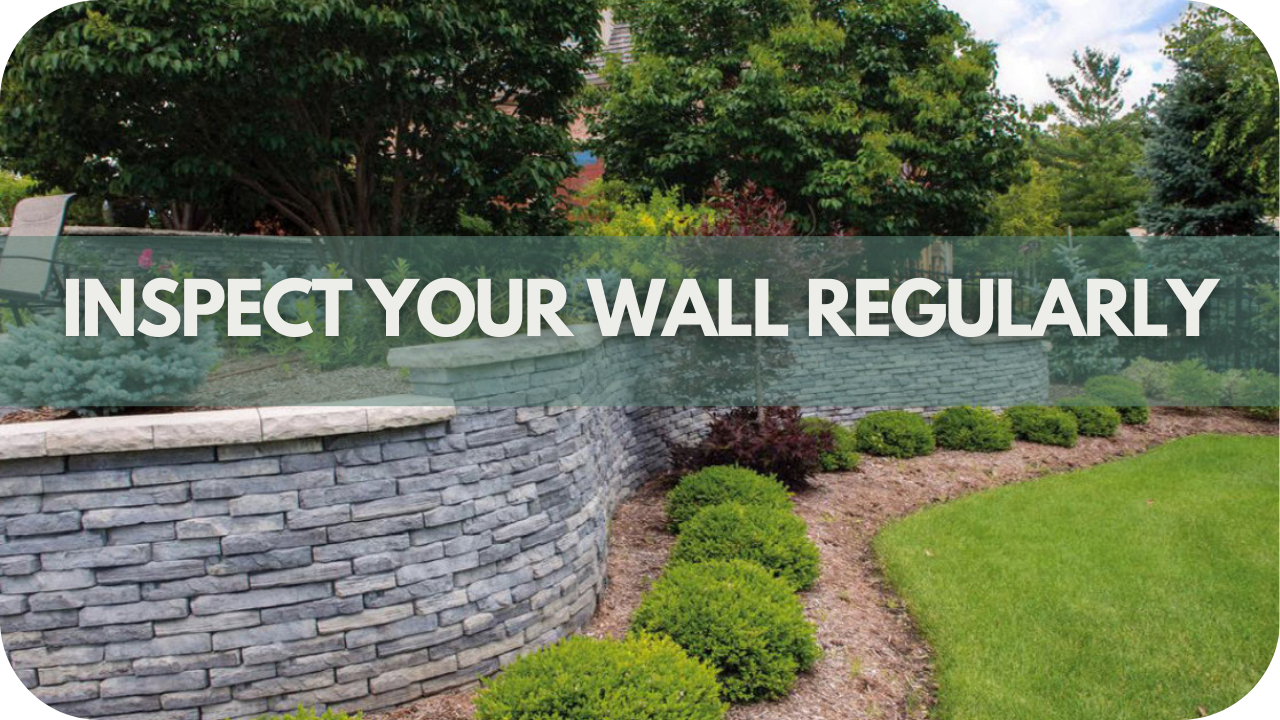
- Spring: Inspect the cladding for any damage that may have occurred over the winter. Clean the surface thoroughly and reapply sealant if needed. Australia’s spring can bring heavy rains, so ensure the sealant is intact to prevent water damage.
- Summer: Regularly hose down the sandstone to remove dust and prevent heat-induced stress. Australian summers can be extremely hot, so keeping the sandstone cool can help prevent cracking.
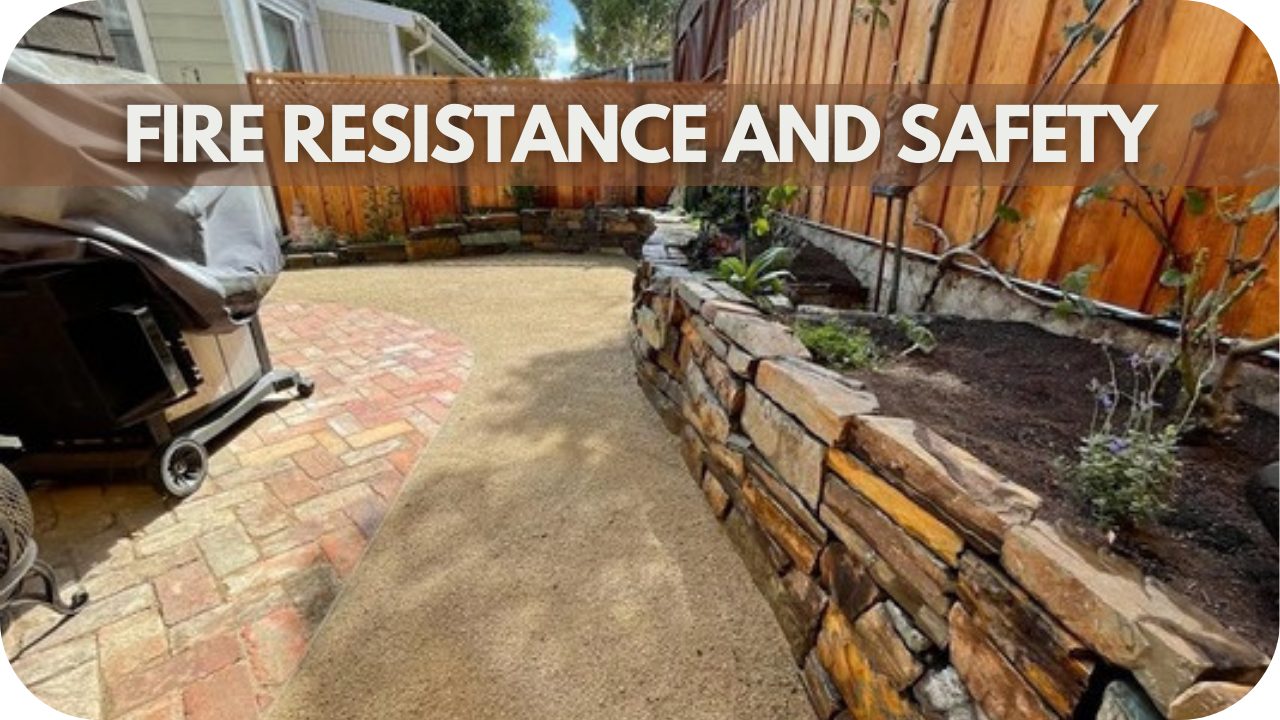
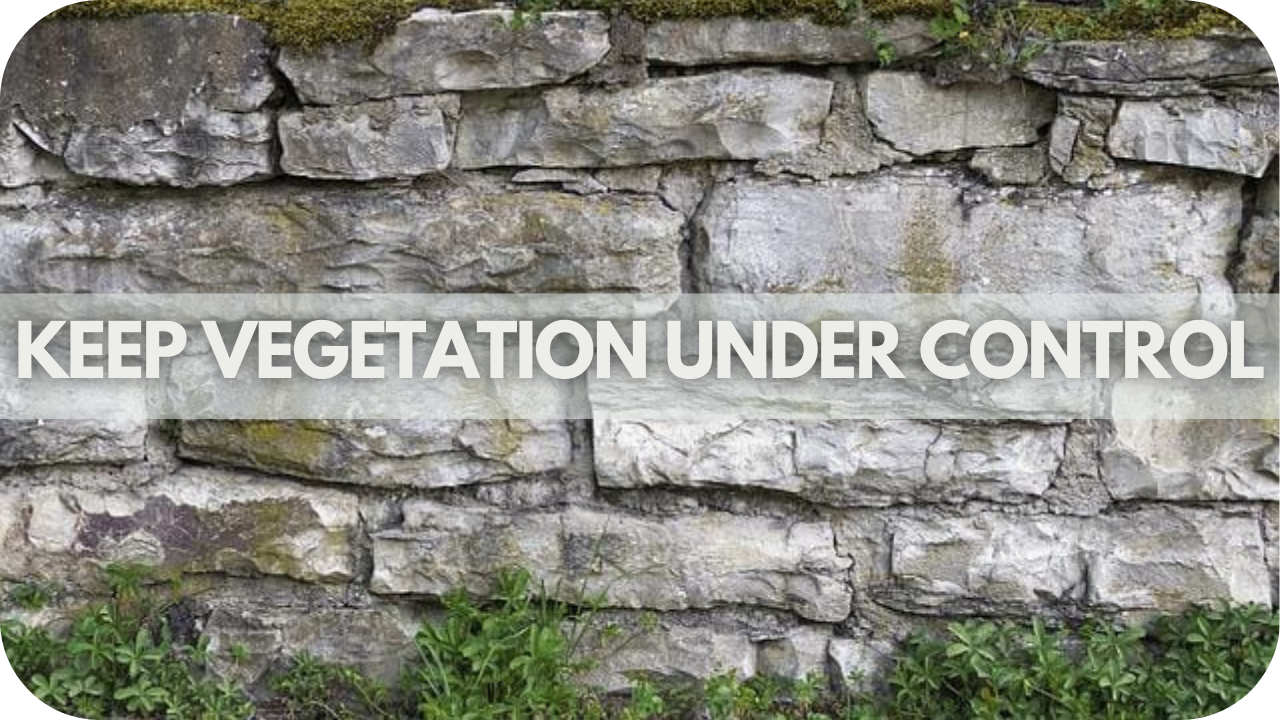
- Autumn: Clear away fallen leaves and debris to prevent staining and moisture retention. In areas with bushfire risk, ensure the cladding is free of debris that could ignite.
- Winter: Ensure proper drainage to avoid water accumulation and freeze-thaw damage, particularly in cooler regions like Tasmania or the Australian Alps. Although winter is mild in most parts of Australia, it’s still important to check for and address any potential issues.
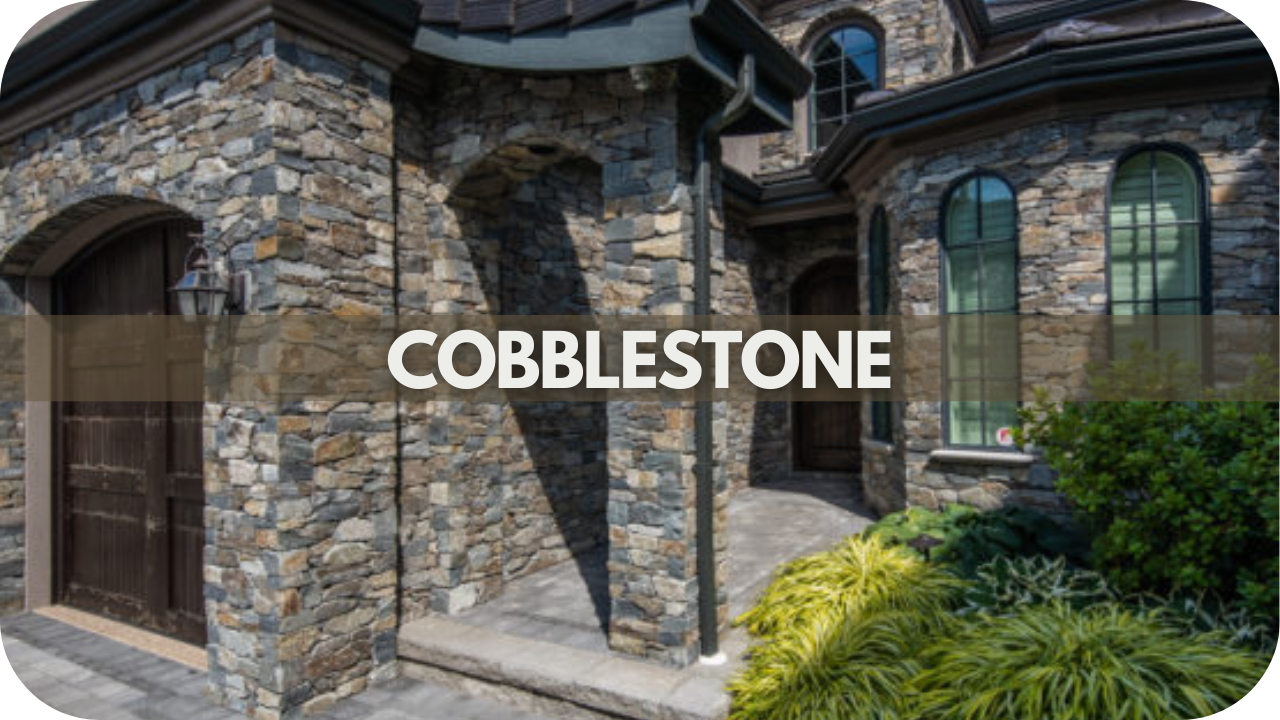
Examples of Sandstone Cladding Applications
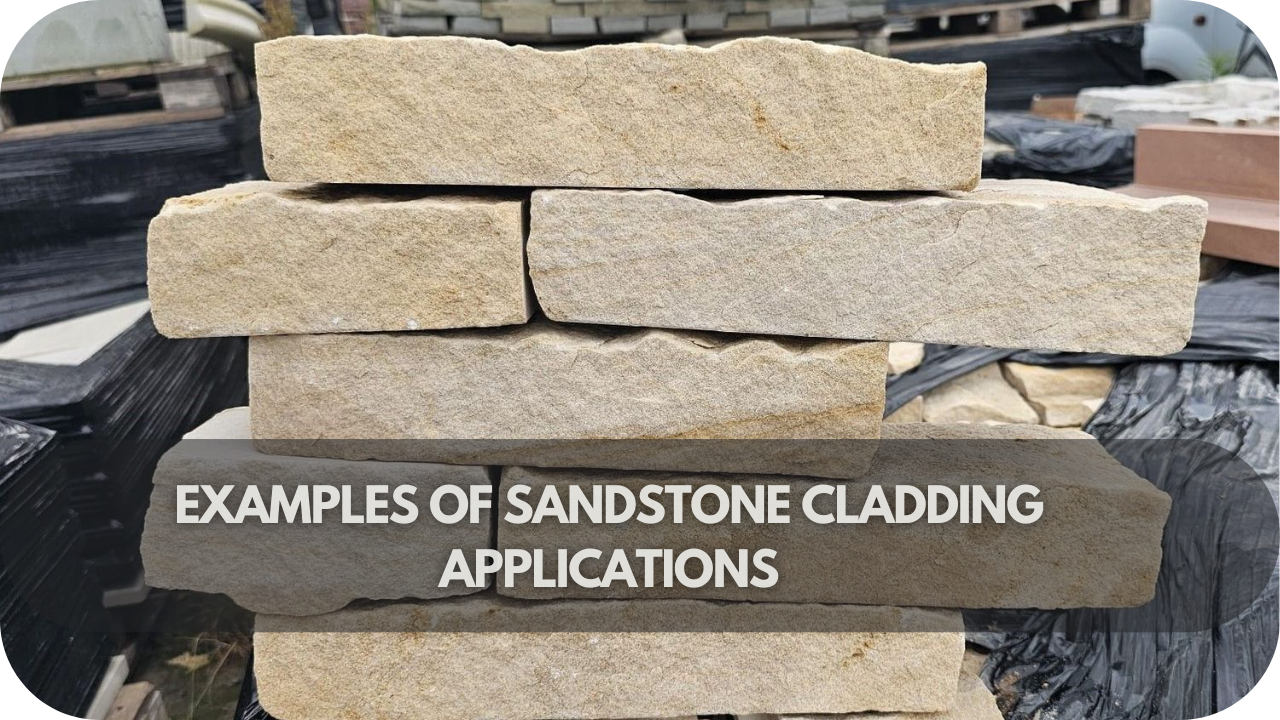
Sandstone cladding is versatile and can be used in various applications, enhancing both the aesthetic and functional aspects of a property.
1. Exterior Walls and Façades
Sandstone cladding is a popular choice for exterior walls and façades due to its natural beauty and durability.
It adds a timeless appeal to any building, providing a striking, elegant finish that complements both modern and traditional architectural styles.
Sandstone’s resistance to weathering ensures that the exterior remains attractive and intact for many years.
2. Interior Feature Walls
Using sandstone cladding for interior feature walls creates a stunning focal point within a home. The natural texture and warm tones of sandstone bring a sense of sophistication and warmth to living rooms, hallways, and bedrooms.
It can be used to highlight fireplaces, accent walls, or entryways, adding character and depth to interior spaces.
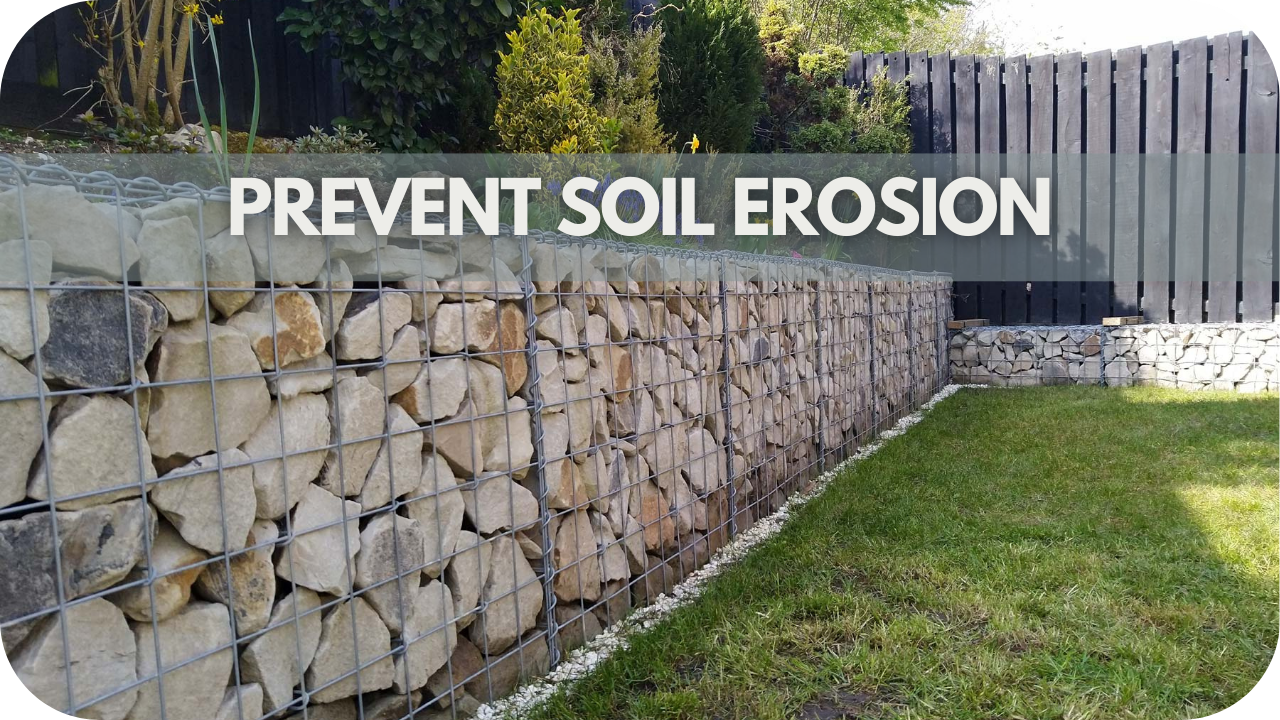
3. Landscaping and Garden Features
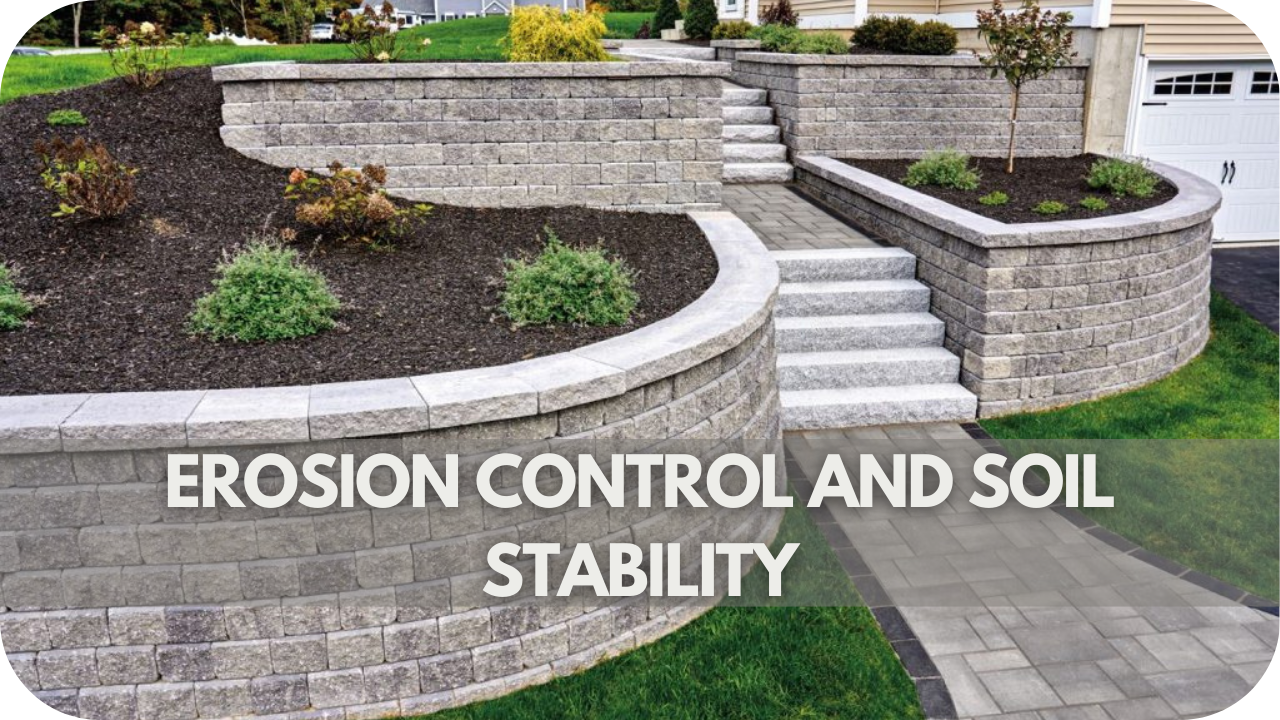
Sandstone cladding is also ideal for landscaping and garden features. It can be used to clad retaining walls, garden beds, and outdoor fireplaces, blending seamlessly with natural surroundings.
The stone’s earthy colours and textures enhance the outdoor aesthetic, creating a cohesive and inviting garden design.
4. Commercial vs. Residential Uses
In commercial settings, sandstone cladding is often used for building façades, lobby walls, and decorative elements, adding a touch of luxury and professionalism.
Its durability makes it suitable for high-traffic areas, providing a long-lasting and low-maintenance solution.
In residential applications, sandstone cladding enhances the aesthetic appeal of homes, offering a beautiful and resilient option for both interior and exterior projects.
Comparing Sandstone to Other Cladding Options
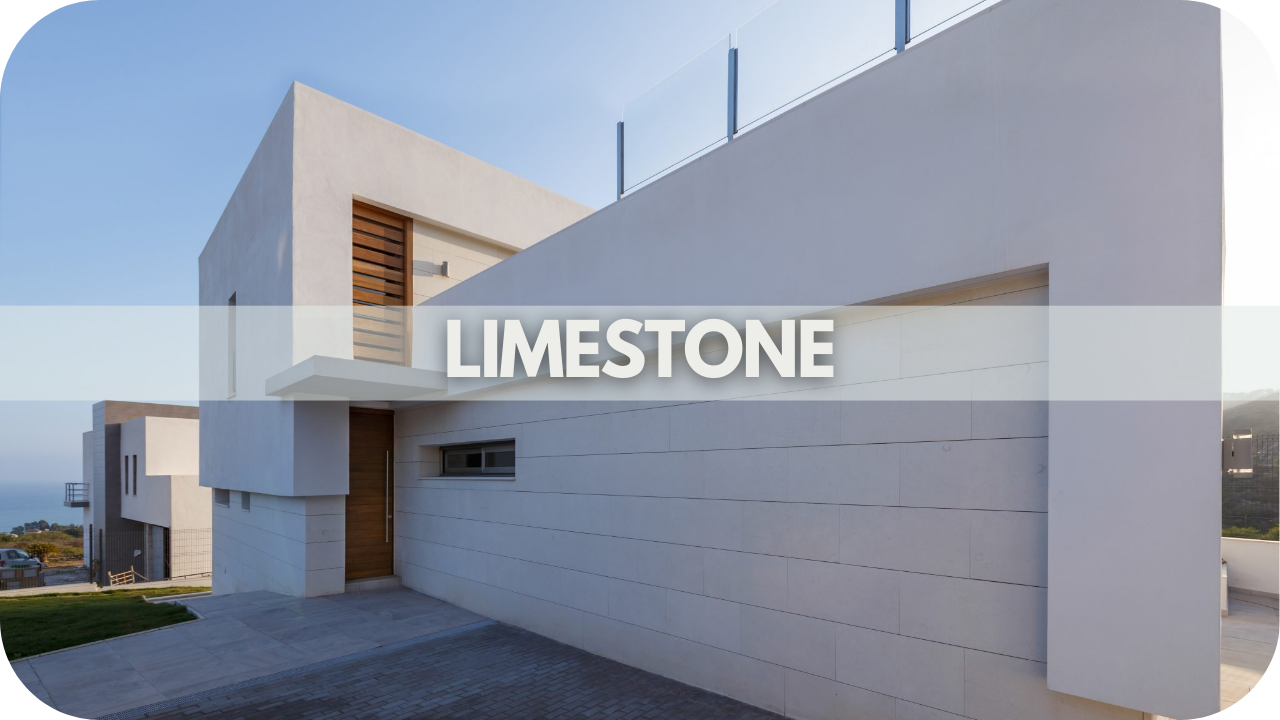
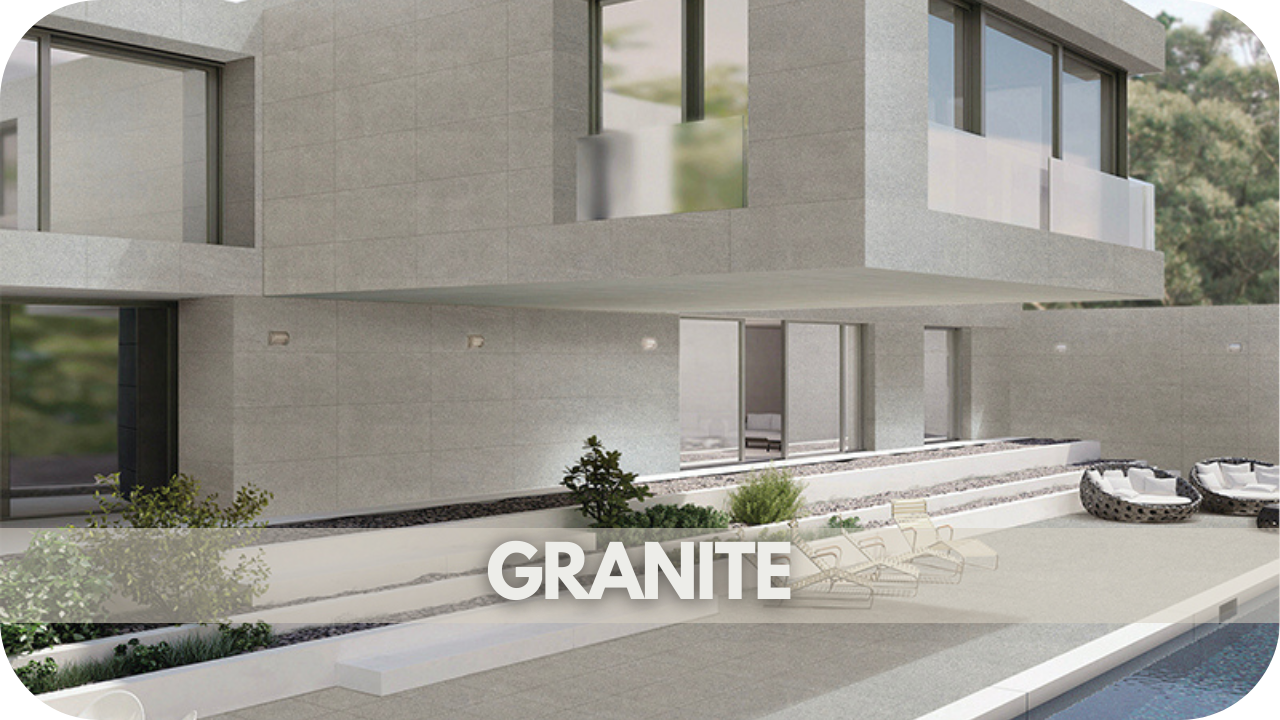
| Feature | Sandstone | Limestone | Granite | Manufactured Stone |
| Appearance | Textured, grainy surface with earthy colours | Smoother texture, uniform colours (creams, greys) | Polished, glossy finish with varied colours and patterns | Mimics natural stone, lighter weight |
| Durability | Highly resistant to weathering | Durable but less resistant to weathering than sandstone | Extremely durable, resistant to scratches and stains | Less durable, can fade and deteriorate over time |
| Maintenance | Low maintenance, regular cleaning and sealing | Low maintenance, requires occasional sealing | Very low maintenance, minimal sealing needed | Requires regular maintenance to prevent fading |
| Cost | Moderate | Moderate | Higher cost due to premium properties | Generally less expensive |
| Suitability | Ideal for harsh climates, natural and rustic look | Suitable for contemporary and classic designs | Best for high-traffic areas, luxurious appearance | Easy to install, cost-effective, but less durable |
| Installation | Heavier, requires professional installation | Heavier, professional installation recommended | Heaviest, professional installation needed | Lighter, easier installation |
| Longevity | Long-lasting, maintains integrity over decades | Heavier requires professional installation | Extremely long-lasting | Shorter lifespan compared to natural stone |
Conclusion
Sandstone cladding offers aesthetic appeal, durability, and versatility. Consider its benefits for enhancing your home.
Consult with Splendour In Stone Melbourne for expert advice and high-quality sandstone cladding options. Transform your home with the timeless beauty of sandstone.