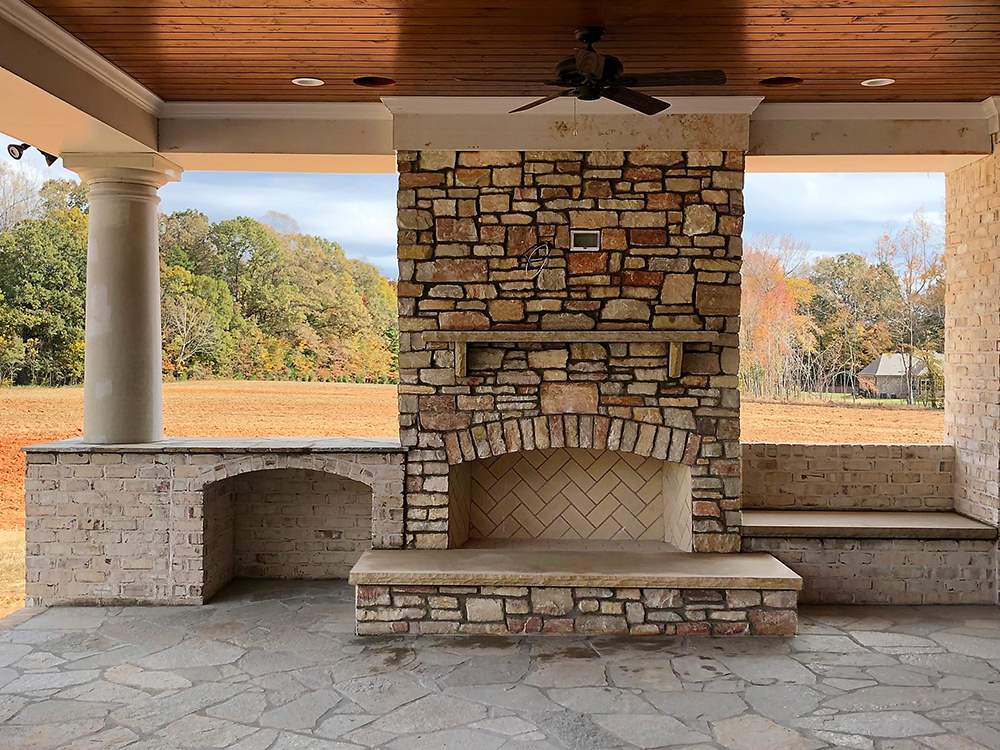
How to Maintain Stonework: Tips from Experienced Stonemasons
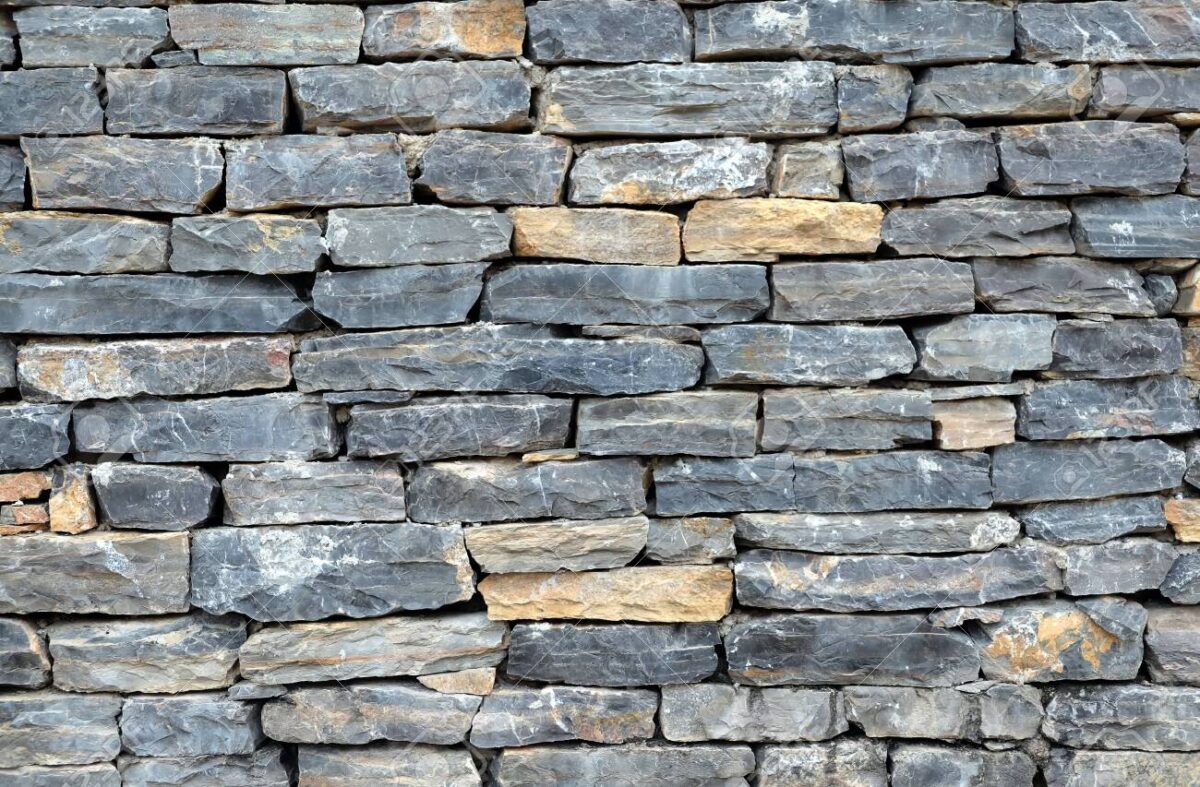
Stonework adds timeless beauty and elegance to any property, but without proper maintenance, it can quickly lose its charm and durability.
Neglecting stonework can lead to unsightly stains, cracks, and costly repairs, diminishing your home’s overall appeal and value.
Fortunately, with expert tips from experienced stonemasons, you can ensure your stonework remains pristine and long-lasting. Read on to discover the best practices for maintaining your stonework.
1. Regular Cleaning Practices
Maintaining the pristine appearance of your stonework starts with regular cleaning. Consistent care enhances the stone’s natural beauty and prevents long-term damage.
Begin by identifying your type of stone. Different stones require different cleaning methods. For example, granite and limestone need gentle, non-acidic cleaners to avoid etching the surface.
Use a soft brush or cloth to remove loose dirt and debris. Mix a mild detergent with water and apply it to the stone using a soft sponge for deeper cleaning.
Avoid using abrasive pads or harsh chemicals, which can damage the stone’s surface. Rinse thoroughly with clean water to remove any soap residue, and dry the area with a soft towel to prevent water spots.
In addition to regular cleaning, ensure that spills are cleaned up promptly. Substances like oil, wine, or acidic liquids can stain or etch the stone if left unattended. For outdoor stonework, consider using a pressure washer on a low setting, keeping the nozzle at a safe distance to avoid surface damage.
2. Sealing Your Stone
Protecting your stonework starts with proper sealing, a crucial step to preserving its beauty and integrity. Sealing your stone creates a barrier against moisture, stains, and other contaminants, extending its lifespan and maintaining its pristine condition.
Begin by choosing the right sealant for your specific type of stone. Penetrating sealers are ideal for porous stones like limestone and sandstone, while surface sealers work well on less porous materials like granite.
Before applying the sealant, ensure the stone is thoroughly cleaned and completely dry. Any dirt or moisture trapped under the sealant can lead to discolouration or damage.
Apply the sealant evenly using a brush, roller, or sprayer, following the manufacturer’s instructions. Cover the entire surface, particularly joints and edges where water can seep.
Allow the sealant to penetrate the stone for the recommended time before wiping off any excess with a clean cloth. Multiple coats may be necessary for highly porous stones; allow each coat to dry thoroughly before applying the next.
To maintain optimal protection, reapply the sealant as directed, typically every one to three years.
3. Handling Stains and Spills
Promptly dealing with stains and spills is vital to maintaining the elegance of your stonework. Quick action can prevent permanent damage and keep your stone surfaces looking their best.
Different types of stains require different treatment approaches, so it’s essential to identify the source of the stain first.
Create a poultice using baking soda and water for organic stains like coffee, tea, or wine. Apply the mixture to the stain, cover it with plastic wrap, and leave it overnight.
Rinse thoroughly the next day and repeat if necessary. A poultice made from baking soda and acetone can be effective for oil-based stains, such as grease or cooking oil.
Rust stains can be more challenging to remove and require specialised stone cleaners from hardware stores. Always test any cleaner on a small, inconspicuous area first to ensure it doesn’t damage the stone.
For biological stains like algae or mould, use a diluted bleach solution (one part bleach to ten parts water), apply it to the affected area, and scrub gently with a soft brush. Rinse well with clean water.
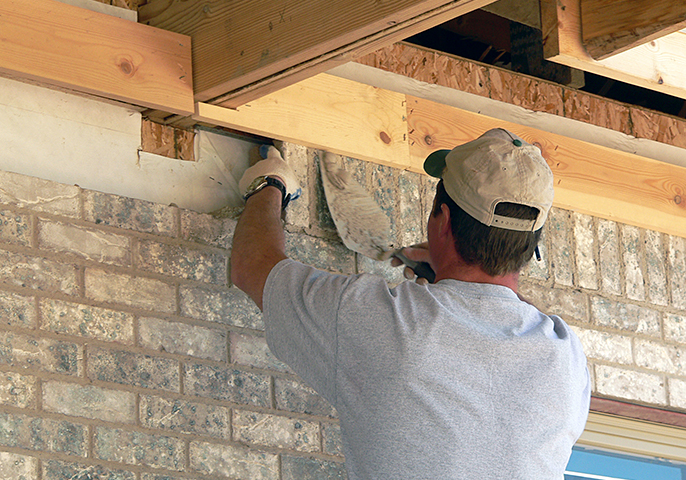
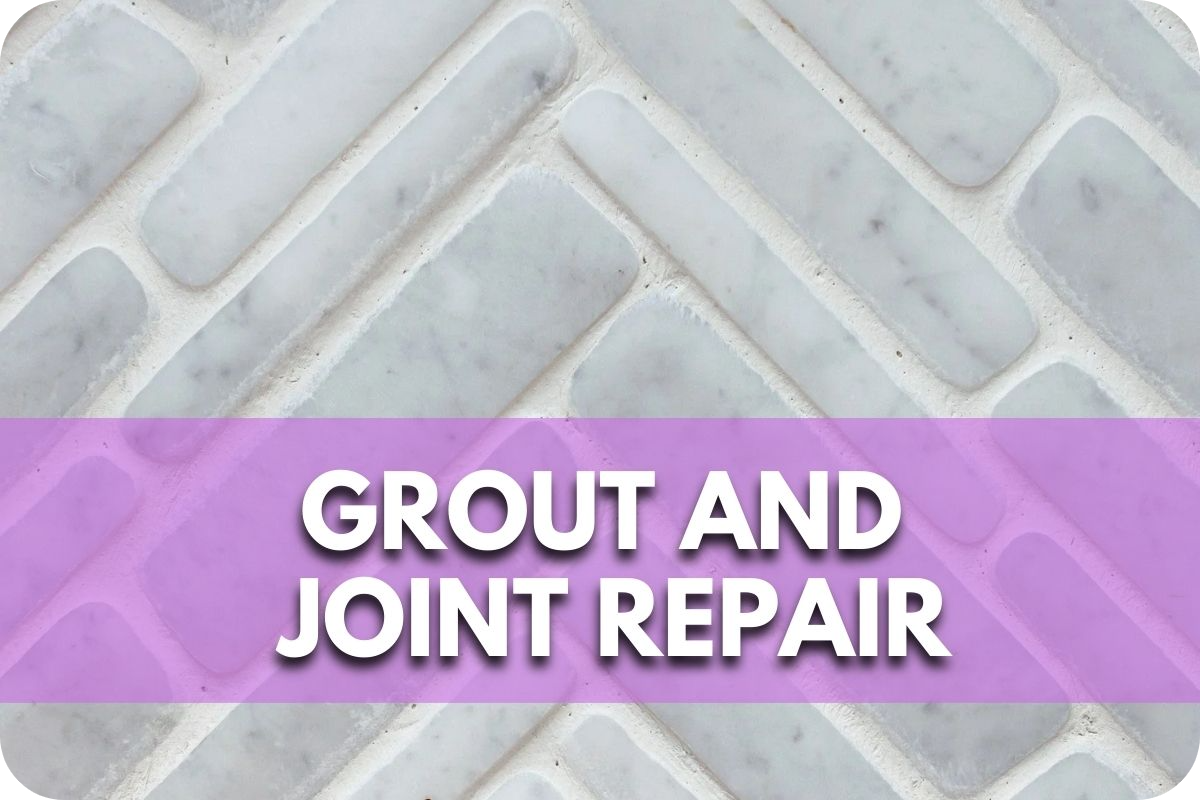
4. Repairing Minor Damage
Minor damage to stonework, such as chips and small cracks, can detract from its overall beauty and integrity. Addressing these issues promptly can prevent further deterioration and maintain the stone’s appearance.
Start by assessing the extent of the damage. For minor chips, use a stone adhesive or epoxy filler, which can be found at most hardware stores. Clean the area thoroughly to remove any dust or debris.
Apply the adhesive or filler to the chipped area using a small trowel or putty knife, ensuring it is level with the surrounding surface. Allow it to dry completely before sanding it smooth with a fine-grit sandpaper.
A high-quality stone repair kit can be useful for minor cracks. These kits often include a colour-matching compound to blend seamlessly with your stone.
Clean the crack thoroughly and apply the compound, pressing it into the crack with a putty knife. Smooth the surface and remove any excess material. Allow the repair to cure as per the manufacturer’s instructions.
If you have more significant damage or are unsure about the repair process, it’s best to consult a professional stonemason. Regularly inspecting your stonework and addressing minor damage promptly will keep it in excellent condition and extend its lifespan.
5. Professional Maintenance and Inspection
Enlisting professional maintenance and inspection is crucial for preserving the quality and longevity of your stonework. Experienced stonemasons possess the expertise to identify potential issues that might not be visible to the untrained eye.
Regular professional inspections, ideally once a year, can detect early signs of wear, weathering, or structural damage.
These experts will thoroughly examine your stonework, checking for cracks, loose stones, and signs of water damage. They can also assess the effectiveness of previous repairs and the condition of sealants.
Professional maintenance goes beyond what regular cleaning can achieve. Stonemasons use specialised tools and techniques to perform deep cleaning, ensuring that dirt and grime embedded in the stone’s surface are effectively removed.
They can also reapply sealants precisely, ensuring complete coverage and optimal protection.
Moreover, professionals can address more significant repairs that DIY methods might not adequately resolve. They have access to high-quality materials and the skill to restore your stonework to its original condition, preserving its aesthetic appeal and structural integrity.
6. Seasonal Maintenance Tips
Adapting your maintenance routine to the changing seasons is essential for preserving your stonework. Each season brings specific challenges that require targeted care to keep your stone surfaces in optimal condition.
Spring
Spring is the ideal time for a thorough cleaning. Remove any debris and dirt accumulated over winter. Inspect for any damage caused by freeze-thaw cycles and address minor repairs promptly. Reseal your stonework if needed, as the sealant may have degraded during the cold months.
Summer
In summer, protect your stonework from the harsh sun. Regularly hose down outdoor stone surfaces to prevent them from drying out and cracking. Be mindful of spills and stains during outdoor gatherings, cleaning them immediately to avoid permanent damage.
Autumn
Autumn is the perfect time to prepare your stonework for the colder months. Clear fallen leaves and organic debris, as they can stain and damage the stone. Inspect the stonework for any cracks or damage and repair them before winter sets in.
Winter
In winter, avoid using harsh de-icing chemicals that can damage stone surfaces. Instead, use safe de-icing solutions recommended for stone. Regularly remove snow and ice to prevent moisture from seeping into cracks and causing further damage.
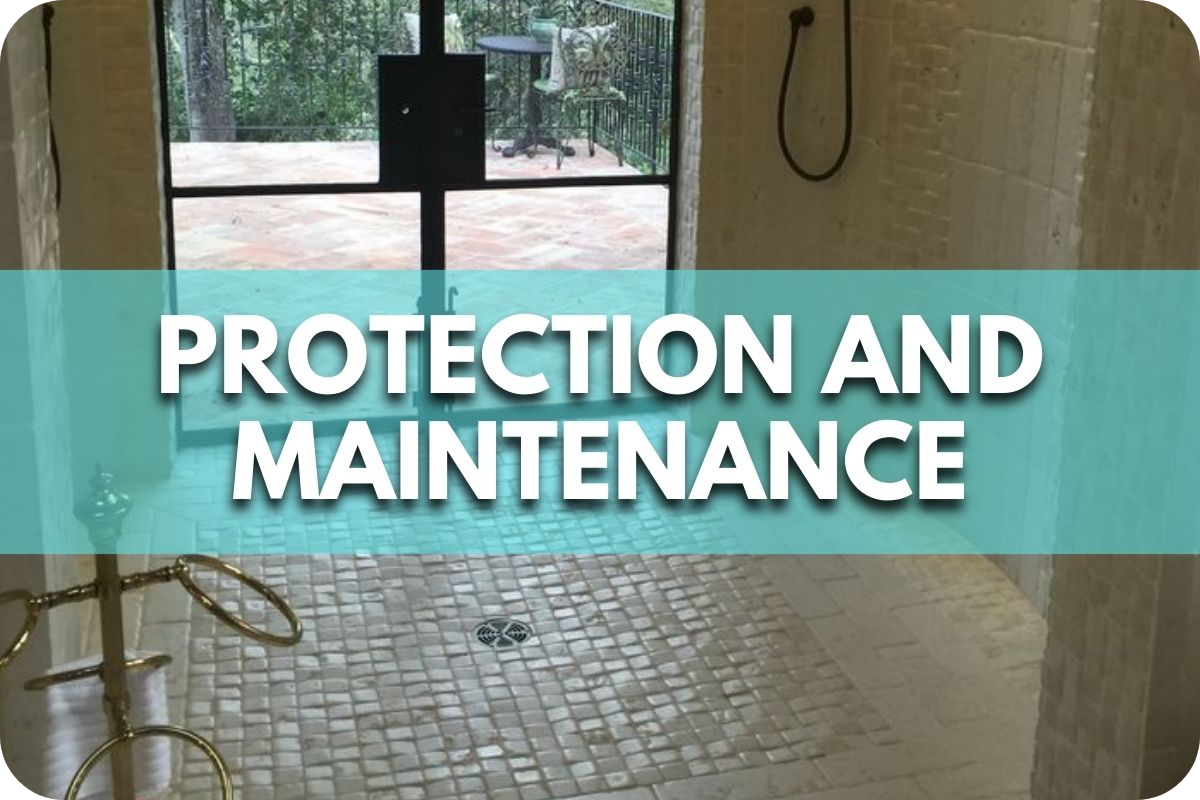
7. Protecting Stonework from Weather Elements
Weather elements can take a toll on stonework, making protection measures essential to preserve its integrity and appearance. Different weather conditions require specific strategies to safeguard your stone surfaces effectively.
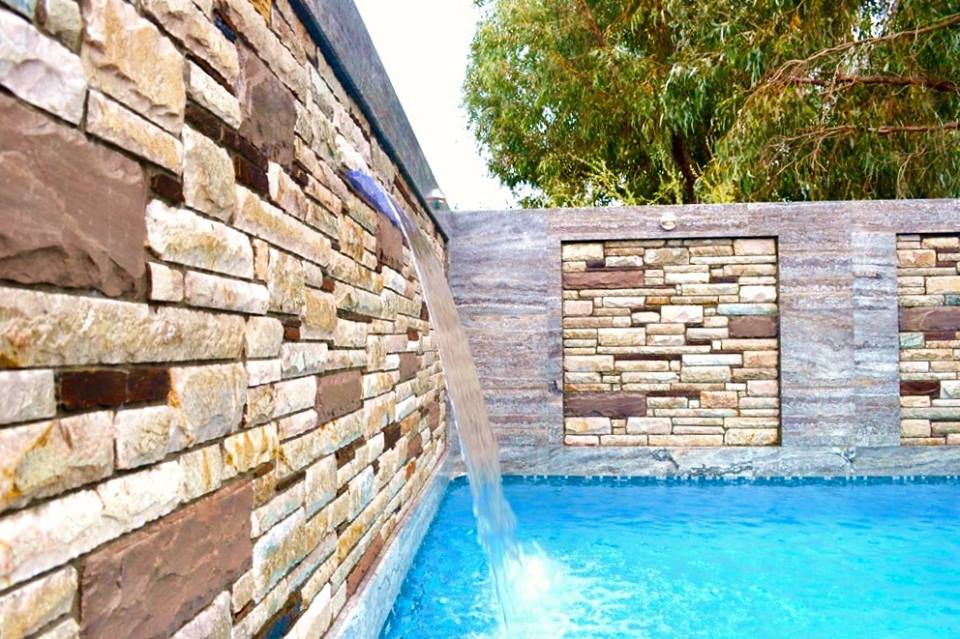
Rain and Moisture
Excessive rain and moisture can lead to water penetration, causing cracks and weakening the stone. Ensure your stonework is sealed correctly to create a barrier against water.
To maintain its effectiveness, regularly inspect the sealant and reapply as needed. Additionally, drainage around the stonework should be improved to prevent water accumulation.
Sun Exposure
Prolonged sun exposure can cause fading and surface damage, particularly for lighter stones. Apply a UV-resistant sealant to protect against the sun’s harmful rays. To reduce direct sunlight, use shading solutions like awnings or pergolas for outdoor stonework.
Freeze-Thaw Cycles
In colder climates, freeze-thaw cycles can cause significant damage. Water that seeps into small cracks can freeze and expand, leading to more extensive fractures. Ensure your stonework is sealed and in good repair before winter.
Avoid using salt-based de-icers, as they can exacerbate freeze-thaw damage. Opt for stone-safe de-icing solutions instead.
Wind and Abrasion
Wind can carry abrasive particles that scratch and wear down stone surfaces over time. Regularly clean your stonework to remove dust and debris. For high-wind areas, consider installing windbreaks or barriers to reduce direct exposure.
Conclusion
Proper maintenance of your stonework is crucial for its longevity and beauty. By following these expert tips, you can ensure your stone surfaces remain pristine.
For comprehensive care and professional assistance, contact Splendour In Stone Melbourne. Our experienced stonemasons are ready to help you preserve and enhance your stonework.