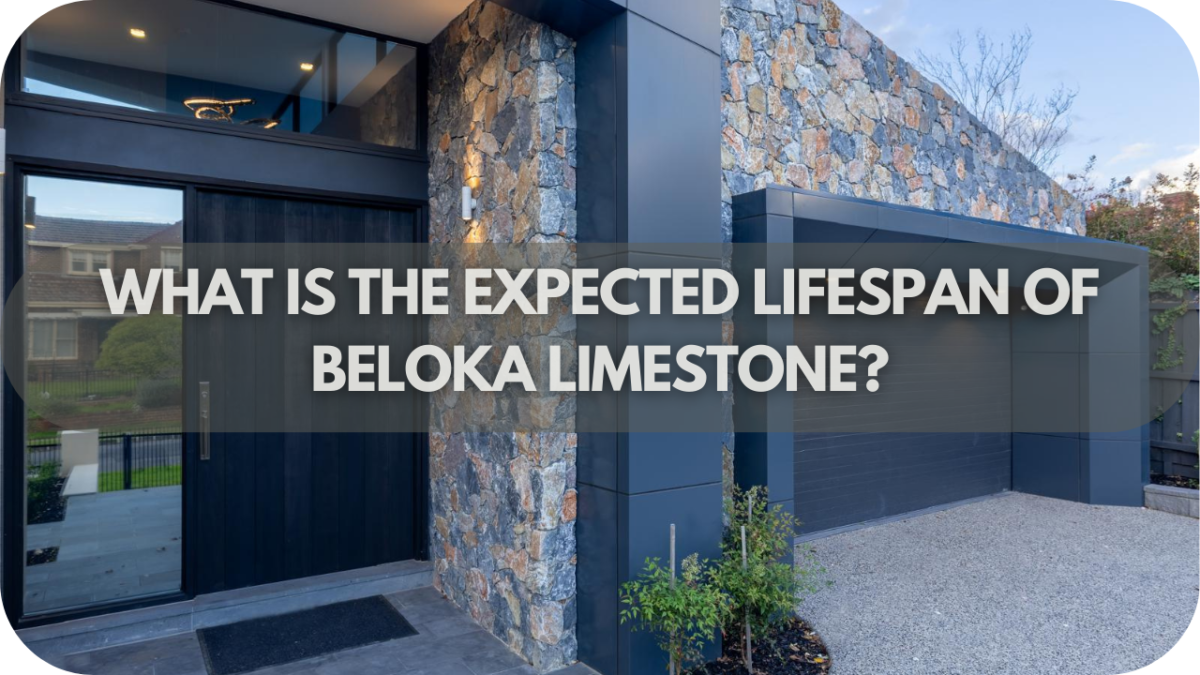
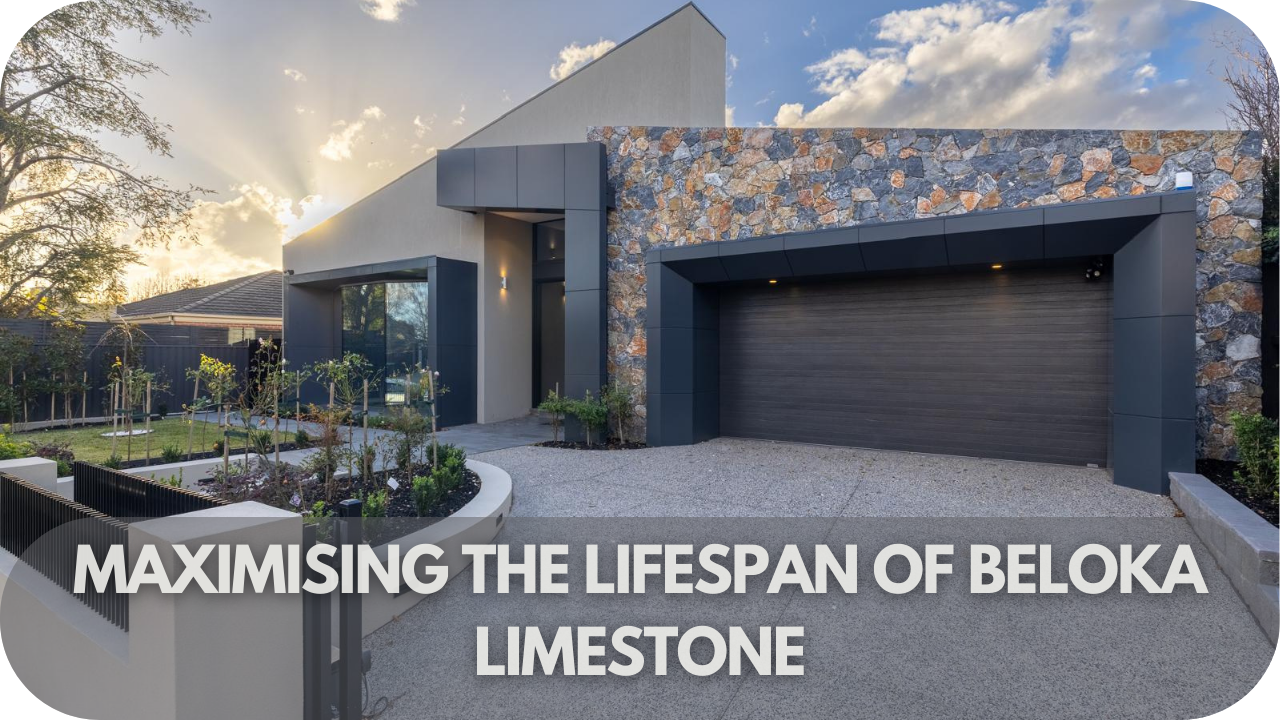
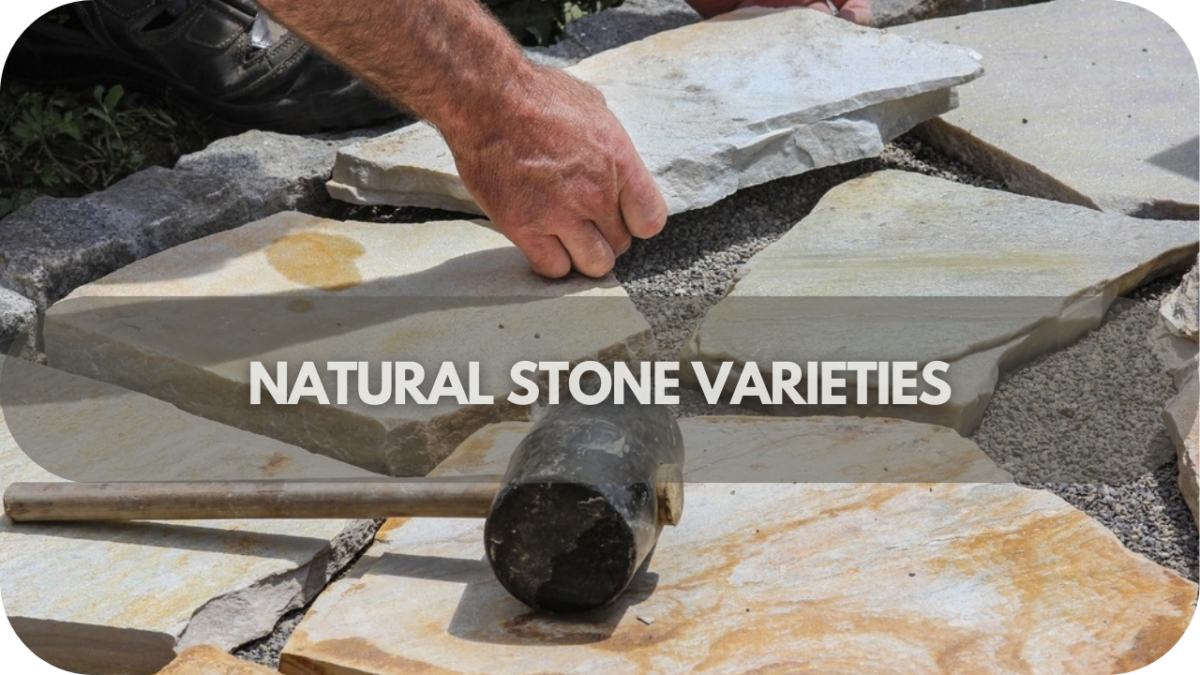
Why Natural Stone Should Be a Part of Your New Year Home Makeover
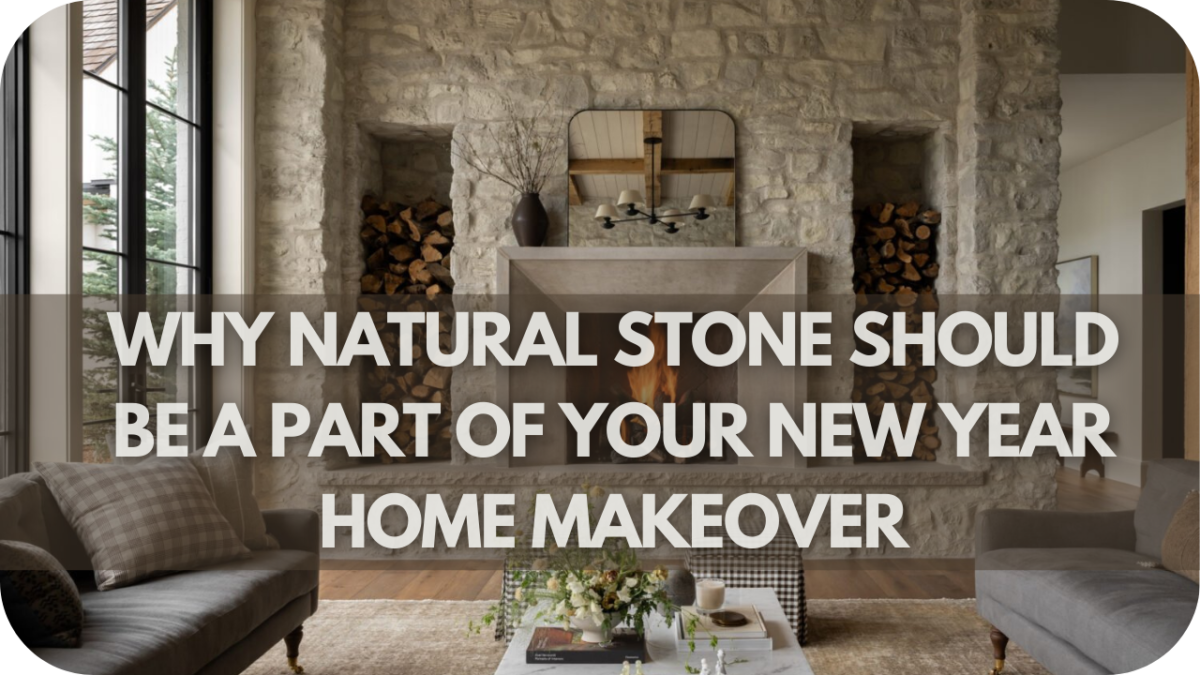
As the New Year rolls in, over 60% of homeowners plan a fresh start with home makeovers. But too often, they settle for trendy materials that quickly lose their charm.
Imagine investing time and money, only to find your updates feel outdated in just a few years. It’s frustrating, isn’t it? Your home deserves more than fleeting trends.
Natural stone—a timeless, durable choice that elevates your space. In this guide, you’ll discover why it’s the perfect foundation for your 2025 makeover!
1. Durability and Longevity
Material that stands the test of time. Natural stone is renowned for its durability, making it an ideal choice for high-traffic areas like kitchens and bathrooms. Its strength allows it to resist scratches, heat, and daily wear and tear.
Unlike synthetic materials, natural stone improves with age, developing a rich patina. This means your investment continues adding value to your home long after the renovation.
Why settle for short-term solutions when natural stone offers lasting beauty and resilience? It’s the smart choice for a makeover that endures.
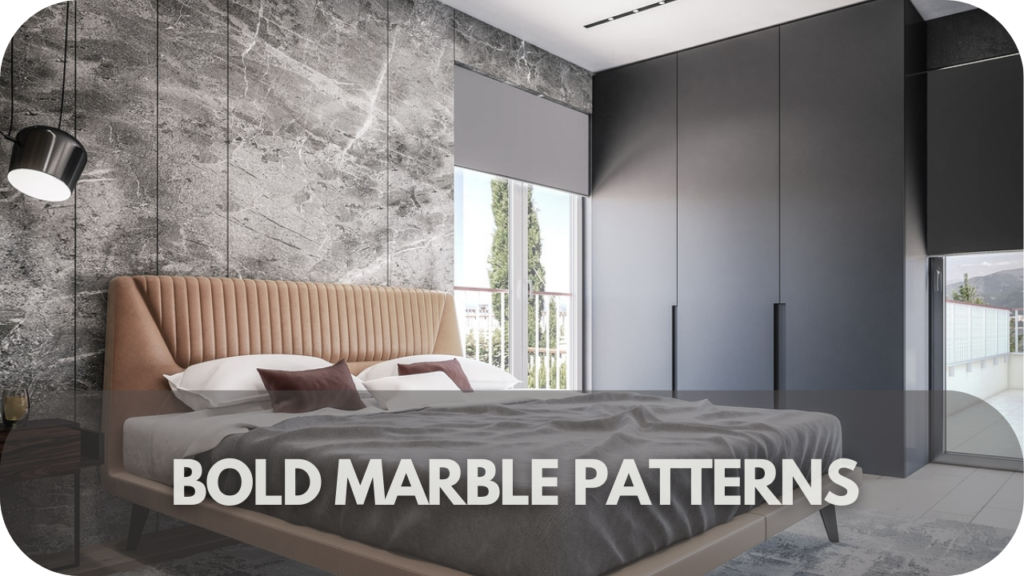
2. Timeless Aesthetic Appeal
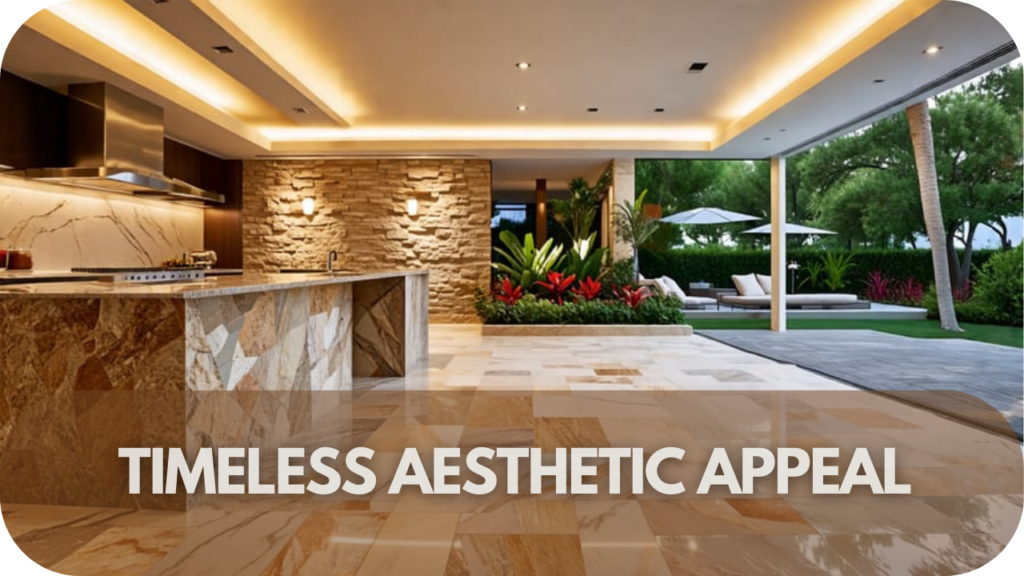
Searching for a material that always stays in style. Natural stone offers a timeless aesthetic appeal that enhances any modern or traditional home. Its unique textures and rich colours create an elegant and luxurious feel, making each stone feature a standout piece.
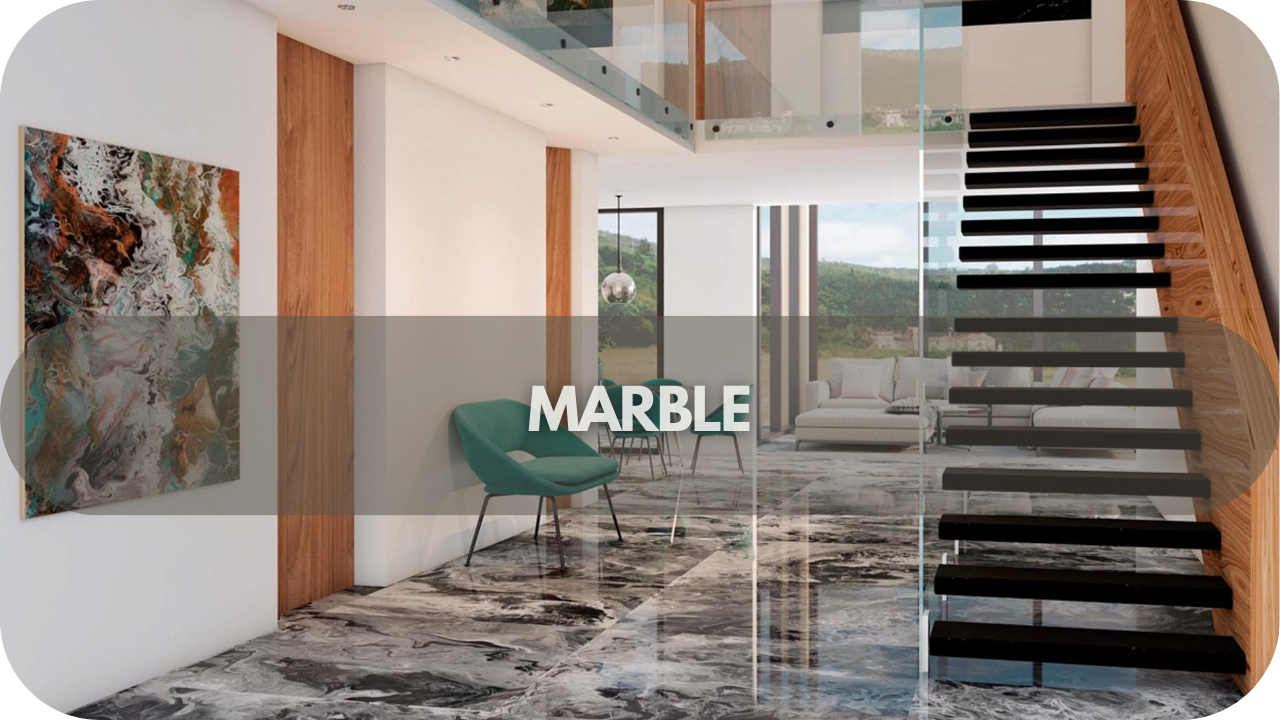
Why choose trends that fade when natural stone remains consistently beautiful? From marble to granite, stone brings a refined look that complements a variety of interior designs. Each slab is one-of-a-kind, adding character and personality to your space.
Natural stone effortlessly elevates the aesthetic of any room, ensuring your home always looks sophisticated.
3. Sustainability
Natural stone is one of the most sustainable materials you can choose. Sourced directly from the earth, it requires minimal processing, reducing its carbon footprint compared to synthetic alternatives.
Why opt for short-lived materials when natural stone offers longevity and environmental benefits? Its durability also means fewer replacements, contributing to less waste over time. Additionally, the stone is fully recyclable, making it an excellent choice for those committed to sustainability.
By incorporating natural stone into your makeover, you’re choosing a beautiful, durable, and kind material for the planet.
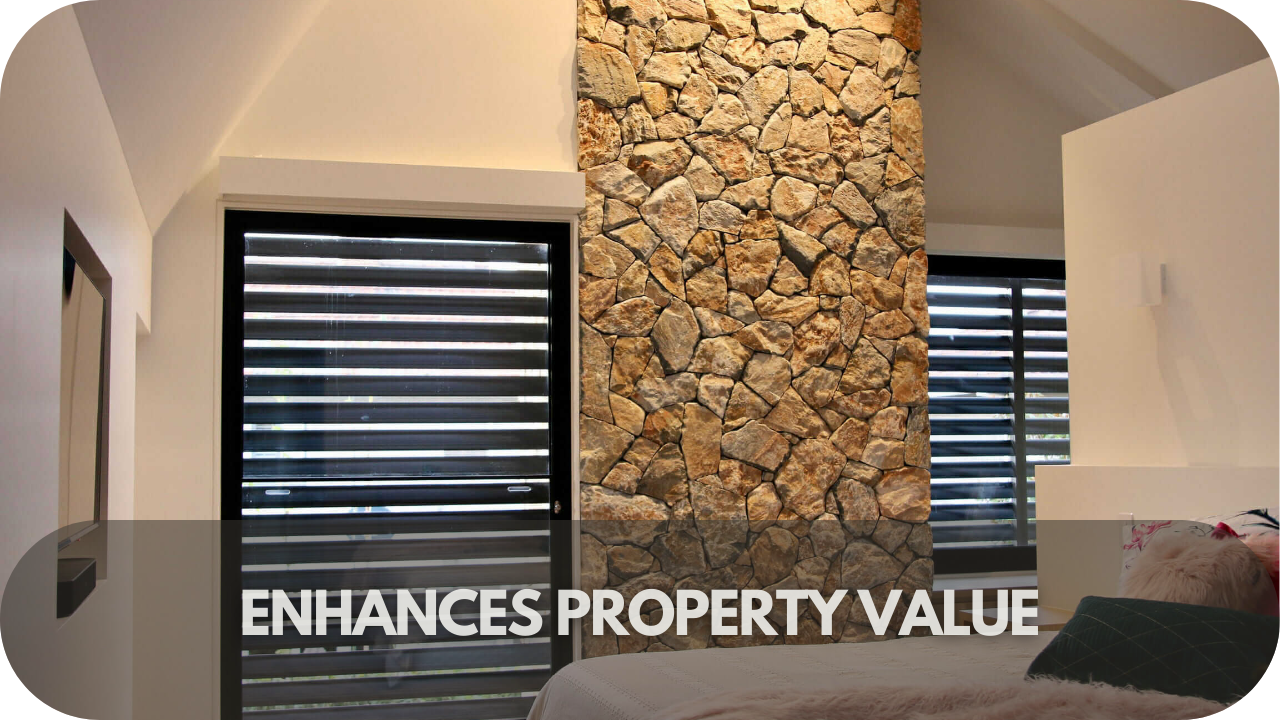
4. Increased Property Value

Natural stone adds significant value to your property, making it an attractive investment. Potential buyers highly value stone features such as countertops, flooring, and outdoor pavers as they appreciate their durability and timeless beauty.
Why settle for less when you can increase your home’s resale value with elegant, long-lasting materials? Natural stone not only enhances the aesthetics of your space but also offers a solid return on investment.
Incorporating stone into your home makeover is an intelligent choice that will pay off in the long run.
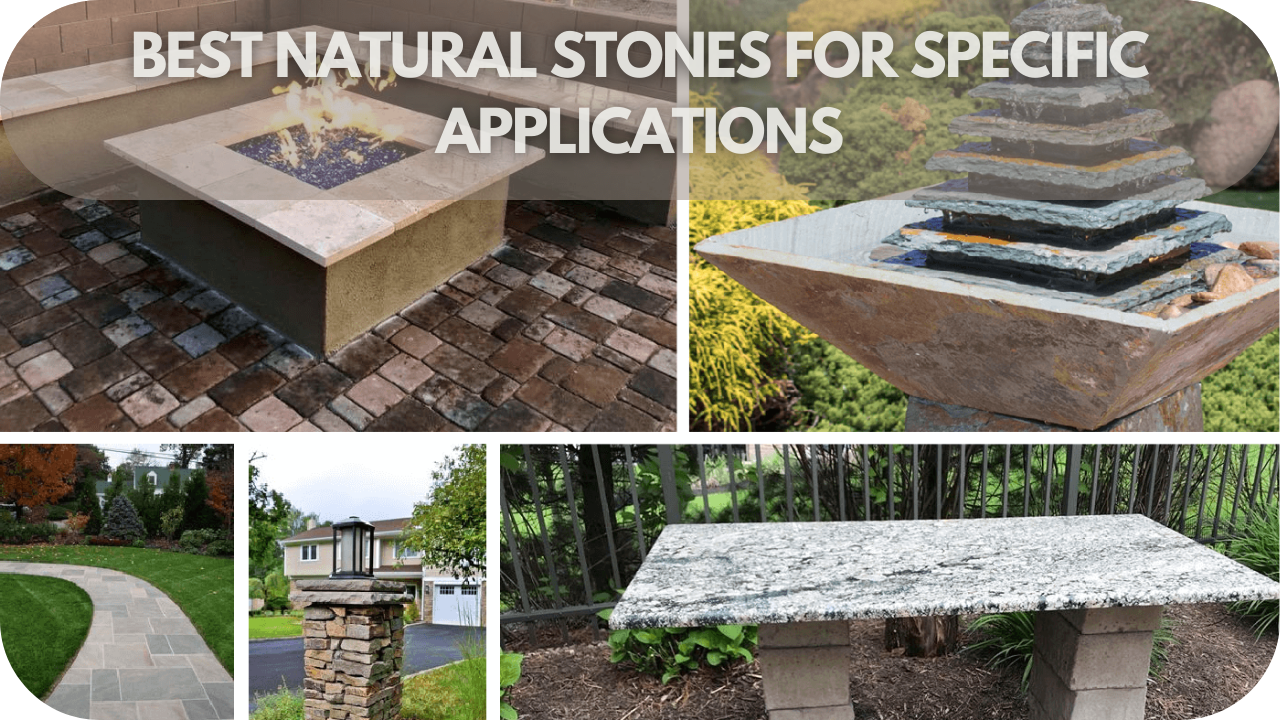
5. Versatility in Applications
Natural stone offers endless possibilities for home renovations. From kitchen countertops to bathroom floors and outdoor patios, stone can enhance beauty and functionality in various spaces.
Its natural durability makes it perfect for high-traffic areas, while its wide range of textures and colours allows it to suit any design style.
Have you ever considered how stone can create a seamless flow between indoor and outdoor spaces? Whether aiming for a sleek, modern look or a rustic, earthy vibe, natural stone fits effortlessly into any home makeover.
6. Low Maintenance Requirements

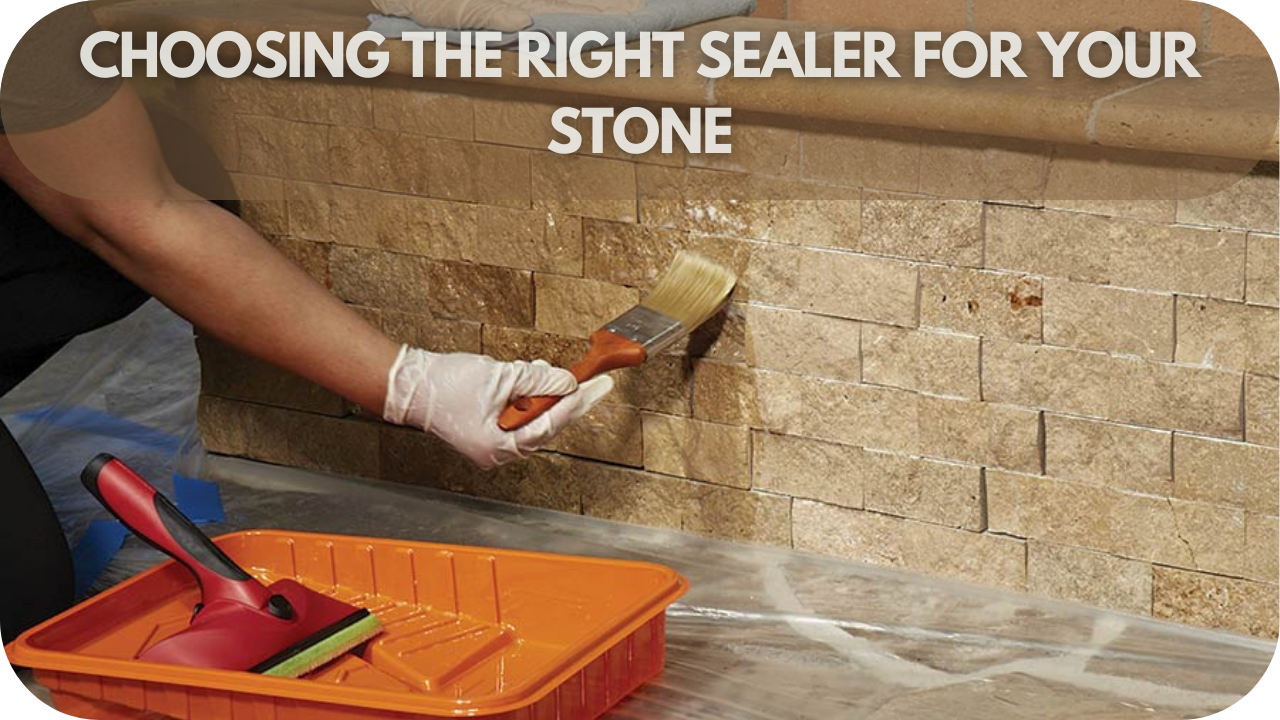
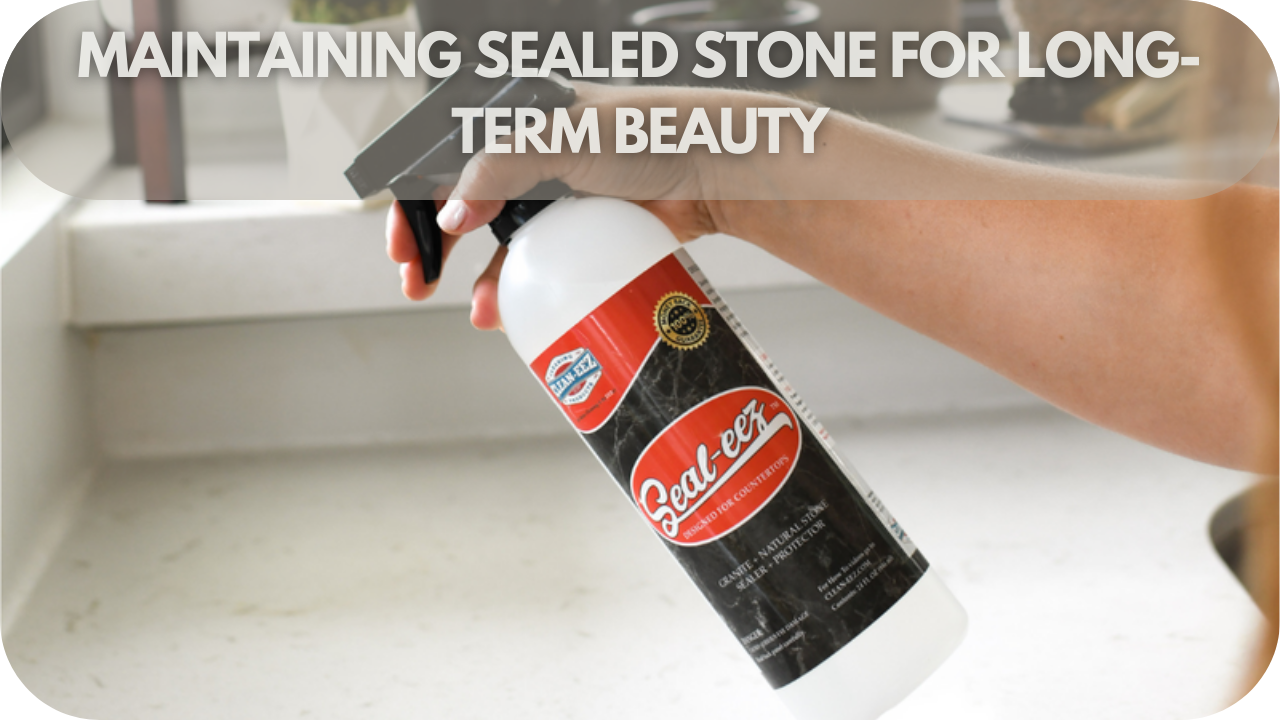
Are you looking for a material that looks great without constant upkeep? Natural stone offers low maintenance requirements, making it a practical choice for busy homeowners. With simple cleaning routines and occasional sealing, stone surfaces look pristine for years.
Why waste time on high-maintenance materials when natural stone is durable and easy to care for? Its resistance to stains, scratches, and heat ensures long-lasting beauty with minimal effort.
Whether used in the kitchen, bathroom, or outdoors, natural stone simplifies your upkeep while delivering timeless style to any space in your home.
7. Unique Character and Individuality
To create a home that truly stands out. Natural stone offers unique character and individuality that no synthetic material can replicate. Each slab of stone is one-of-a-kind, featuring distinct veining, patterns, and colours formed by nature.
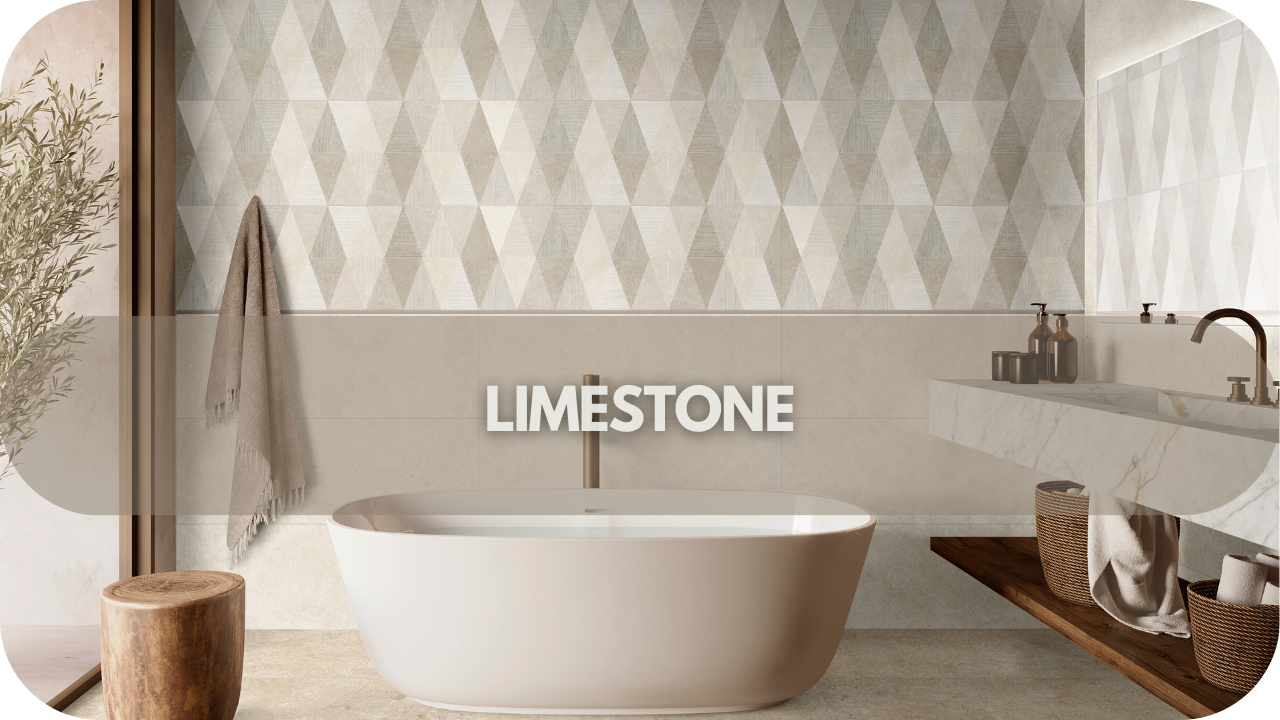
Why settle for mass-produced materials when you can have something unique? Natural stone, such as marble, granite, or limestone, adds personality and depth to any space.
The natural variations in texture and tone ensure that your home feels bespoke and personal, giving it a timeless charm that’s impossible to duplicate.
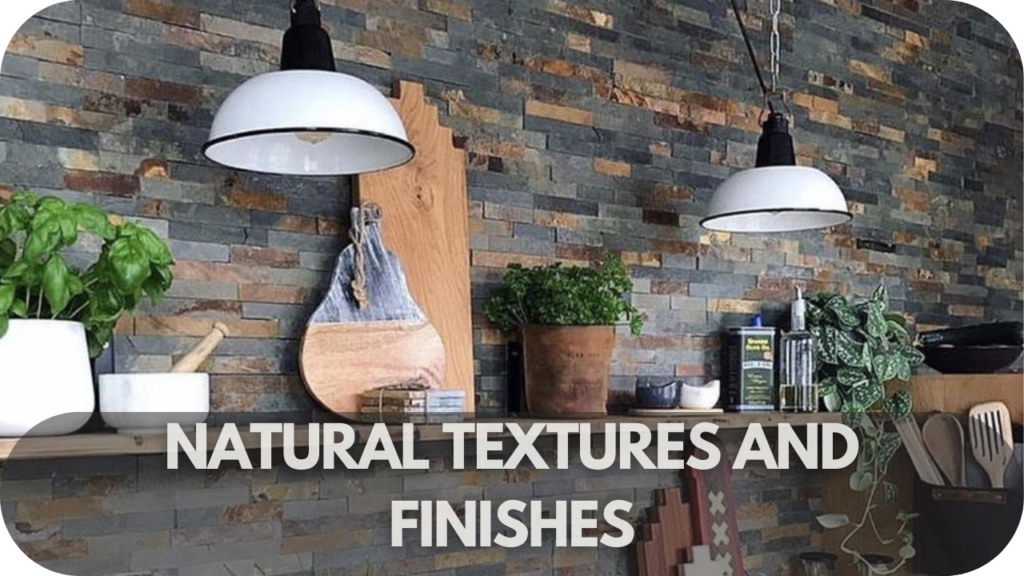
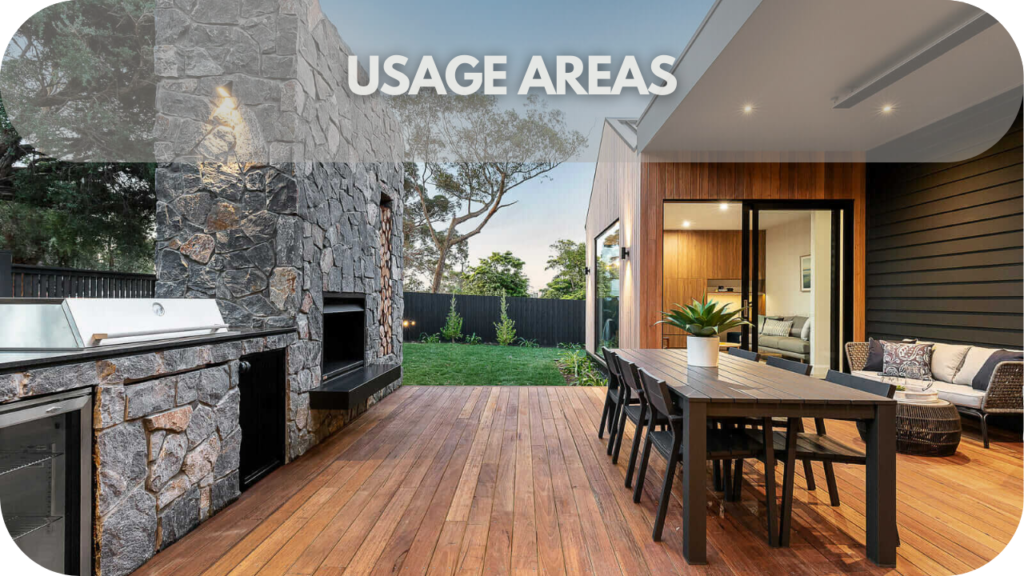
Top Areas to Incorporate Natural Stone
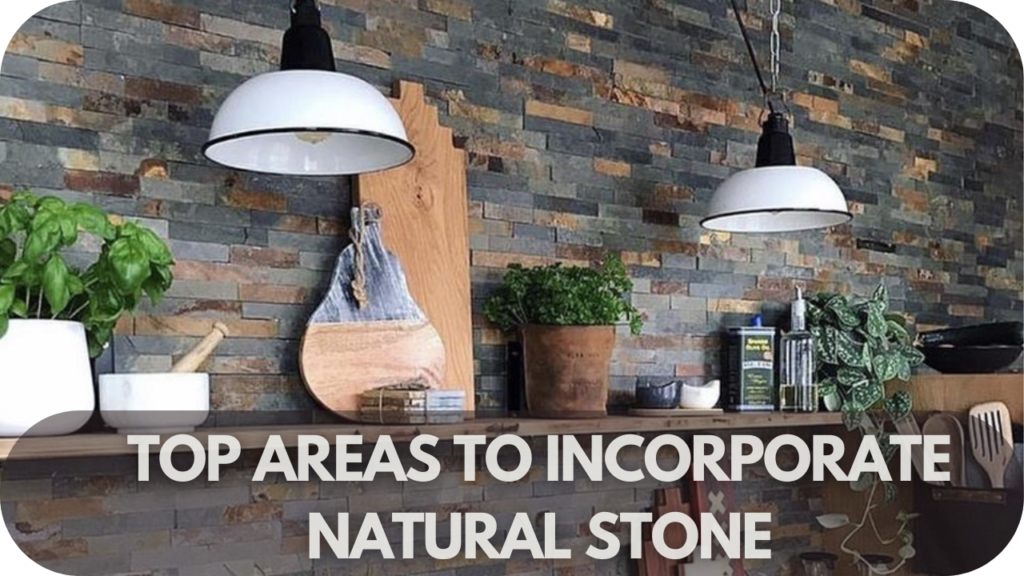
Transform your home with natural stone! From elegant kitchens to serene bathrooms and stunning outdoor spaces, Find the top areas where this timeless material can elevate style and functionality.
1. Kitchens and Dining Areas
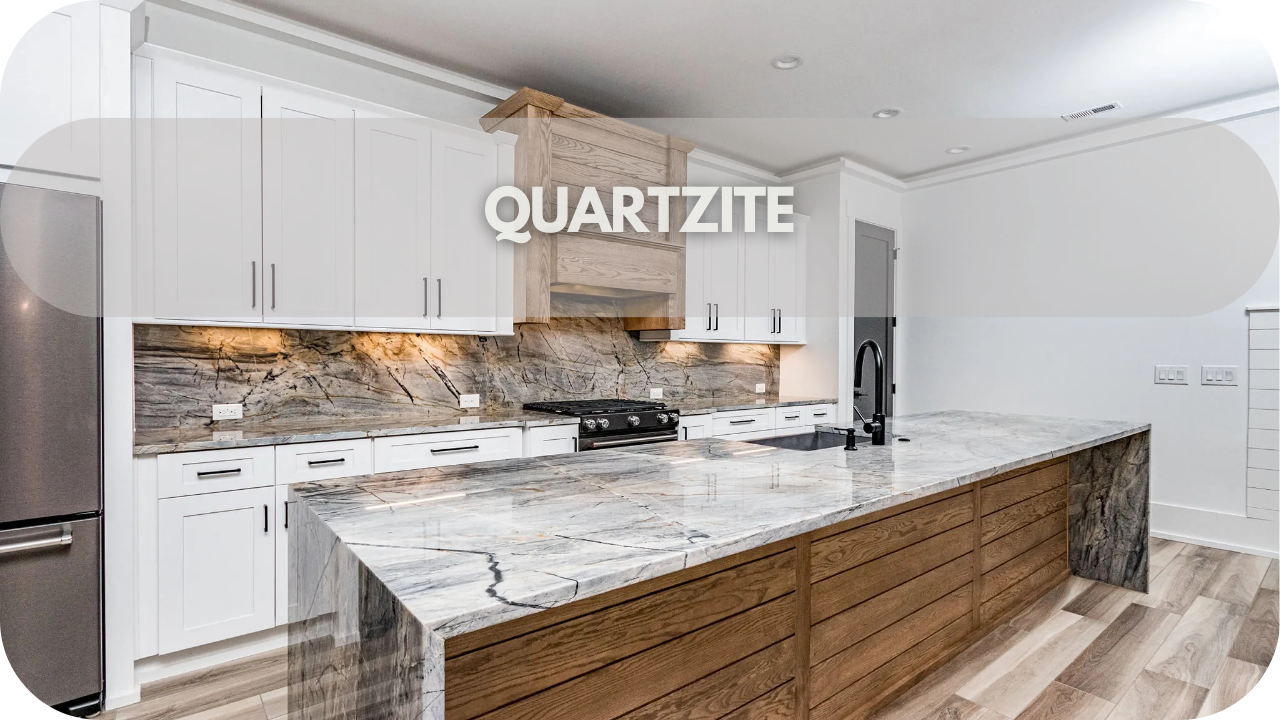
The kitchen is the heart of any home, and natural stone instantly elevates its look and functionality. Granite or quartz countertops offer durability and a luxurious finish.
Pair this with a stone backsplash for added sophistication. For dining areas, a natural stone table or stone flooring adds a touch of elegance that stands the test of time.
2. Bathrooms
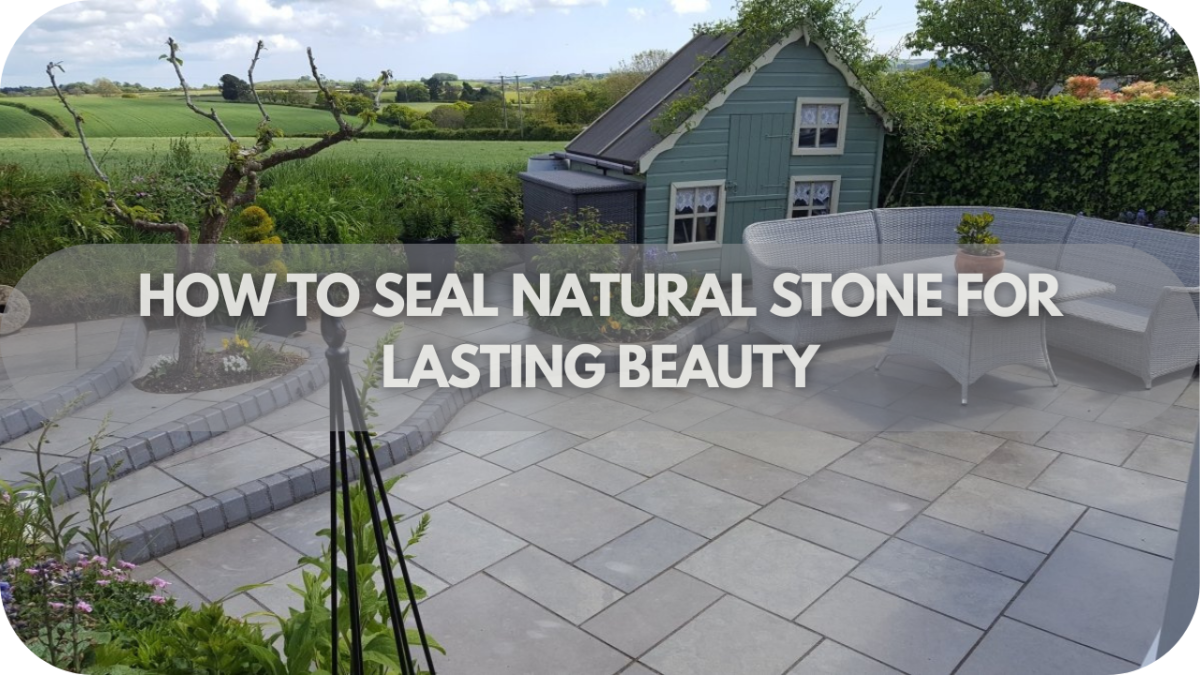
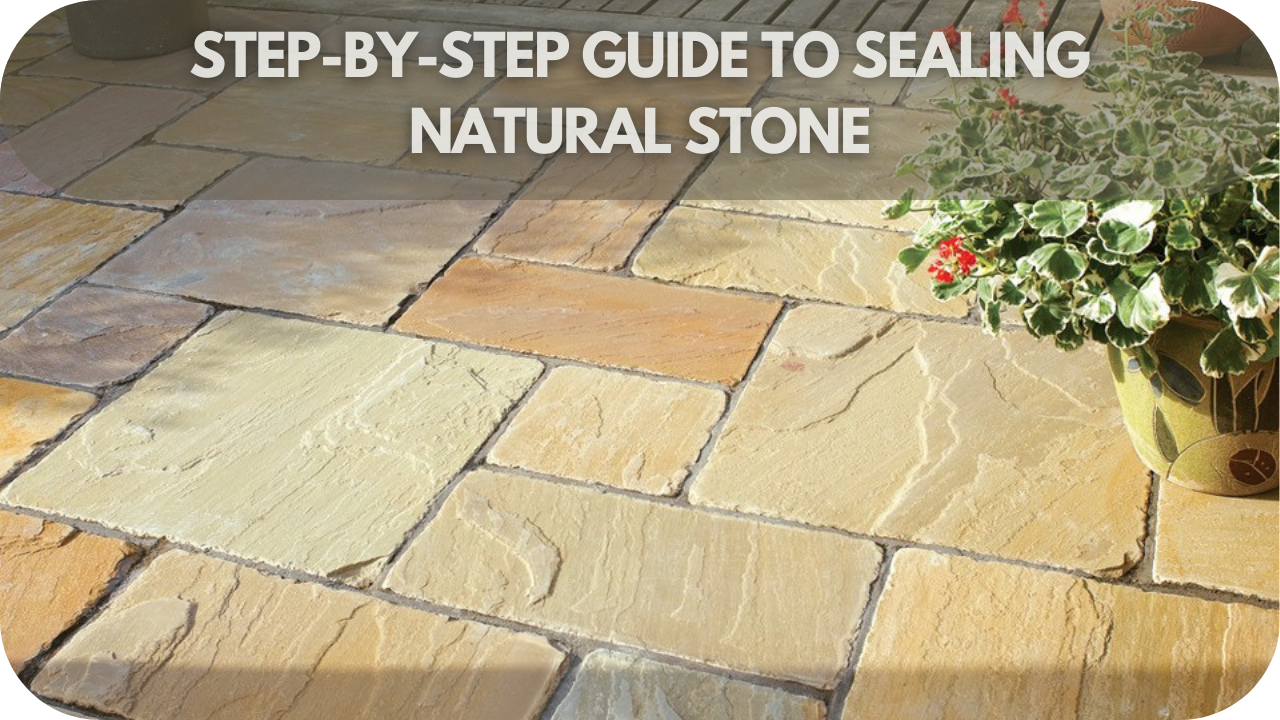
Transform your bathroom into a spa-like retreat. Marble vanities, stone-clad shower walls, or limestone flooring can create an atmosphere of serene luxury. Stone’s natural resistance to moisture, when properly sealed, ensures long-lasting beauty and practicality.
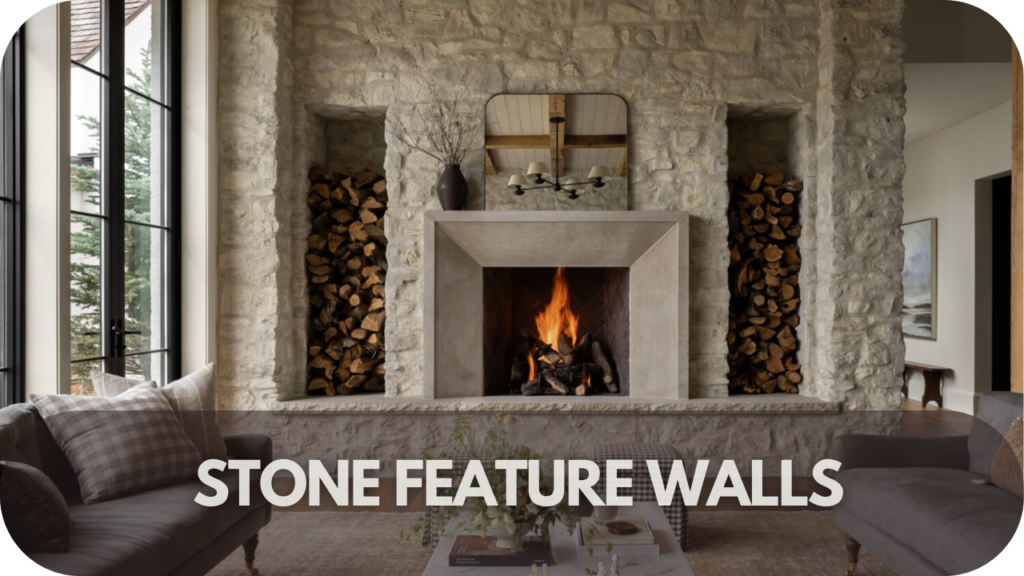
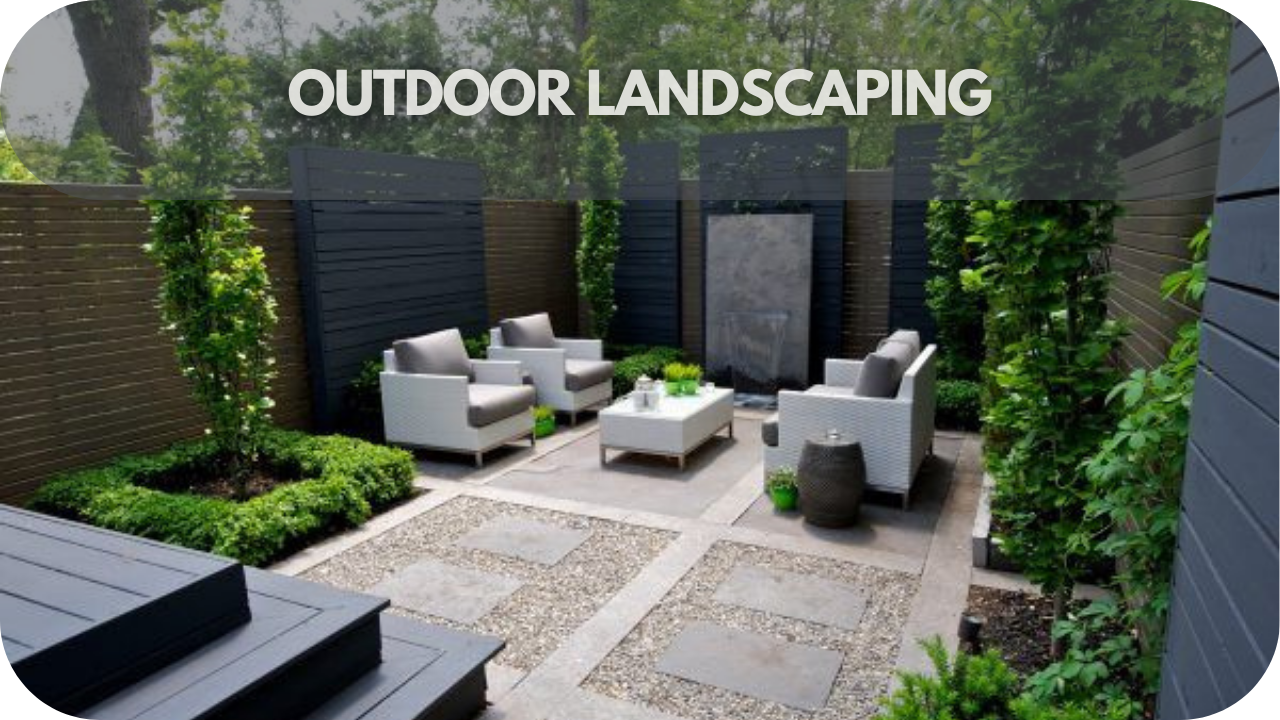
3. Outdoor Spaces
Natural stone shines outdoors. Whether it’s a patio paved with travertine, a garden pathway lined with flagstone, or a statement stone fireplace, it merges beautifully with nature. Stone’s durability makes it ideal for withstanding the elements while maintaining its charm.
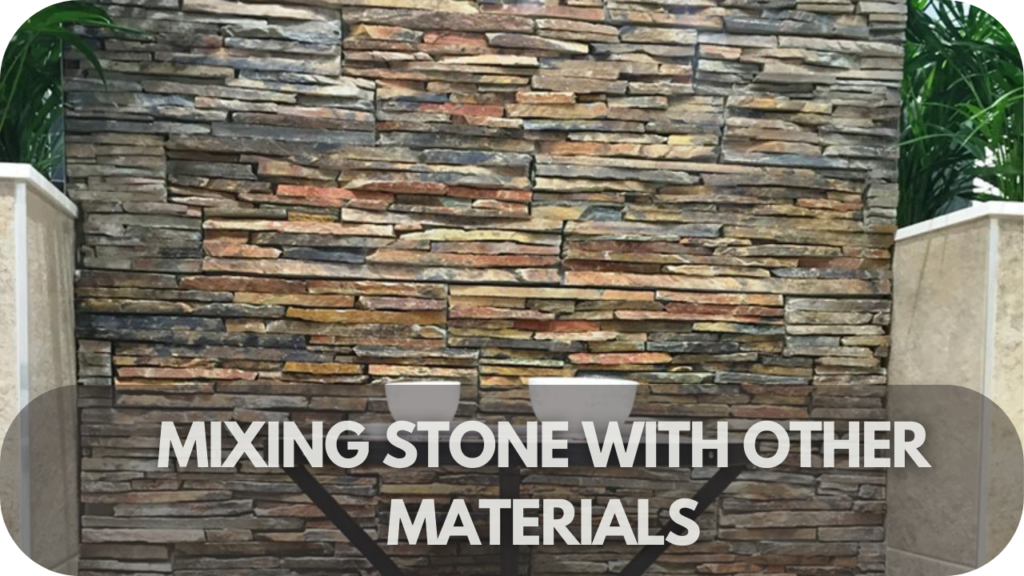
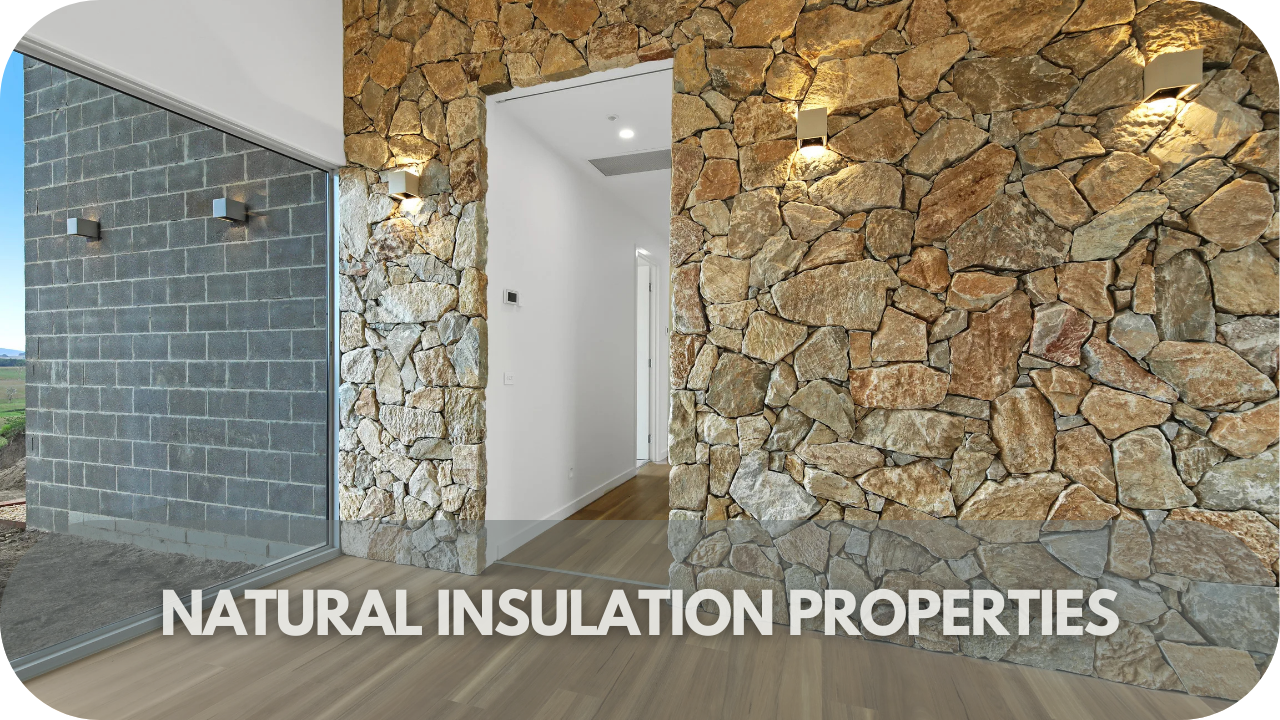
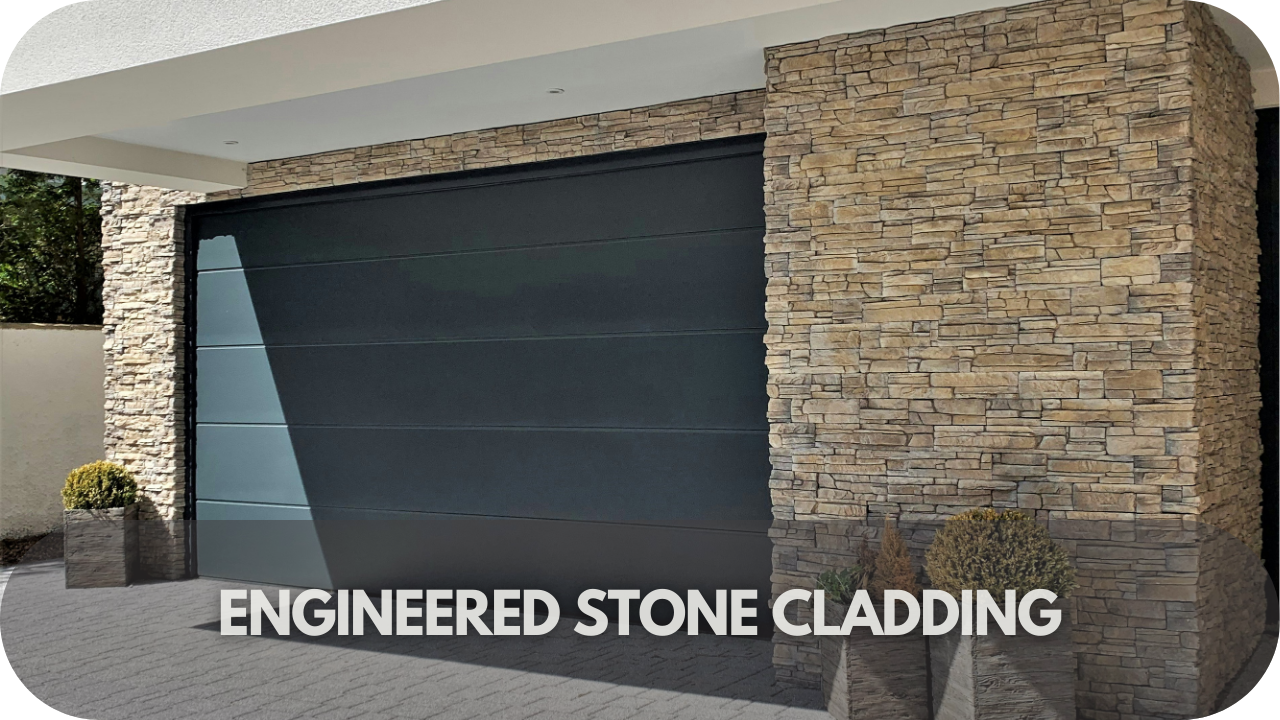
4. Living Rooms and Accent Walls

Make a bold statement with a stone accent wall or fireplace. These features not only become the focal point of the room but also add warmth and texture. Whether it’s a sleek slate finish or rugged stacked stone, the visual impact is unmatched.
5. Entryways and Hallways
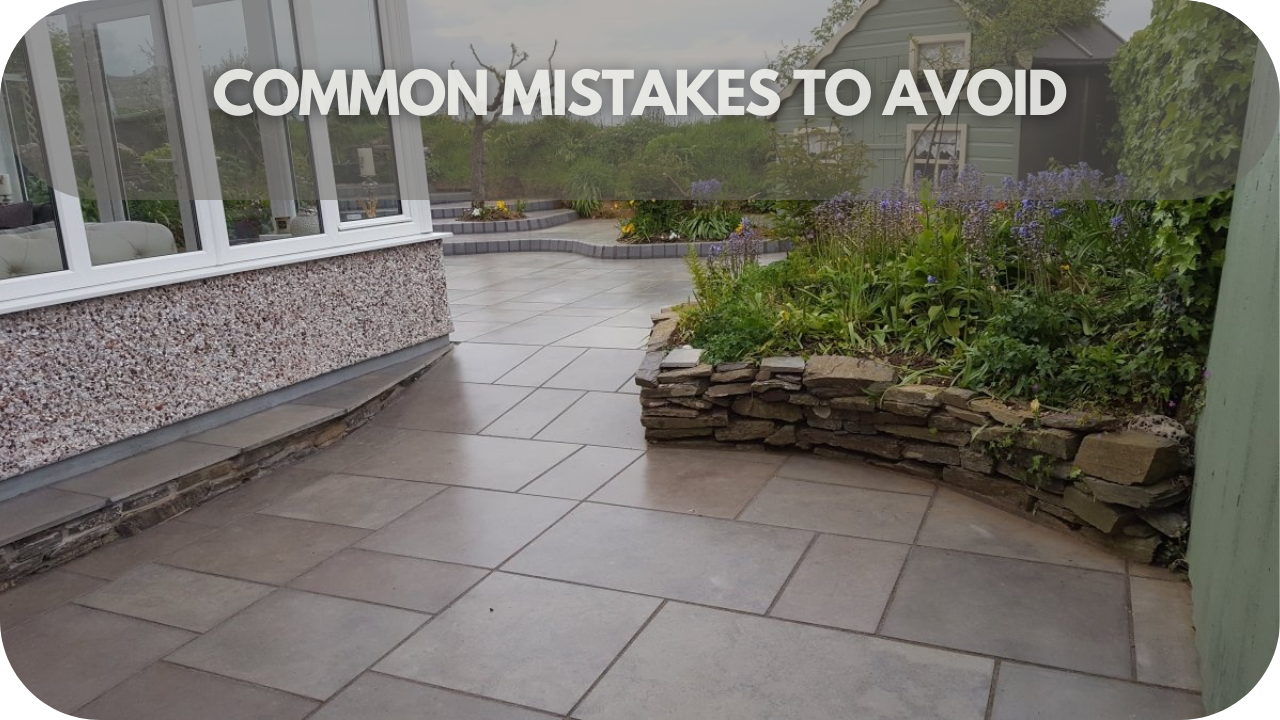
First impressions count. Natural stone flooring in entryways or hallways creates an inviting, upscale vibe. Durable and low-maintenance, it’s perfect for high-traffic areas while maintaining its polished look for years.
6. Feature Walls and Artistic Displays
Unleash creativity with custom stone installations. Mosaic walls, stone sculptures, or artistic cladding can turn any plain space into a visual masterpiece, blending function and style effortlessly.
Natural stone adds timeless beauty, practicality, and a touch of luxury to any space. With its versatility, you’re sure to find a perfect fit for every area of your home.
Tips for Choosing the Right Natural Stone
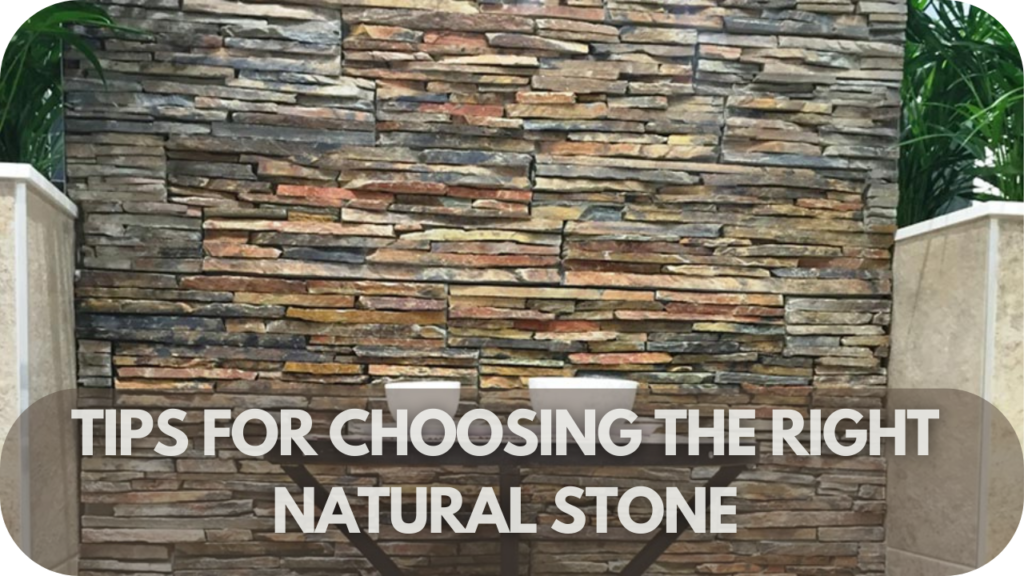
Choosing the perfect natural stone can make or break your makeover—get it right, and your home will exude timeless elegance and durability. Ready to find the ideal stone for your space? Let’s dive in!
- Match the Stone to the Space: Each area of your home has unique needs. For high-traffic areas like kitchens, opt for durable granite or quartz. In bathrooms, consider marble for a luxurious, moisture-resistant finish.
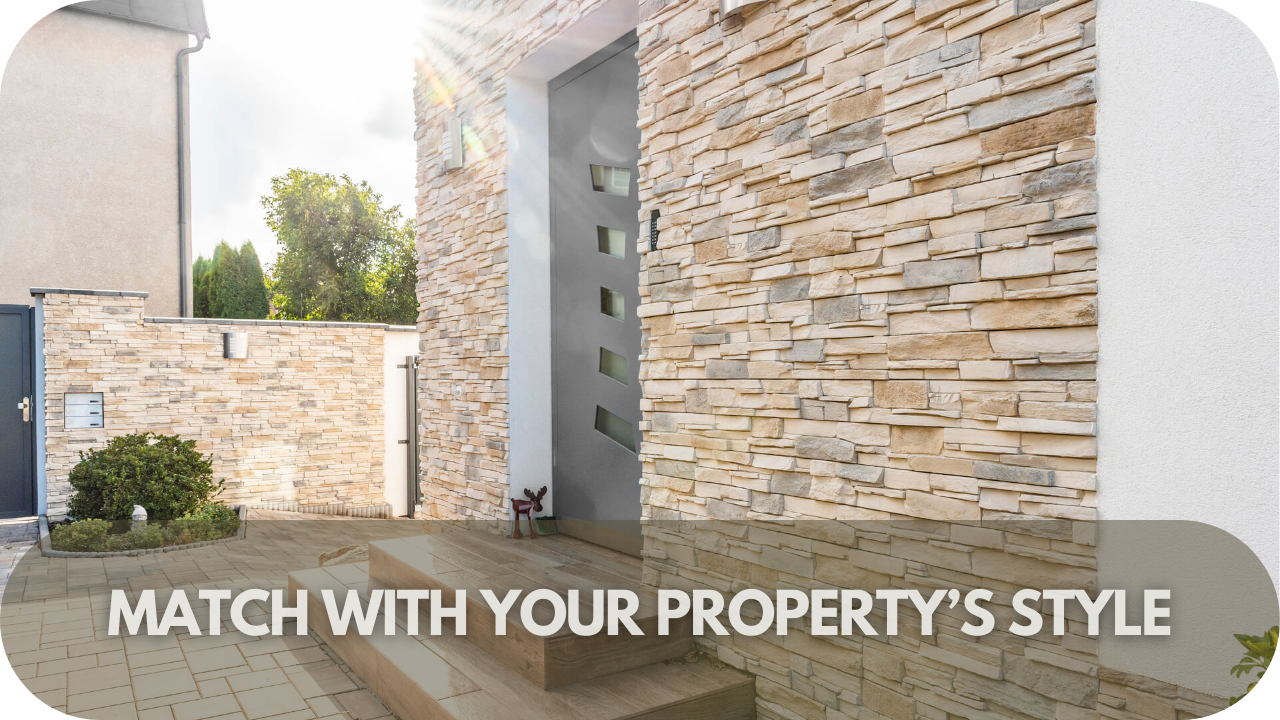
- Consider Your Style and Colour Palette: Choose stones that complement your design aesthetic. Neutral tones like beige or grey suit modern spaces, while bold patterns add character to traditional designs.
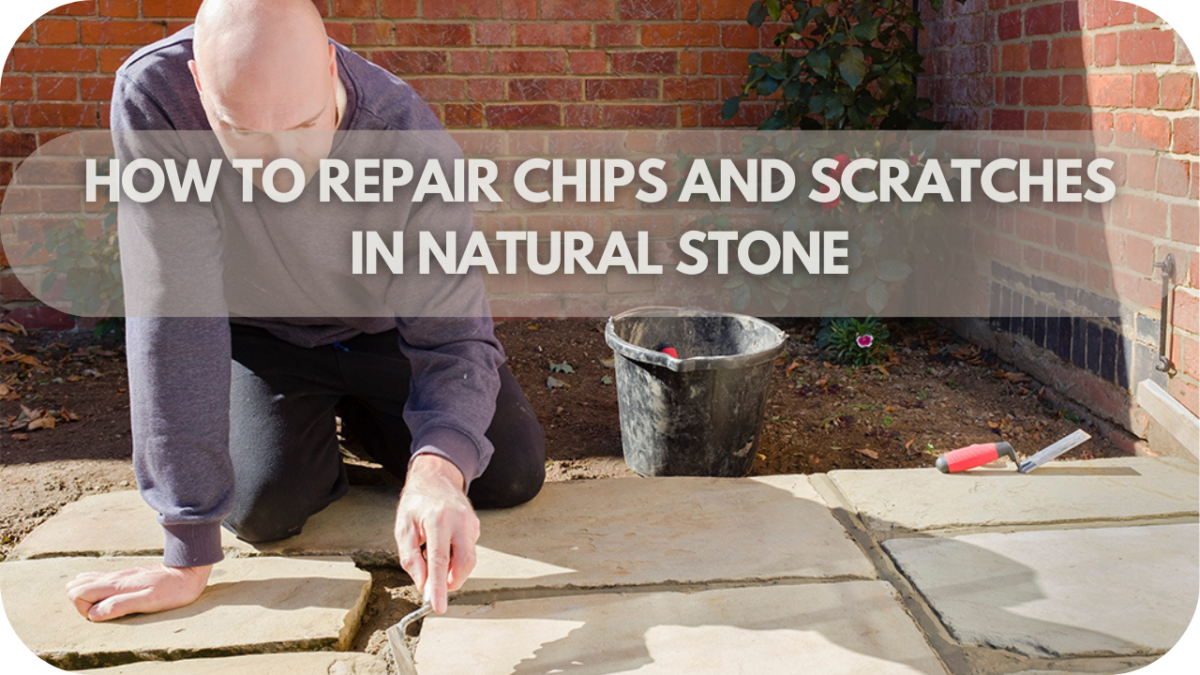
- Think About Maintenance Requirements: Some stones require more upkeep than others. Granite and quartz are low-maintenance options, while marble may need periodic sealing to retain its beauty.
- Assess Durability and Resistance: Ensure the stone you select can withstand wear and tear. For outdoor spaces, choose weather-resistant options like travertine or bluestone to handle the elements.
- Evaluate Lighting and Texture: Lighting affects how stone appears in your space. Polished finishes reflect light and brighten interiors, while matte textures create a softer, natural look.
- Test the Stone Before Committing: Request samples to see how the stone looks in your home under different lighting conditions. It helps avoid surprises after installation.
- Seek Professional Guidance: Consult with experts for advice on selecting and installing the right stone. Their experience ensures your project meets both aesthetic and functional needs.
Conclusion
Natural stone offers unmatched durability, elegance, and versatility, making it the ideal choice for your New Year home makeover. Whether upgrading your kitchen, bathroom, or outdoor space, it’s a long-term investment that adds value and style.
Ready to transform your home? Explore our natural stone products today at Splendour in Stone and start your renovation journey with timeless materials.