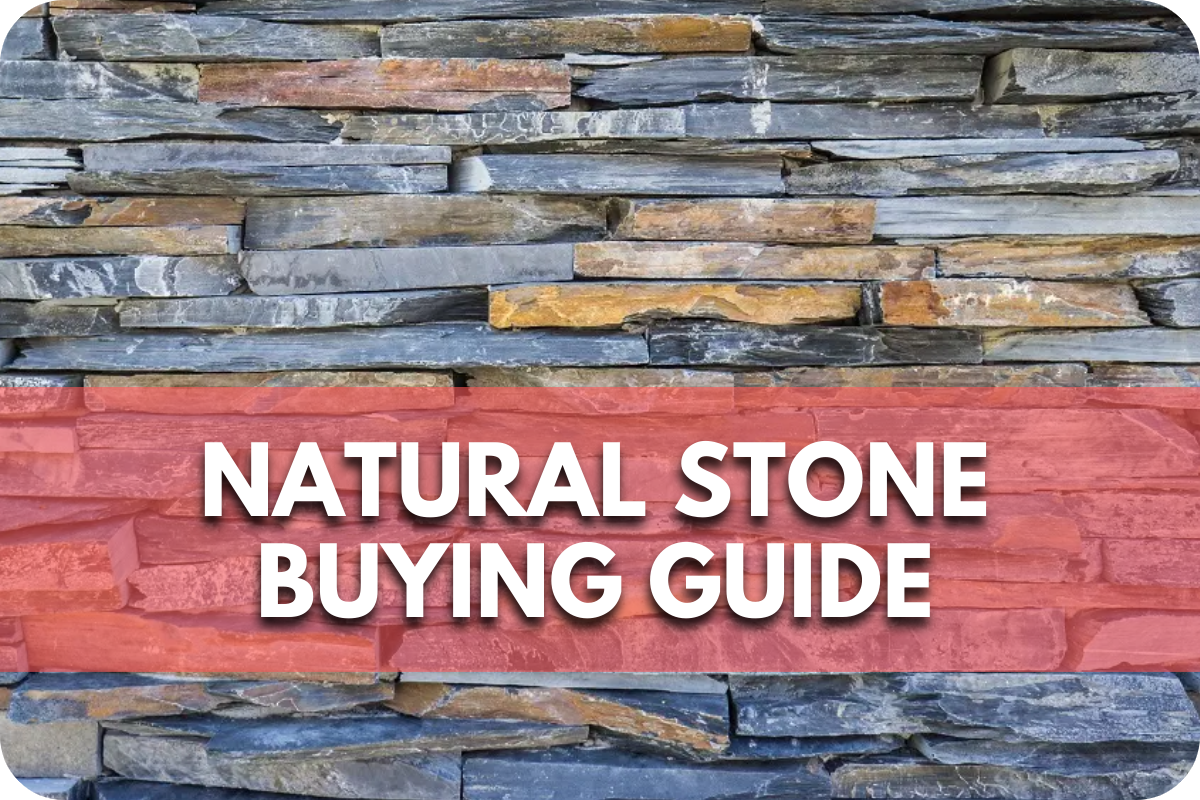
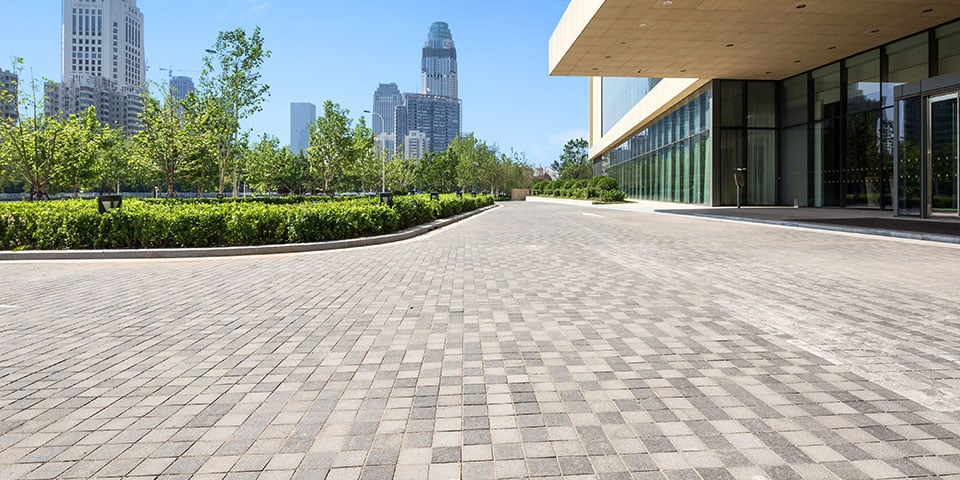
Your Handy Natural Stone Paver Buyer Guide
Choosing the suitable natural stone pavers can be overwhelming, with many options.
Making the wrong choice can lead to costly installations, maintenance headaches, and a mismatched aesthetic for your outdoor space.
Our Handy Natural Stone Paver Buyer Guide simplifies the process, providing you with all the essential information to make an informed decision and ensure a perfect fit for your needs and style.
Types of Natural Stone Pavers
When choosing natural stone pavers, understanding the different types available is crucial to making an informed decision. Here are some popular options:
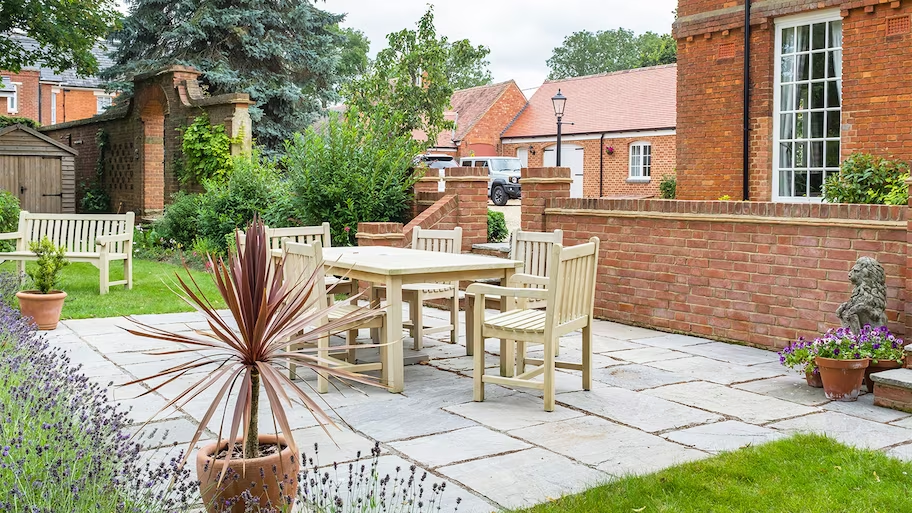
1. Limestone Pavers
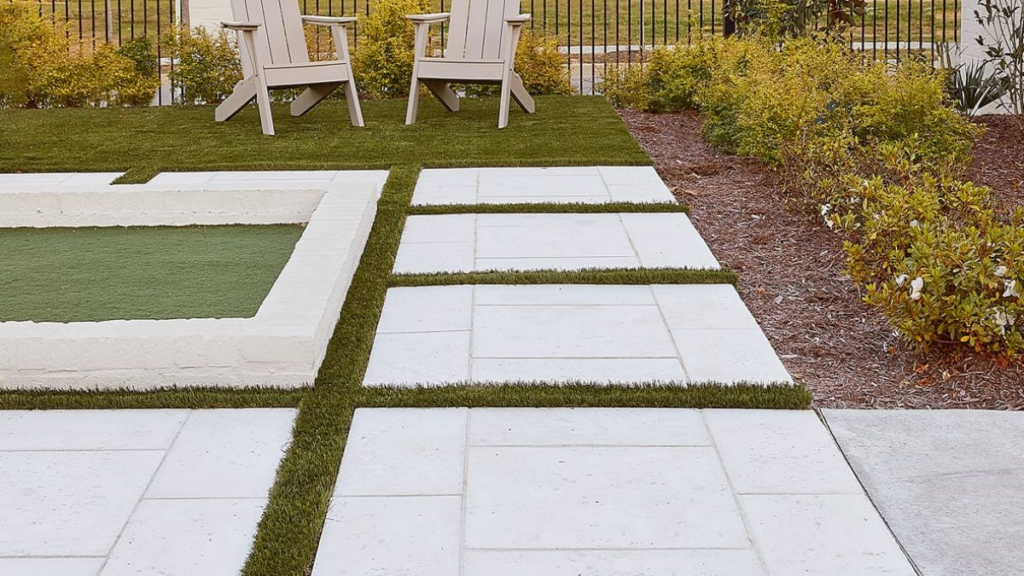
Limestone pavers offer a natural elegance that complements modern and traditional outdoor spaces. Their soft, neutral tones, ranging from creams to greys, make them versatile for various designs.
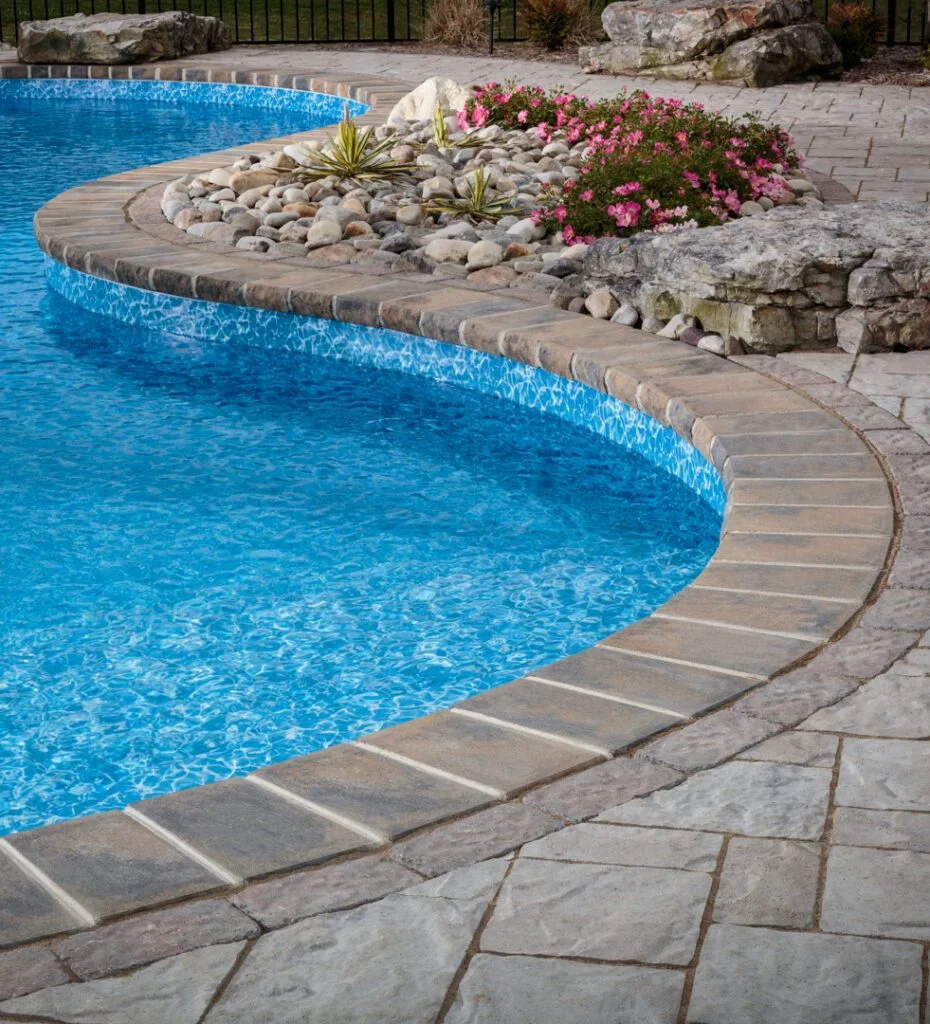
One of the main advantages of limestone is its durability. It withstands foot traffic and weather exposure and is ideal for patios, pathways, and pool surrounds.
Regarding texture, limestone is naturally smooth, providing a comfortable surface underfoot and sufficient grip when wet. This makes it a popular choice for areas around water features or swimming pools. Additionally, limestone’s natural resistance to heat ensures it remains cool to the touch, even on hot summer days.
Maintenance is relatively straightforward with limestone pavers, though regular sealing is recommended to protect against stains and wear. While it’s not as porous as some other natural stones, sealing will enhance its longevity and preserve its aesthetic appeal.
Overall, limestone pavers combine practicality and beauty, making them a highly sought-after choice for homeowners seeking a timeless, durable solution for their outdoor spaces.
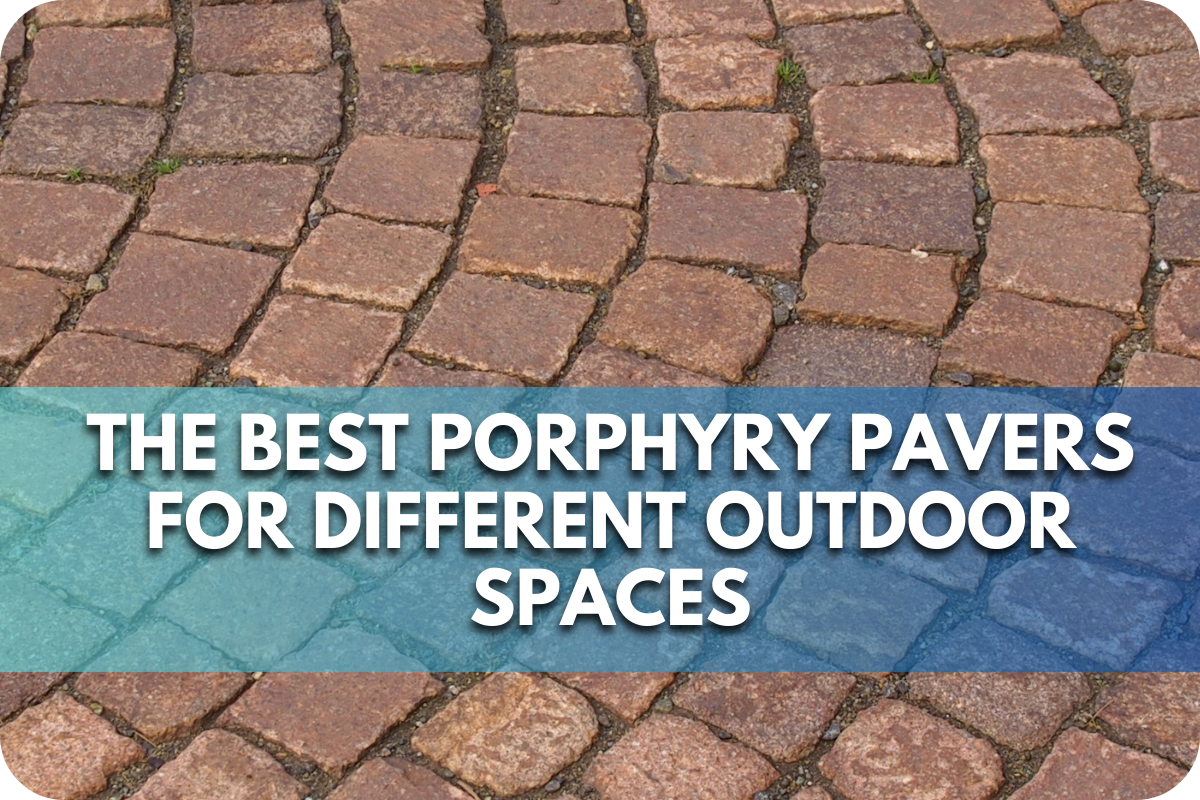
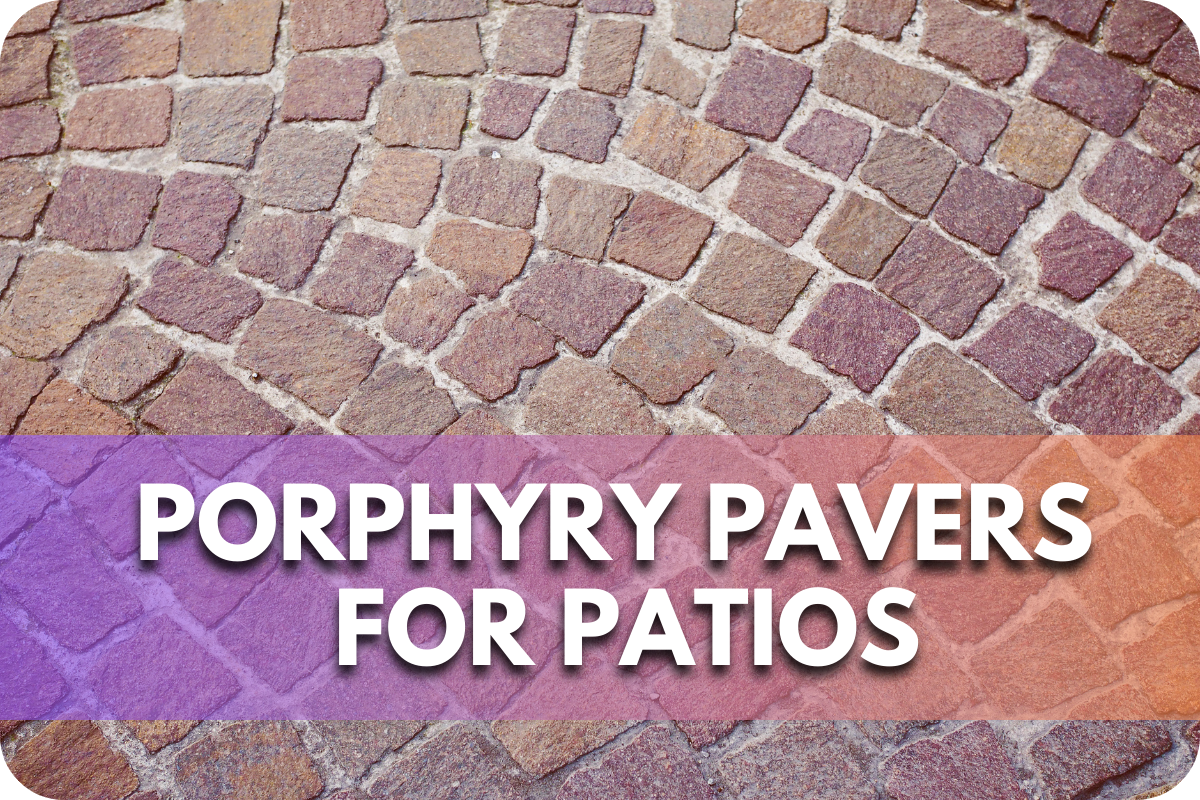
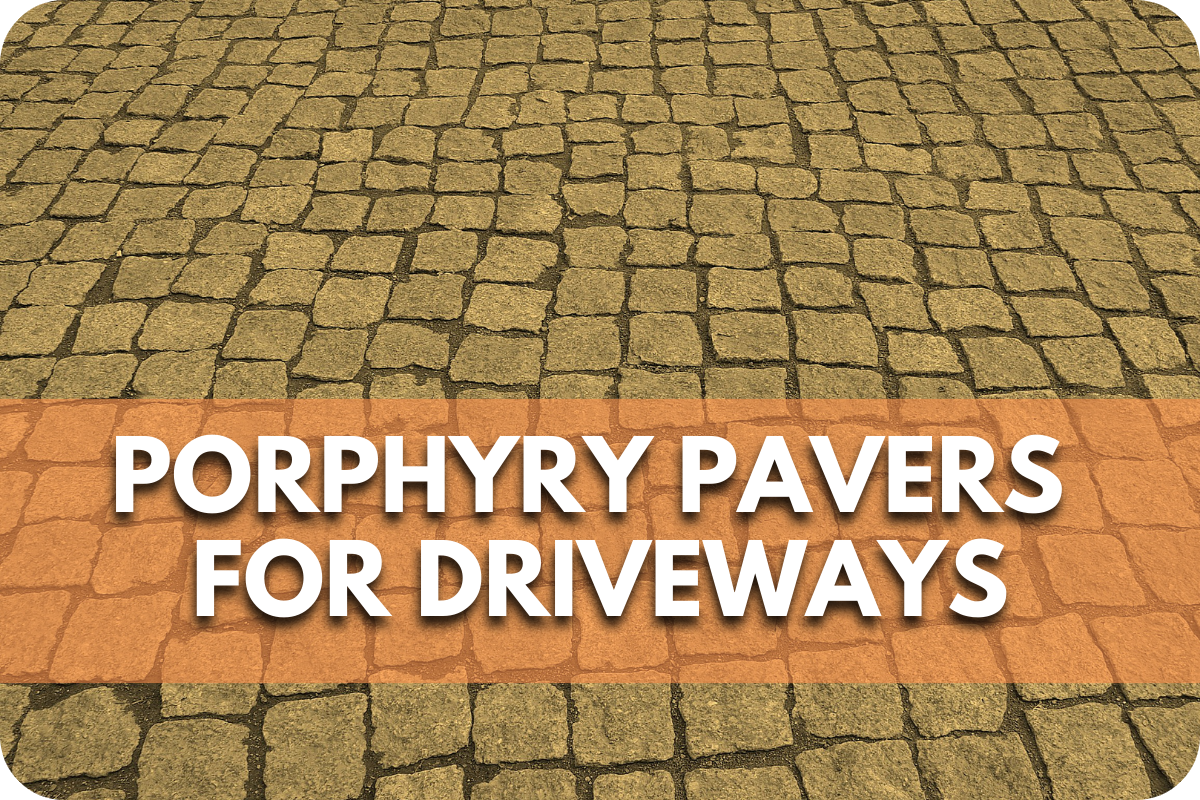
2. Porphyry
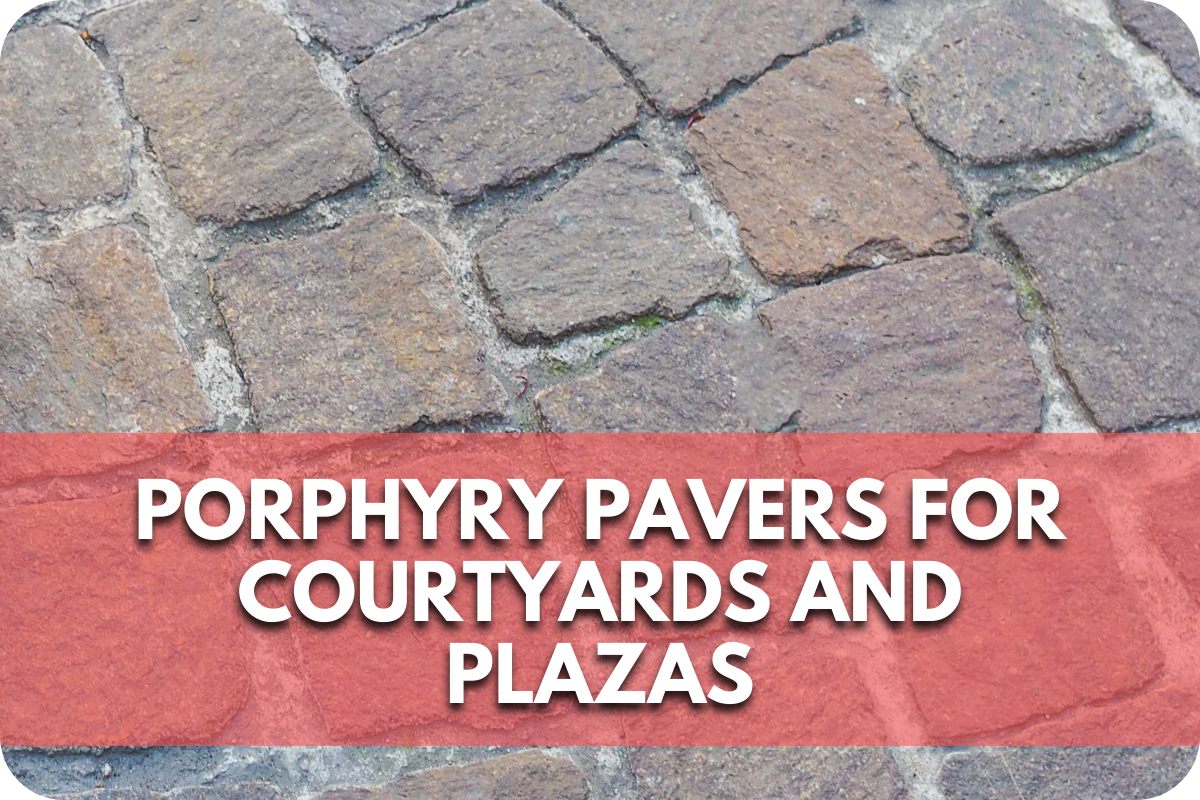
Porphyry pavers are renowned for their exceptional strength and distinct, multi-coloured appearance. This natural stone, with hues ranging from deep reds to greys and browns, adds a striking visual appeal to any outdoor space.
One critical advantage of porphyry is its high density, which makes it incredibly durable and able to withstand heavy traffic and extreme weather conditions.
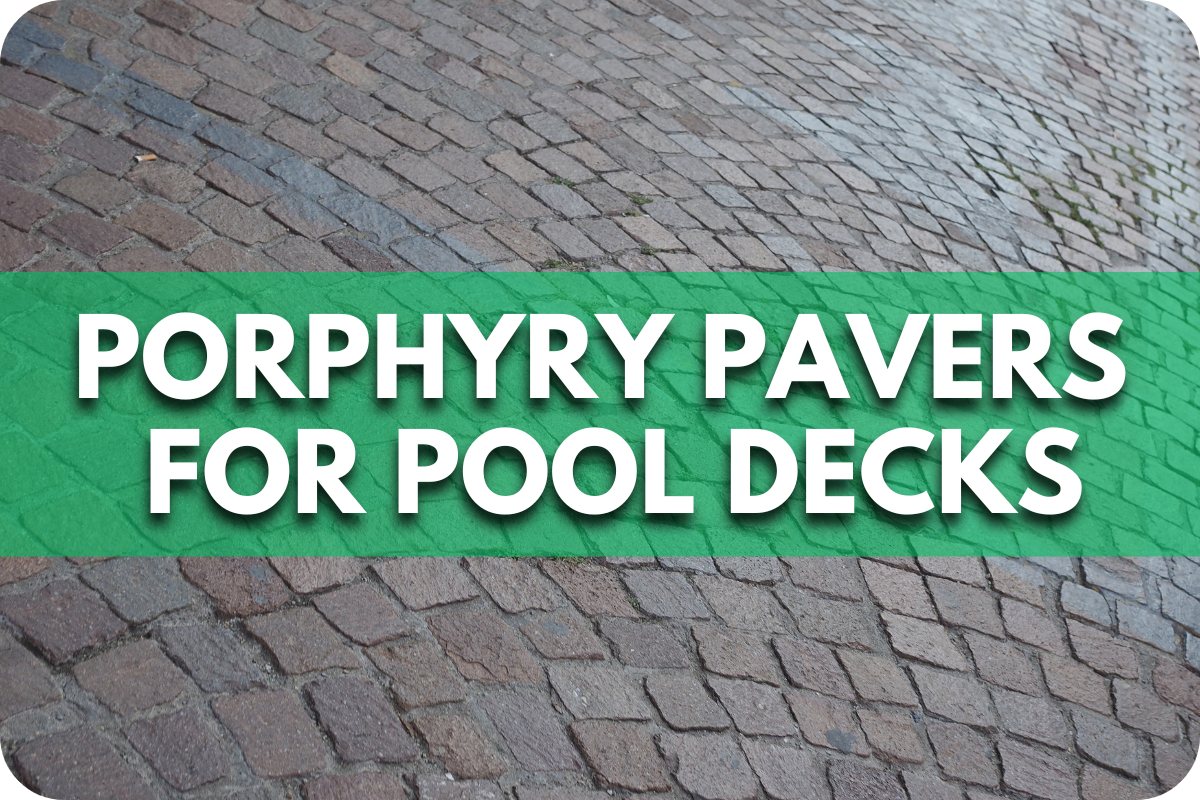
Porphyry’s naturally rough texture provides excellent slip resistance, making it an ideal choice for driveways, walkways, and outdoor steps. Its durability suits high-traffic areas well, ensuring long-lasting performance without worrying about chipping or cracking.
Another benefit of porphyry is its minimal maintenance requirements. It resists stains, moisture, and weathering, reducing the need for frequent upkeep. While sealing is not always necessary, applying a sealant can help enhance the stone’s natural colours and offer additional protection.
Porphyry pavers also have a unique thermal property: they don’t retain heat, making them comfortable to walk on even during hot weather. Thus, porphyry pavers offer a stylish, long-lasting solution for homeowners seeking both durability and aesthetic versatility.
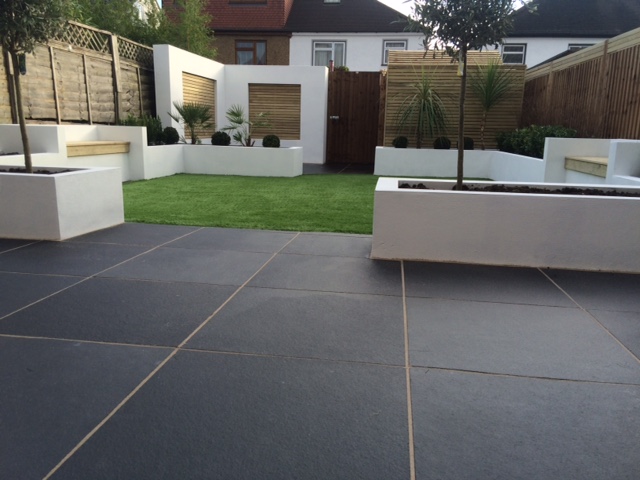
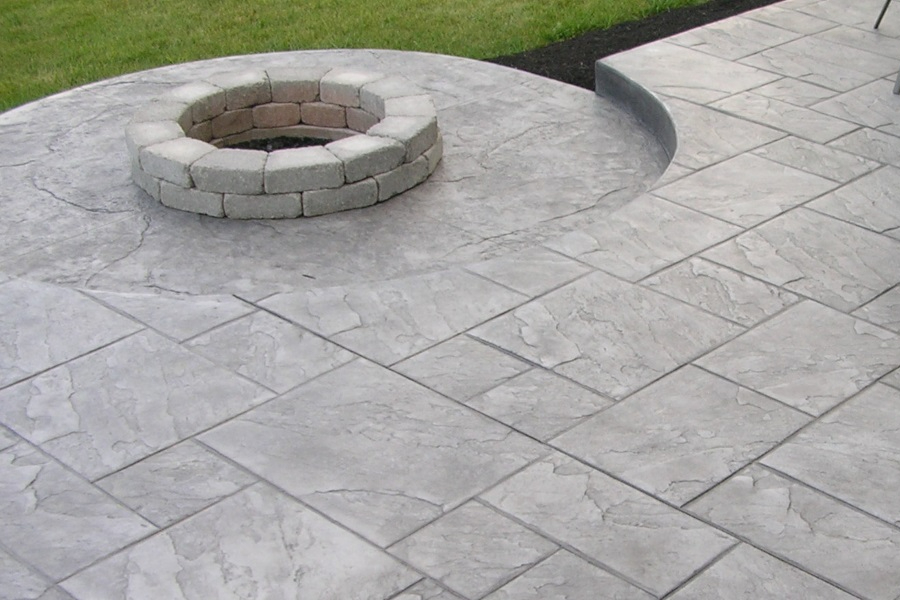
3. Granite Pavers
Granite pavers are synonymous with strength and durability, making them one of the most challenging options for outdoor paving. Their dense composition ensures they can handle heavy loads, making granite ideal for driveways, commercial spaces, and high-traffic areas.
Available in a range of colours, from light greys to deep blacks, granite offers a sleek, modern aesthetic that complements both contemporary and traditional designs.
One of the standout features of granite pavers is their resistance to wear and tear. They are highly resistant to scratches, chips, and fading, even in harsh weather conditions. Their natural rough surface also provides excellent slip resistance, making them a safe option for moist areas like pool surrounds and garden pathways.
Granite requires minimal maintenance, as its dense structure resists staining and weathering. While sealing is unnecessary, it can enhance the stone’s natural shine and make cleaning even more accessible.
With its enduring durability and sophisticated look, granite pavers offer a long-lasting, low-maintenance solution that enhances the value and appeal of any outdoor space.
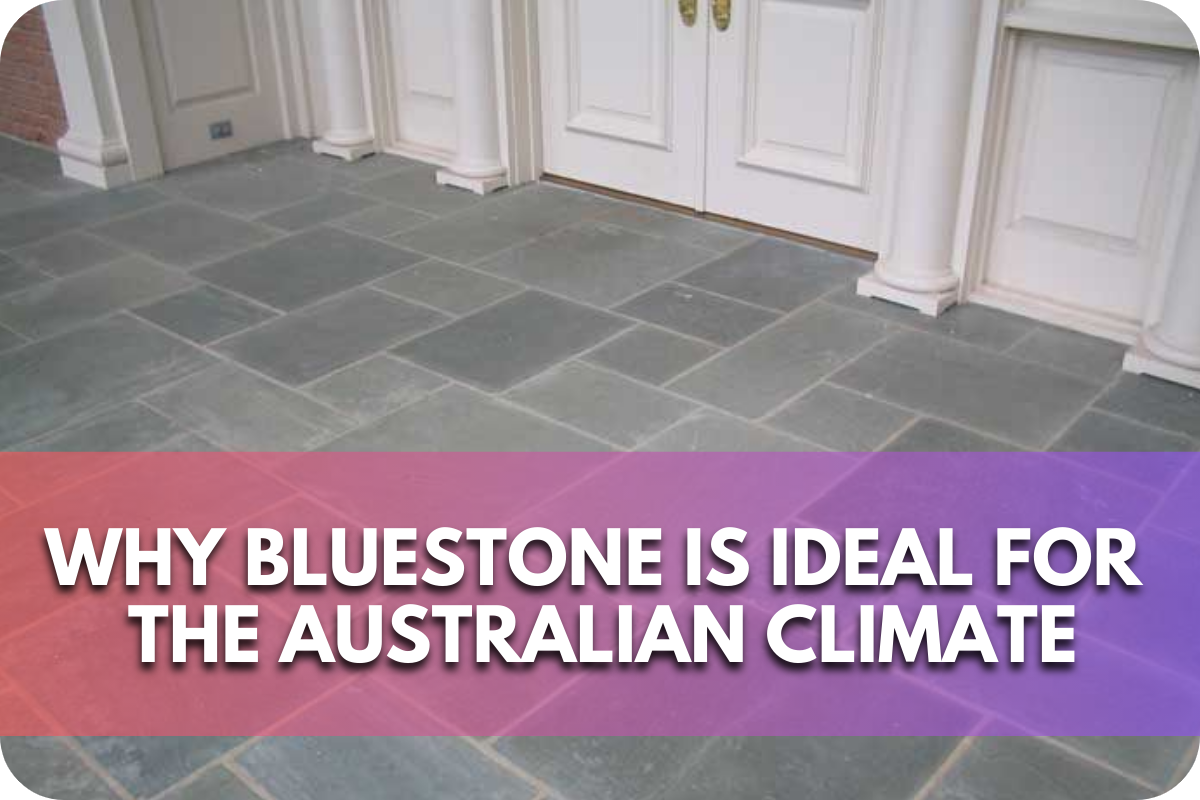
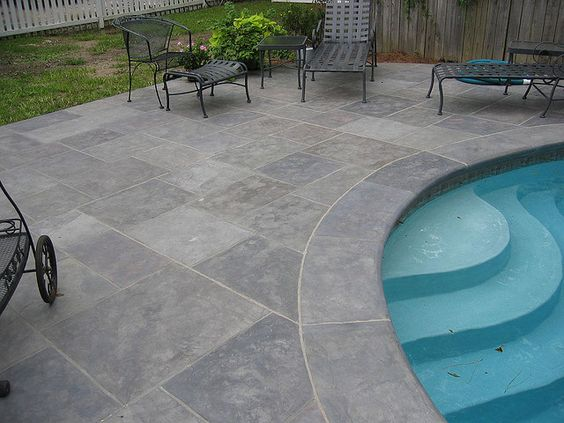
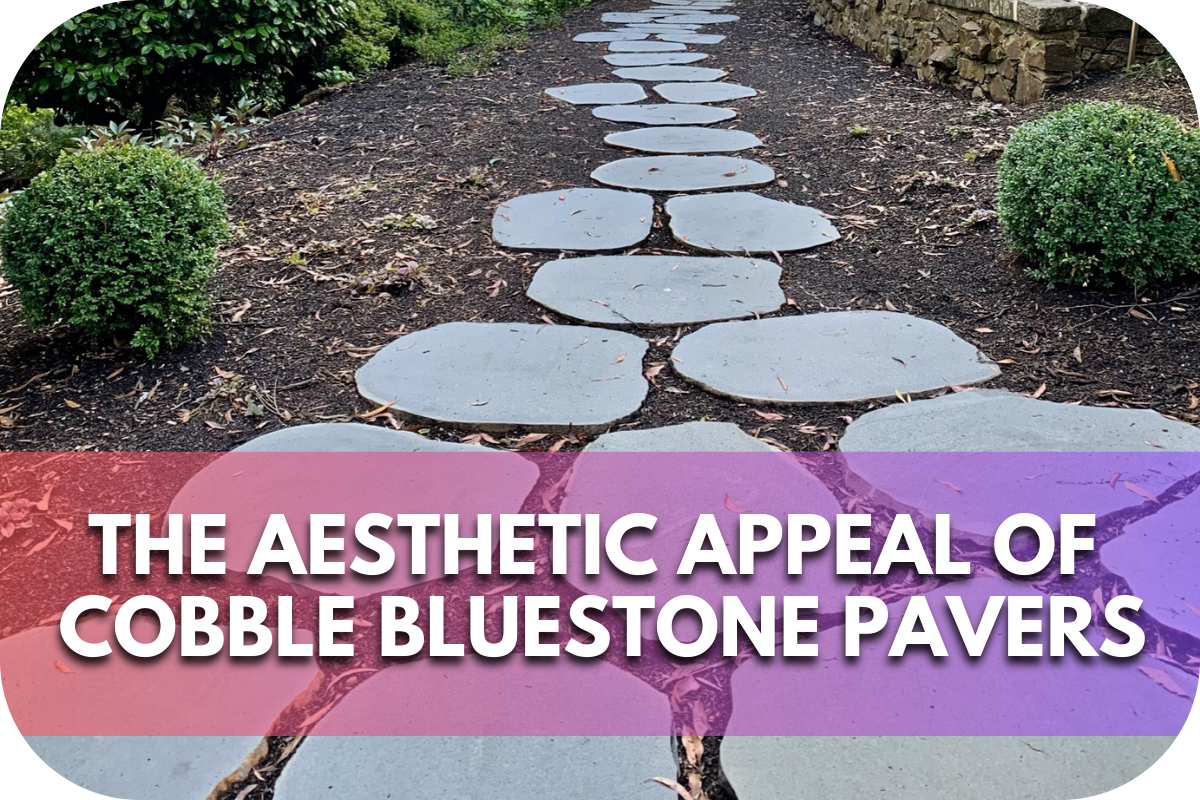
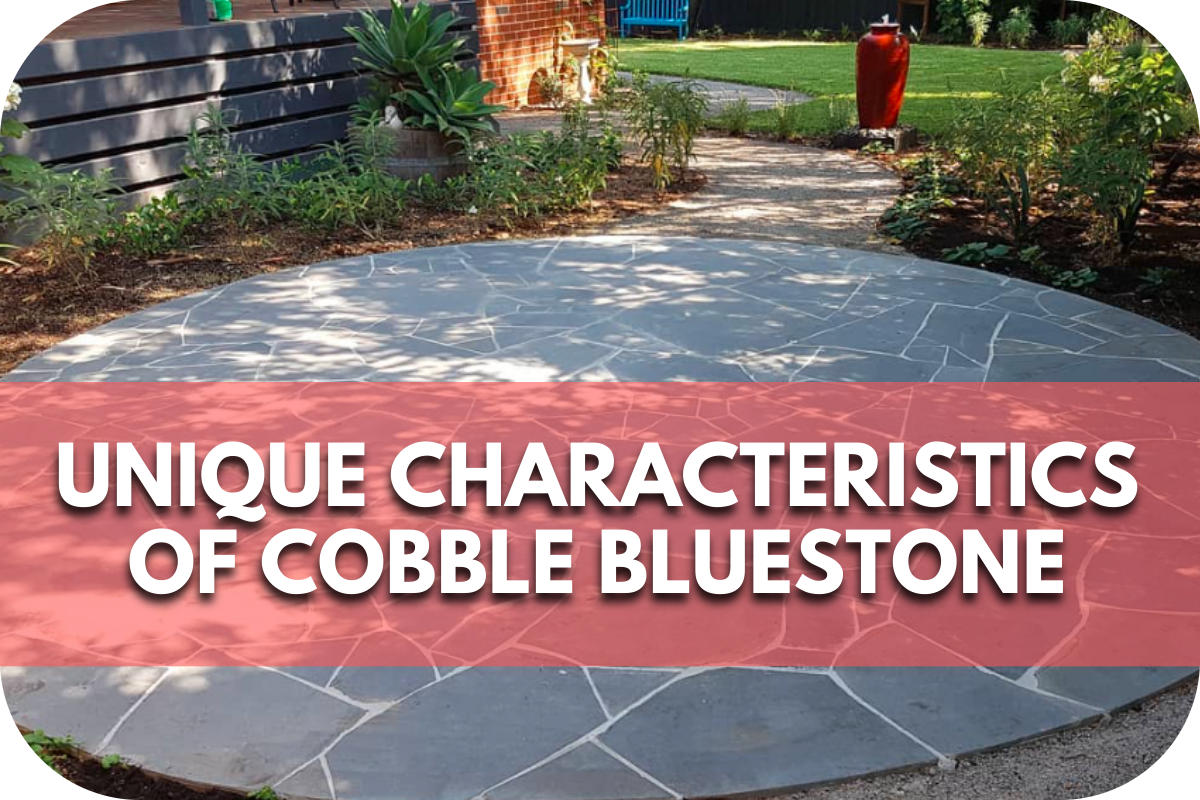
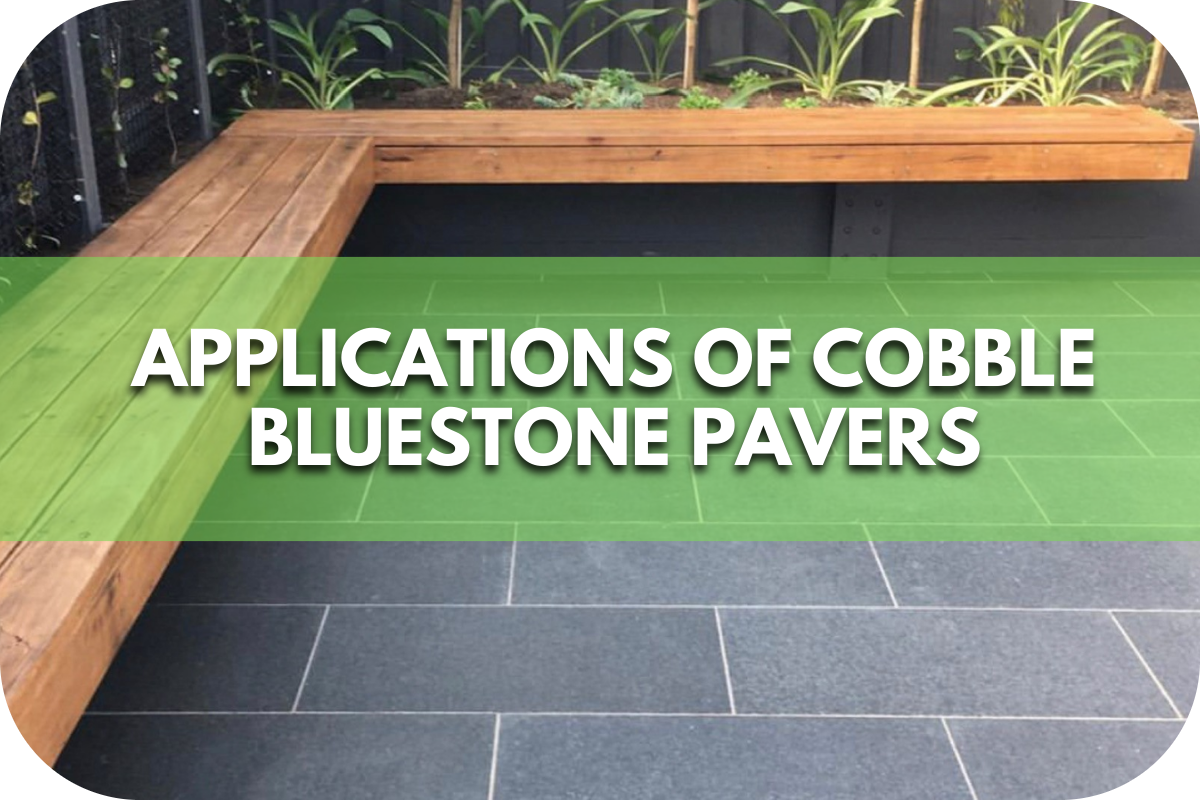
4. Bluestone Pavers
Bluestone pavers are a popular choice for those seeking a balance of style and durability. They are known for their rich, deep blue-grey tones, which add a sophisticated touch to any outdoor space, from patios to driveways.
Their natural, textured surface offers excellent slip resistance, making them a safe choice for pool surrounds, garden paths, and courtyards.
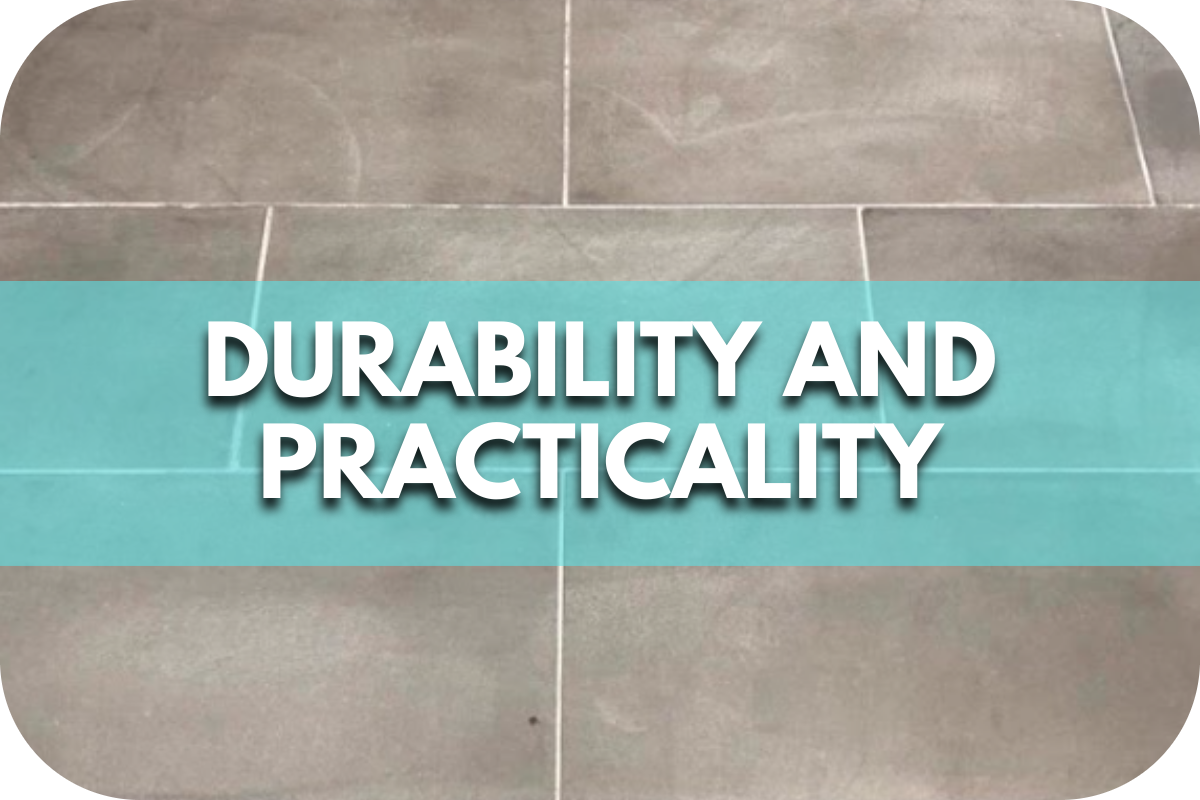
One of the critical benefits of bluestone is its impressive durability. This hard-wearing stone can withstand heavy foot traffic and extreme weather conditions without cracking or fading, ensuring it remains a long-lasting option for outdoor areas.
Bluestone’s natural ability to retain heat can be advantageous in cooler climates, although it can become warm under direct sunlight in hotter regions.
Bluestone pavers’ maintenance is straightforward, though periodic sealing is recommended to protect against stains and enhance the stone’s natural colour.
Bluestone’s combination of aesthetic appeal, durability, and practicality makes it a favourite for homeowners looking to elevate their outdoor spaces with a timeless, reliable material.
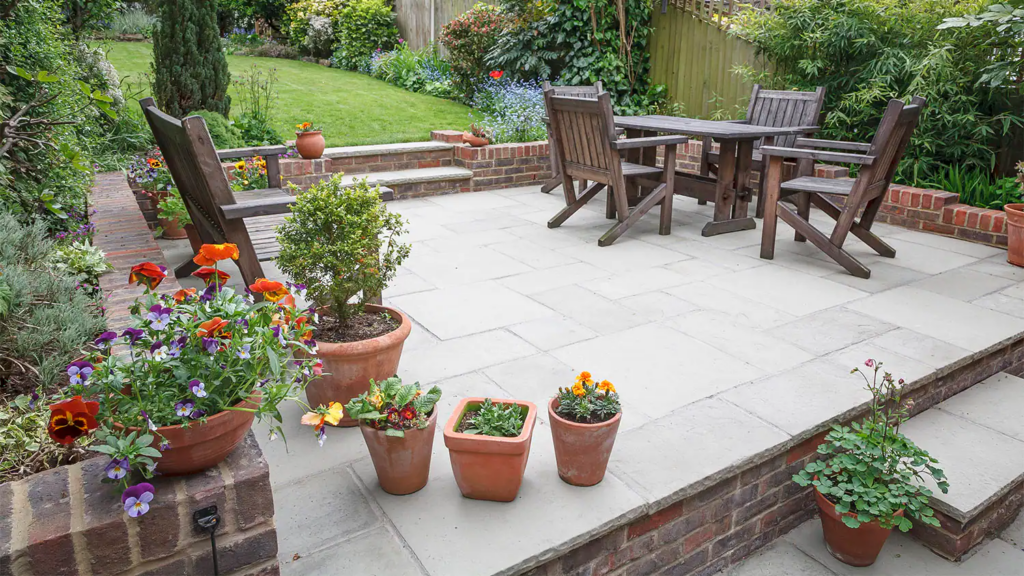
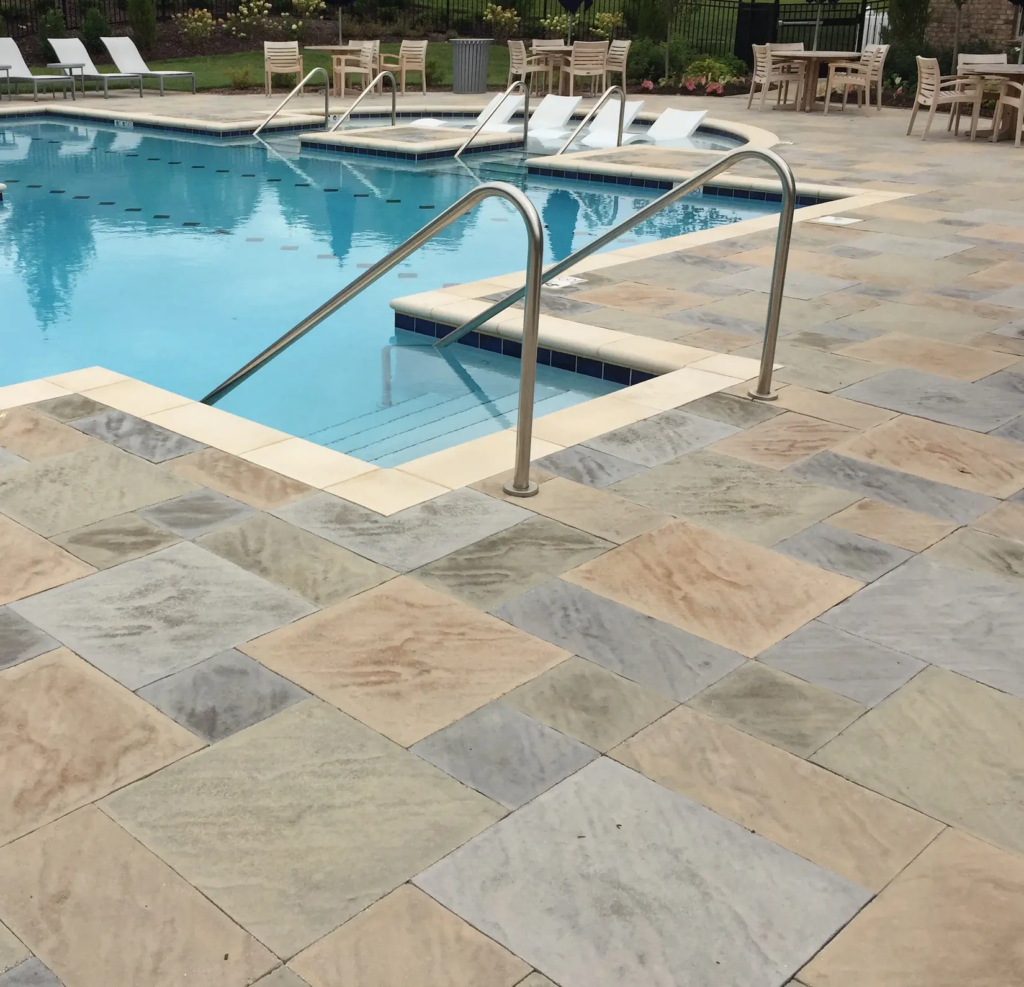
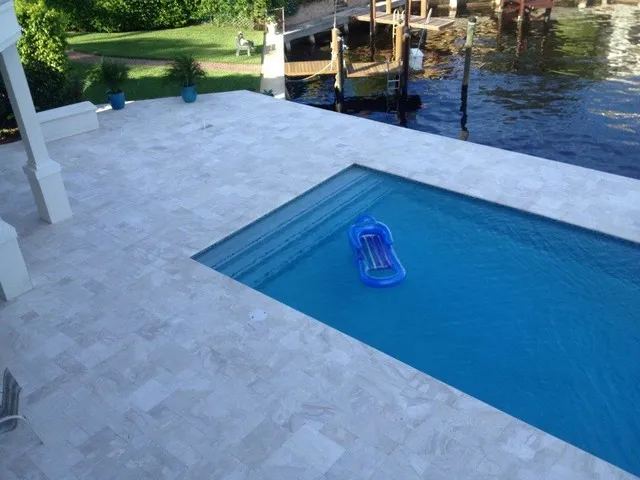
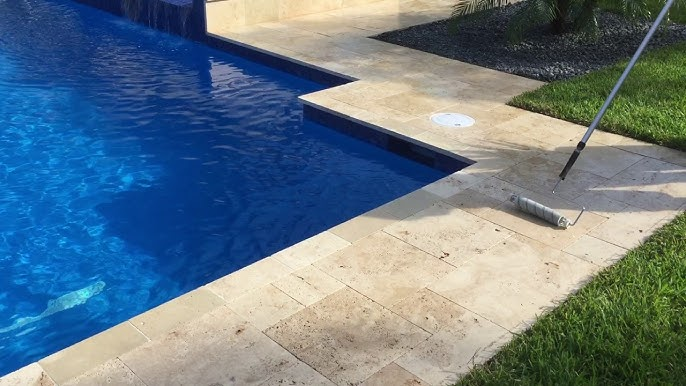
5. Travertine Pavers
Travertine pavers are prized for their unique, natural beauty and versatility. With its warm, earthy tones ranging from beige to soft browns, travertine adds an elegant and timeless touch to outdoor spaces. This natural stone’s distinctive patterns and textures bring character and depth to patios, pathways, and pool surrounds.
One of travertine’s standout features is its ability to stay cool underfoot, even in hot weather. This makes it ideal for pool areas and sun-drenched patios. Its naturally porous surface also provides slip resistance, contributing to its suitability for outdoor areas exposed to water.
Travertine is durable but slightly softer than stones like granite or bluestone. It can handle moderate foot traffic well but may require sealing to protect against stains and weathering. Regular maintenance, including cleaning and sealing, will help preserve its appearance and extend its lifespan.
Factors to Consider When Choosing Natural Stone Pavers

Selecting the right natural stone pavers involves evaluating several key factors to ensure they meet your specific needs and aesthetic preferences:
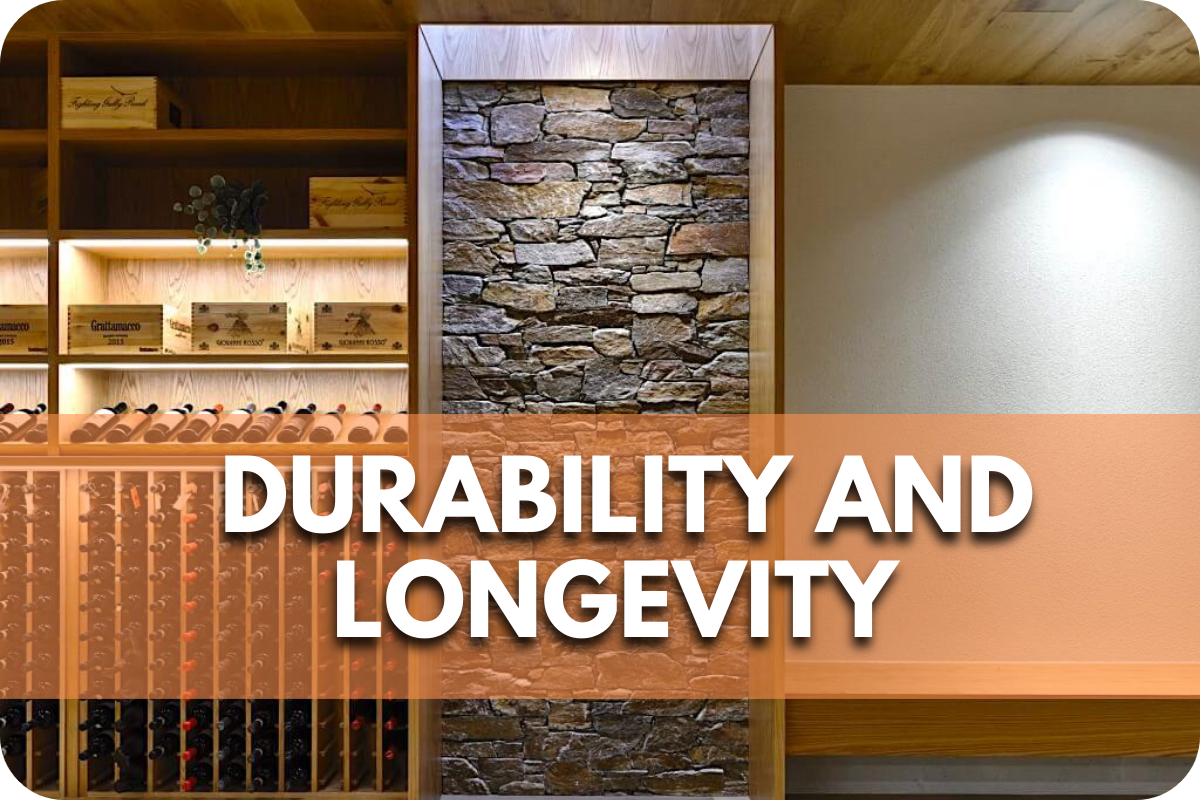
- Durability: Consider the stone’s hardness and resistance to weathering. Harder stones like granite and bluestone are ideal for high-traffic areas and harsh climates, while softer stones like limestone may be better suited for low-traffic areas.
- Maintenance: Some stones require more maintenance than others. For instance, limestone and travertine may need regular sealing to protect against stains and weather damage, whereas granite and bluestone are relatively low-maintenance.
- Slip Resistance: Safety is crucial, especially around pools and patios. Choose stones with a natural textured surface, like sandstone or bluestone, to minimise the risk of slipping.
- Aesthetic Appeal: The visual impact of the stone is a significant consideration. Natural stones come in a variety of colours, textures, and patterns. Match the stone’s appearance with your overall design theme to enhance your outdoor space’s beauty.
- Climate Compatibility: Consider how the stone will perform in your local climate. Stones that stay cool underfoot, such as travertine and bluestone, are excellent for hot climates, while frost-resistant rocks like granite are suitable for colder regions.
- Budget: Natural stone pavers vary widely in price. Establish a budget and compare different stone options within your price range. Remember to account for installation costs and any necessary maintenance.
Key Features to Look For

When selecting natural stone pavers, several key features can help ensure you make the best choice for your project. Here’s what to consider:
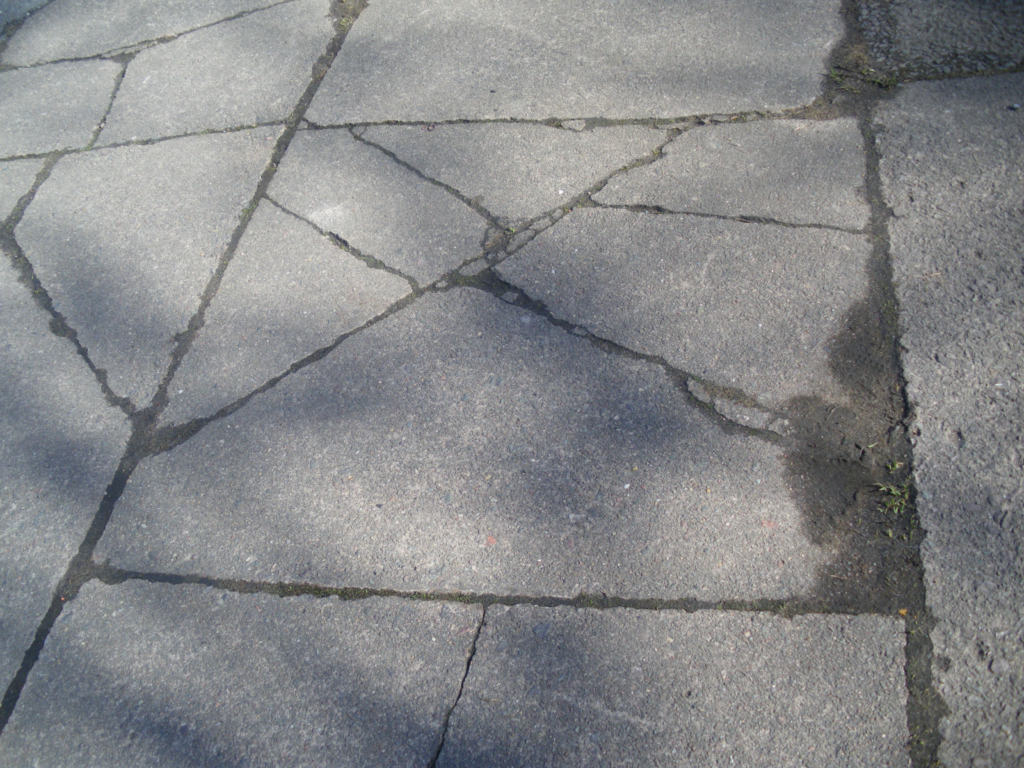
- Texture: The texture of the stone affects both its appearance and functionality. Rough textures provide better slip resistance, making them ideal for pool areas and walkways. While aesthetically pleasing, smoother finishes may require additional treatments to prevent slipping.
- Colour and Pattern: Natural stone pavers come in various colours and patterns. Choose a colour that complements your existing landscape and architectural style. Patterns can add visual interest and create unique designs, so consider how the stone’s natural veining and colour variations will enhance your space.
- Thickness: The pavers’ thickness impacts their durability and suitability for different applications. Thicker pavers are necessary for driveways and high-traffic areas to prevent cracking under pressure. Thinner pavers can be used for patios and pathways where weight load is less concerned.
- Porosity: The stone’s porosity affects its water absorption rate. Highly porous rocks like limestone and travertine may require sealing to protect against water damage and stains. Less porous stones like granite are more moisture-resistant and easier to maintain.
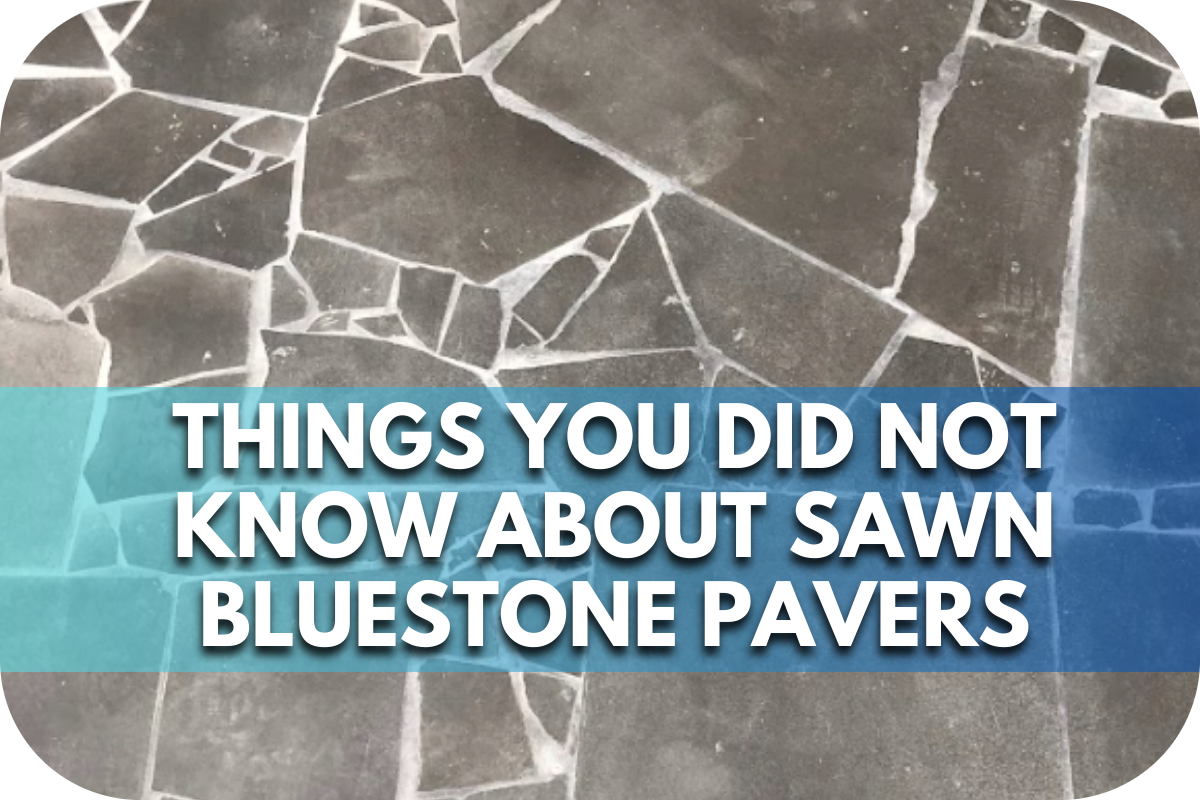
- Edge Treatment: The pavers’ edges can influence your project’s overall look and safety. Chiselled or tumbled edges provide a rustic, natural appearance, while sawn or straight edges offer a more contemporary, clean look.
- Compatibility: Ensure the stone matches your local climate and environmental conditions. Some stones are better suited to withstand freeze-thaw cycles, intense heat, or heavy rainfall.
Sourcing and Purchasing Natural Stone Pavers
When sourcing and purchasing natural stone pavers, you must get high-quality materials that meet your needs and budget.
Start by researching reputable suppliers with positive reviews and a proven track record in the industry. Visiting local suppliers or quarries allows you to inspect the stones in person, ensuring you select the best quality for your project.
Always request samples before making a purchase. This allows you to closely examine the stone’s colour, texture, and quality, helping you make a well-informed decision. Comparing samples from different suppliers can also help you find the best match.
Natural stone pavers can vary significantly in price, so obtaining quotes from multiple suppliers is wise. Ensure all quotes include potential expenses like delivery, custom cutting, or finishing fees.
Additionally, check the availability of your preferred stone to ensure your project is on time. Some stones may be subject to production schedules or seasonal demand, so confirming that they are readily available is important.
Sustainability is also a key factor to consider. Opt for suppliers who prioritise sustainable quarrying practices and offer eco-friendly options. Look for certifications from environmental organisations to ensure you’re making an environmentally conscious choice.
Finally, confirm delivery options with your supplier and ensure the stones will be delivered safely and on time. Discuss any special handling requirements, especially for larger or heavier pavers, to avoid complications during the installation process.
Installation Considerations

Proper installation is critical to ensure longevity and aesthetic appeal for natural stone pavers. Here are key considerations to keep in mind:
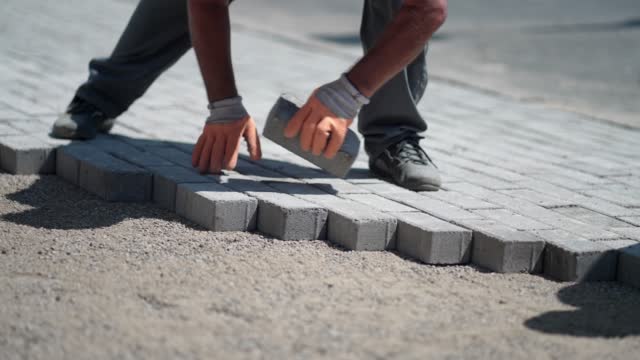
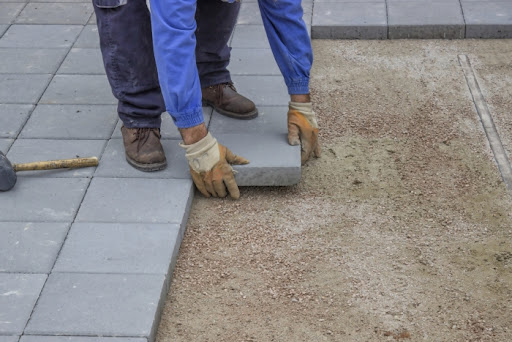
- Site Preparation: Before installation, the site must be properly prepared. This includes clearing the area of any debris, levelling the ground, and creating a stable base. A well-prepared site ensures the pavers sit evenly and are less prone to shifting over time.
- Base Material: A solid base is essential for durability. Typically, a layer of crushed stone or gravel is laid down, followed by a layer of sand. This base should be compacted thoroughly to provide a stable foundation for the pavers.
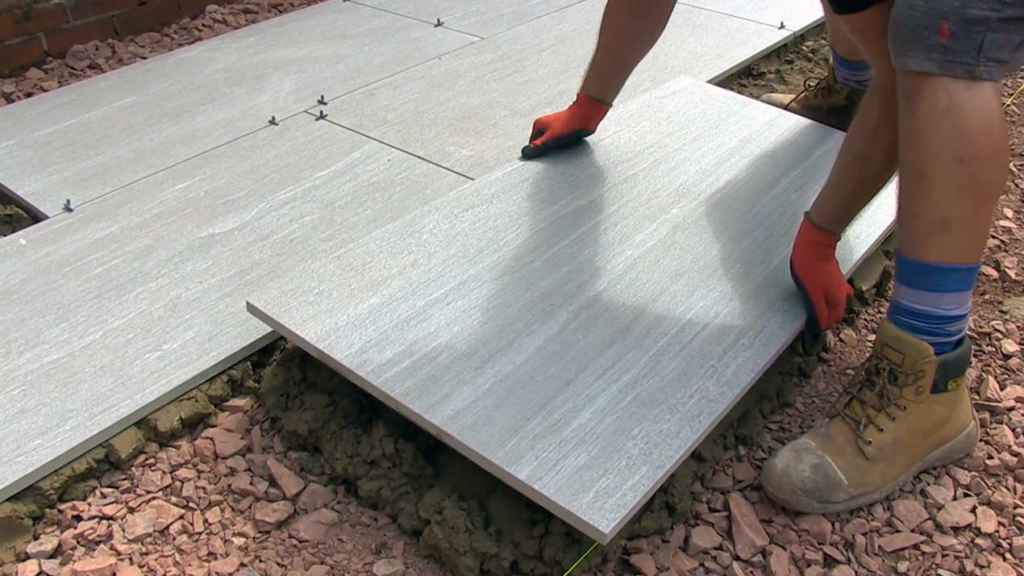
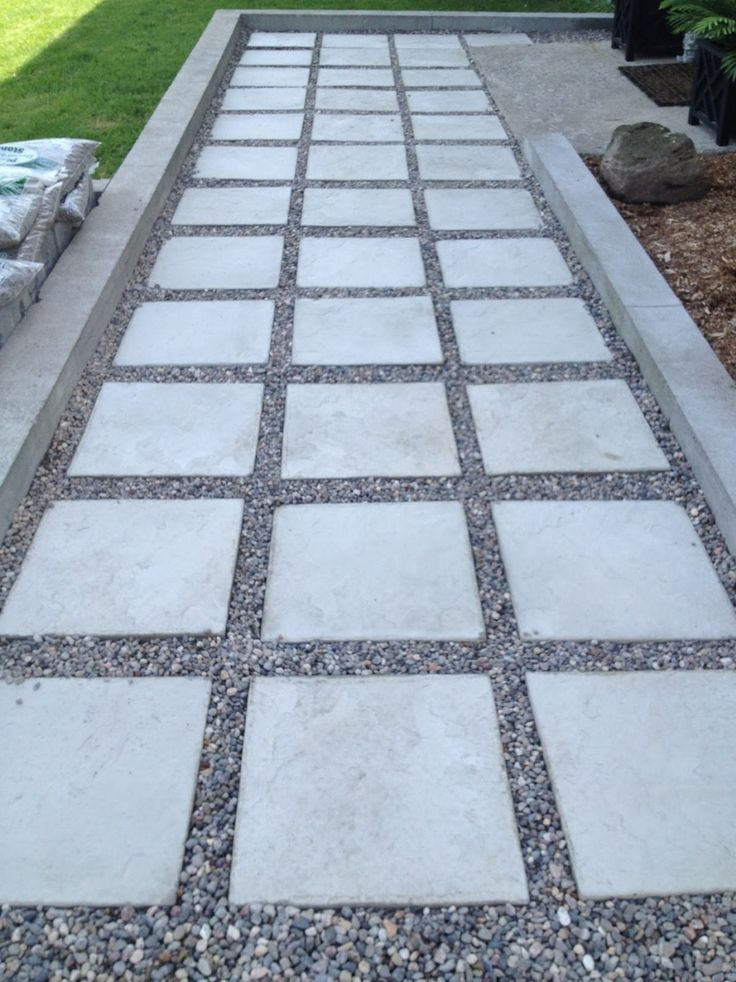
- Layout Planning: Plan the layout of your pavers carefully. Use string or chalk lines to mark straight edges and ensure proper alignment. Planning helps avoid unnecessary cuts and provides a professional finish.
- Spacing and Joints: Leave appropriate gaps between pavers for expansion and contraction. These gaps can be filled with sand or polymeric sand to prevent weed growth and provide stability.
- Cutting and Fitting: Some pavers must be cut to fit around edges or other obstacles. Use a wet saw or a specialised stone cutter for precise cuts. Properly fitted pavers enhance the overall look and prevent uneven edges.
- Sealing and Finishing: Depending on the type of stone, sealing may be necessary to protect against stains and weather damage. Choose a high-quality sealant that is suitable for your specific stone type. Sealing also enhances the colour and texture of the pavers.
- Professional Installation: While DIY installation is possible, hiring a professional can ensure a flawless finish and avoid costly mistakes. Professionals have the experience and tools needed for complex installations.
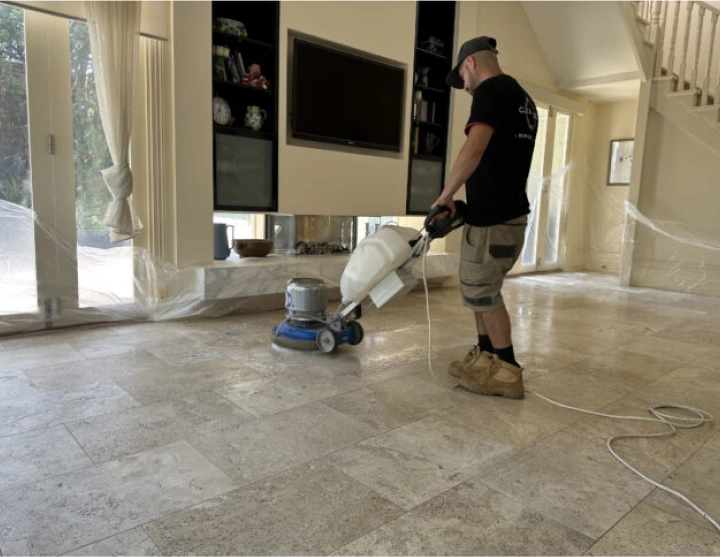
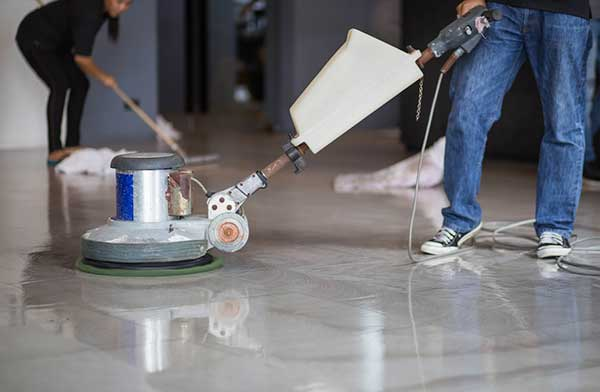
Maintenance and Care

Proper maintenance and care are essential to preserving the beauty and functionality of your natural stone pavers. Here’s what you need to know:
- Regular Cleaning: Sweep your pavers regularly to remove dirt, leaves, and debris. For a deeper clean, use a mild detergent and water. Avoid harsh chemicals that can damage the stone. A pressure washer can be used, but ensure it’s on a low setting to prevent etching the stone surface.
- Sealing: Depending on the type of stone, sealing may be necessary to protect against stains, water damage, and weathering. Sealants create a protective barrier, making cleaning easier and enhancing the stone’s natural colour. Typically, sealing should be done every 1-3 years, depending on the stone and environmental conditions.
- Stain Removal: Promptly address any stains. Common household substances like oil, wine, and food can stain stone if left untreated. Use appropriate stone-specific cleaners for stubborn stains. A poultice made from baking soda and water can be effective for organic stains.
- Weed and Moss Control: Fill the joints between pavers with polymeric sand to prevent weed and moss growth. This sand hardens and helps inhibit weed growth, preventing ants from burrowing between the stones.
- Inspect and Repair: Regularly inspect your pavers for any signs of damage, such as cracks or chips. Addressing small issues early can prevent them from becoming larger problems. Damaged pavers might need to be replaced to maintain the integrity and appearance of the surface.
- Seasonal Care: Avoid de-icing salts in colder climates, as they can damage stone surfaces. Instead, use sand for traction. Watch for signs of thermal expansion in hot climates, as they can cause pavers to shift or crack.
Conclusion
When choosing natural stone pavers, consider their unique qualities to enhance your space’s beauty and durability. Ready to transform your outdoor area? Explore our premium selection and expert advice at Splendour In Stone Melbourne. Contact us today for personalised guidance, and start your project with confidence!