What is Bluestone?
Bluestone is a popular building material, but many are unfamiliar with its unique properties and history.
Homeowners and builders may struggle to make informed decisions about using bluestone for their projects without understanding its origins and characteristics.
This article delves into the fascinating world of bluestone, exploring its geological formation, various applications, and why it has become a sought-after choice for residential and commercial settings.
What is Bluestone?
Bluestone is a versatile and durable stone popular for a variety of applications, including building materials, flooring, wall surfaces, and landscaping. It is typically blueish in colour but can also have veins of grey and brown for added texture and dimension. Bluestone is a popular choice for landscaping projects due to its durability, slip resistance, and variety of colours and finishes.
Characteristics of Bluestone

Bluestone, a term often applied to blue-grey stones, encompasses mainly sandstone or limestone, with geographical variations between the United States, where it is most commonly found, and other regions.
This stone is prized in construction and landscaping for its durability and aesthetic appeal. Here are some key characteristics:
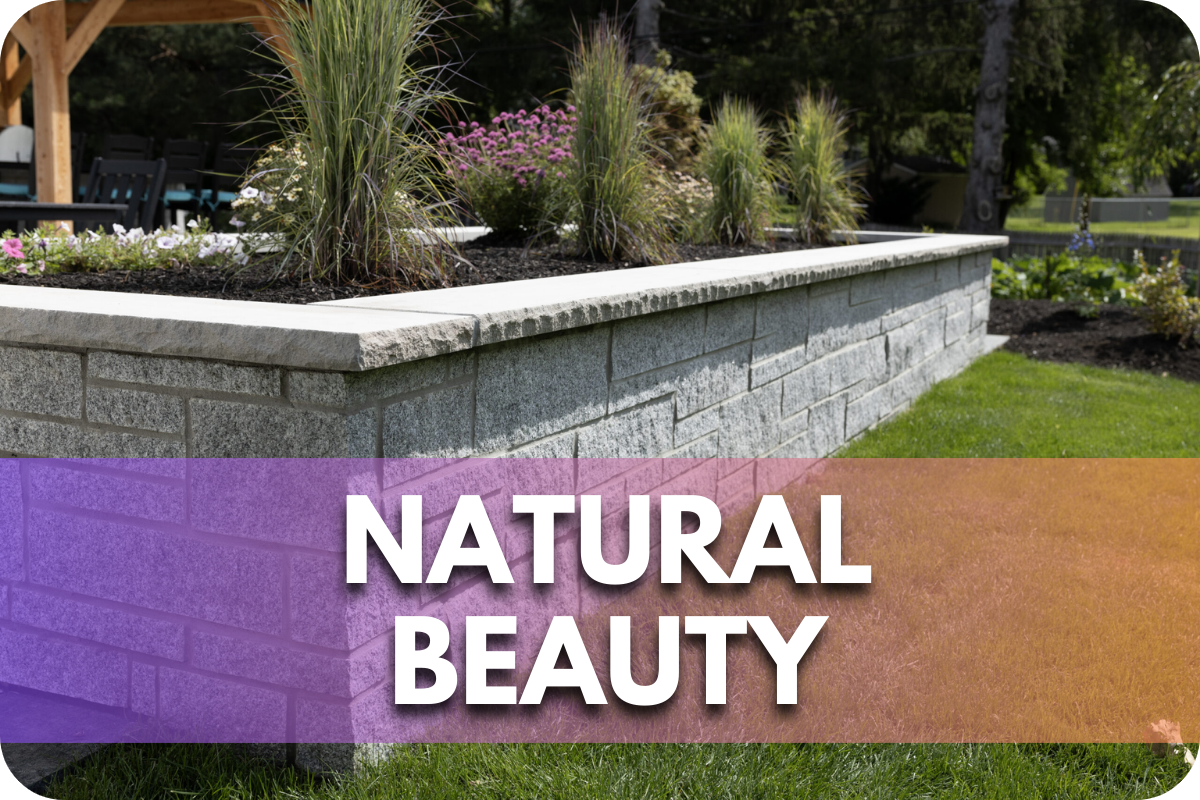
- Colour Variation: Bluestone’s most notable characteristic is its distinctive blue-grey shade, which can subtly include hints of brown and purple. These colour variations are due to the different minerals within the stone, ensuring that each piece is uniquely patterned. The colour of bluestone can also deepen with age and exposure to elements, adding to its aesthetic appeal.
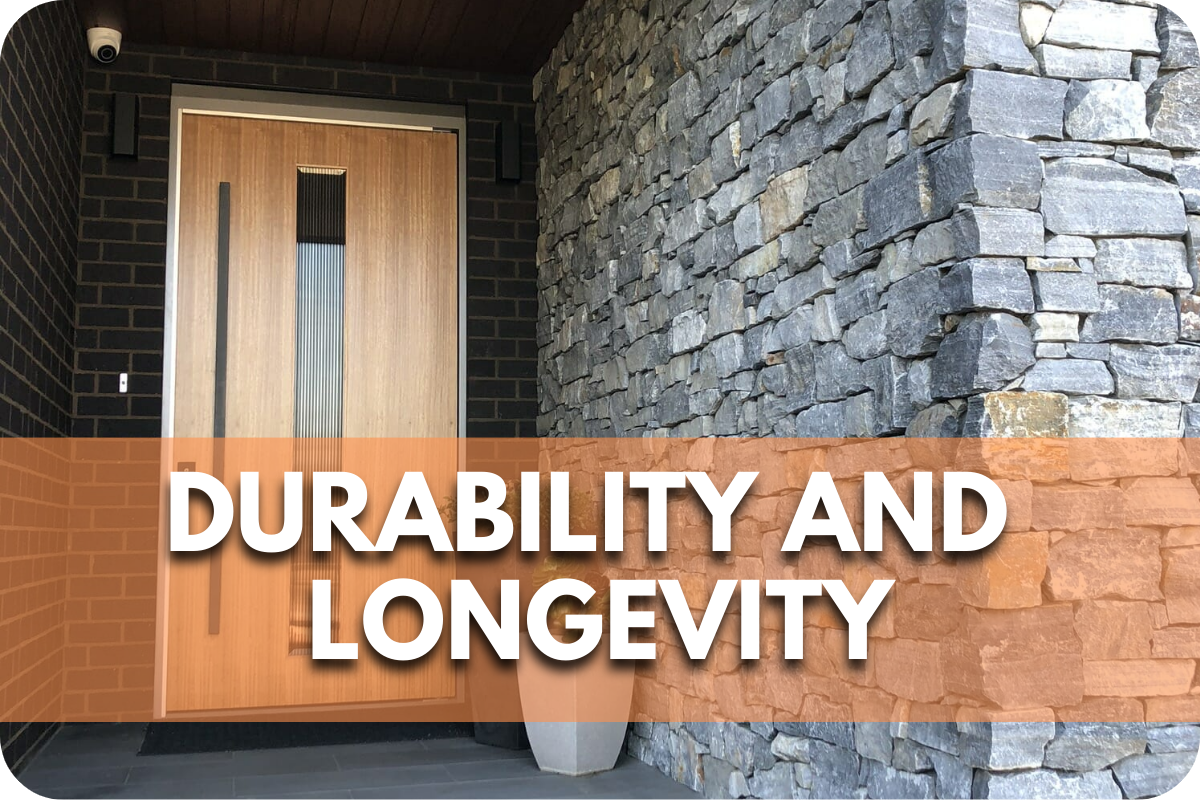
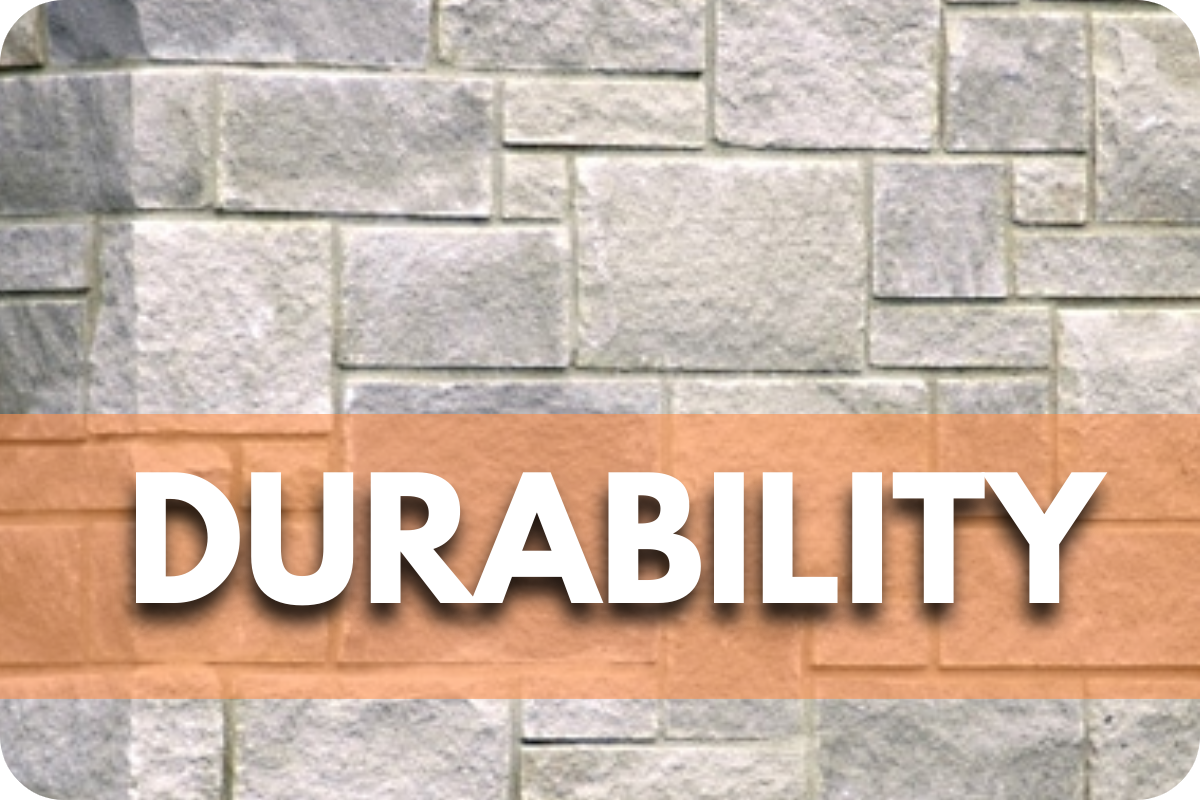
- Durability: Known for its robust nature, bluestone can withstand extreme weather conditions—from freezing winters to hot summers—without suffering significant damage. This makes it an ideal material for outdoor use in various climates.
- Safety Features: Bluestone’s natural cleft texture provides it with excellent non-slip properties. This texture makes bluestone a safe choice for outdoor spaces, particularly around pools and wet climates where slip resistance is crucial.
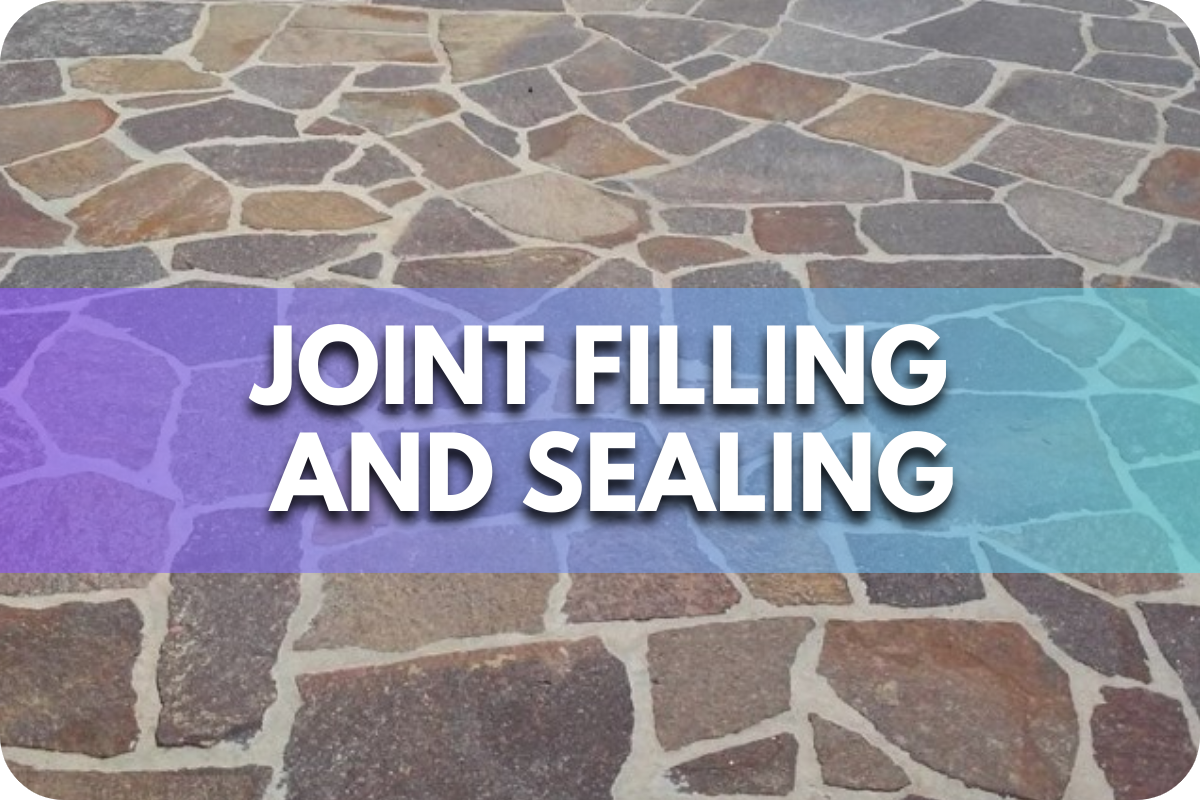
- Maintenance: Bluestone requires relatively low maintenance, requiring only periodic cleaning and occasional sealing to preserve its colour and protect against staining. This ease of care contributes to its popularity as a material for residential and commercial projects.
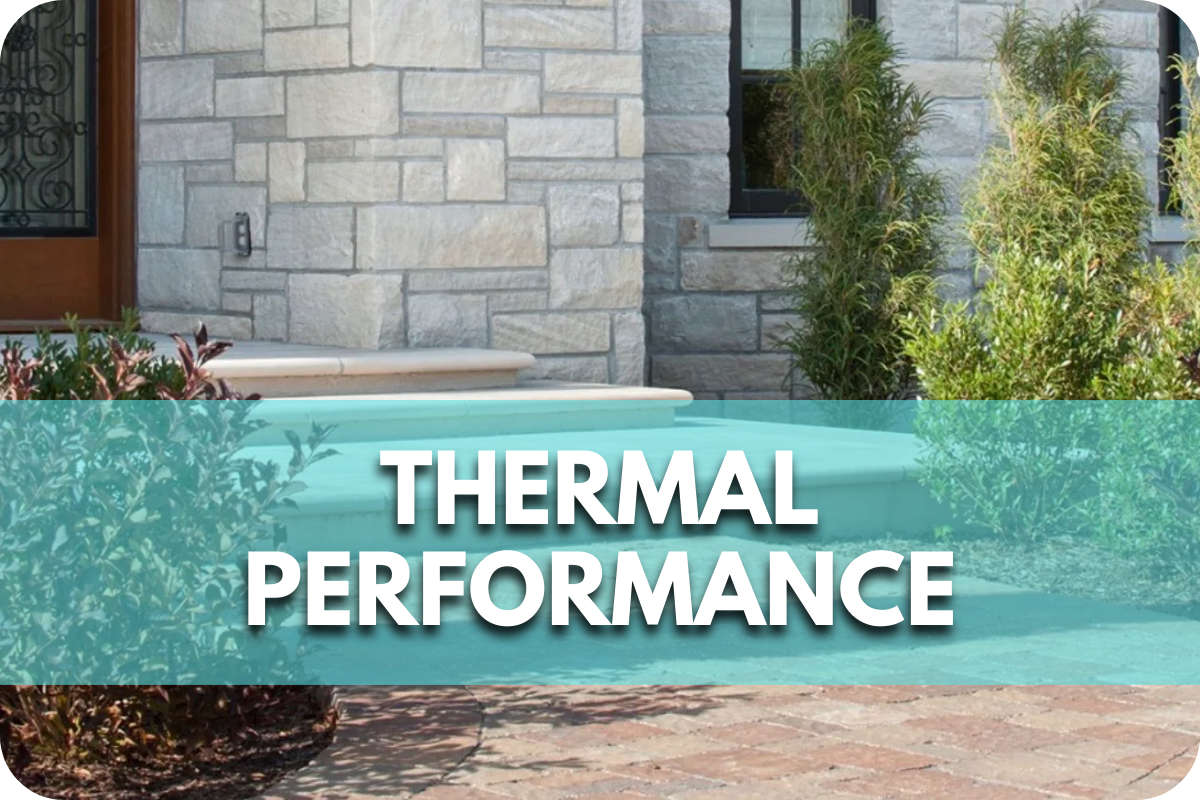
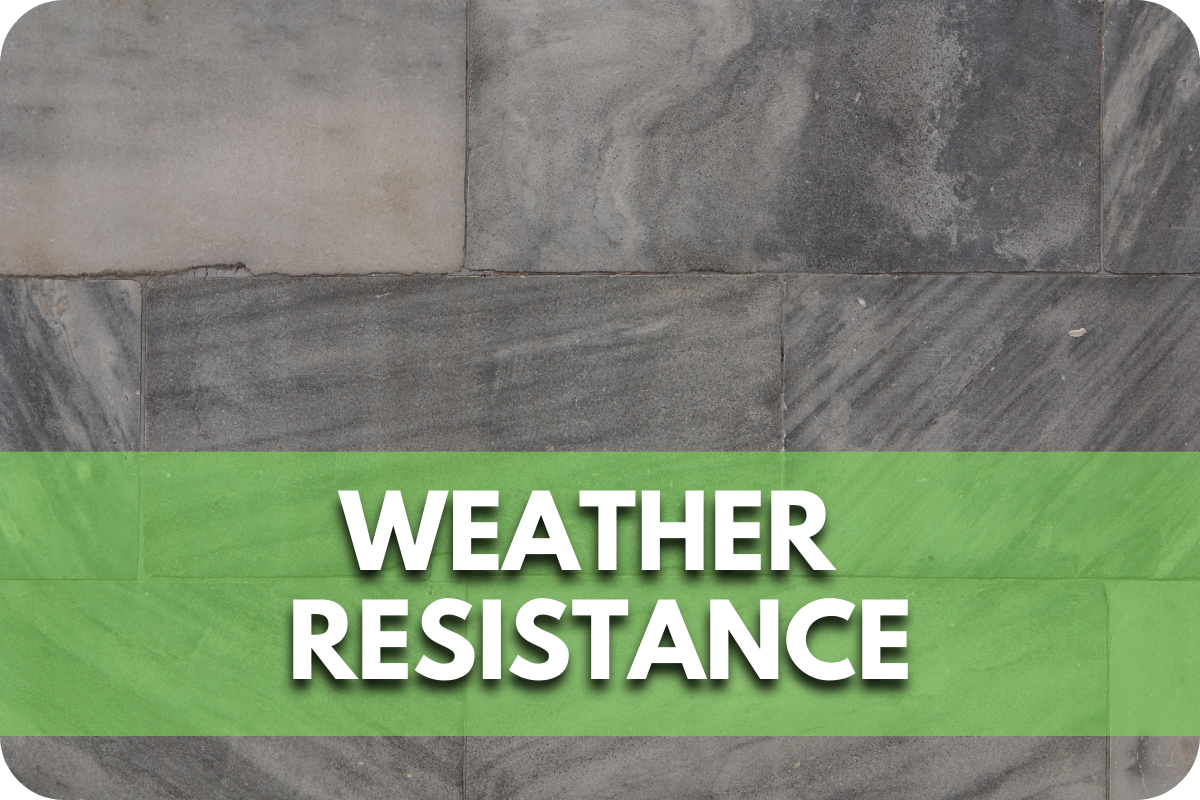
- Weather Resistance: Bluestone is highly resistant to weather fluctuations, including freeze-thaw cycles. It maintains its integrity and appearance through hot summers, rainy seasons, and cold winters.
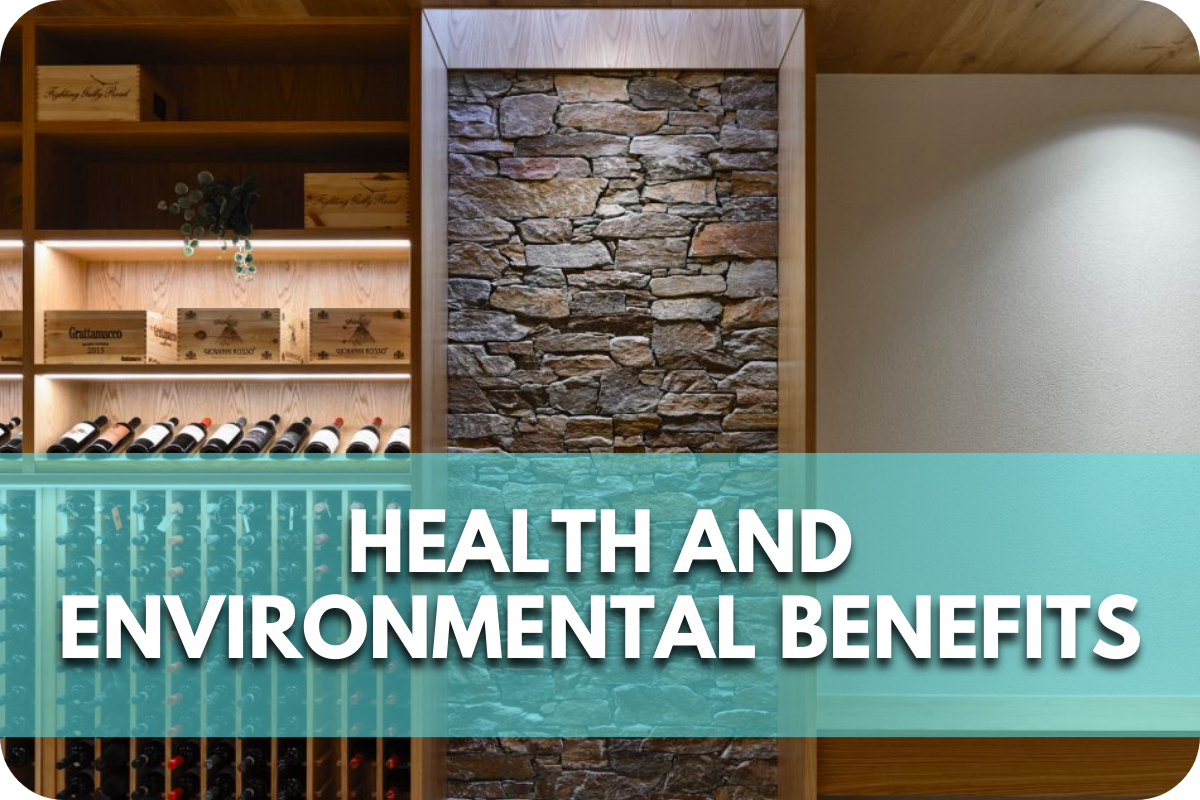
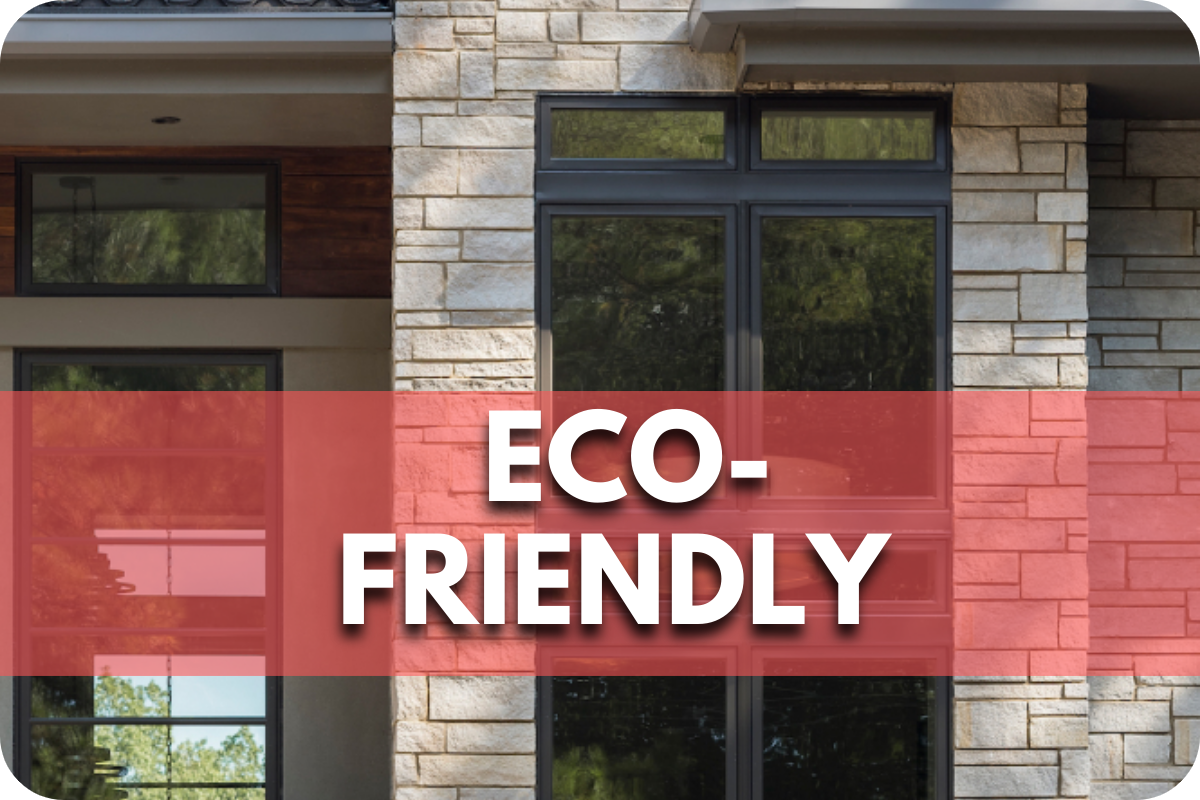
- Eco-Friendly: Bluestone is an environmentally responsible choice as a natural stone. It is fully recyclable and free from volatile organic compounds (VOCs), contributing to sustainable construction practices.
Types of Bluestone

Bluestone is a versatile and durable material ideal for various outdoor applications. Here are the types of Bluestone pavers offered by Splendour In Stone:
1. Honed Bluestone Pavers

Honed Bluestone Pavers feature a smooth, flat surface and a consistent blue-grey colouration, providing a sleek and modern look.
They are highly durable, weather-resistant, and perfect for areas with heavy foot traffic. These pavers enhance the aesthetics of driveways, patios, walkways, and pool surrounds.
Their smooth finish makes them comfortable underfoot and aesthetically pleasing.
2. Flamed Bluestone Pavers

Flamed Bluestone Pavers have a heat-treated surface that enhances their natural texture and colour, creating a non-slip finish ideal for wet and high-traffic areas.
These pavers are extremely durable and resistant to wear and tear, weathering, and thermal shock.
They are perfect for pool surrounds, patios, walkways, driveways, and commercial landscaping due to their rugged texture and rich blue-grey hue, adding elegance and safety.
3. Sawn Bluestone Pavers

Sawn Bluestone Pavers are precision cut with a rough, natural surface, offering a consistent and uniform appearance.
These pavers combine aesthetic elegance and exceptional durability, making them suitable for various outdoor applications.
Due to their natural colour, texture, and resistance to severe weather conditions and heavy traffic, they are perfect for residential landscaping, commercial exteriors, pool surrounds, and driveways.
4. Cobble Bluestone Pavers
Cobble Bluestone Pavers provide a unique blend of aesthetic appeal and practical benefits. Each cobblestone features rich blue-grey tones with subtle variations, ensuring a unique installation every time.
These exceptionally durable pavers offer natural slip resistance and the ability to withstand heavy traffic and harsh weather.
They are ideal for patios, walkways, driveways, pool surrounds, courtyards, and historic restorations. Their timeless elegance adds significant curb appeal and character to any property.
5. Prestige Bluestone Pavers
Prestige Bluestone Pavers are high-end, premium-quality pavers that offer superior finish and durability. They are often used in luxury projects where aesthetic appeal and quality are paramount.
They combine the natural beauty of bluestone with exceptional craftsmanship, making them suitable for upscale residential and commercial landscaping projects.
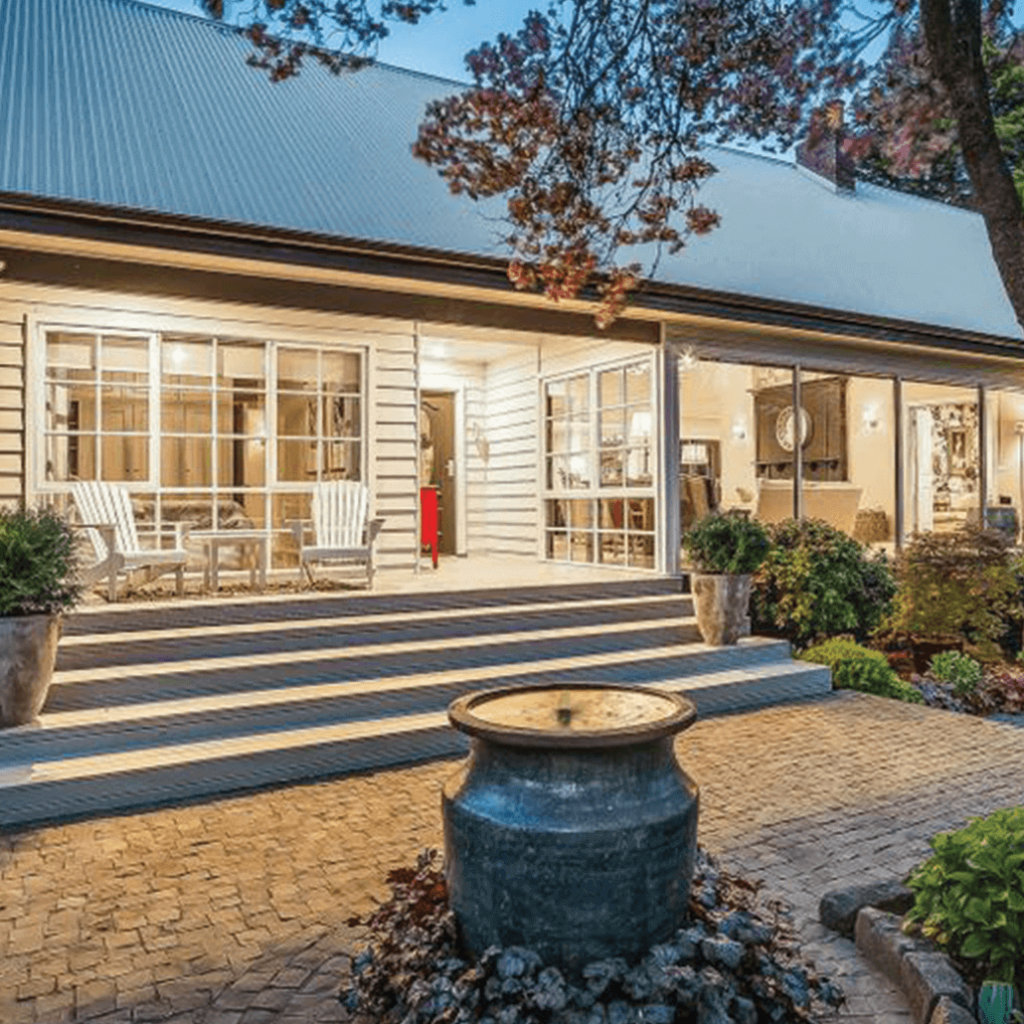
Common Uses of Bluestone

Bluestone’s durability and aesthetic appeal make it a popular choice for architectural and landscaping projects. Here are some of the common uses of bluestone:
- Paving and Flooring: Bluestone is extensively used for outdoor and indoor paving due to its robust nature and resistance to wear and tear. Its natural slip-resistant texture is ideal for wet areas like walkways, driveways, and interior floors in kitchens and bathrooms.
- Steps and Staircases: Bluestone’s durability and natural beauty make it a preferred material for constructing steps and staircases. Its resistance to slipping, even when wet, ensures safety in outdoor garden steps and more formal entryways.
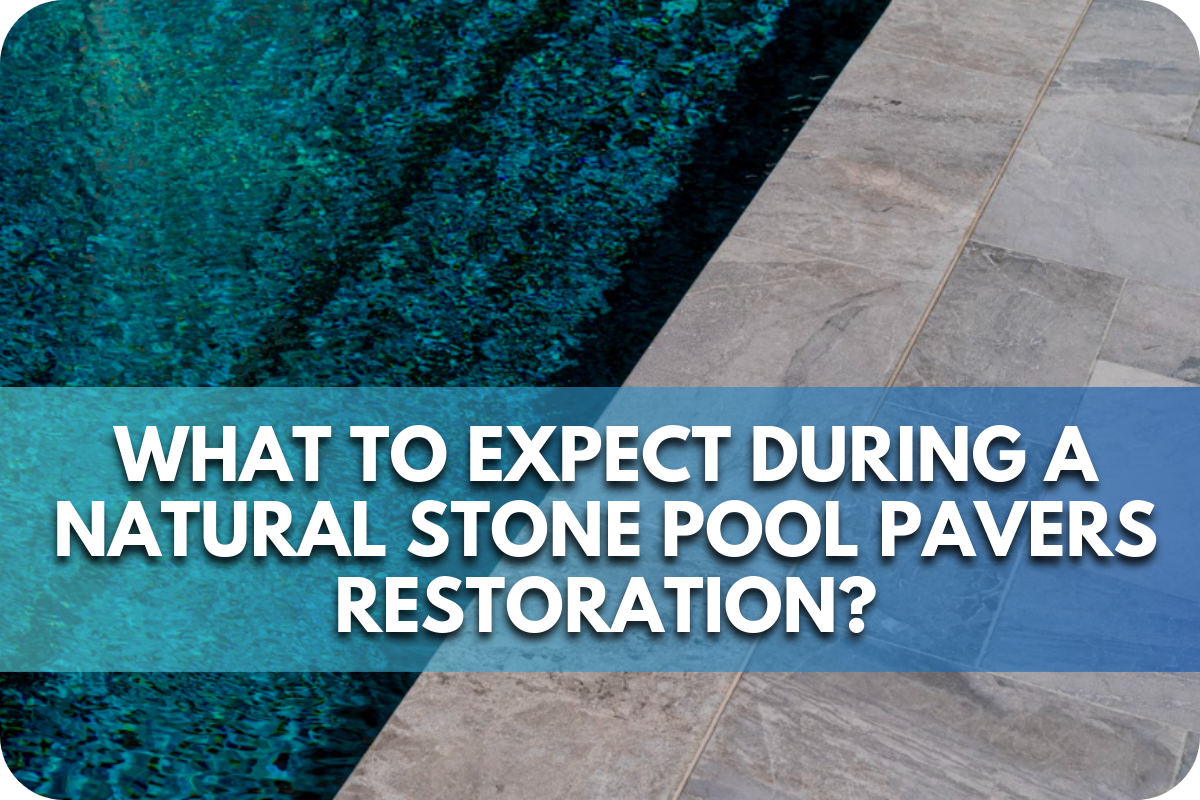
- Pool Coping and Surrounds: Bluestone is often used as a coping for swimming pools due to its non-slip surface and ability to withstand harsh pool chemicals and constant water exposure. It helps create a seamless and elegant transition from the water to the pool deck.
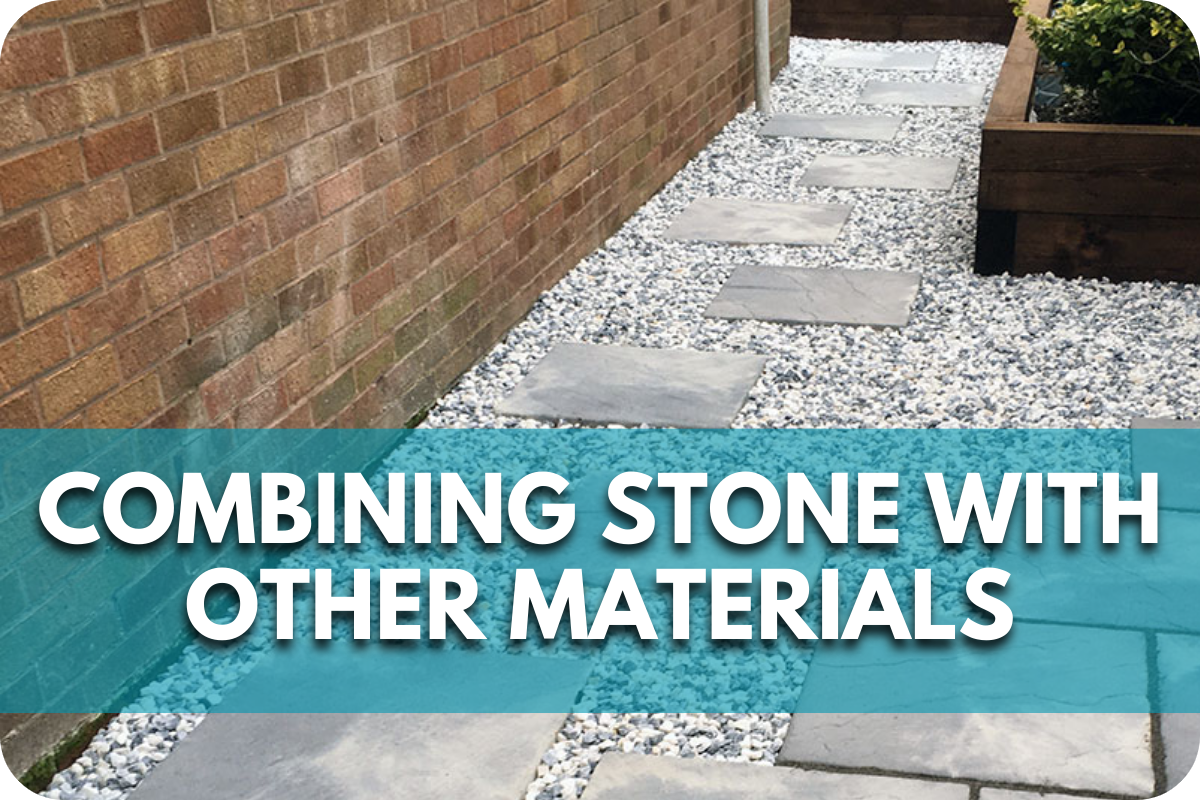
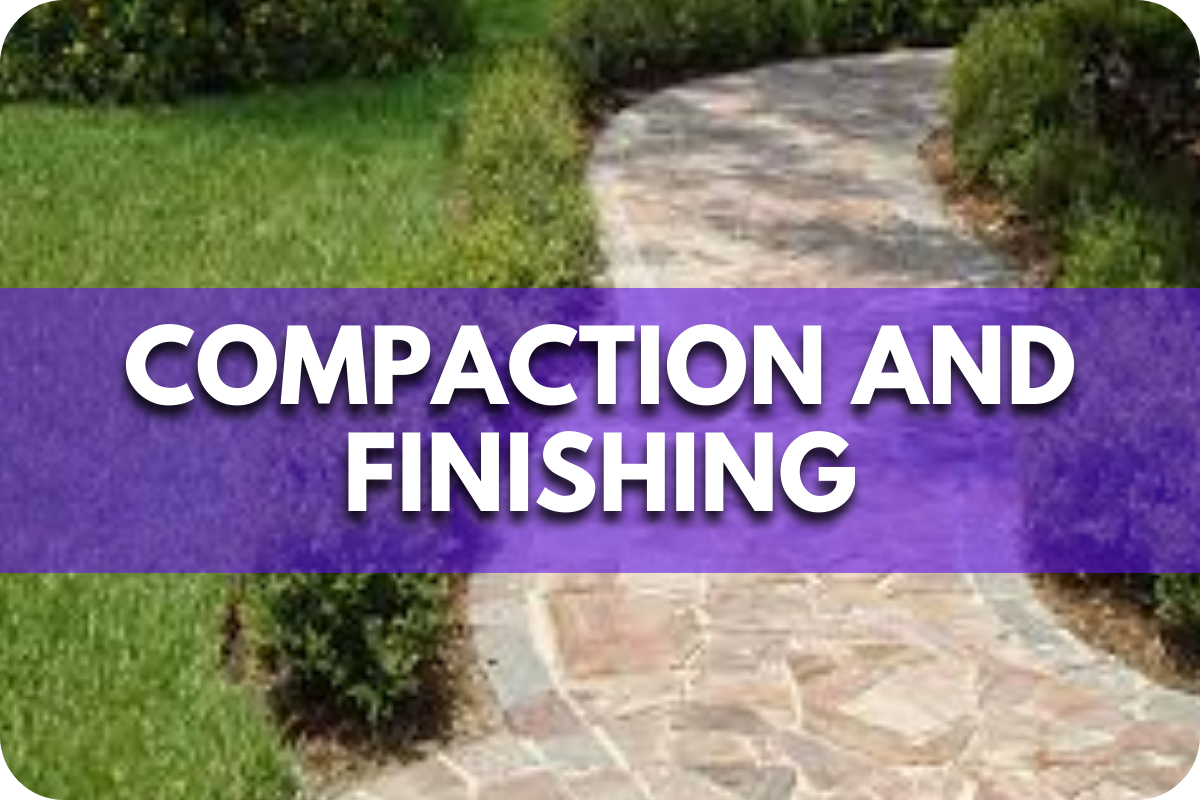
- Landscaping Features: Bluestone is used in landscaping for features like garden paths. Its natural colour and texture blend well with outdoor environments, enhancing the aesthetic of garden designs.
Why Choose Bluestone?

To understand this better, you can visit our article Why Bluestone Paving is Perfect for Your Outdoor Oasis: Benefits & Design Ideas.
Bluestone is a favoured choice in construction and design projects for several compelling reasons:
- Durability: Bluestone’s most significant advantage is its durability. This natural stone withstands harsh weather conditions, including freeze-thaw cycles, without cracking or exhibiting considerable wear. Its hardiness makes it ideal for high-traffic areas and locations exposed to severe weather.
- Aesthetic Appeal: Bluestone’s rich, deep blue-grey colour and natural texture add distinctive visual appeal to any project. The stone’s inherent colour variations and patterns ensure that each installation is unique, enhancing the beauty and character of buildings and landscapes.
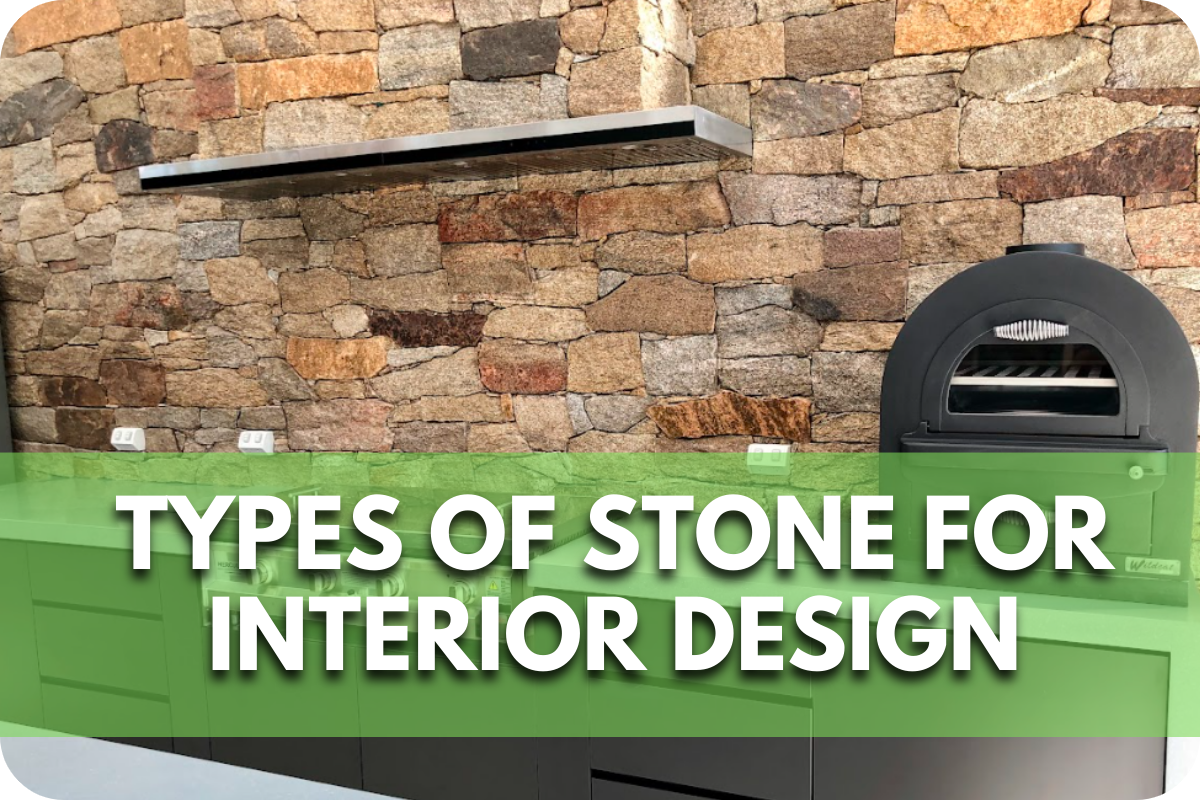
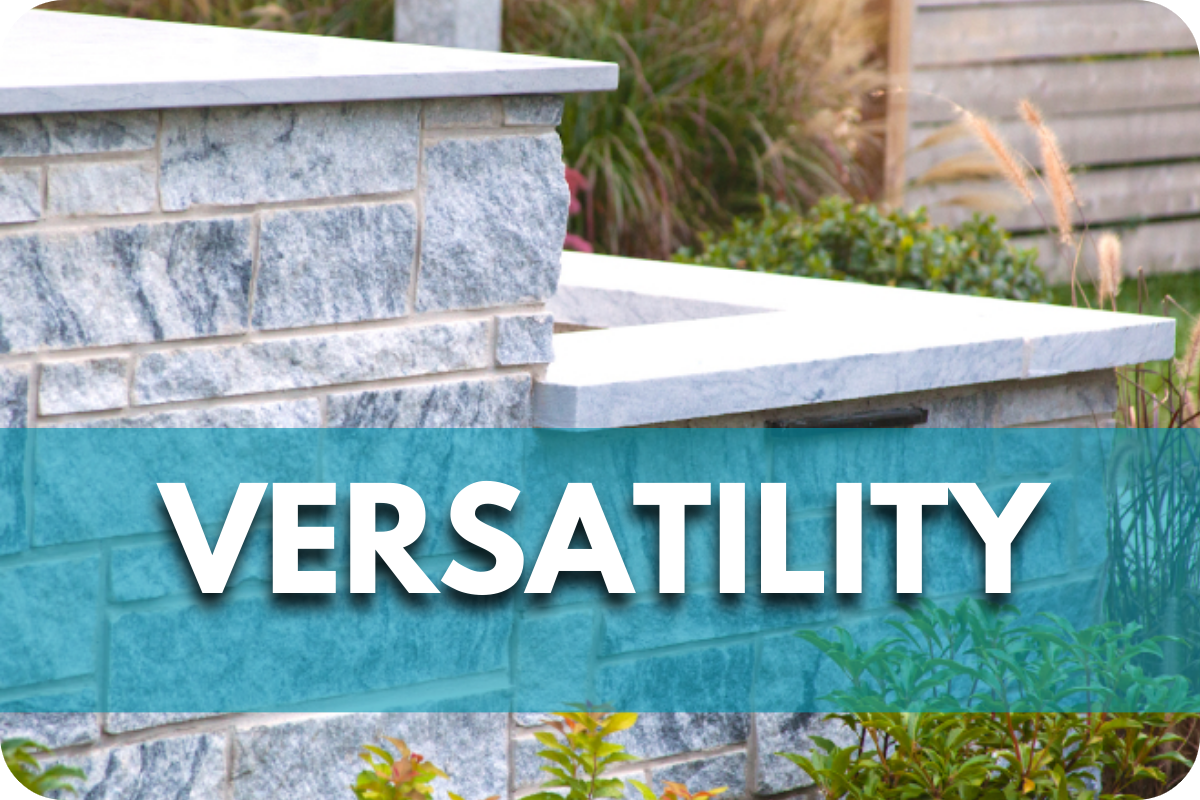
- Versatility: Bluestone is versatile and suitable for various applications, from outdoor paving and pool surrounds to interior flooring and wall cladding. This adaptability allows designers and homeowners to use bluestone across multiple aspects of a project, creating a cohesive aesthetic.
- Safety: The natural texture of bluestone provides excellent slide resistance, which is crucial for outdoor applications such as pool decks, walkways, and steps. This safety feature makes it a practical choice for residential and commercial settings.
- Low Maintenance: Bluestone requires minimal maintenance to keep its appearance and durability. Periodic sealing and regular cleaning are sufficient to maintain its condition over time.
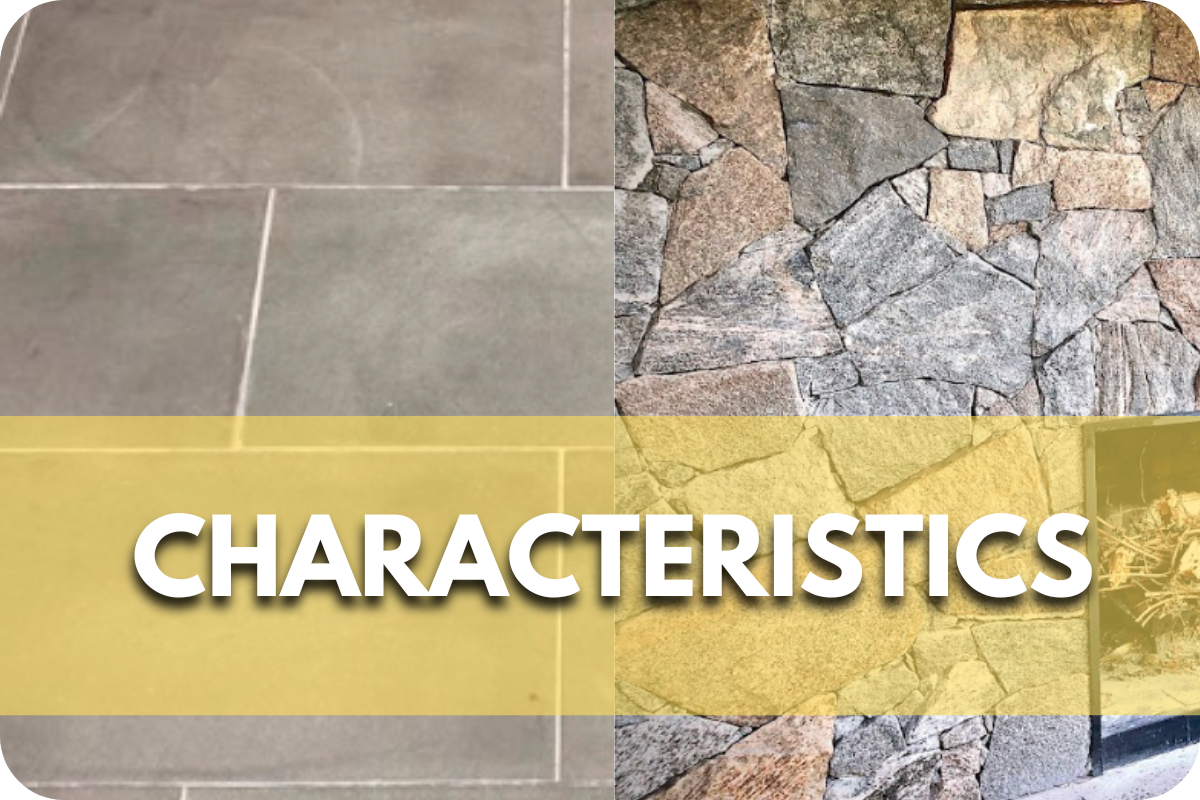
Differences Between Bluestone and Other Stones
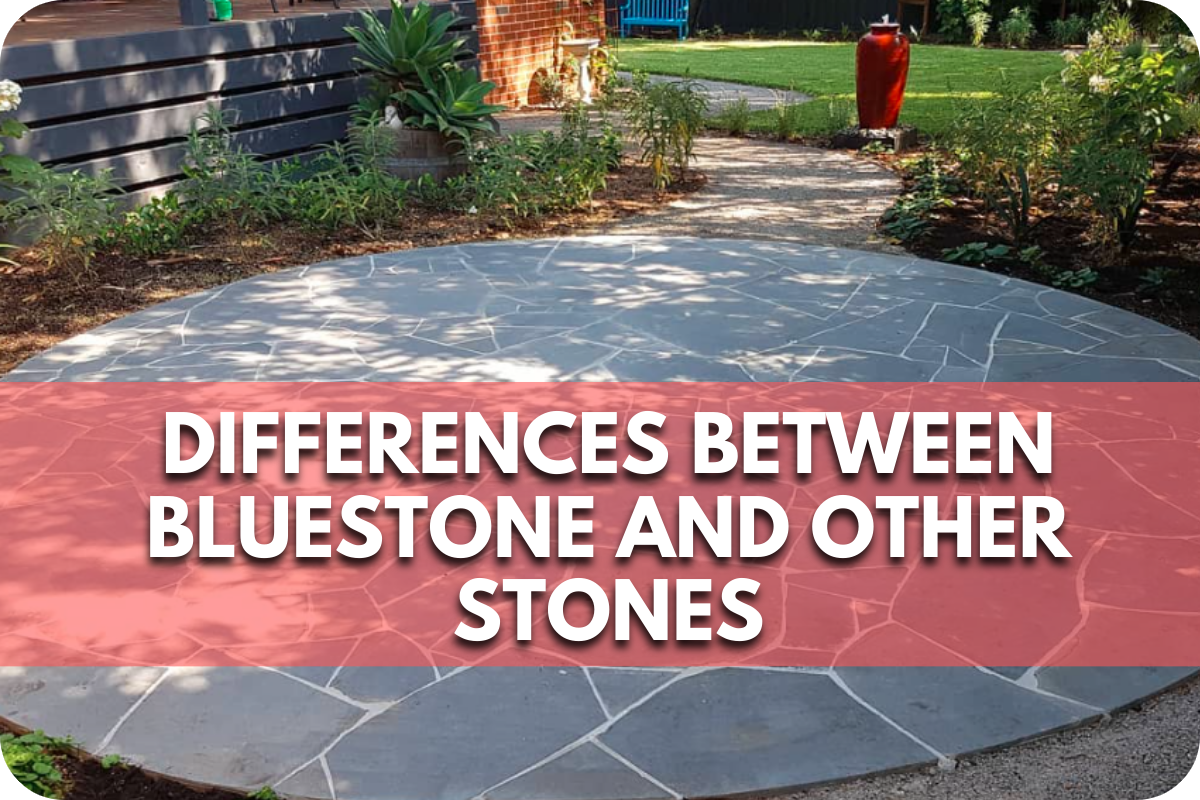
Bluestone stands out among natural stones due to its unique properties and aesthetics, distinguishing it from popular alternatives like granite, limestone, and sandstone:
- Compared to Granite: Granite is renowned for its extreme hardness and durability, making it a popular choice for high-traffic areas and kitchen countertops. While both stones are durable, bluestone offers a different aesthetic with its characteristic blue-grey hues and natural cleft surface. It provides a more rustic appearance than granite’s typically polished and uniformly textured surface.
- Compared to Limestone: Limestone is generally lighter in colour, ranging from white to light beiges, and has a softer appearance than bluestone’s bold, dark tones. Limestone is also more porous and less durable under freeze-thaw conditions, making bluestone a superior choice for outdoor applications in colder climates due to its density and resistance to weathering.
- Compared to Sandstone: Sandstone shares some visual similarities with bluestone, particularly in texture and natural veining. However, sandstone is typically softer and more susceptible to wear and weathering than bluestone. Bluestone’s unique composition gives it greater strength and durability, making it better suited for areas subject to heavy use.
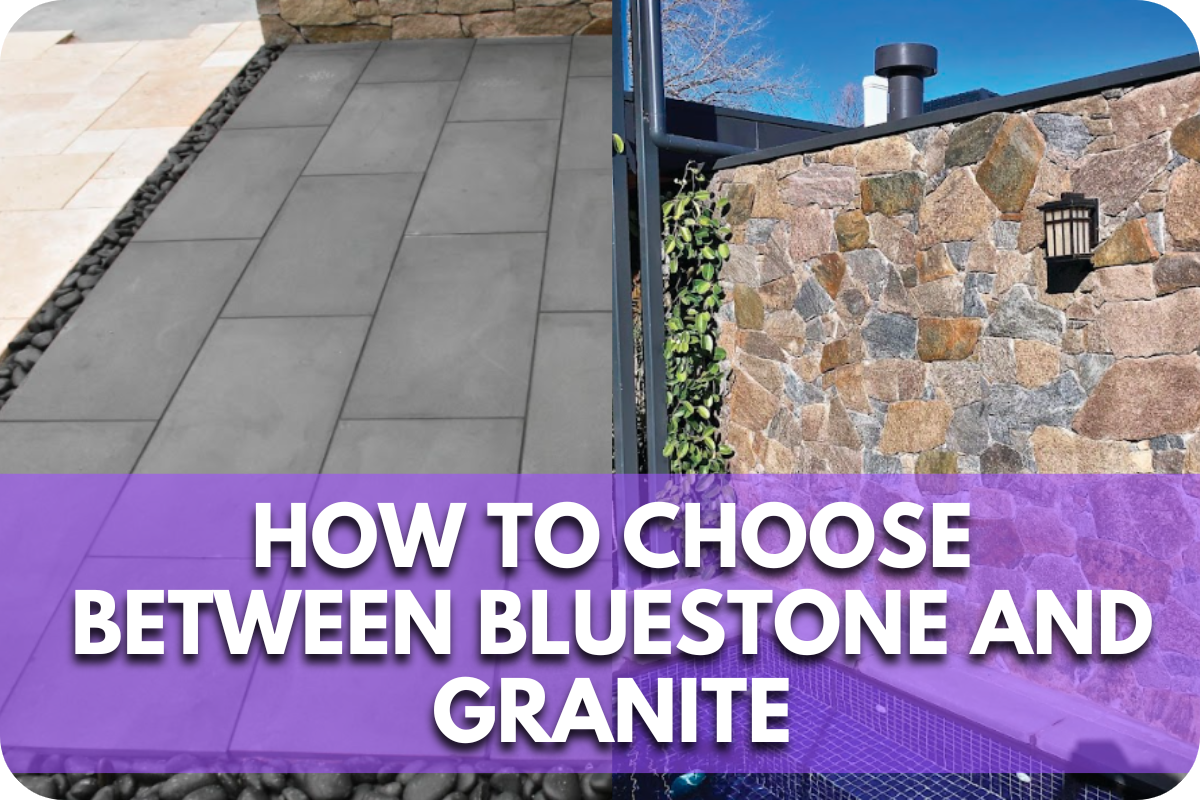
Read here to learn more on How to Choose Between Bluestone and Granite
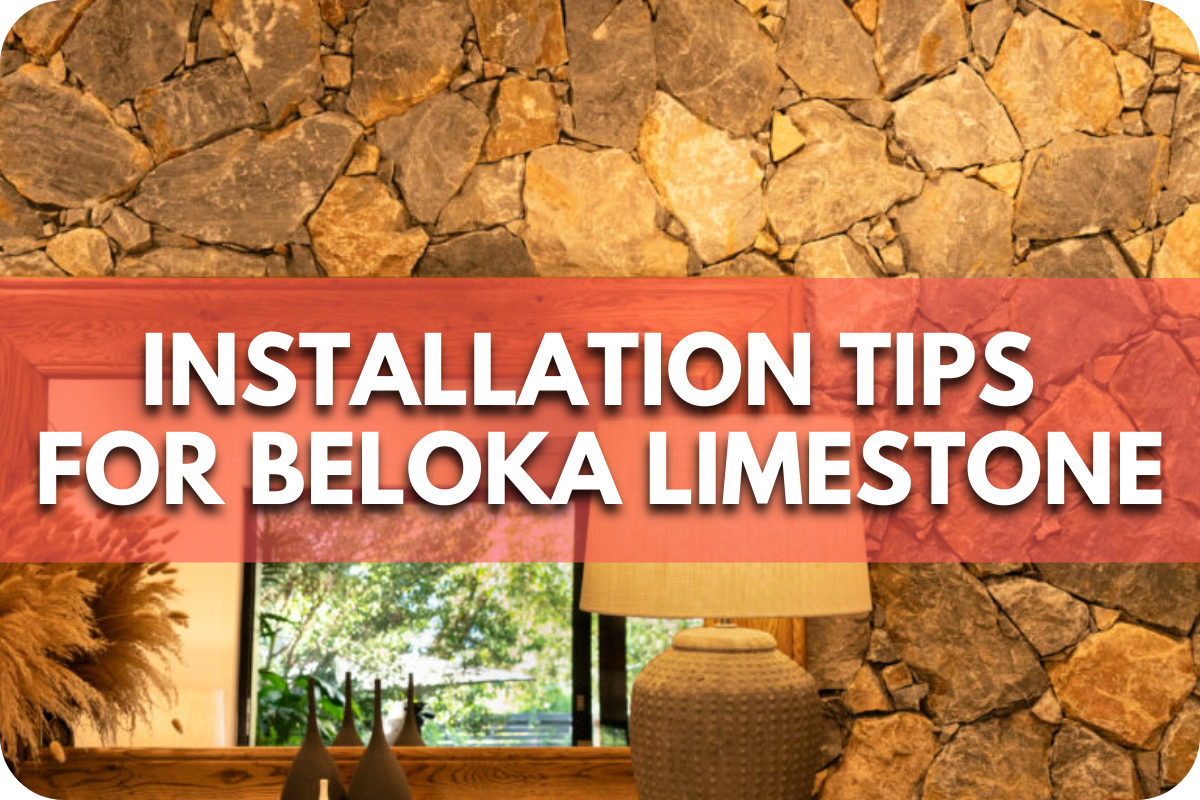
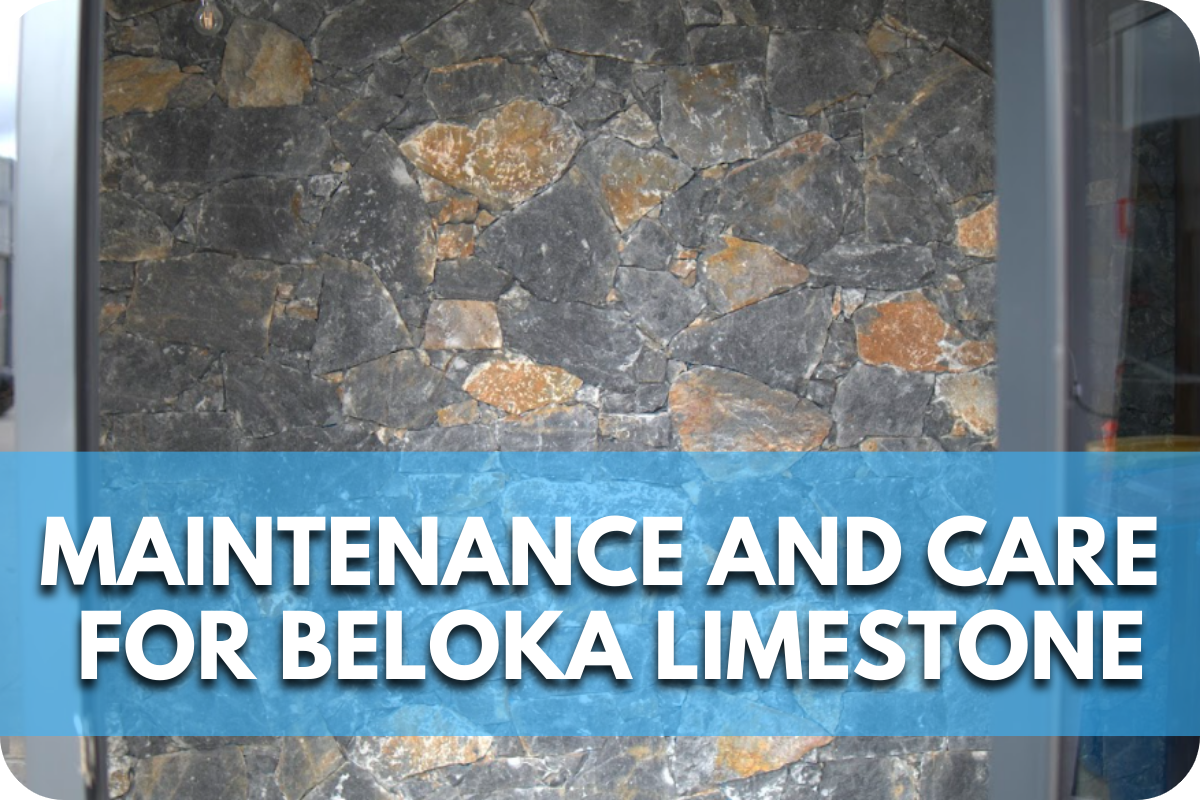
Bluestone Care and Maintenance
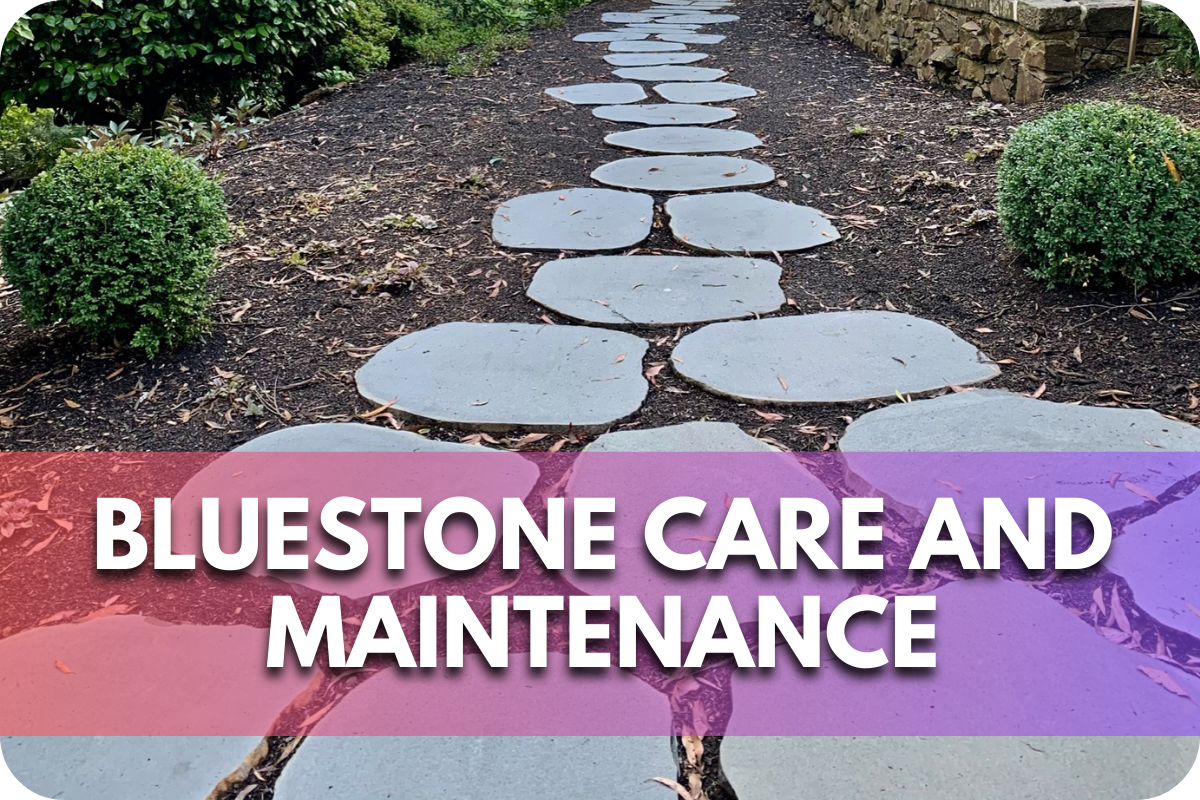
Bluestone is a durable natural stone, but proper care and maintenance can ensure its longevity and beauty. Here are essential tips:
Cleaning:
- Regular Sweeping/Blowing: Remove debris like leaves and dirt to prevent staining and buildup.
- Washing: Use mild soap, warm water, and a soft brush or sponge. Rinse thoroughly. Avoid harsh chemicals or abrasive cleaners.
- Stain Removal: Address spills immediately. Use a poultice for oil-based stains or a specialised cleaner for tougher stains.
Maintenance:
- Sealing: While not always necessary, sealing can protect against stains and moisture penetration. Use a penetrating sealer specifically designed for natural stone.
- Seasonal Care: In colder climates, apply a deicing compound safe for natural stones. Avoid salt, which can damage bluestones.
- Periodic Inspection: Check for cracks or chips. Repair them promptly to prevent further damage.
- Professional Cleaning: Consider a professional deep cleaning every few years to remove embedded dirt and restore the stone’s appearance.
Frequently Asked Questions
Is bluestone slippery when wet?
Natural cleft bluestone can be slippery when wet, posing a safety concern. However, you can opt for flamed, honed, or brushed finishes to create a textured surface that increases traction. Prioritising safety with a textured finish is highly recommended for moisture-prone areas.
Which type of bluestone is best for my project?
The best bluestone depends on your specific project. Thermal finishes like flamed and honed bluestone are popular for patios, walkways, and pool decks due to their non-slip texture and scratching resistance. Natural cleft bluestone offers a more rustic aesthetic and is often used for wall cladding and stepping stones. Your choice ultimately depends on the desired look, application, and budget.
How much does bluestone cost?
Bluestone costs vary depending on the type of finish, size, thickness, and quality. Generally, prices range from $5 to $15 per square foot. At Splendour in Stone, we offer a curated selection of high-quality bluestone options to suit different budgets and project needs.
Where can I buy high-quality bluestone?
Splendour in Stone offers a diverse selection of premium bluestone products from reputable quarries. Our experts are dedicated to assisting you in finding the perfect bluestone for your project, ensuring exceptional quality and customer satisfaction.
Conclusion
Bluestone’s enduring beauty, versatility, and practical benefits make it a captivating choice for various projects. Whether seeking timeless elegance or modern sophistication, bluestone offers a unique blend of durability and aesthetic appeal.
Elevate your next project with the enduring charm of bluestone – explore the possibilities today at Splendour in Stone.