The Ultimate Guide to Choosing Outdoor Stone Tiles in Victoria
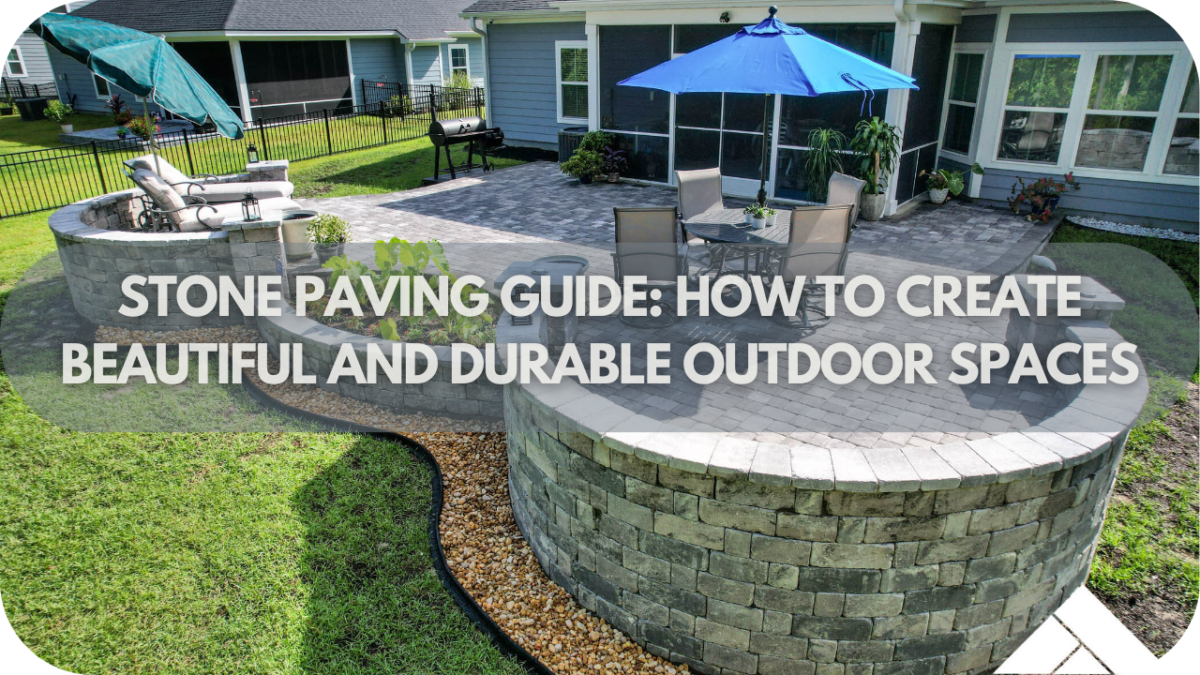
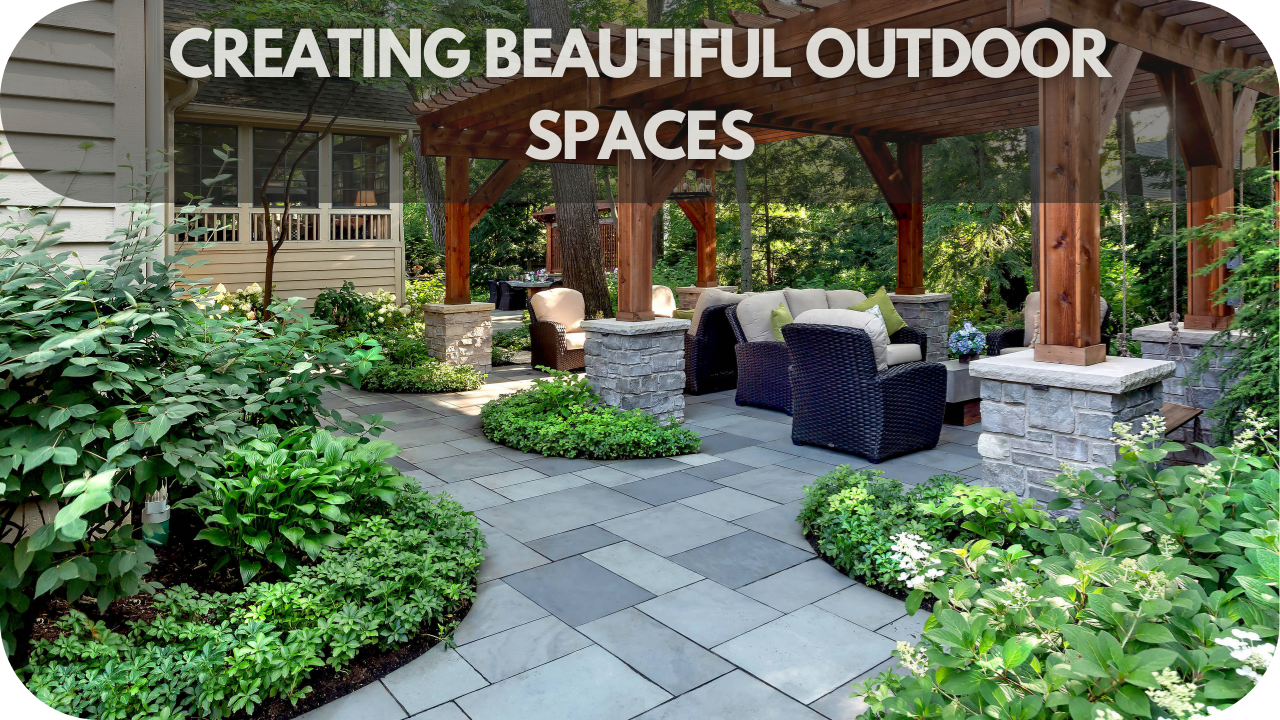
Choosing the right outdoor stone tiles can elevate your outdoor spaces’ beauty, functionality, and longevity. Whether you’re designing a sleek modern patio, a rustic garden path, or a durable pool surround, the right stone makes all the difference.
With Victoria’s varying climate, it’s essential to consider factors like durability and aesthetic appeal. From bluestone and sandstone to granite and limestone, each stone offers unique benefits.
Understanding key factors before choosing ensures a stunning and long-lasting outdoor space tailored to your needs.
Key Factors to Consider When Making Your Choice
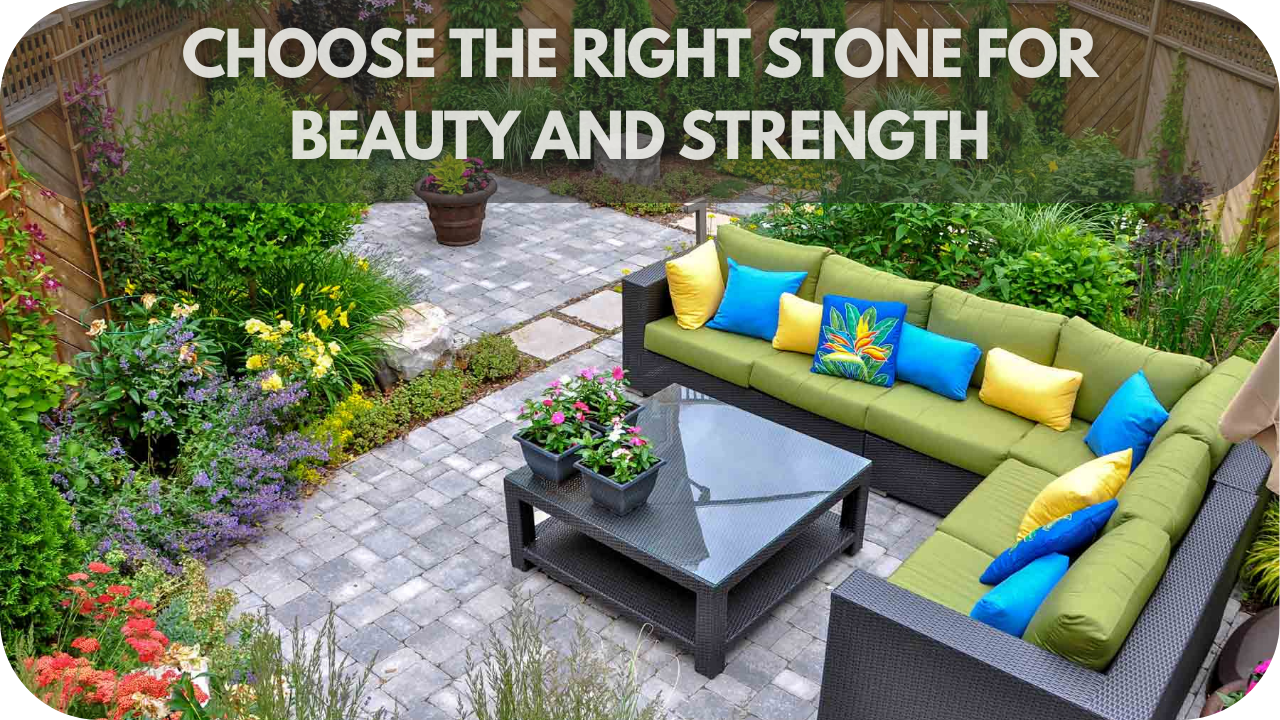
Choosing the right outdoor stone tiles is about more than aesthetics— durability, functionality, and long-term value. To ensure you make the best decision for your space, consider the following key factors:
Intended Use and Traffic Levels
When selecting outdoor stone tiles, consider the intended use and traffic levels of the area. Opt for durable stones like granite or porcelain that can withstand heavy wear for high-traffic spaces like driveways or pathways. For decorative areas like garden borders, softer stones like limestone may suffice. Matching the tile’s durability to its purpose ensures longevity and functionality.
Aesthetics and Style
Outdoor stone tiles should complement your home’s design aesthetic. Natural stones like slate or travertine offer rustic charm, while engineered options like porcelain provide sleek, modern finishes. Consider colour, texture, and finish to create a cohesive look that enhances your outdoor space.
Budget
Your budget plays a significant role in stone selection. While natural stones like marble may be costly, alternatives like sandstone or porcelain offer similar aesthetics at a lower price. Factor in long-term maintenance costs to ensure your choice remains cost-effective over time.
Porosity
Porosity affects a stone’s resistance to water and stains. Low-porosity stones like granite or porcelain are ideal for outdoor use, as they resist moisture absorption and are less prone to cracking in Victoria’s damp climate. High-porosity stones may require regular sealing.
Size, Shape, and Thickness
Larger tiles create a seamless look, while smaller tiles work well for intricate designs. Thicker tiles (20mm+) are more durable and better suited for outdoor use. Consider the scale of your space and the desired aesthetic when choosing tile dimensions.
Sustainability and Ethical Sourcing (Optional)
For eco-conscious homeowners, prioritise sustainably sourced or recycled stone tiles. Locally quarried materials reduce transportation emissions, while reclaimed stones offer a unique, environmentally friendly option.
Explore eco-friendly stone tiles made from recycled materials or sourced through low-impact processes. These options reduce environmental impact while providing durable, stylish solutions for outdoor spaces.
Climate and Weather Conditions in Victoria
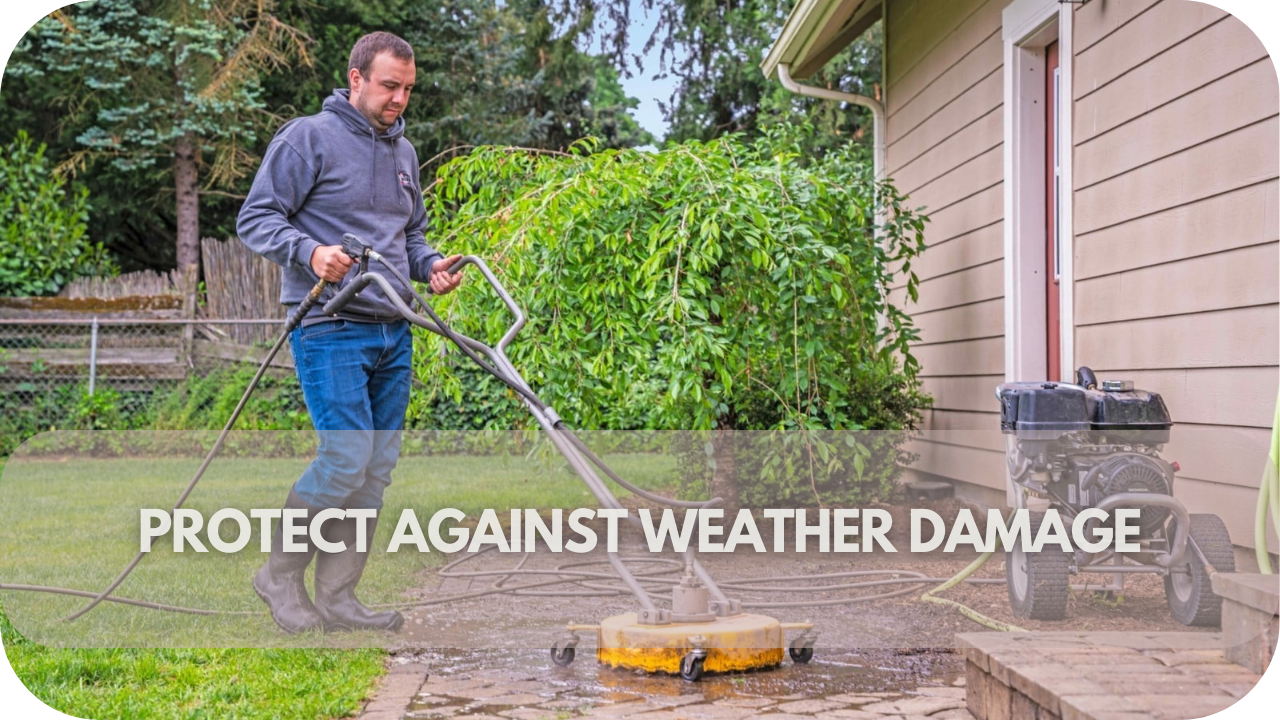
Victoria’s cool winters, frequent rainfall, and UV exposure demand weather-resistant stones. Choose frost-resistant, UV-stable options like travertine or engineered stone to ensure durability and longevity in outdoor settings.
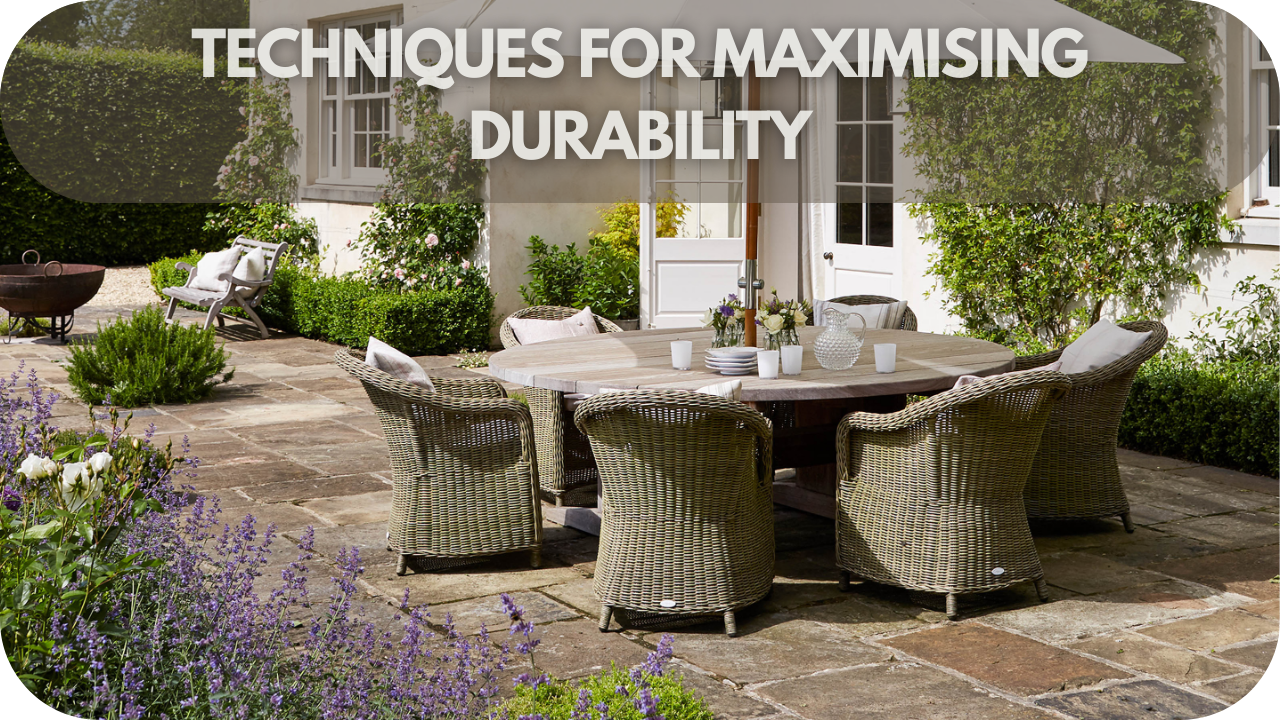
Durability and Maintenance
Select stones that balance durability with low maintenance. Dense, hard-wearing materials like granite require minimal upkeep, while softer stones may need regular sealing and cleaning to maintain their appearance.
Installation Requirements
Consider the complexity of installation. Professional installation ensures proper substrate preparation and drainage, especially for uneven surfaces. DIY-friendly options are available for simpler projects, but professional help is recommended for intricate designs.
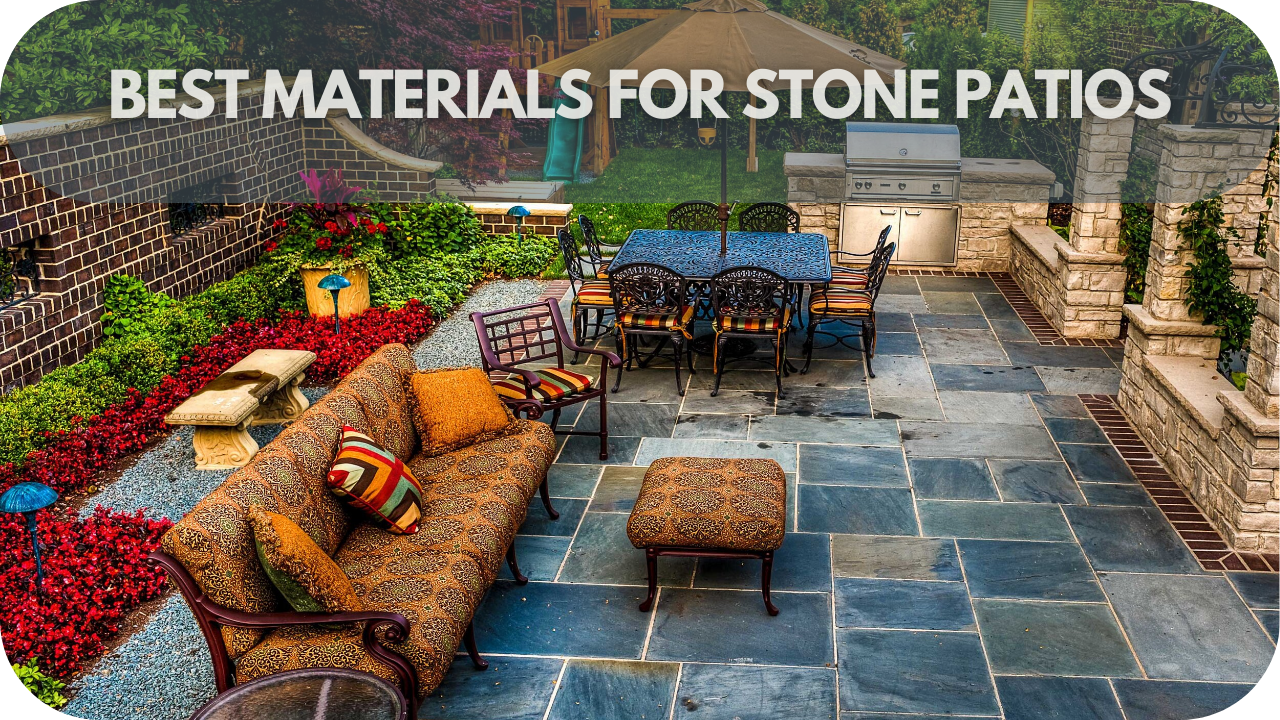
Types of Outdoor Stone Tiles Best Suited for Victoria
Find the perfect outdoor stone tiles for Victoria’s climate, from timeless limestone to durable bluestone, for stunning patios and walkways:
Natural Stone Tiles
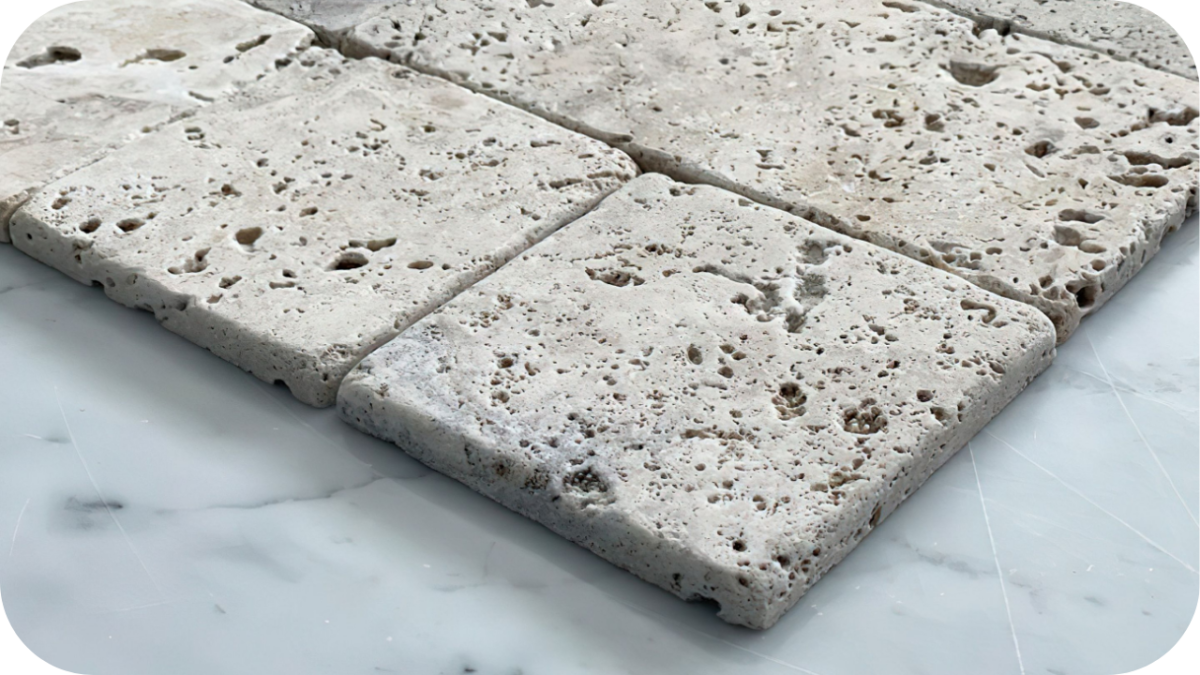
Natural stone tiles, such as granite, limestone, sandstone, slate, and travertine, are popular for their unique beauty and durability. Granite is highly durable and weather-resistant, making it ideal for Victoria’s climate.
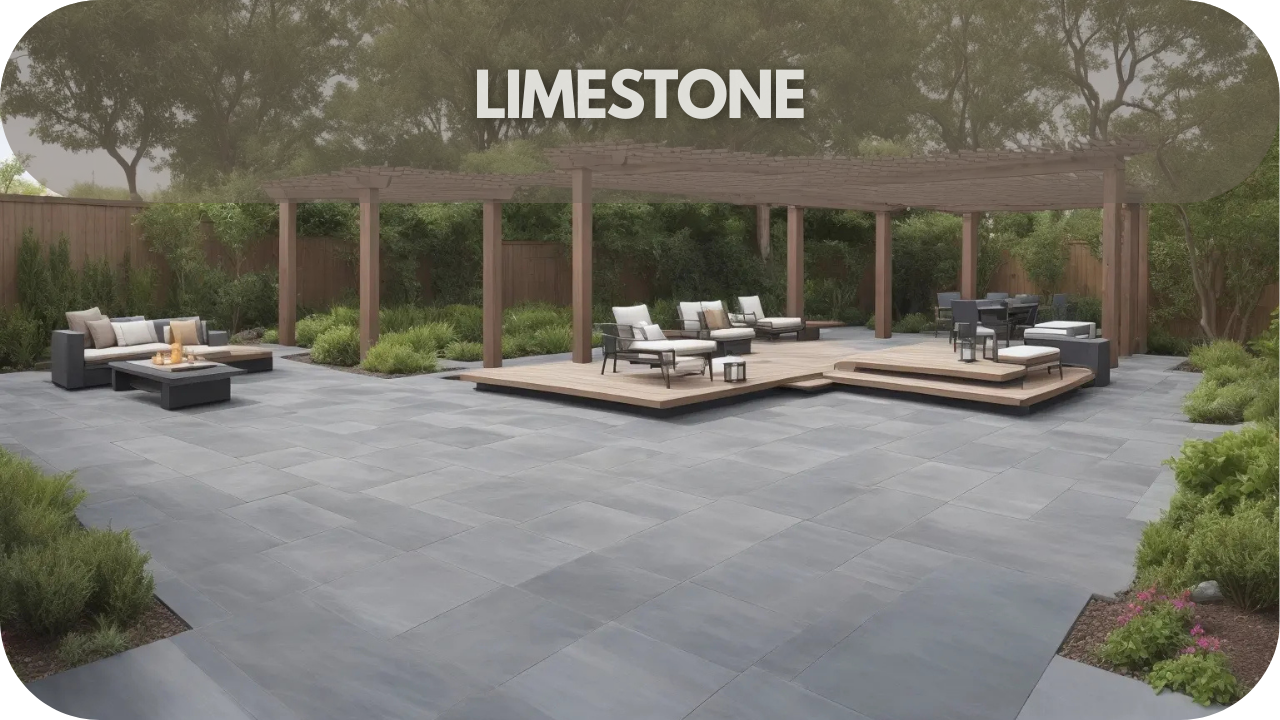
Limestone offers a soft, elegant look but requires sealing to prevent staining. Sandstone provides a textured surface that is perfect for pool surrounds. Slate is known for its layered appearance and frost resistance, while travertine adds warmth and versatility to outdoor spaces.
Each type brings a distinct aesthetic, but proper sealing and maintenance are essential to preserve their natural appeal.
Engineered Stone Tiles
Engineered stone tiles, like porcelain and concrete, are designed to mimic natural stone while offering enhanced durability and low maintenance. Porcelain tiles are highly resistant to moisture, frost, and UV exposure, making them a practical choice for Victoria’s weather.
They come in a wide range of colours and finishes, including options that replicate natural stone. Concrete tiles provide a modern, customisable look and are incredibly robust, though they may require sealing to prevent staining.
Engineered options are often more cost-effective and easier to maintain than natural stone, making them a popular choice for outdoor applications.
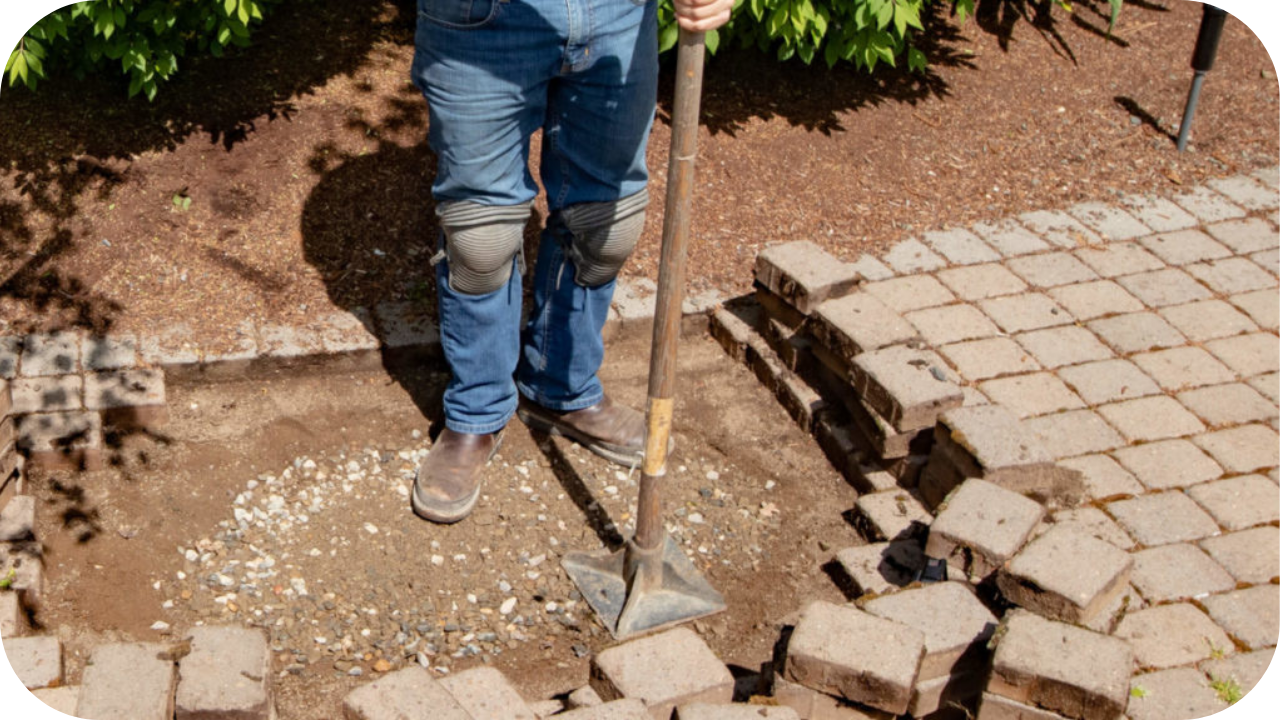
Installation Considerations for Outdoor Stone Tiles in Victoria

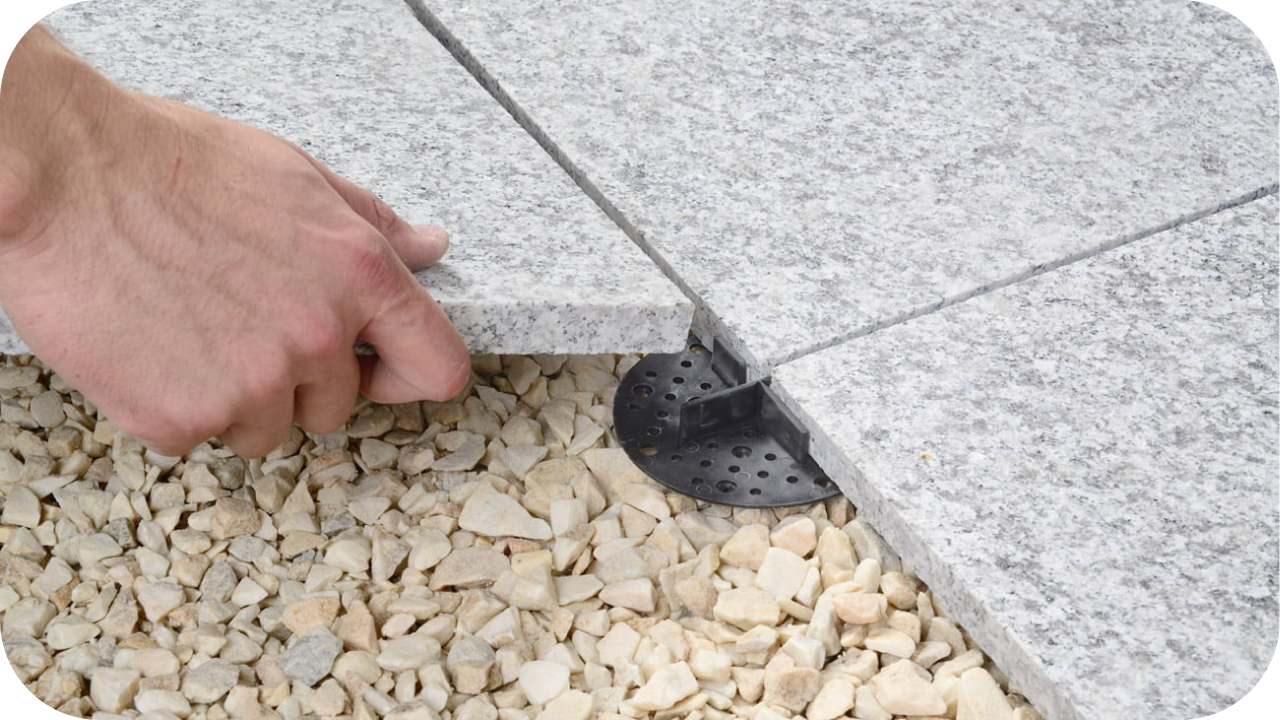
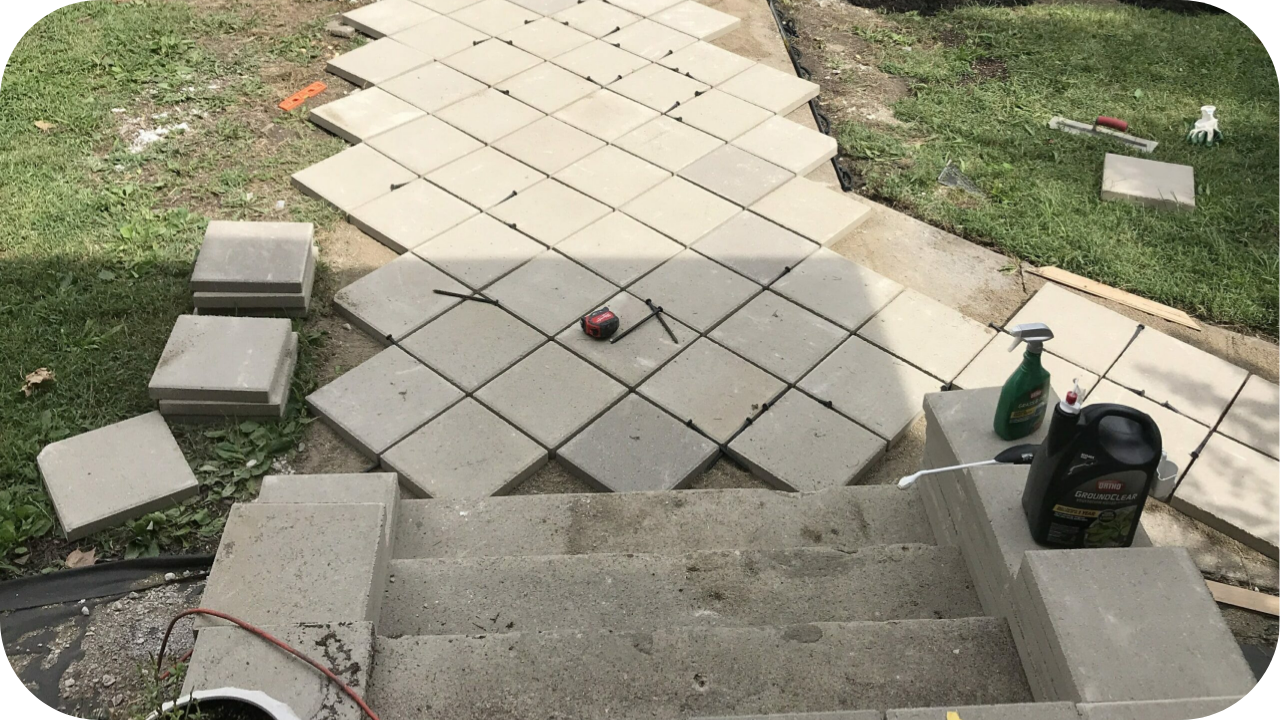
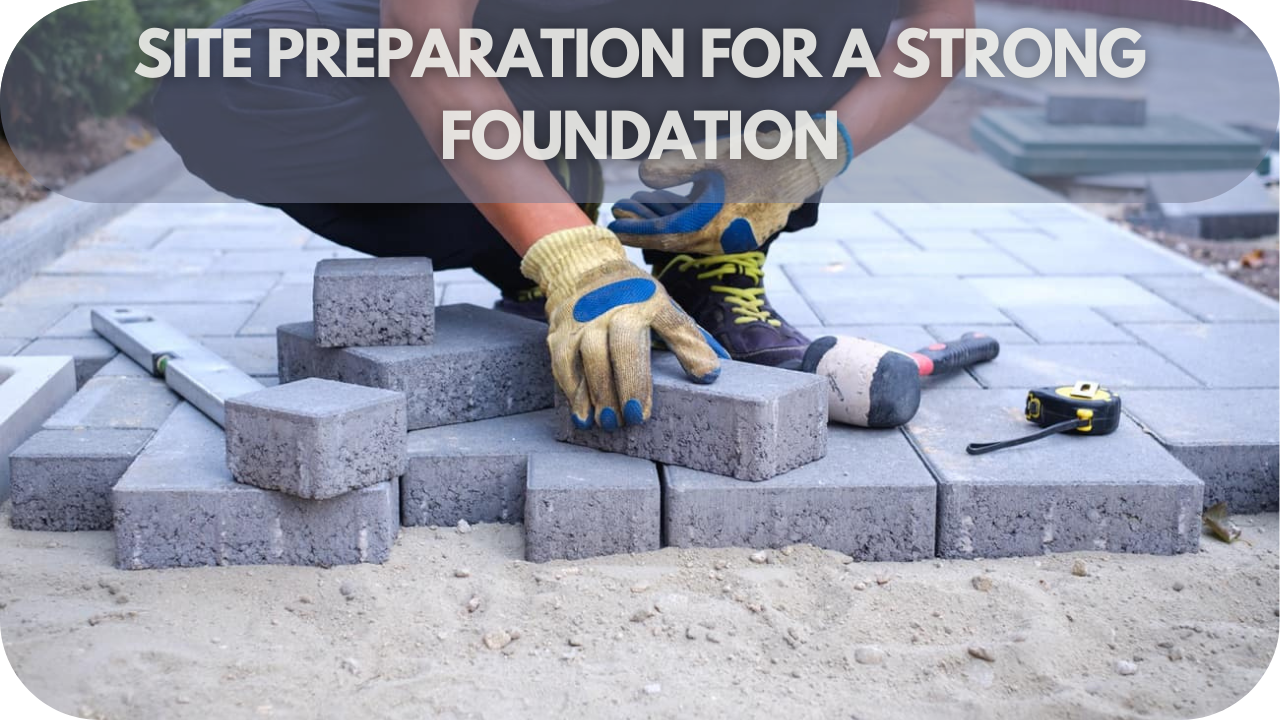
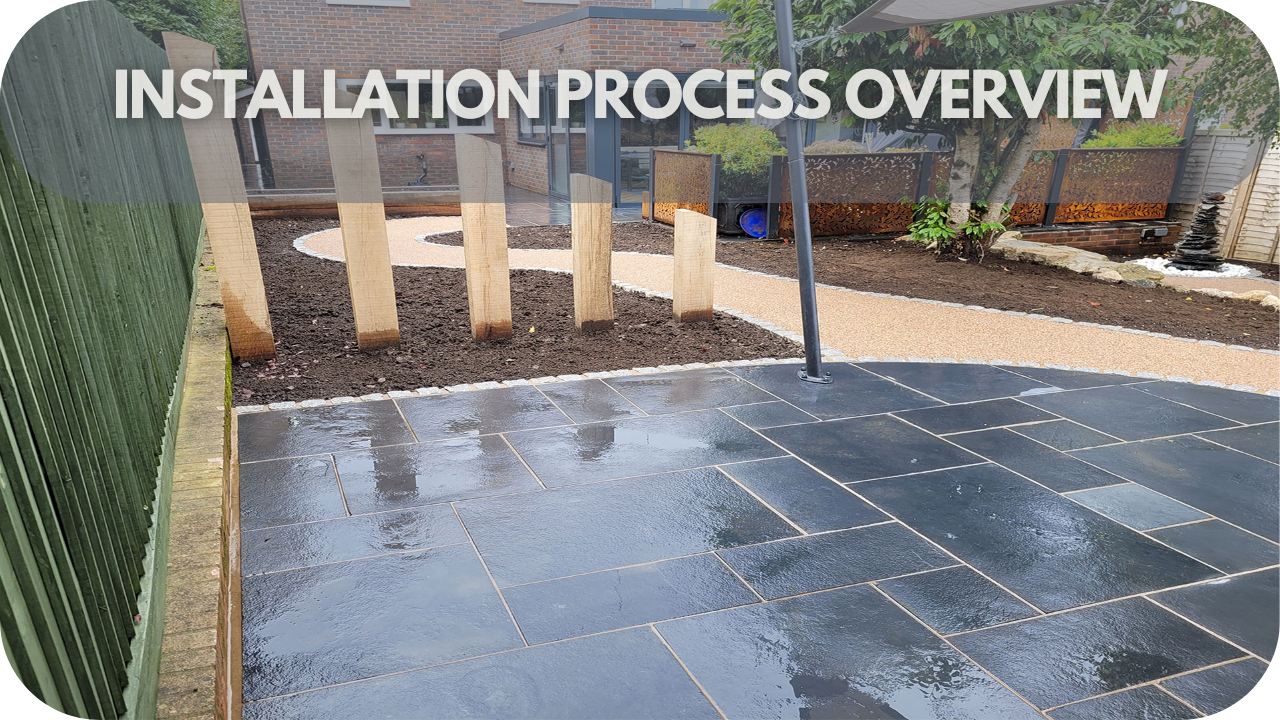
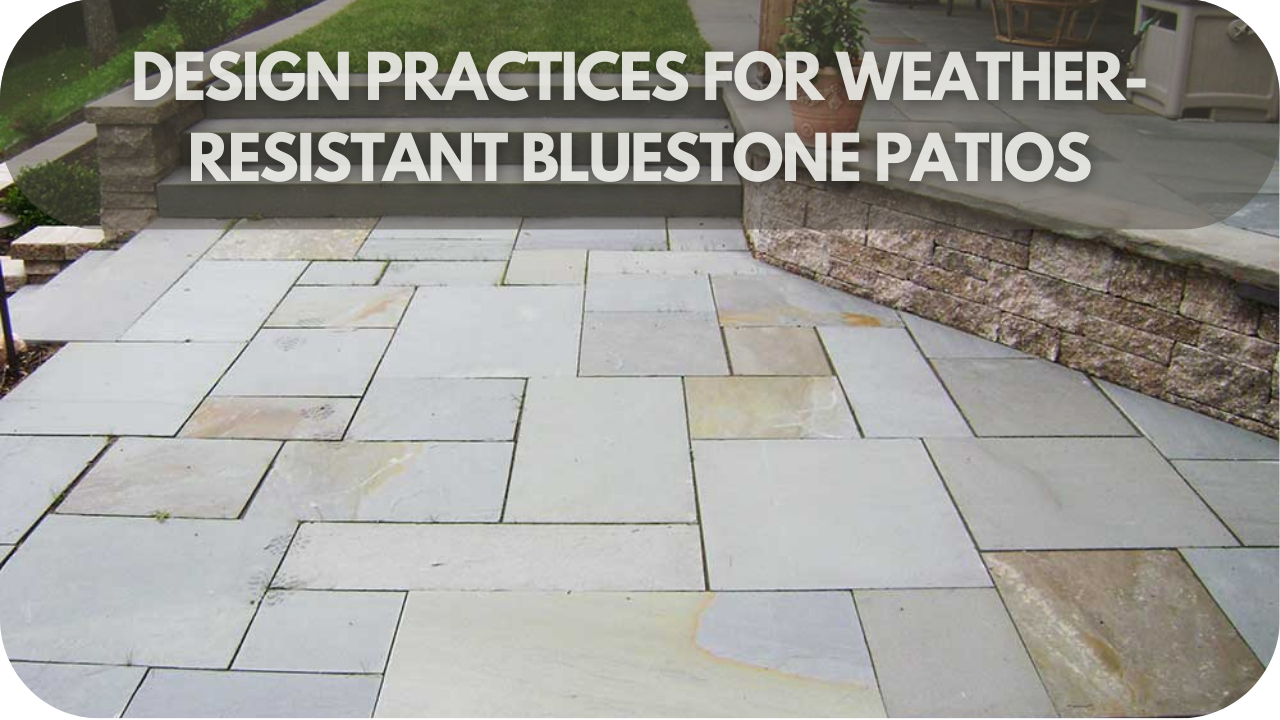
Proper installation is crucial for ensuring the longevity and performance of outdoor stone tiles in Victoria’s climate. Start by preparing a stable, well-draining substrate to prevent water pooling, which can lead to cracking or shifting.
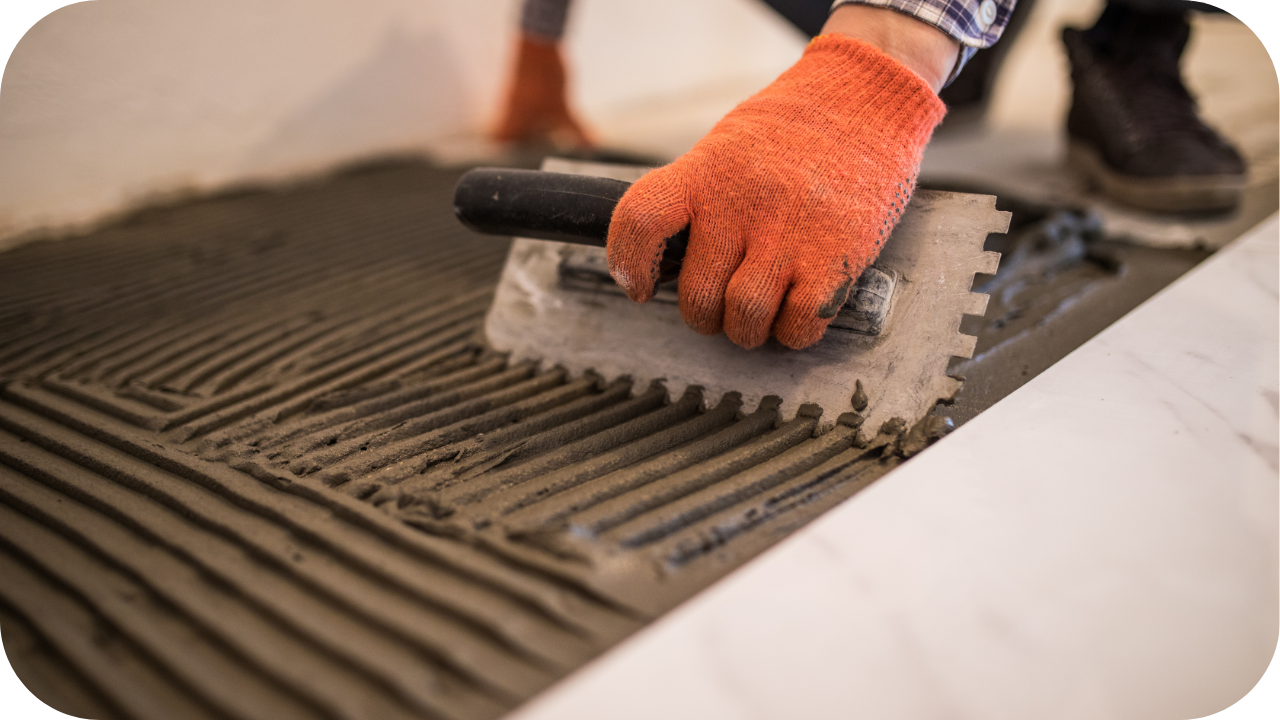
Use a mortar or adhesive suitable for outdoor conditions, ensuring it’s weatherproof and flexible to accommodate temperature changes. For natural stone tiles, consider sealing them before installation to enhance durability and resistance to moisture.
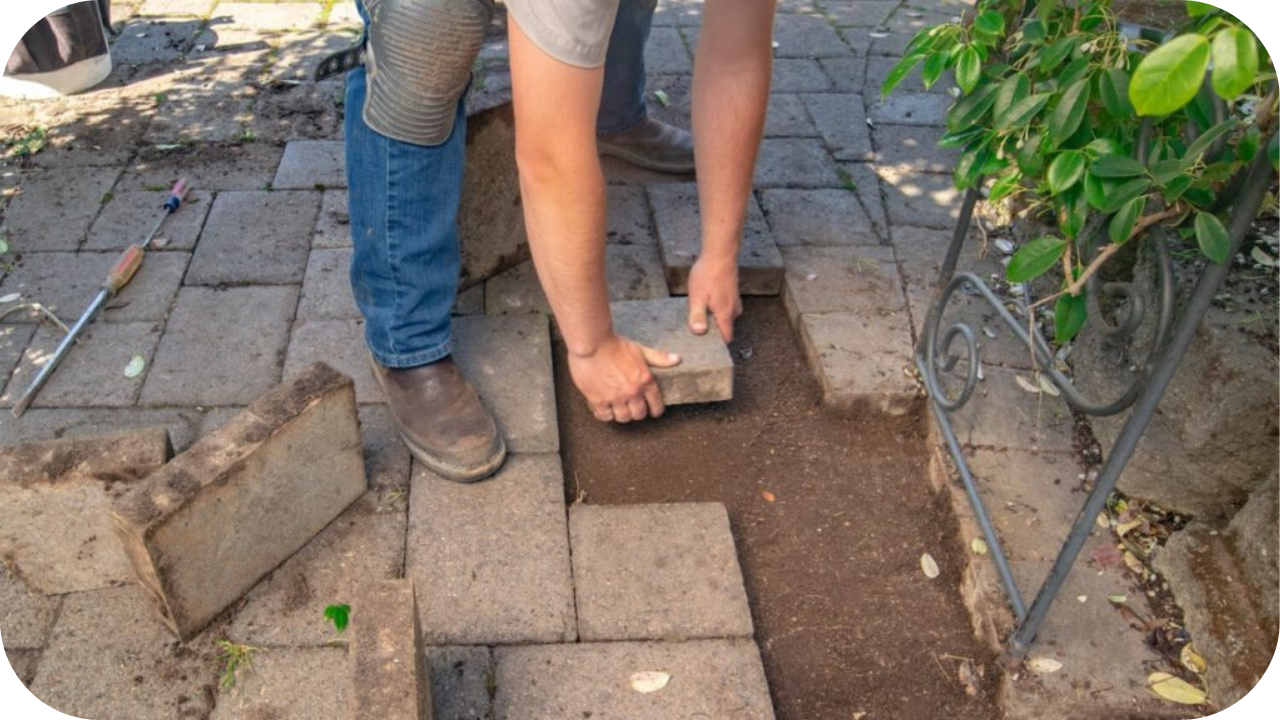
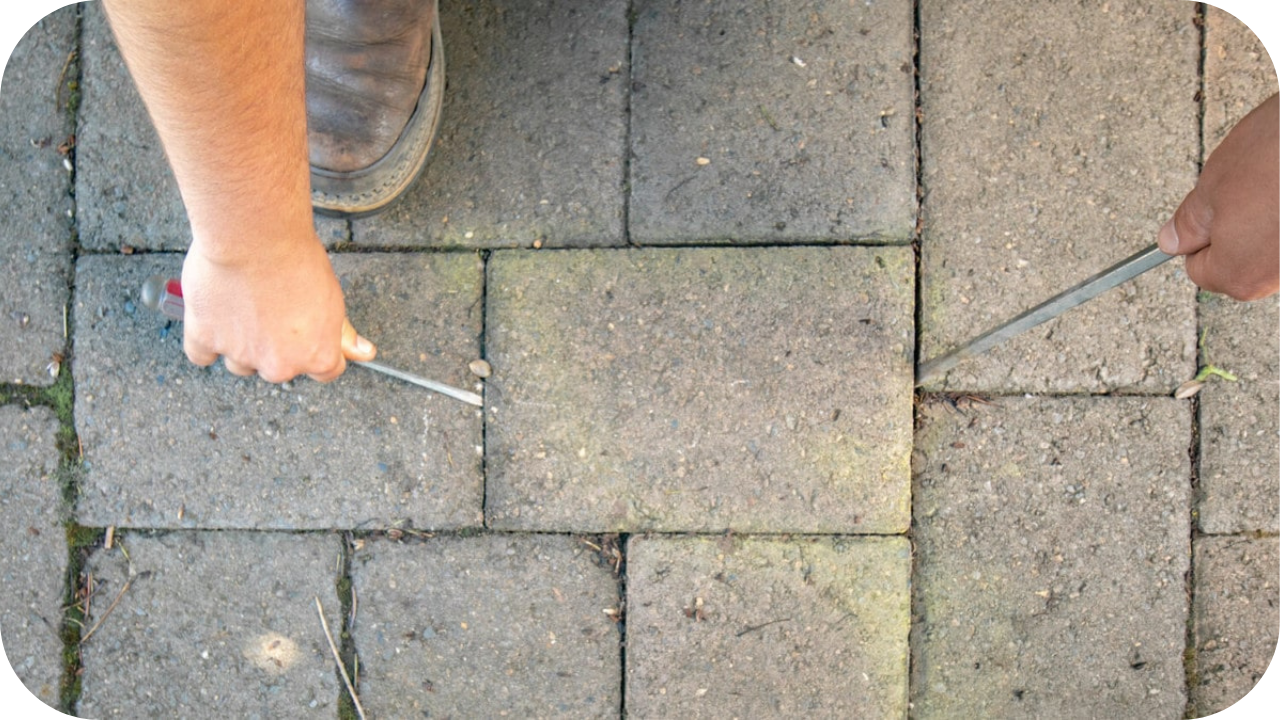
Lay tiles with appropriate spacing to allow for expansion and contraction due to temperature fluctuations. Use a spirit level to ensure even placement, especially for areas like patios or pathways where uneven surfaces can pose safety risks. For high-traffic areas, opt for thicker tiles (20mm+) and secure them firmly to withstand wear and tear.
Hiring a professional installer is recommended for complex projects or large areas, as they can address challenges like sloping surfaces or intricate patterns. DIY installation is possible for smaller projects, but ensure you follow best practices and use the right tools.
Proper installation not only enhances the aesthetic appeal but also ensures your outdoor stone tiles remain functional and durable for years to come.
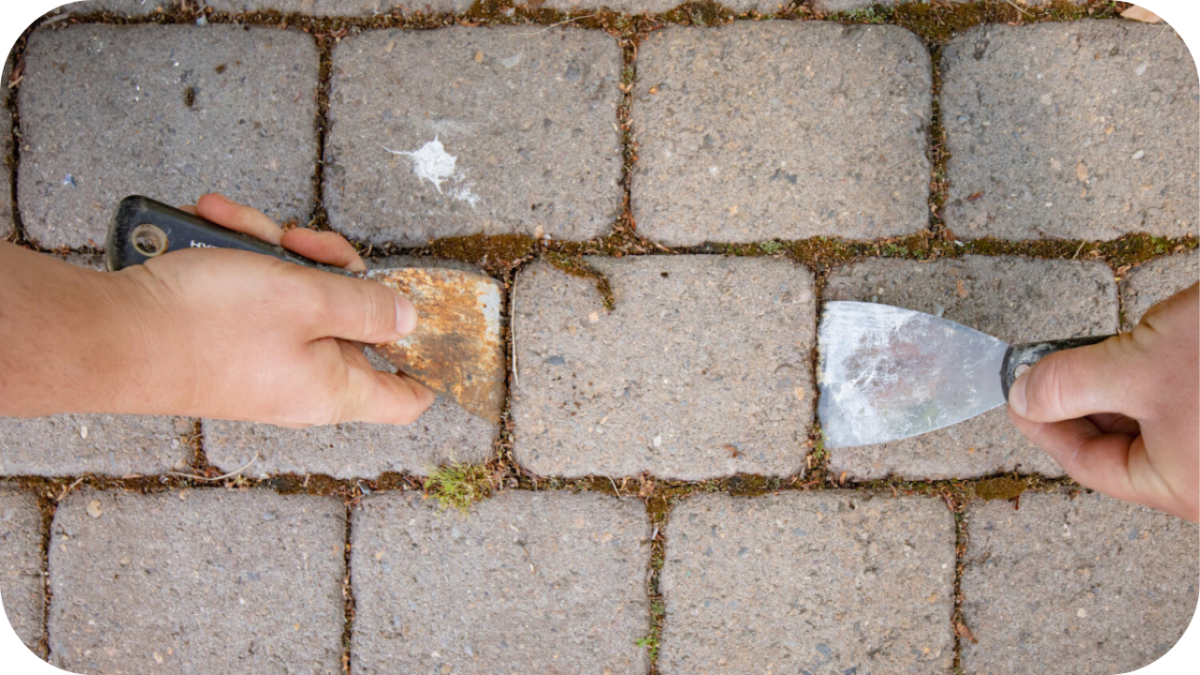
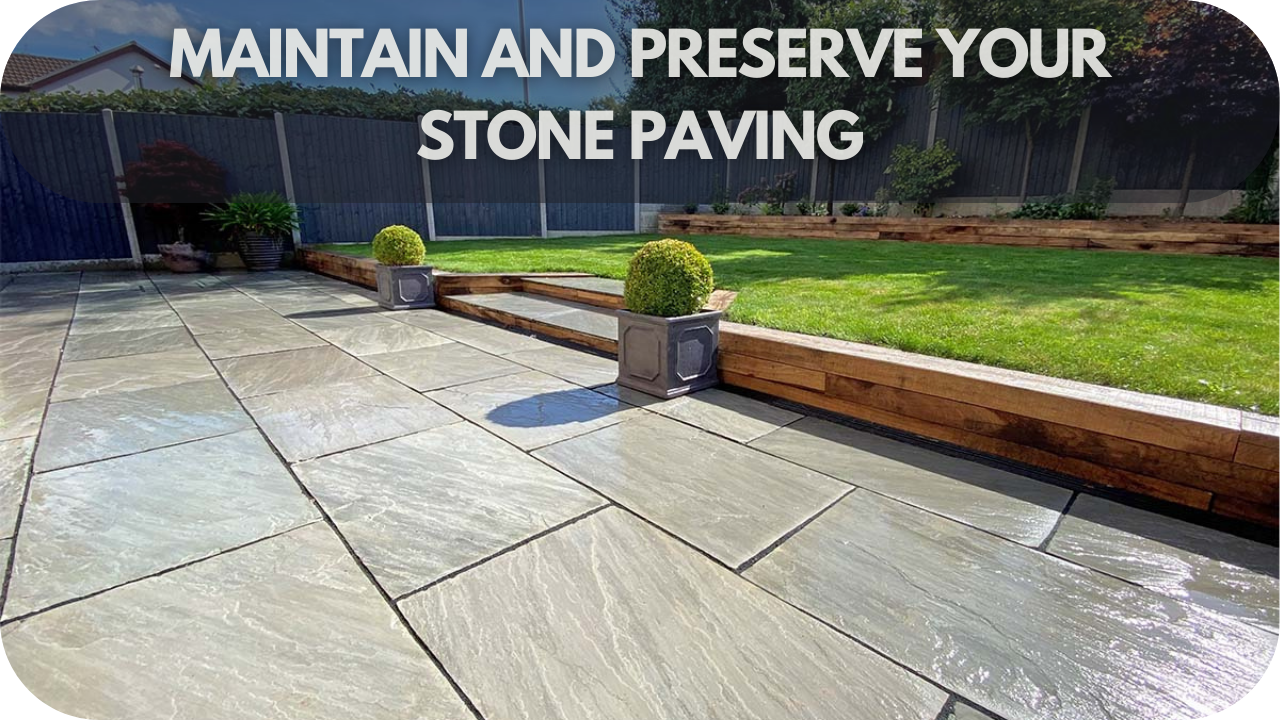
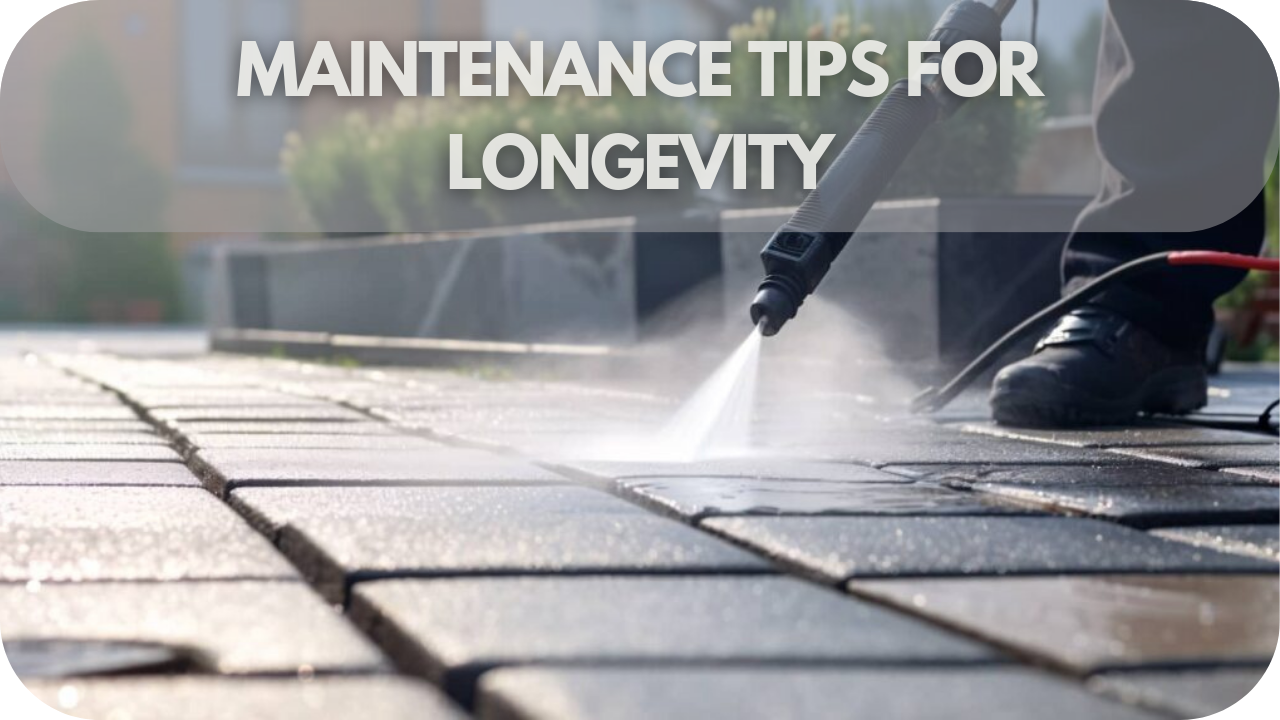
Maintenance and Care Tips for Outdoor Stone Tiles in Victoria
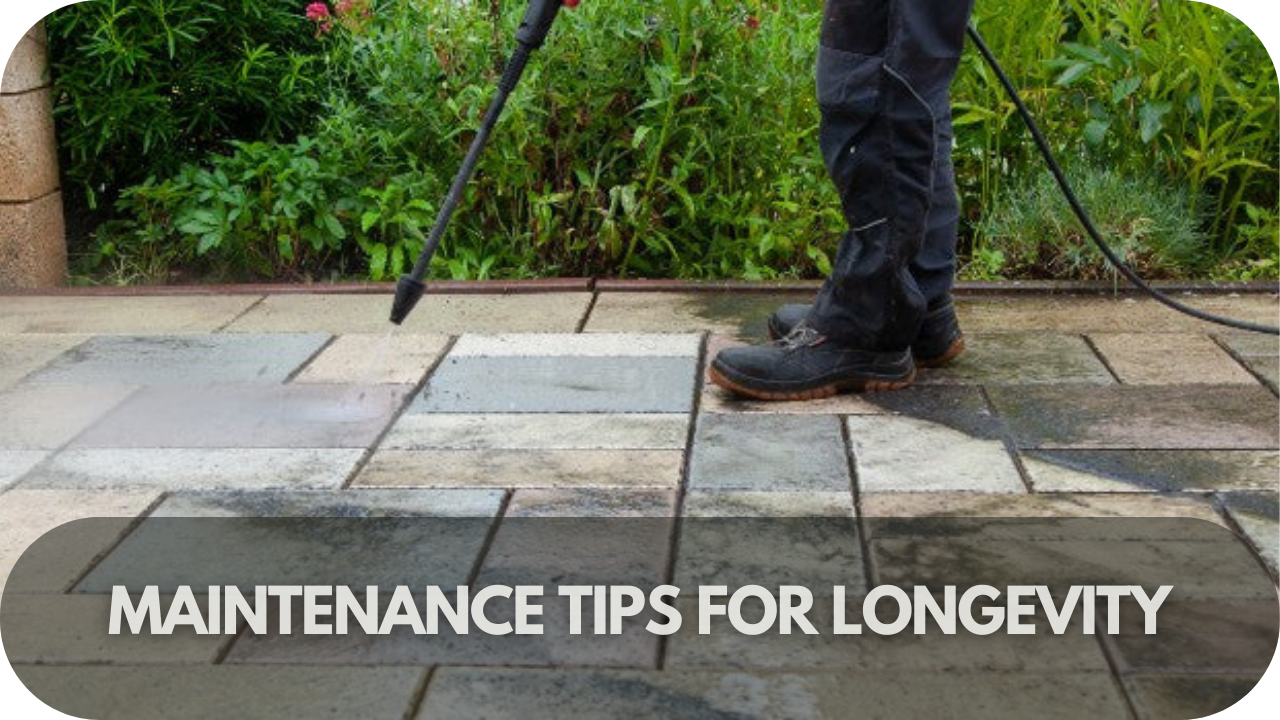
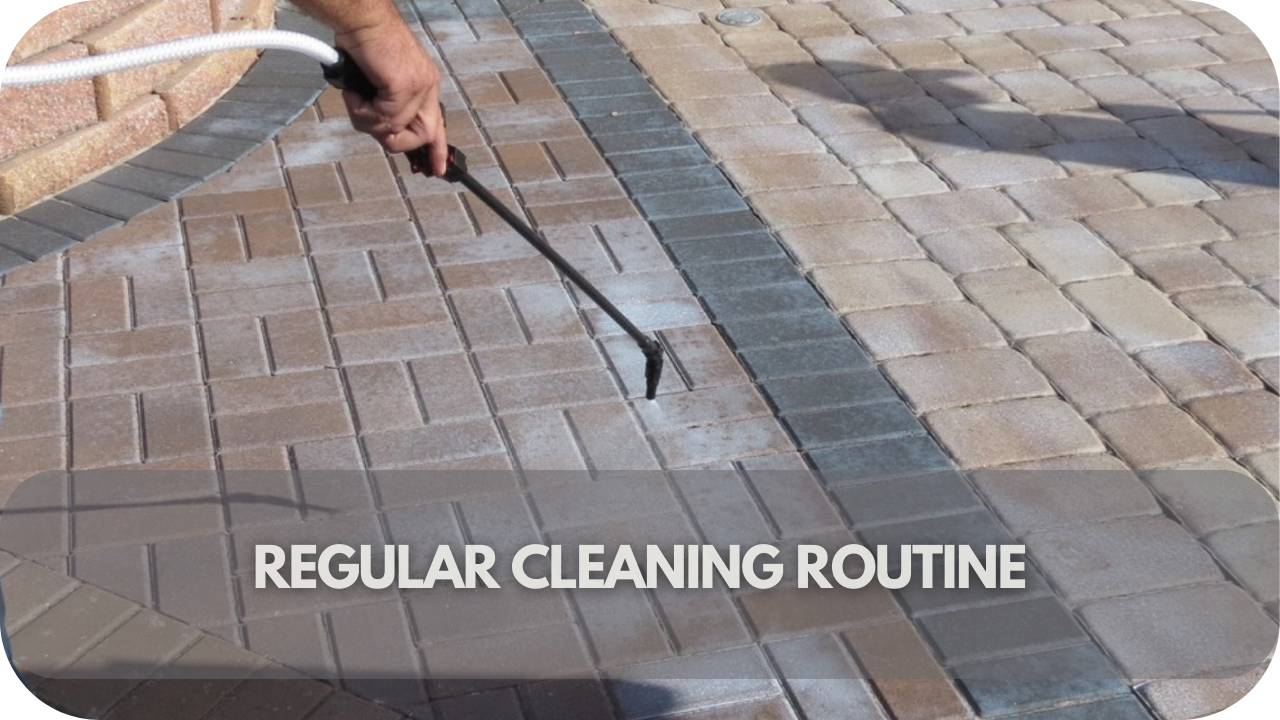
Keep Your Outdoor Stone Tiles Looking Pristine with These Easy Maintenance Tips:
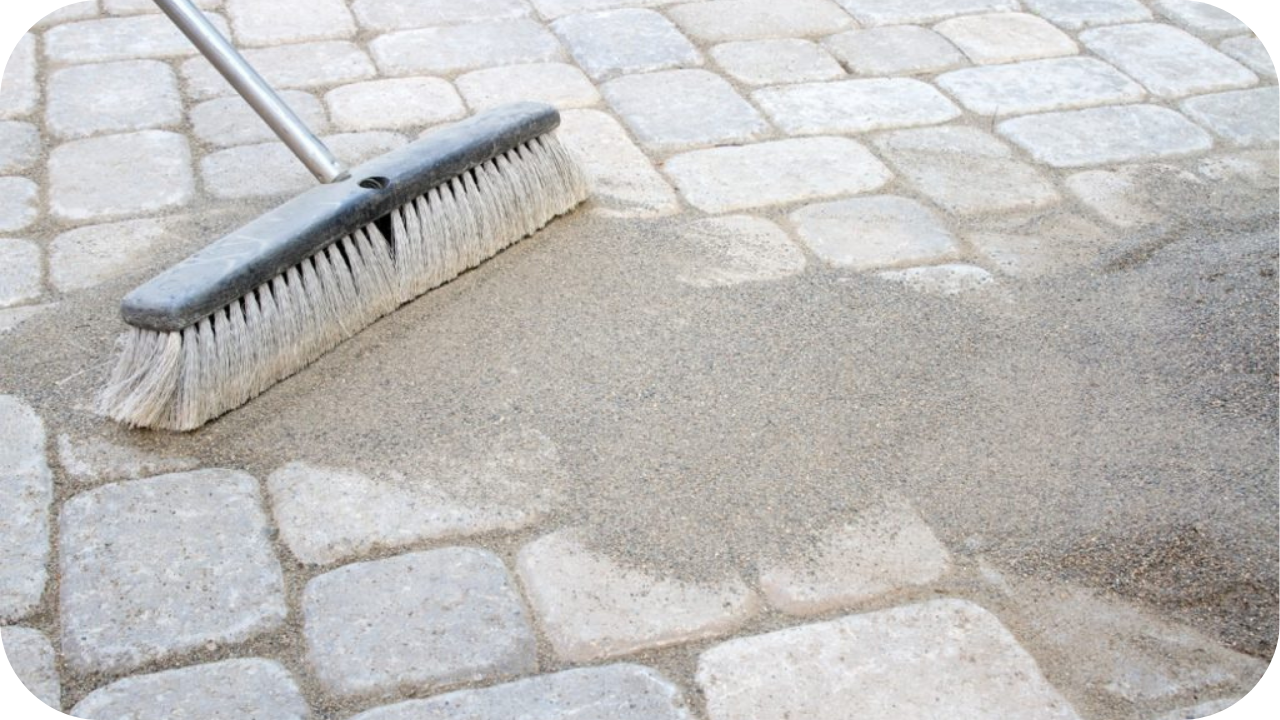
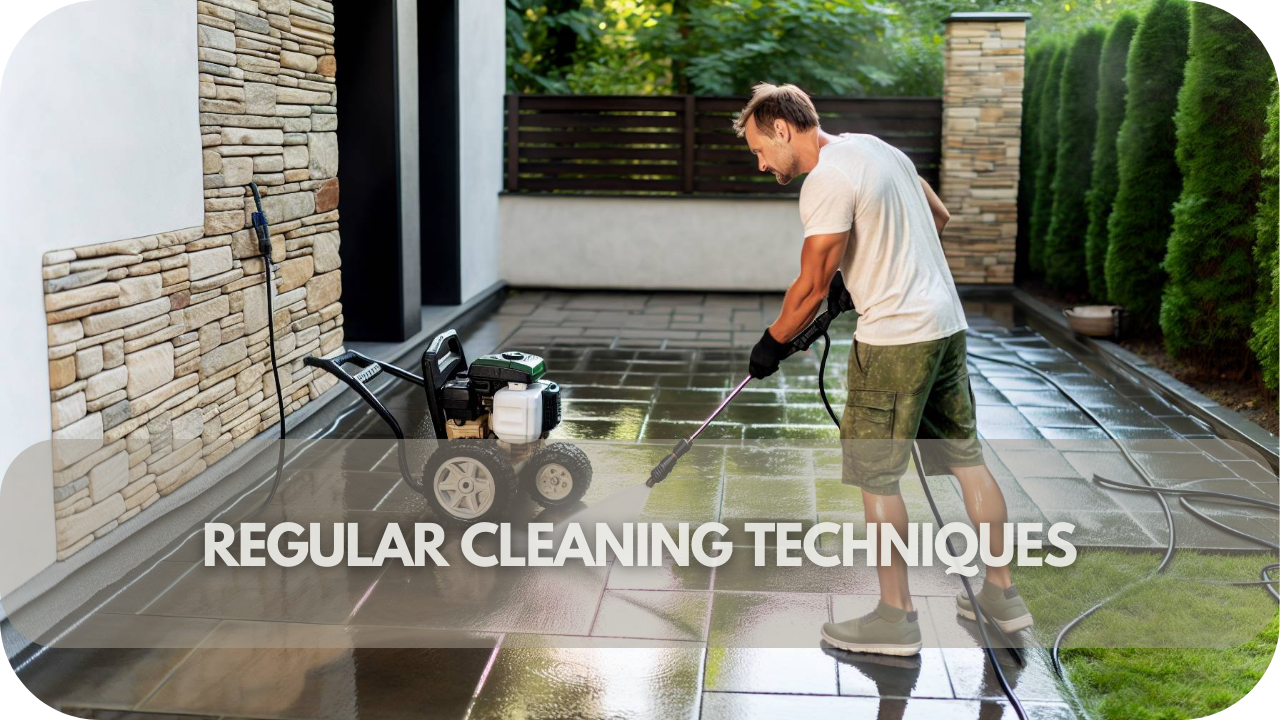
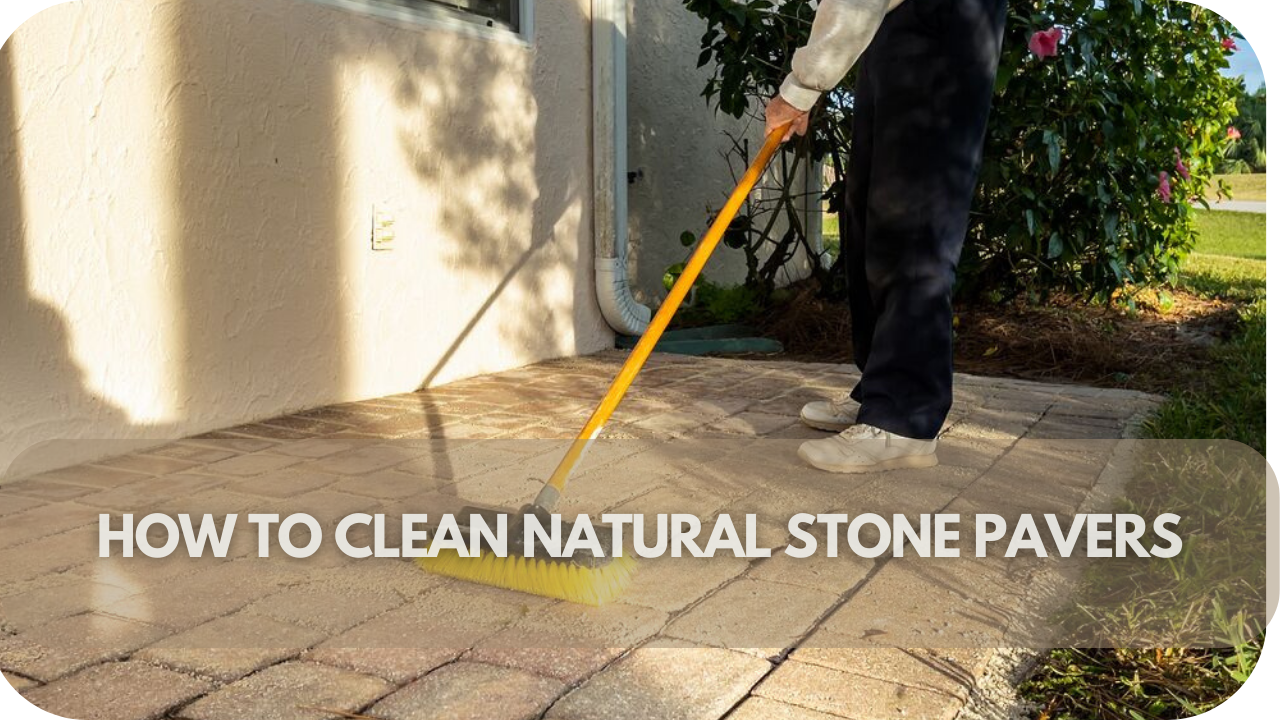
- Regular Cleaning: Sweep or rinse tiles weekly to remove dirt and debris. Use a mild detergent and water for deeper cleaning.
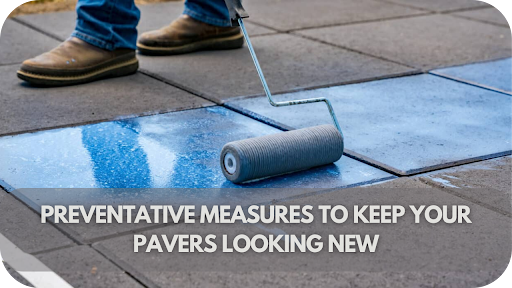
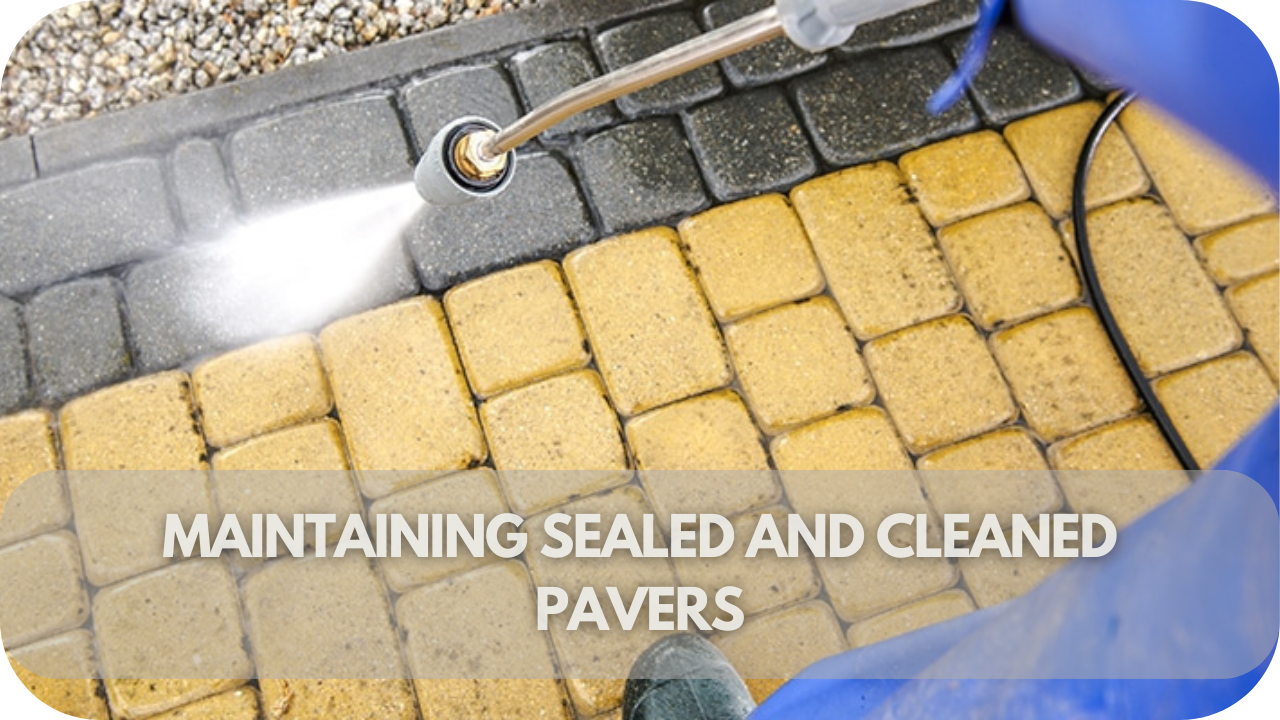
- Sealing: Apply a high-quality sealer annually (or as recommended) to protect against moisture, stains, and UV damage, especially for porous stones like limestone or travertine.
- Stain Prevention: Clean spills immediately to avoid staining, particularly from acidic substances like wine or citrus.
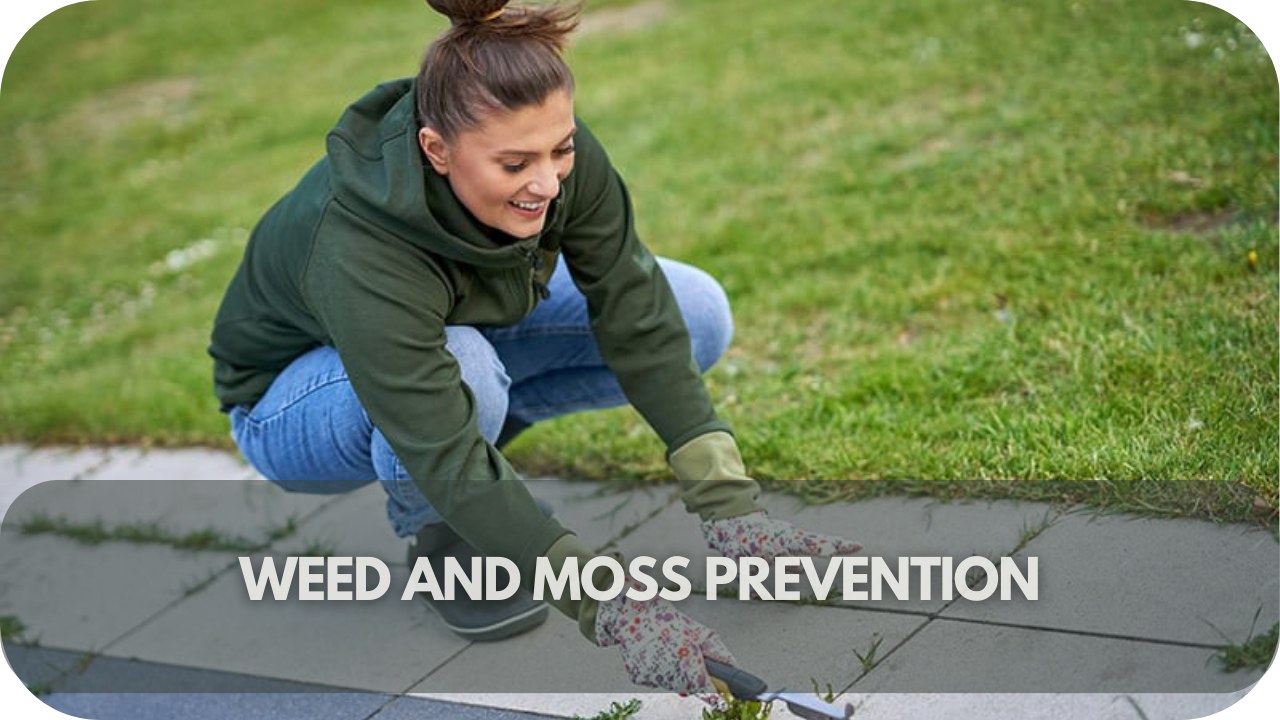
- Moss and Algae Control: Use a mixture of water and vinegar or a specialised cleaner to prevent moss and algae growth in damp areas.
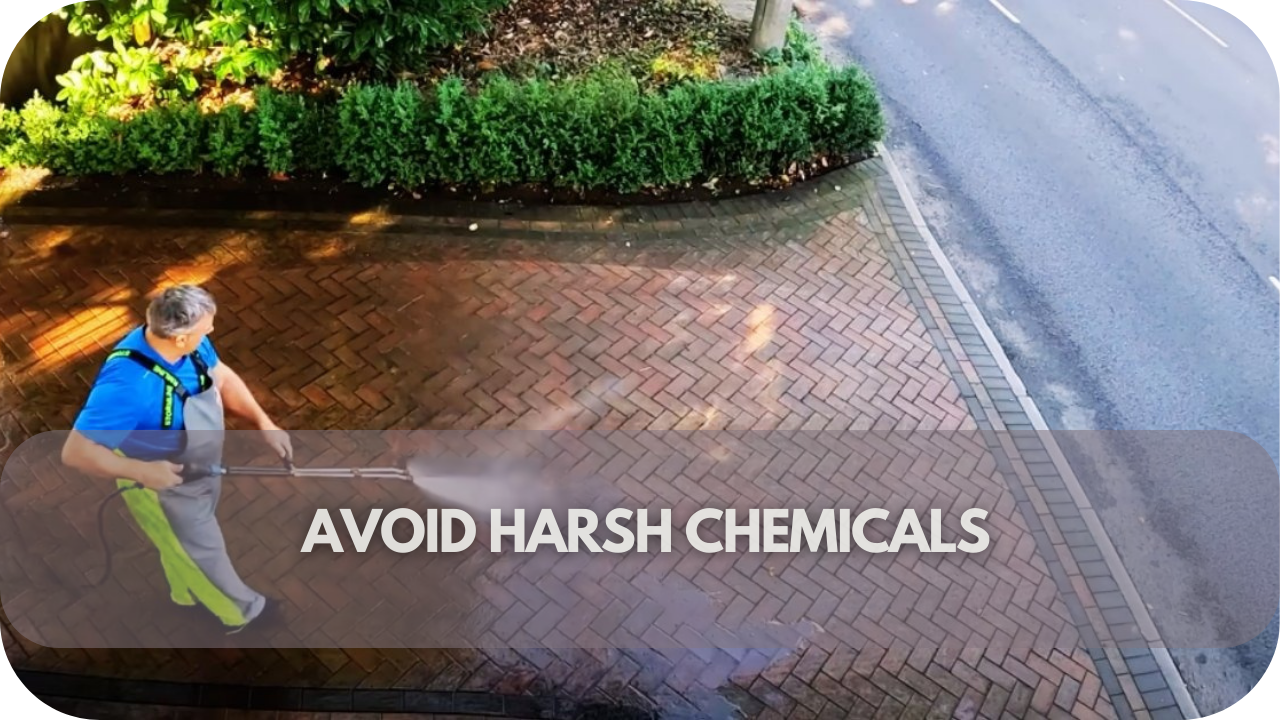
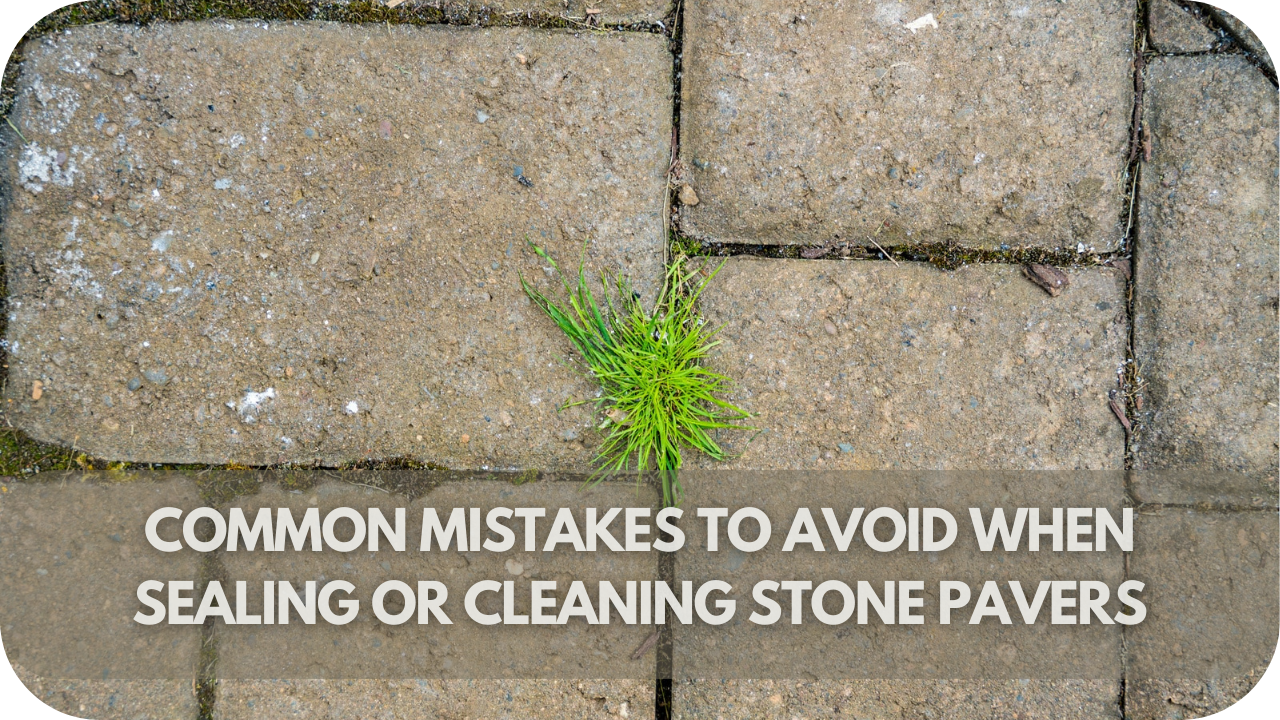
- Avoid Harsh Chemicals: Steer clear of acidic or abrasive cleaners that can damage the stone’s surface.
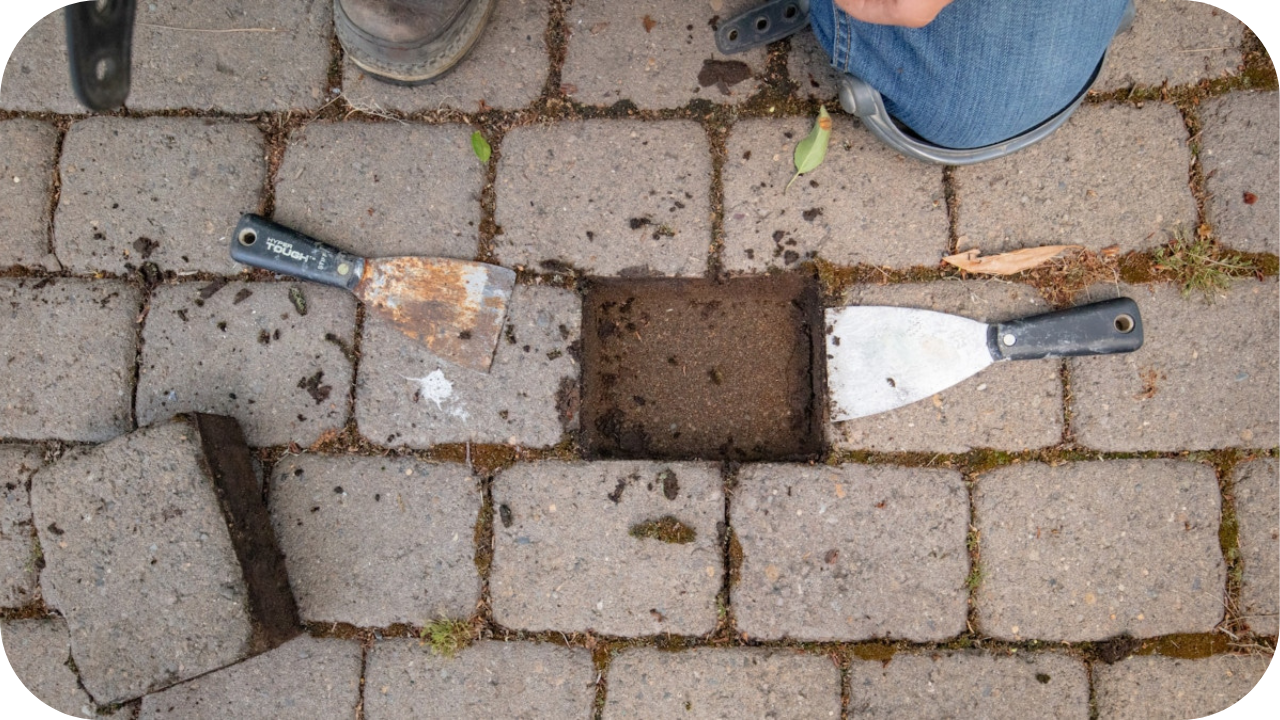
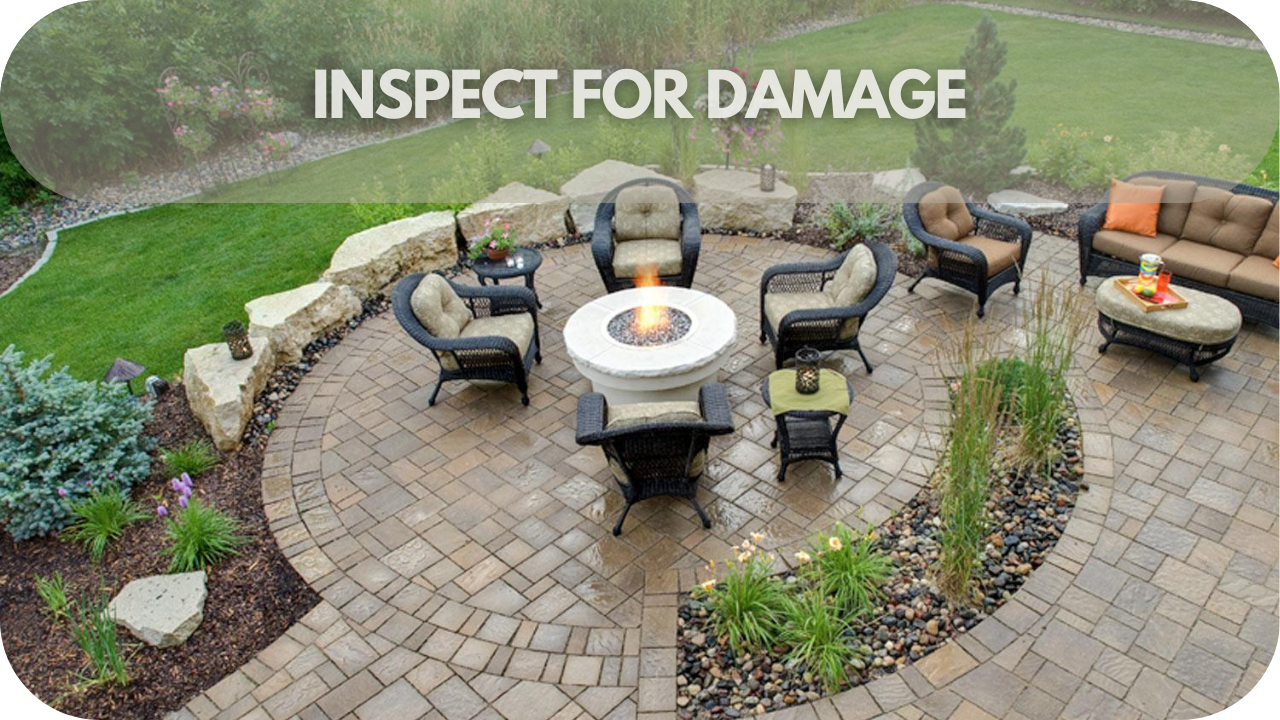
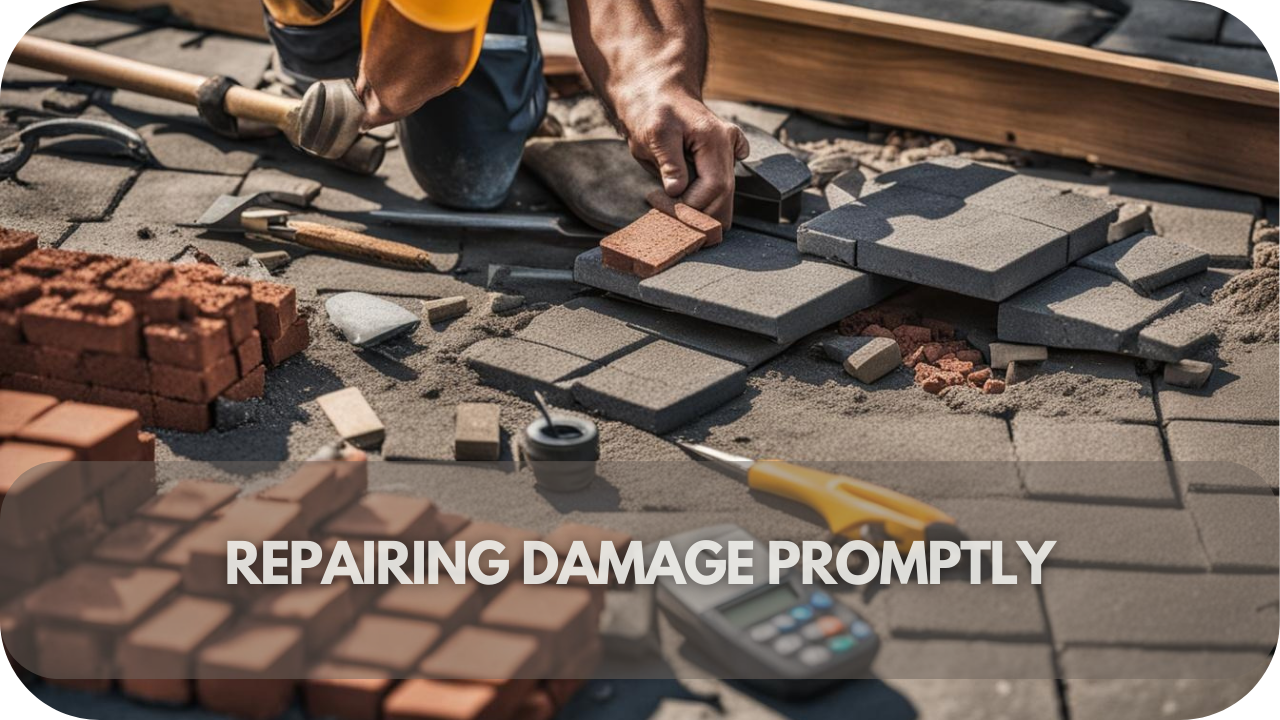
- Inspect for Damage: Regularly check for cracks, chips, or loose tiles, and repair them promptly to prevent further issues.
- Winter Care: Remove snow and ice carefully to avoid scratching or cracking tiles. Use plastic shovels instead of metal ones.
- Re-Sealing: Reapply sealant if water no longer beads on the surface, indicating it’s time for a refresh.
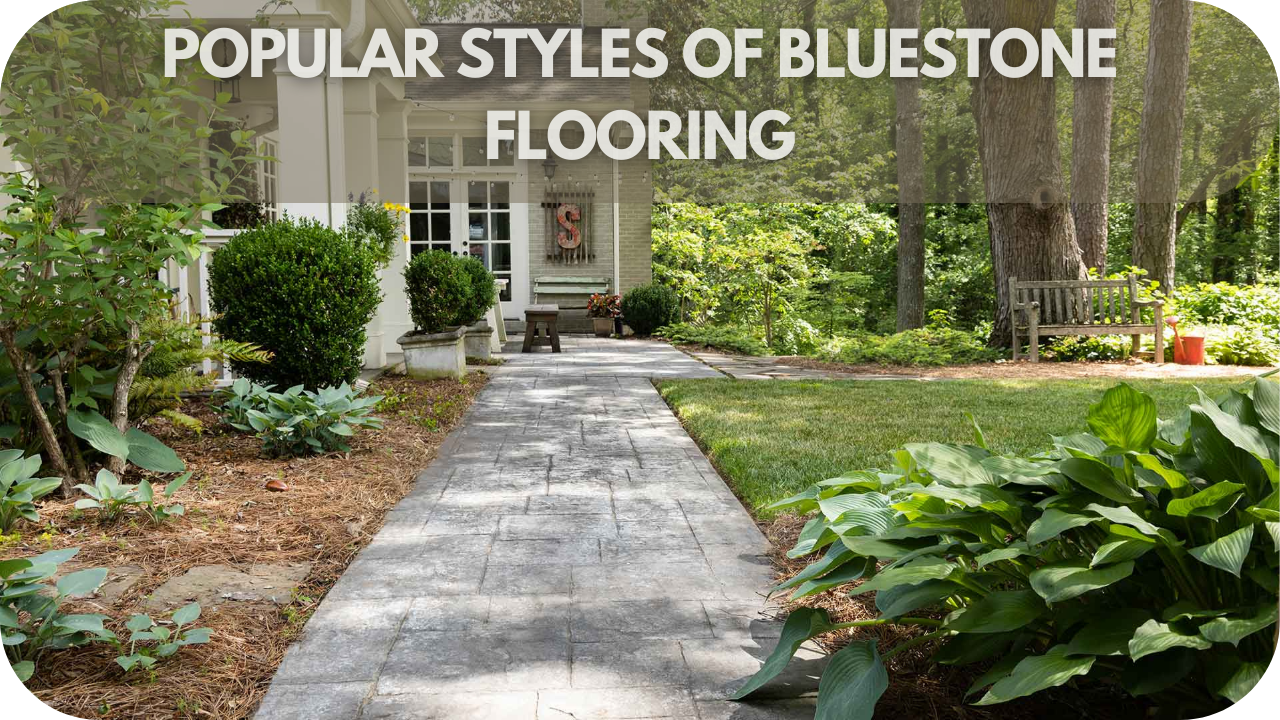
Popular Outdoor Stone Tile Styles in Victoria
Given Victoria’s climate and natural resources, outdoor stone tiles must be both durable and aesthetically pleasing. Several styles have become particularly popular, catering to various design preferences:
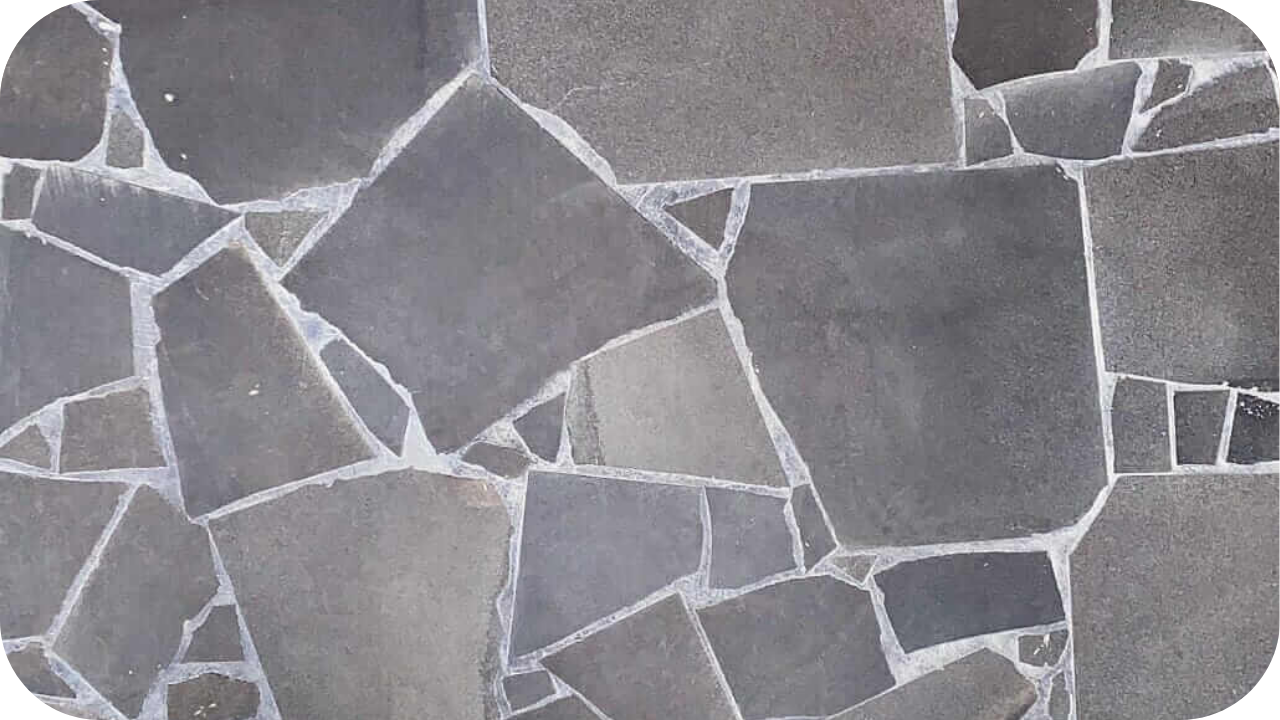
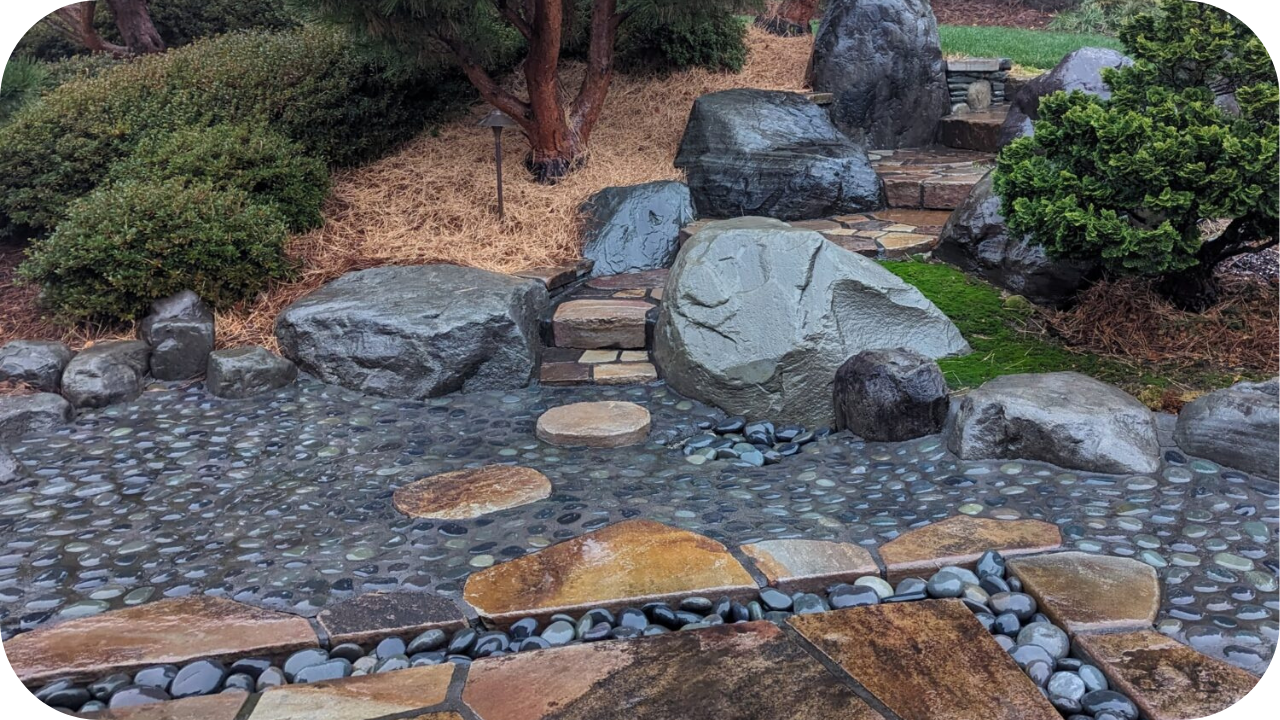
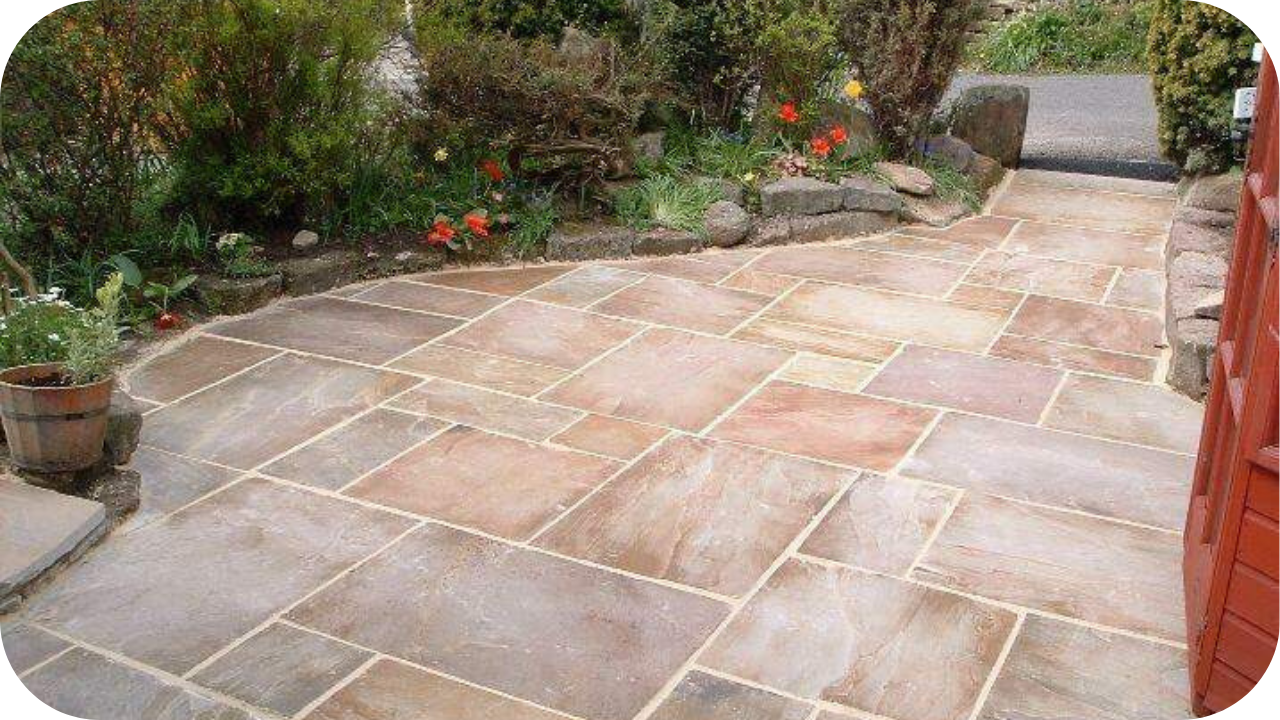
Natural and Rustic
This style embraces the organic beauty of natural stone, featuring textured or tumbled finishes with natural colour variations.
Popular choices include sandstone, which offers warm, earthy tones perfect for creating a relaxed and inviting outdoor space, and slate or limestone, which provides a more rugged, weathered look ideal for pathways, courtyards, and garden areas.
These stones work well in informal outdoor settings, blending seamlessly with nature.
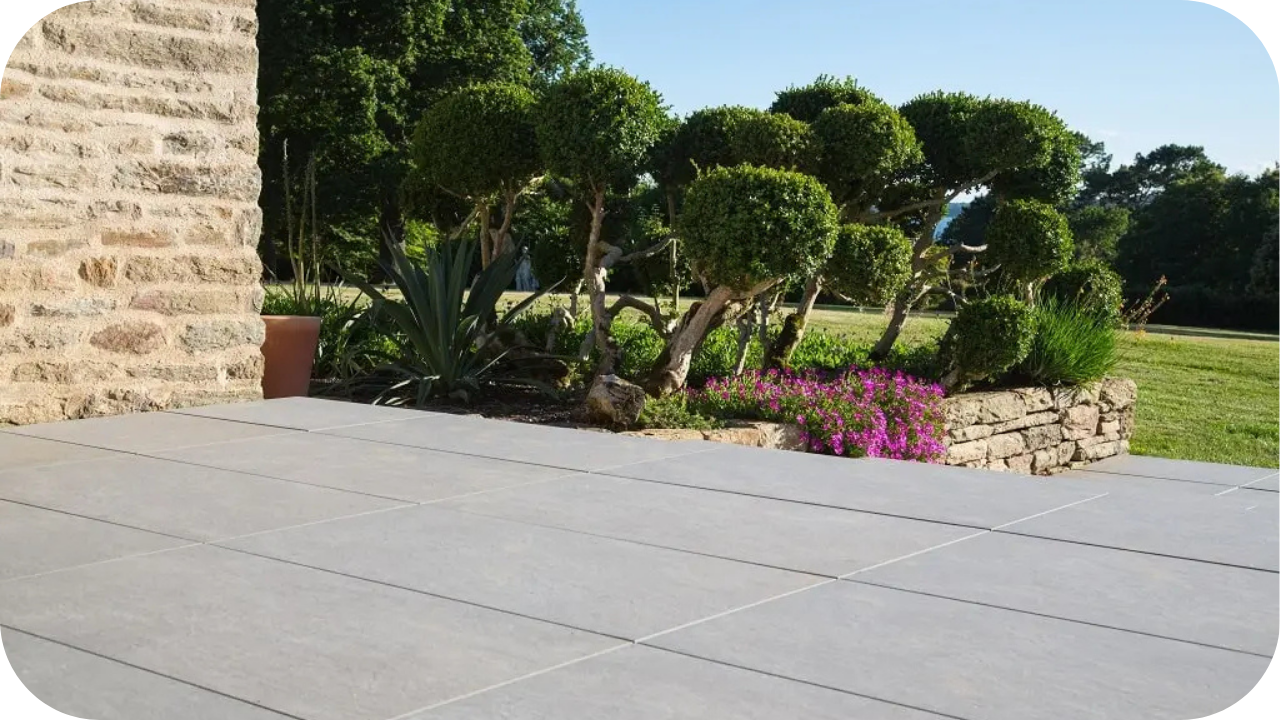
Contemporary and Minimalist
Modern outdoor designs favour clean lines, larger format tiles, and a neutral colour palette, including greys, charcoals, and creams. Bluestone, often in a honed finish, is a frequent choice for its sleek, sophisticated appearance, while granite adds durability with its speckled aesthetic.
Additionally, outdoor-grade porcelain tiles that mimic natural stone offer a stylish yet low-maintenance alternative, making them ideal for patios, alfresco areas, and walkways in contemporary homes.
Classic and Timeless
Traditional outdoor spaces often feature symmetrical layouts and refined finishes, using stone that has a timeless appeal. Uniform sandstone, with consistent cuts and subtle colour variations, provides a structured and elegant appearance, while limestone, in honed or slightly textured finishes, brings a sophisticated touch.
These options are well-suited for homes with classic architecture, where the focus is on long-lasting beauty and charm.
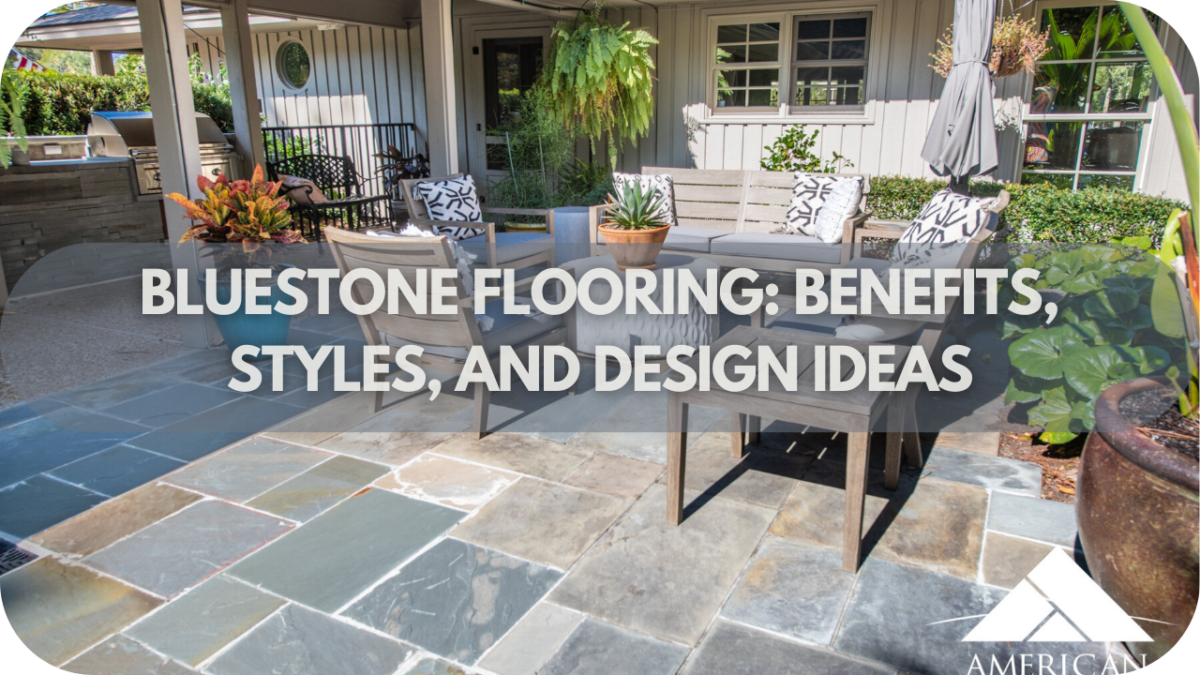
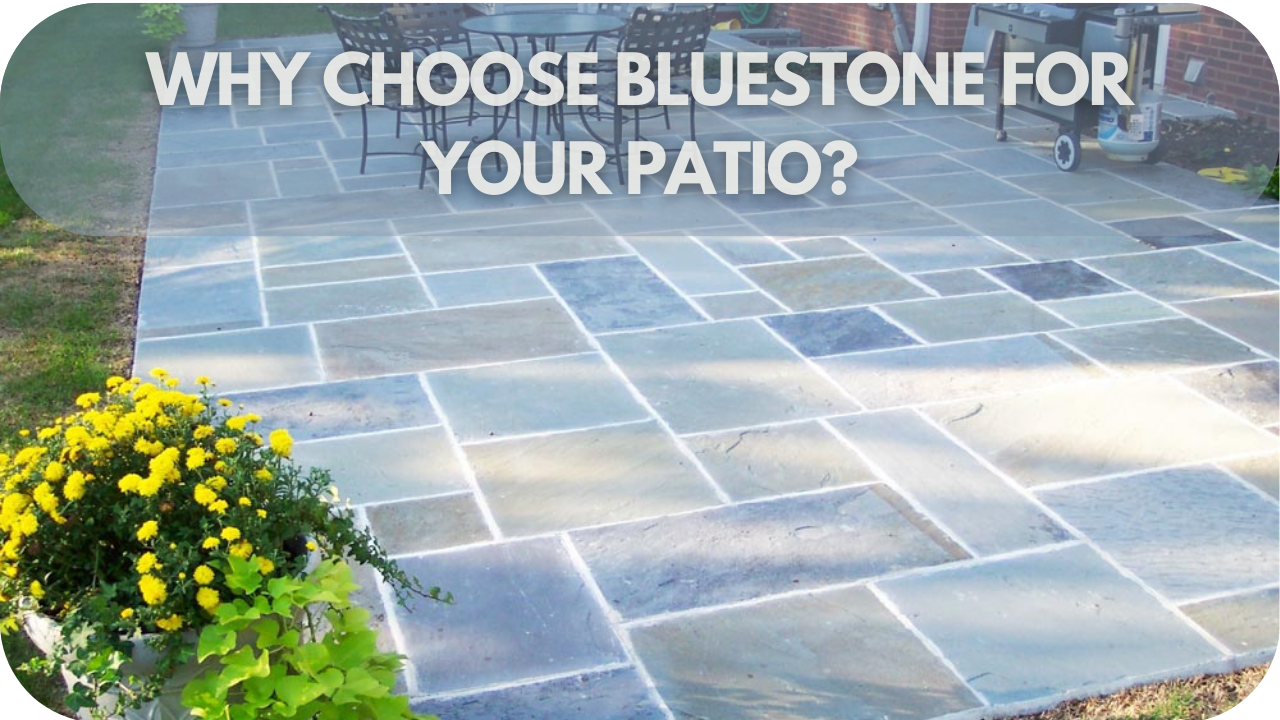
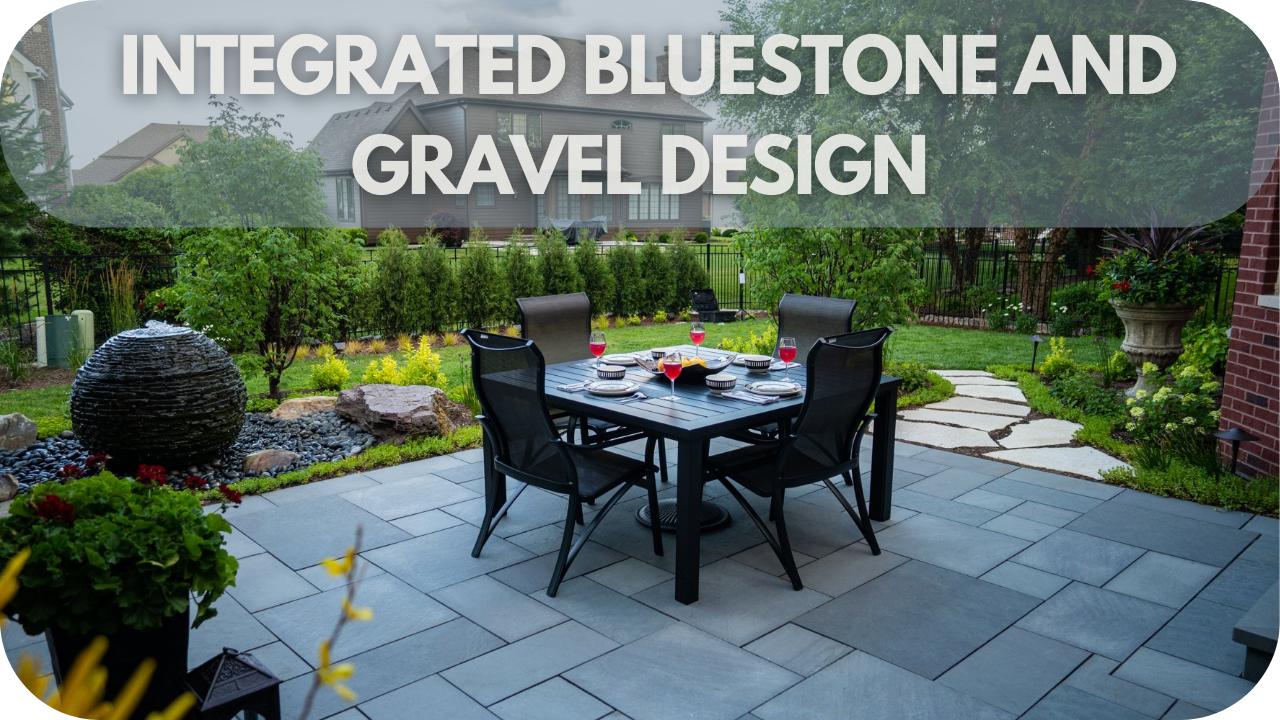
Bluestone Dominance
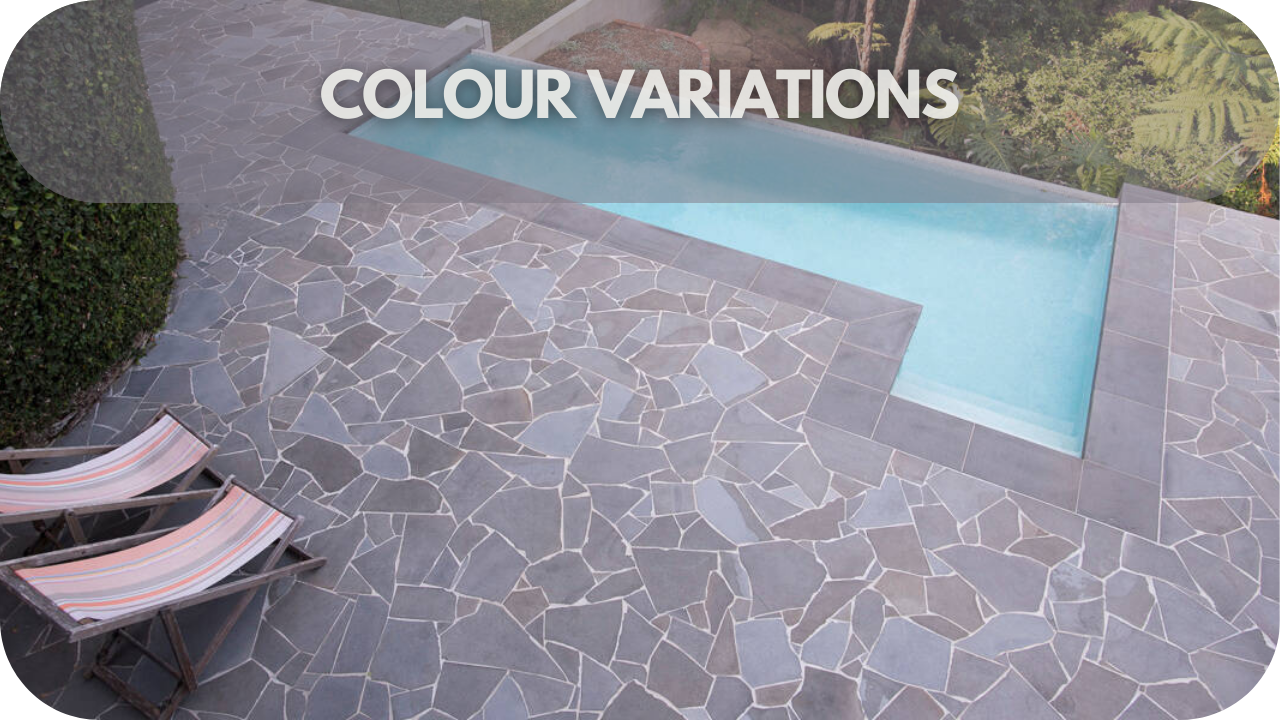
As a locally sourced and highly durable stone, Bluestone remains one of the most popular choices in Victoria. Its versatile grey-blue tones allow it to suit both rustic and contemporary designs, depending on the finish.
A natural cleft surface enhances a more rugged, organic look, while a honed finish gives a smoother, modern feel. Bluestone is widely used for patios, pathways, and pool surrounds, thanks to its textured surface and weather durability.
Coastal Inspired
For a light and airy outdoor aesthetic, a coastal style incorporates paler stone options that evoke a relaxed, beachside feel. Pale sandstone is a favourite for its soft, sun-washed hues, while lighter varieties of limestone and travertine add a Mediterranean or coastal ambience.
These stones work well in outdoor spaces that aim to feel open, bright, and welcoming, complementing homes near the coast or those wanting to bring a coastal charm to their outdoor areas.
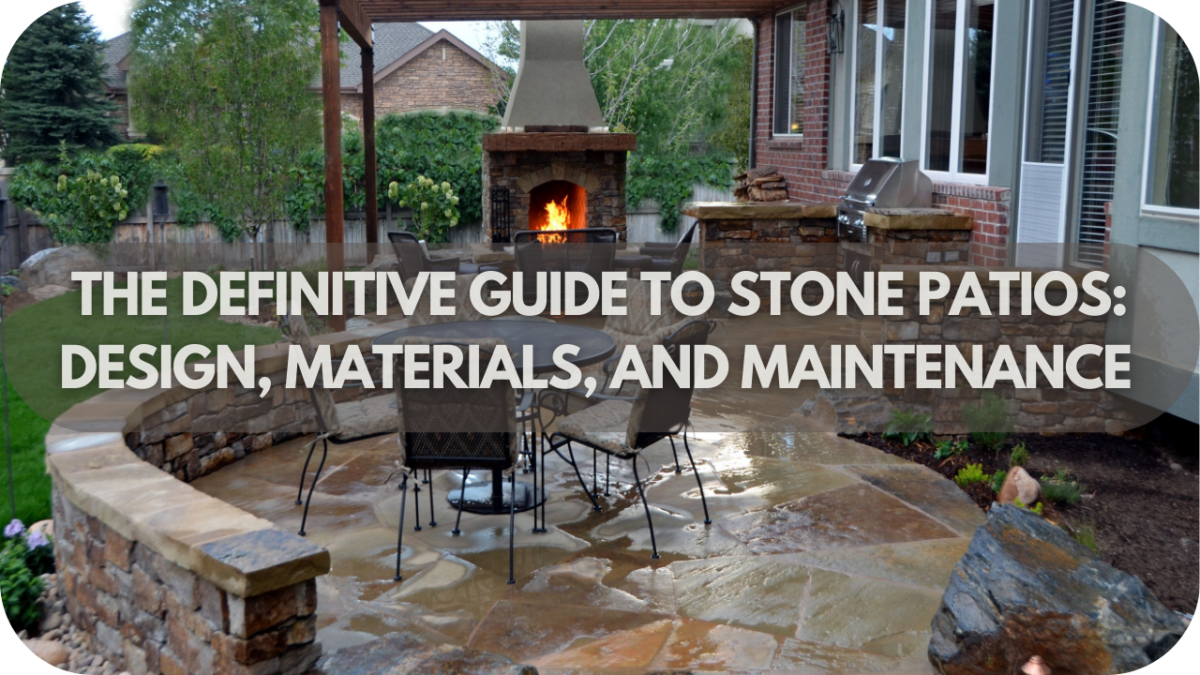
Where to Use Outdoor Stone Tiles
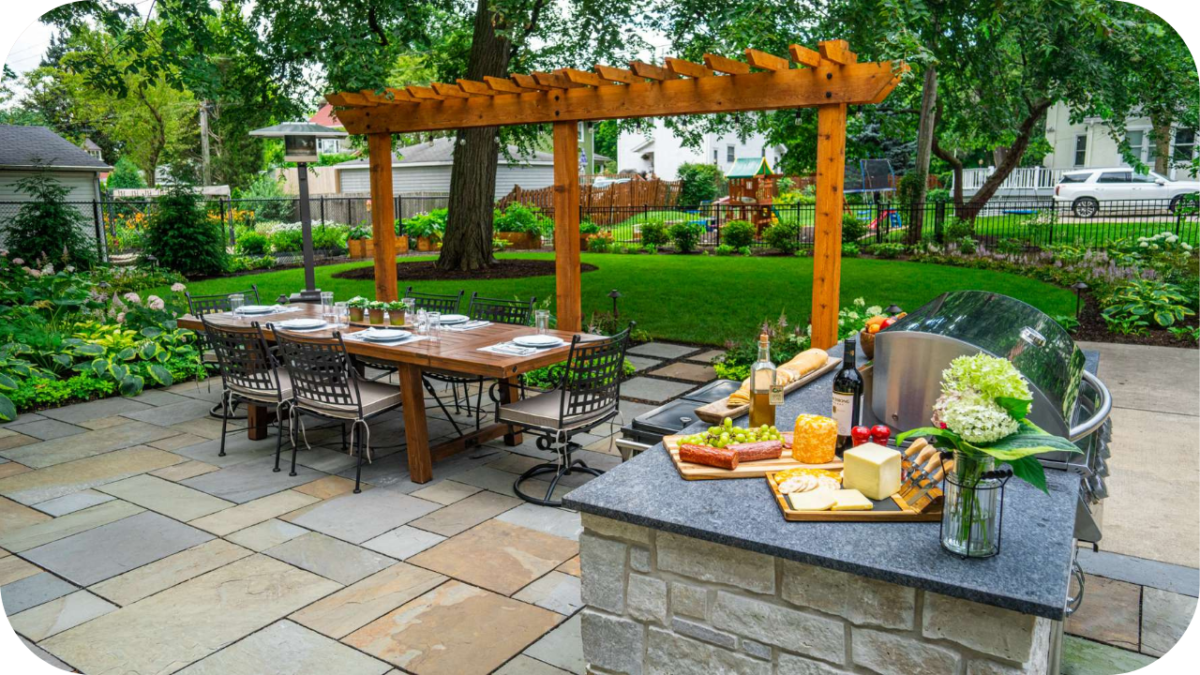
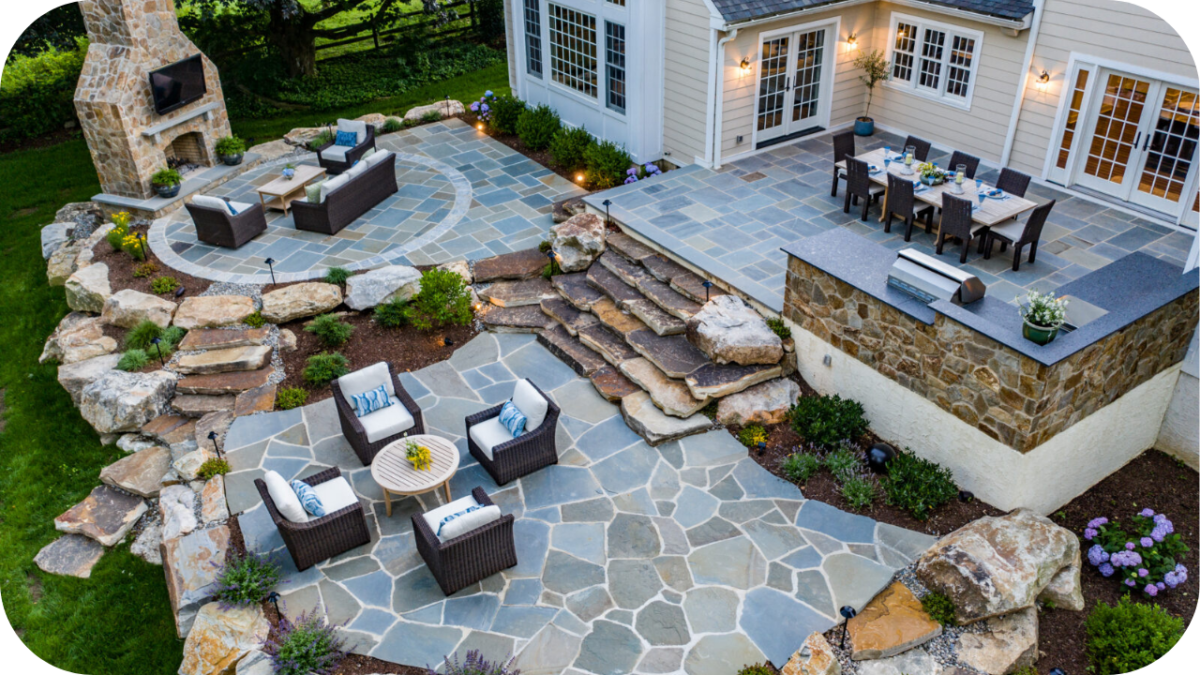
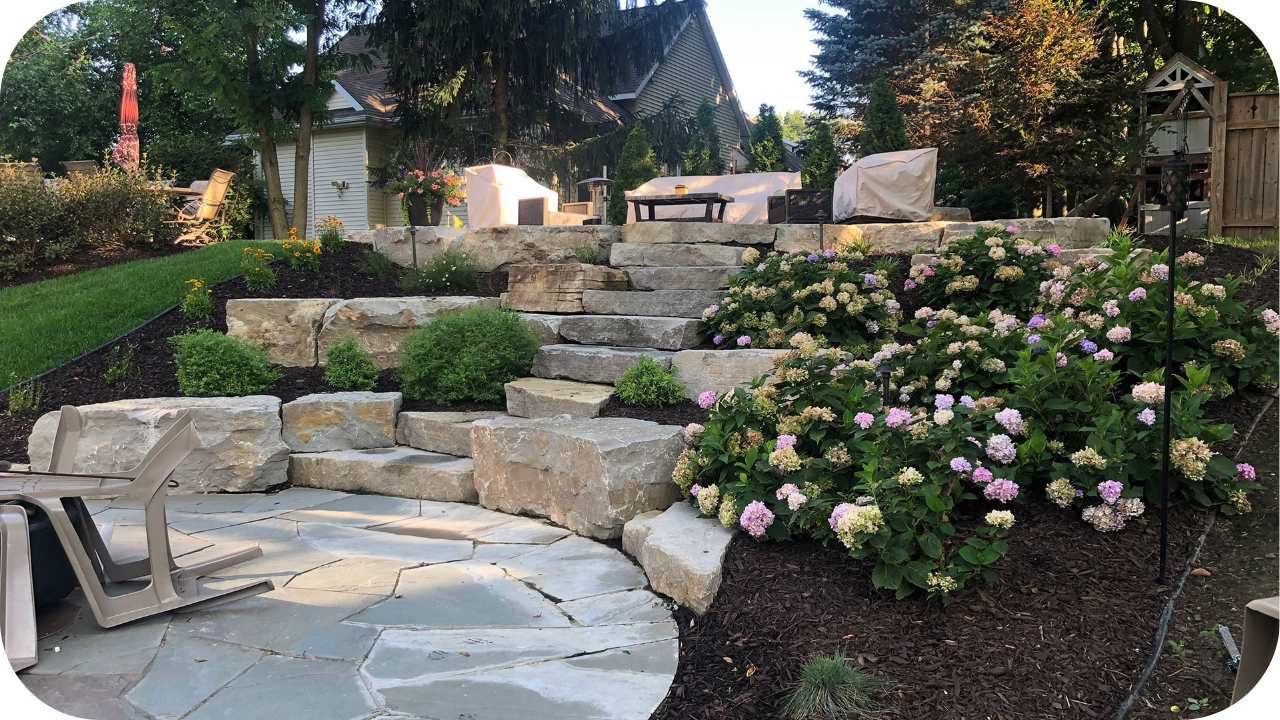
Outdoor stone tiles are a staple in Victorian landscaping, offering both aesthetic appeal and durability to withstand the region’s varied climate. Whether you’re creating a sleek modern space or a natural, rustic retreat, the right stone can transform any outdoor area into a functional and stylish extension of your home:
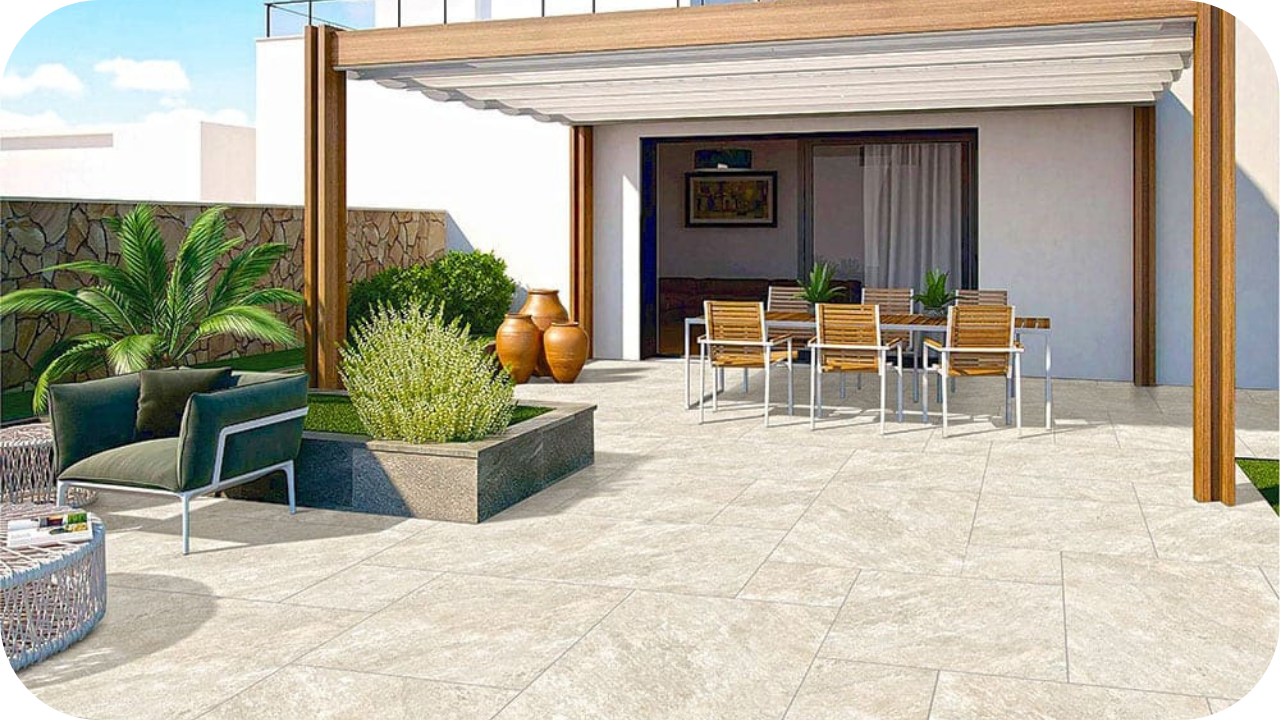
Patios and Alfresco Areas
Outdoor stone tiles are a popular choice for patios and alfresco areas, providing a durable and stylish surface that can withstand Victoria’s changing weather.
Bluestone is a top option for modern and classic designs due to its versatility, while sandstone and travertine offer a more relaxed, natural look.
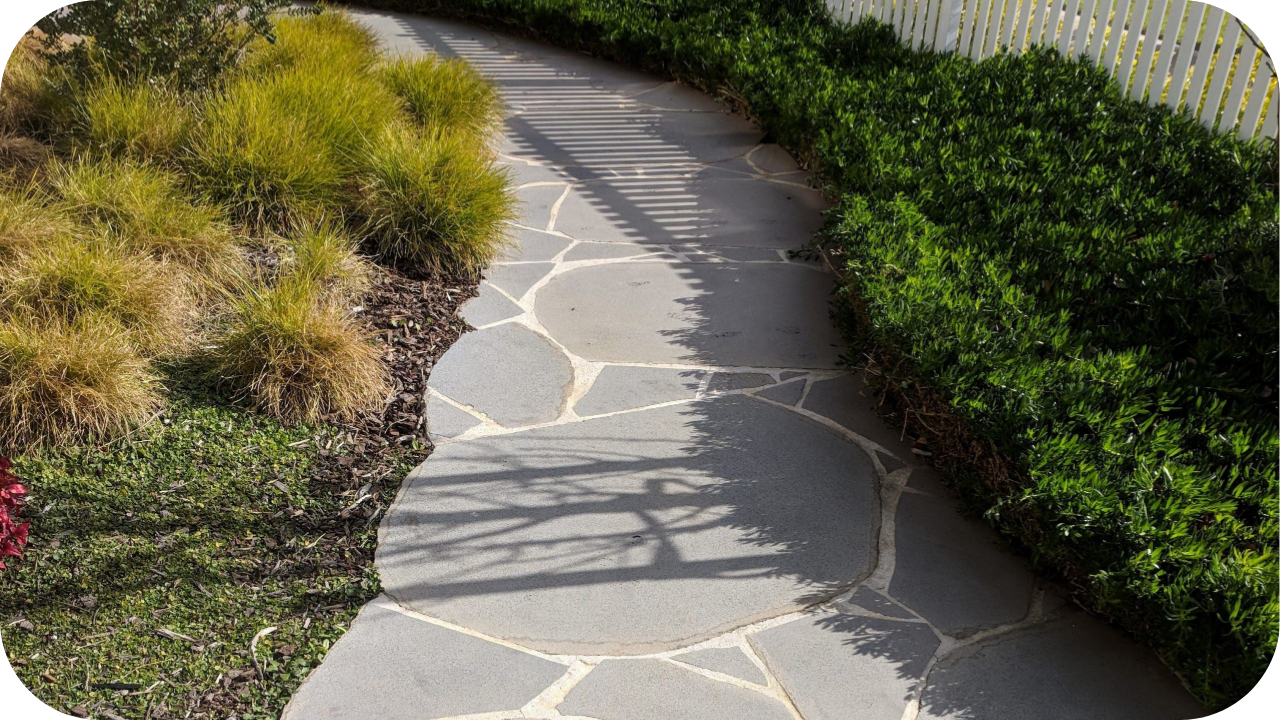
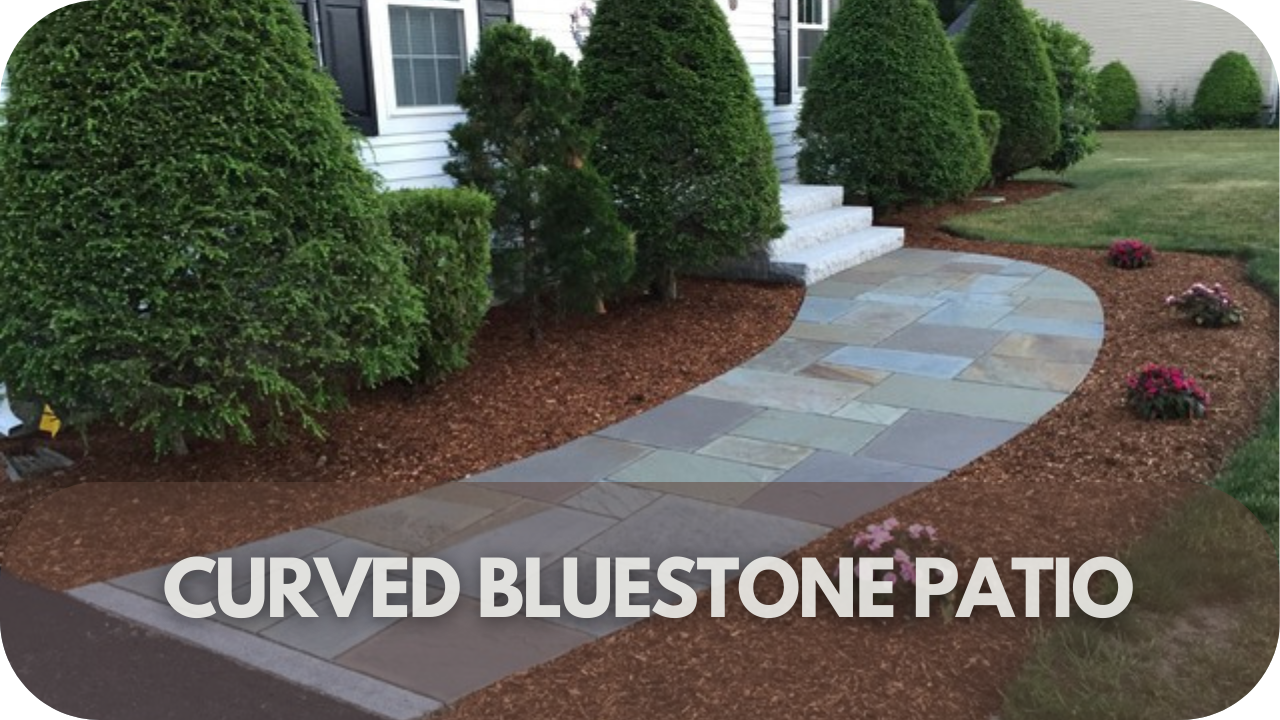
Pathways and Walkways
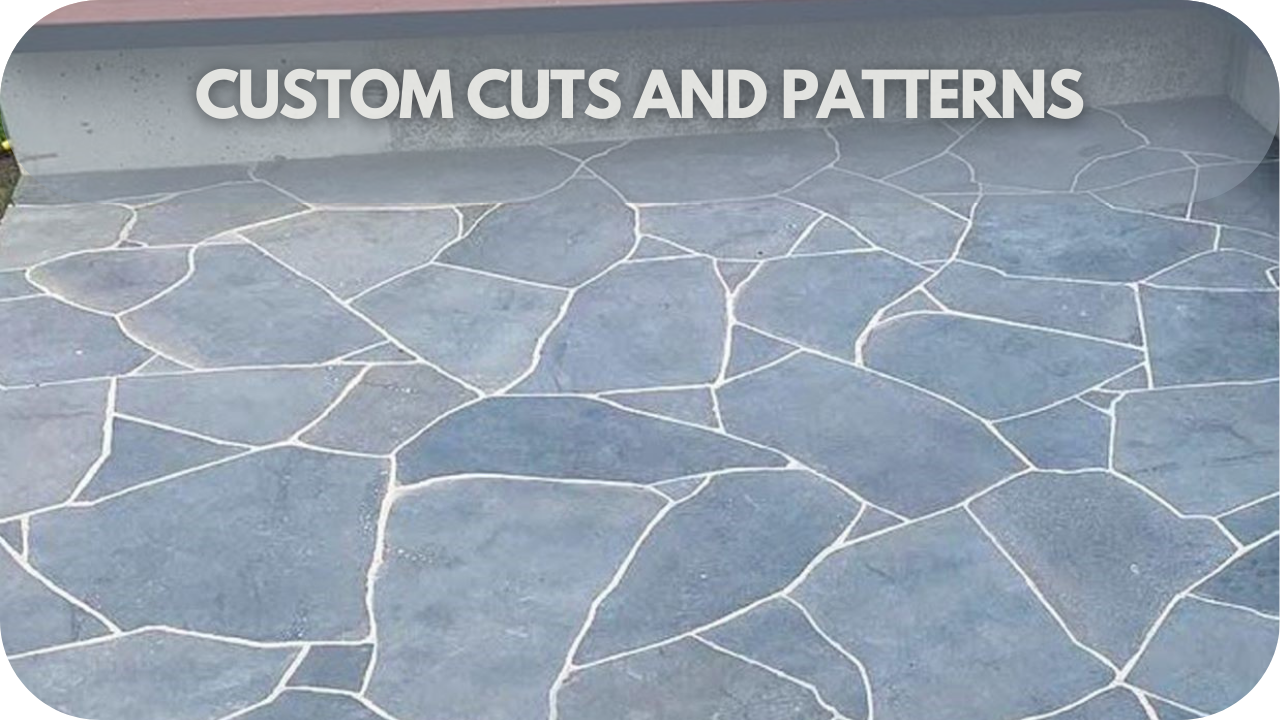
Natural stone tiles like granite, bluestone, and limestone are excellent for pathways and walkways, offering durability and a timeless look.
Textured or tumbled finishes provide better traction, reducing the risk of slipping, especially in wet conditions. Irregular-cut stones can create a rustic garden path, while uniform tiles suit more contemporary landscapes.
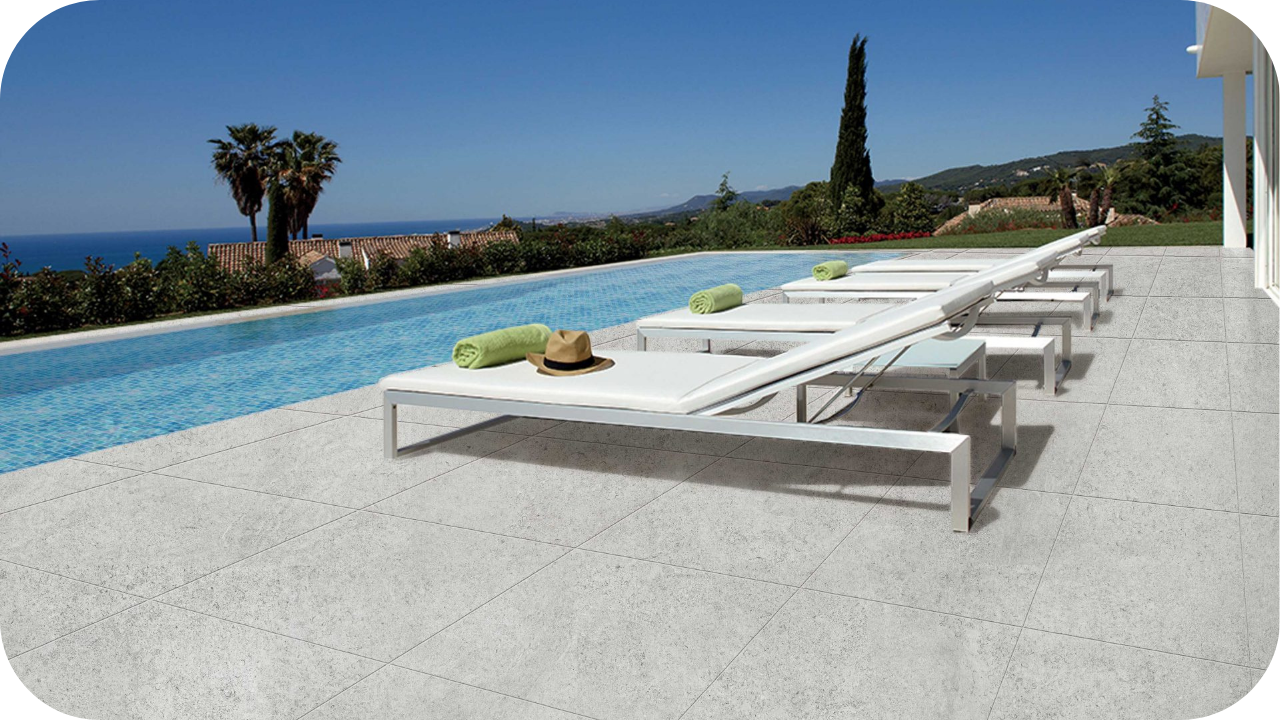
Pool Surrounds
For pool surrounds, stone tiles must be resistant to water damage. Travertine, limestone, and bluestone are popular choices, offering a cool surface underfoot even on hot days.
Lighter-coloured stones, such as pale sandstone, work well for a coastal-inspired pool area, while honed bluestone complements sleek, modern pool designs.
Driveways and Garage Floors
For driveways and garage floors, stone tiles must handle heavy loads and be frequently used. Granite, bluestone, and cobblestone pavers are excellent choices due to their high durability and strength. A flamed or textured finish provides additional grip, ensuring safety even during rainy conditions.
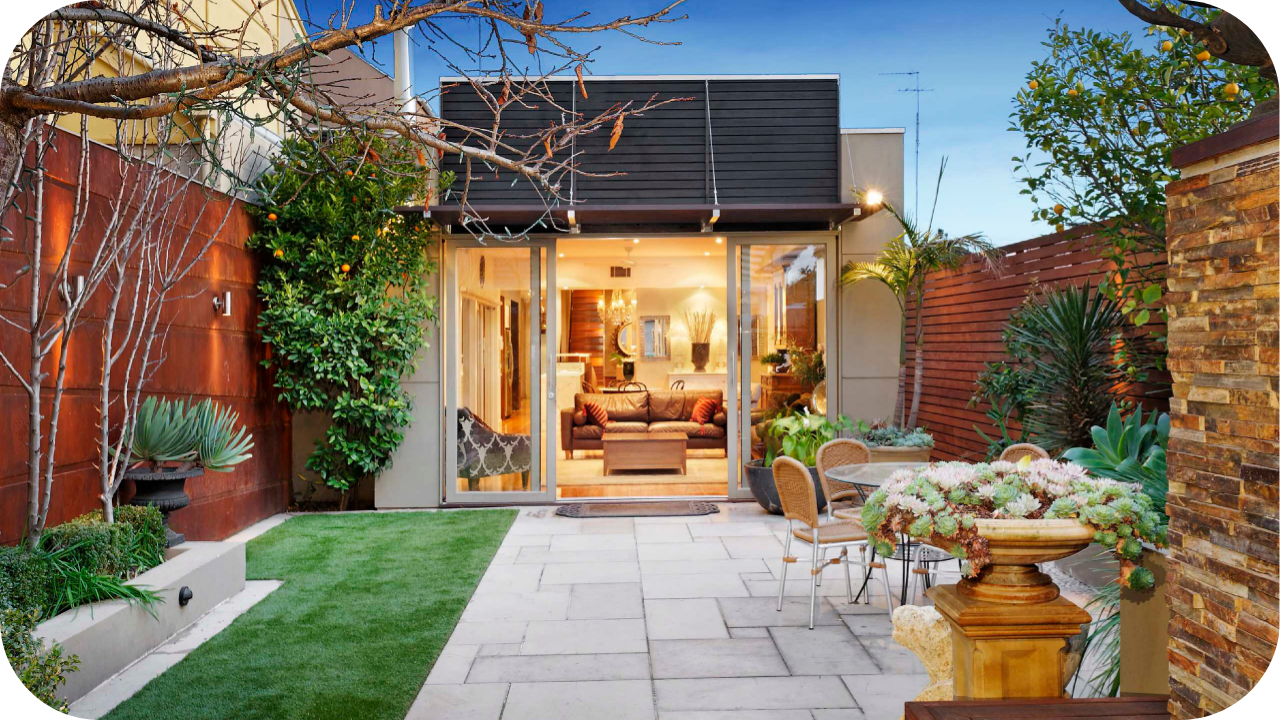
Courtyards and Garden Areas
In courtyards and garden spaces, stone tiles add a natural and inviting touch. Sandstone, limestone, and slate are commonly used to blend seamlessly with plants and outdoor features. These stones work well for garden seating areas, stepping stones, or decorative outdoor flooring.
Balconies and Rooftop Terraces
For balconies and rooftop terraces, lightweight yet durable stone tiles such as outdoor-grade porcelain, bluestone, or travertine are preferred.
These materials provide an elegant finish while offering excellent resistance to weather exposure and foot traffic. Lighter-coloured stones can help reflect heat, keeping the space comfortable.
Outdoor Feature Walls and Fire Pits
Stone tiles are also used for outdoor feature walls and fire pits, adding texture and character to an outdoor setting.
Stacked stone, slate, and limestone create stunning focal points in gardens or outdoor lounges, complementing fire pits, seating areas, or BBQ zones.
Benefits of Outdoor Stone Tiles
Victoria’s climate demands outdoor surfaces that are both durable and stylish. Outdoor stone tiles offer a perfect blend of natural beauty, resilience, and versatility, making them a preferred choice for patios, pathways, and more. Here’s why they stand out:
- Durability & Longevity – Natural stone is incredibly strong and can withstand heavy foot traffic, weather changes, and general wear and tear, making it a long-lasting investment.
- Weather Resistance – Many stone options, such as bluestone, granite, and sandstone, handle Victoria’s varying climate conditions, from scorching summers to wet winters, without cracking or fading.
- Rough Surface– Stones with textured or tumbled finishes, like travertine, sandstone, and bluestone, provide a safe, rough surface, making them ideal for pool surrounds, pathways, and patios.
- Low Maintenance – Unlike other materials, stone tiles require minimal upkeep. Regular sweeping and occasional sealing help maintain their appearance for years.
- Aesthetic Appeal – With a variety of colours, textures, and finishes available, stone tiles complement contemporary, rustic, and classic outdoor designs, adding a sophisticated touch to any space.
- Eco-Friendly Choice – Sourced from natural materials, stone tiles are a sustainable and environmentally friendly flooring option, especially when using locally quarried stones like bluestone.
- Temperature Regulation – Natural stone stays cool in the summer and retains warmth in colder months, creating a comfortable outdoor surface year-round.
- Versatile Applications – Whether used for patios, driveways, pool areas, garden paths, or feature walls, stone tiles adapt to various outdoor settings, enhancing the overall landscape.
- Adds Property Value – High-quality stone tiles elevate the aesthetic and functional appeal of a home, making it more attractive to potential buyers and increasing resale value.
Why Splendour in Stone is Your Go-To For Your Outdoor Stone Tiles in Victoria
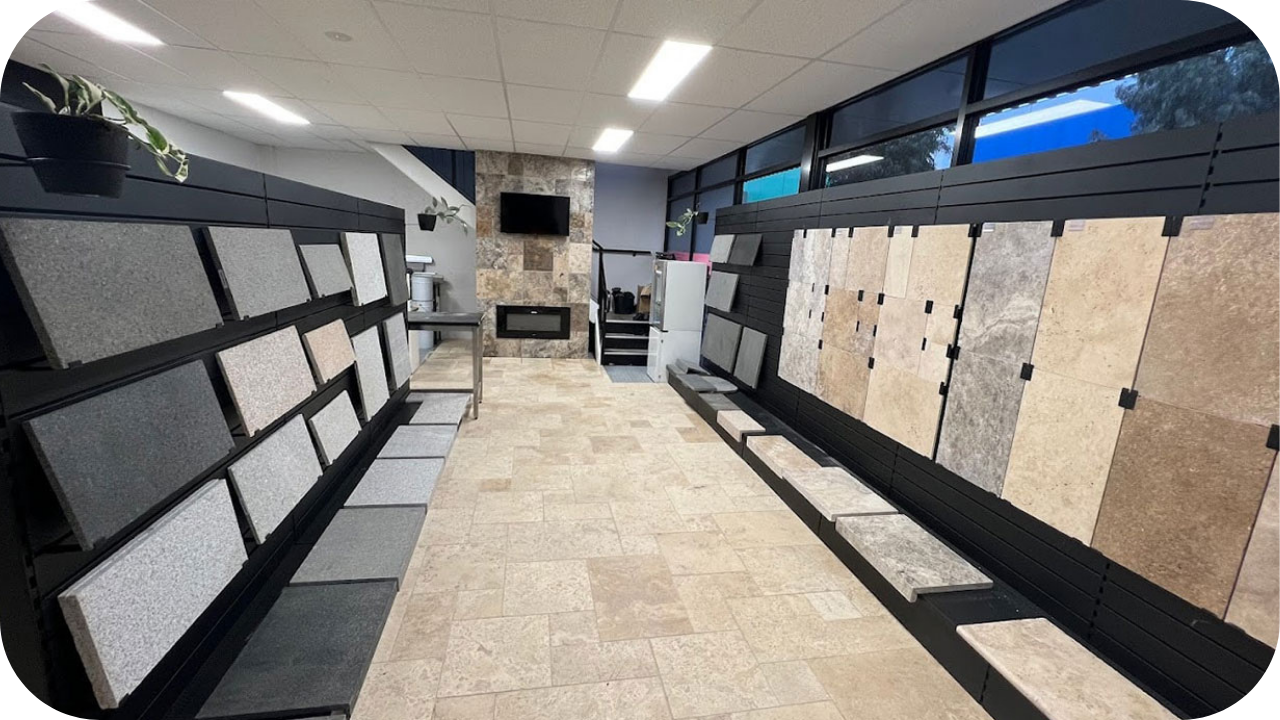
Splendour in Stone stands out as a premier choice for outdoor stone tiles in Victoria, offering a blend of artisanal craftsmanship, extensive experience, and a diverse range of high-quality natural stone products. Here’s why they should be your go-to provider:
- Artisanal Craftsmanship – Splendour in Stone emphasises the importance of creating pure, immersive, and lovingly handcrafted spaces. Their commitment to artisanal, innovative natural stone cladding reflects a dedication to quality and aesthetic excellence.
- Extensive Experience – With years of experience in the industry, Splendour in Stone has built a reputation for providing outstanding service. They supply both interior and exterior natural stone for residential and commercial projects, ranging from small poolside paving to large apartment complex walling.
- Diverse Product Range – Their offerings include a wide array of natural stone walling options, such as ledge stone and freeform profiles. Each piece is approximately 30mm thick and varies in size, ensuring a unique and tailored fit for every project.
- Comprehensive Services – Splendour in Stone provides free in-home measures and quotes across Victoria, ensuring personalised service. They also offer Australia-wide delivery, making their products accessible for various projects. citeturn0search6
- Innovative Solutions – They offer Z panel options in Hotham, Blue Ridge, and Kakadu, which are 600 x 200 panels fitted with a mesh backing, simplifying the installation process while maintaining aesthetic appeal.
Conclusion
Transform your outdoor space with the timeless beauty and durability of natural stone. Splendour in Stone offers high-quality stone tiles, expert craftsmanship, and personalised service to bring your vision to life.
Whether you’re upgrading a patio, pool area, or garden, we have the perfect solution for you. Contact us today for a free quote and expert advice! Visit Splendour in Stone to get started.