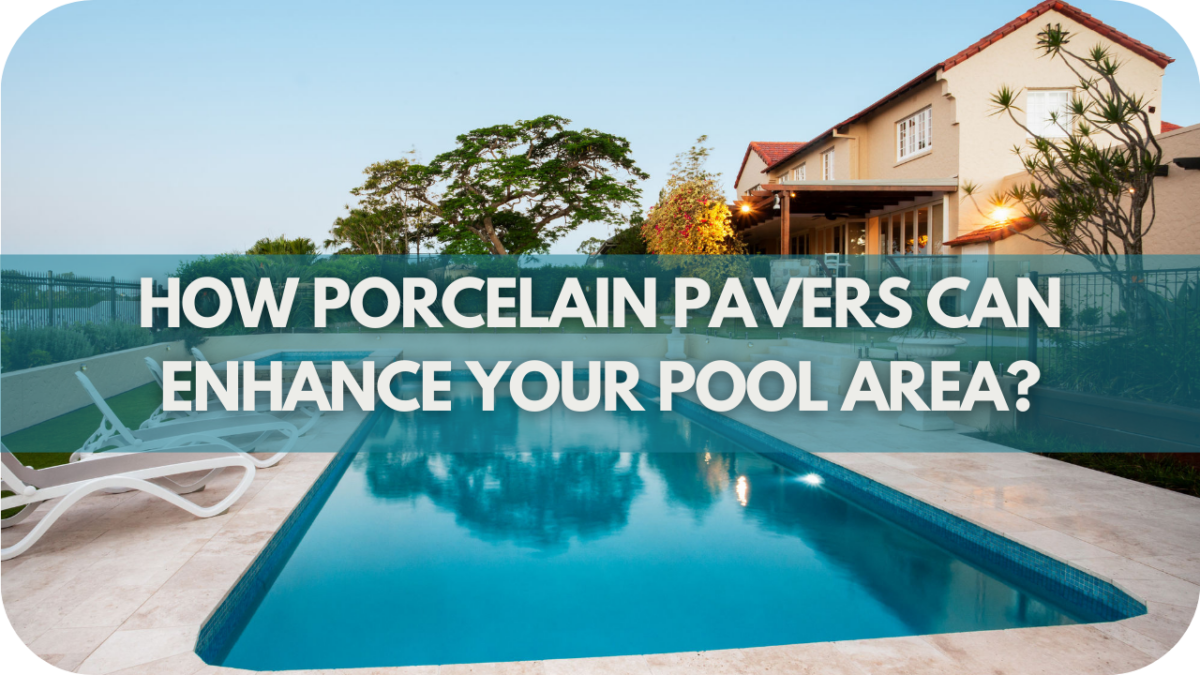
Porcelain Pavers for Sleek, Modern Outdoor Spaces
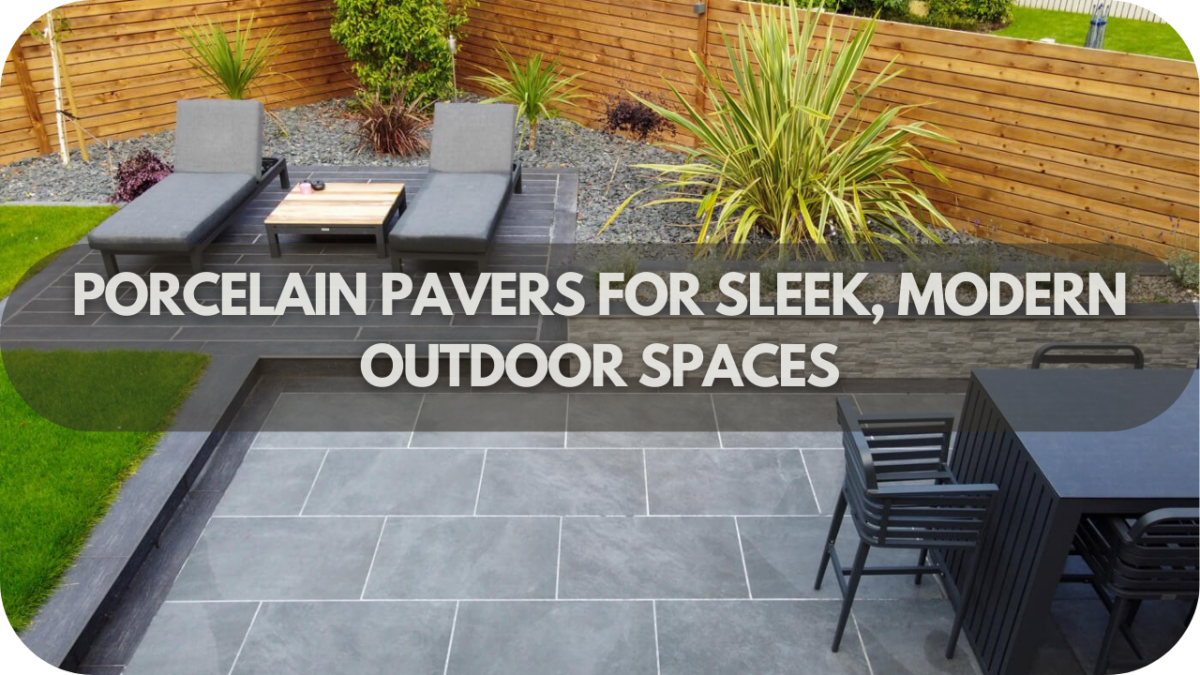
Imagine entering your outdoor space and being greeted by a sleek, modern patio that resembles an extension of your home’s luxury. The surface beneath your feet is smooth yet sturdy, resisting stains, moisture, and wear over time.
Porcelain pavers have redefined outdoor living, combining contemporary aesthetics with unparalleled durability. Porcelain pavers offer a stylish and practical solution, whether designing a chic alfresco dining area, a sophisticated poolside retreat, or a high-end garden walkway. But are they worth the investment? Let’s dive into why they’re the go-to choice for modern outdoor spaces.
Why Choose Porcelain Pavers for Modern Outdoor Spaces?
When creating a contemporary outdoor area, porcelain pavers stand out for their refined elegance, durability, and practicality. Their high-end appearance mimics natural stone, wood, or concrete while offering superior performance.
- Modern aesthetics: Clean lines, uniform finishes, and various colours help achieve a sleek, sophisticated look.
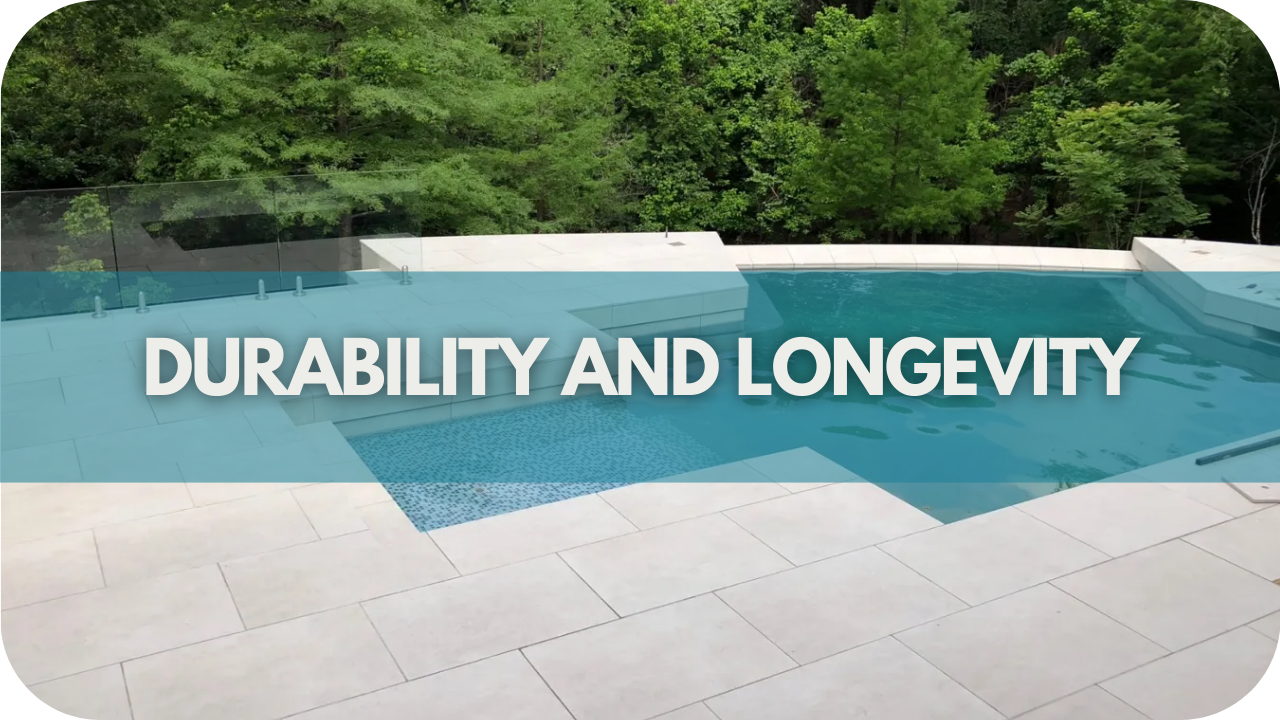
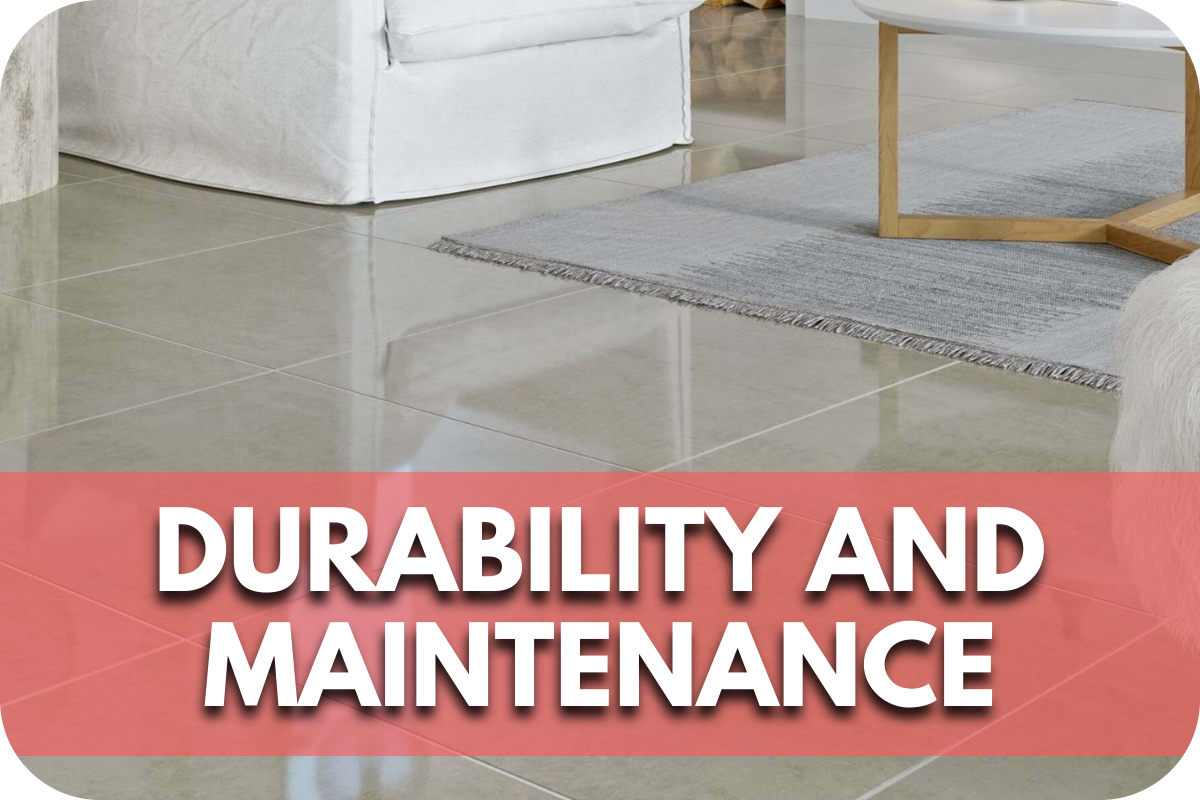
- Unmatched durability: Unlike traditional paving materials, porcelain is scratch-resistant, stain-proof, and does not fade under UV exposure.
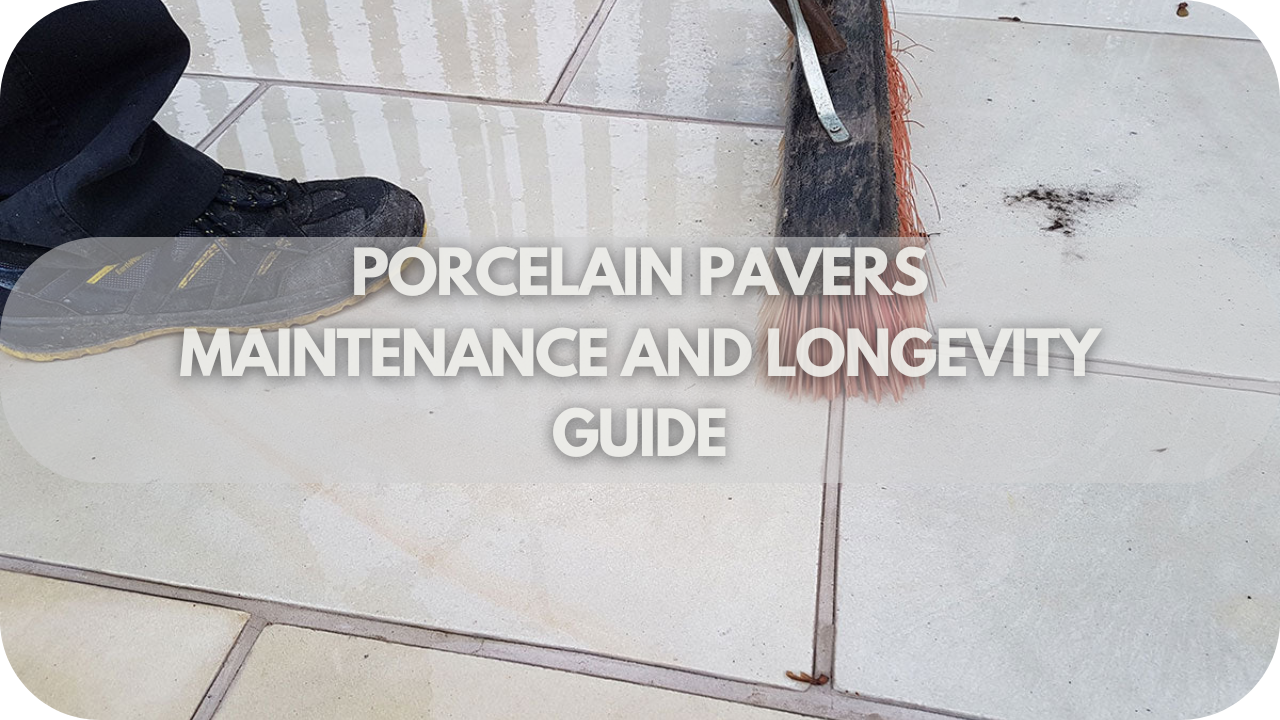
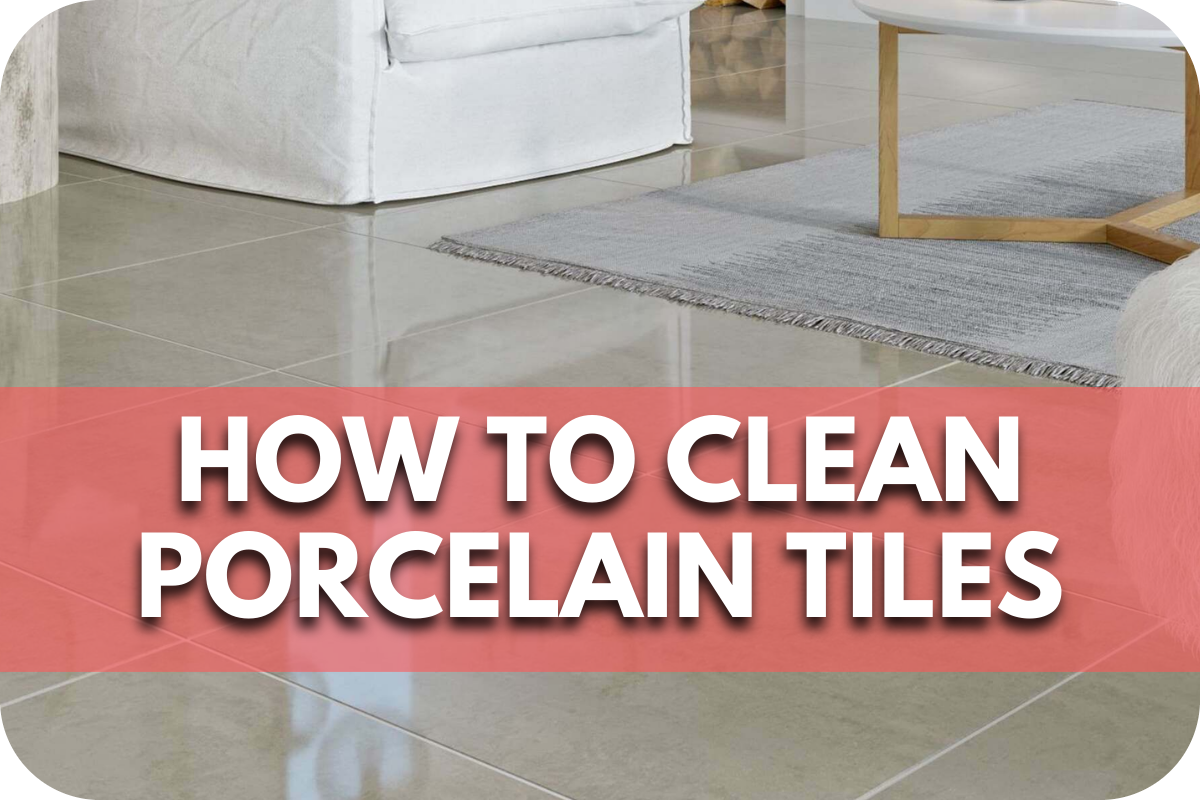
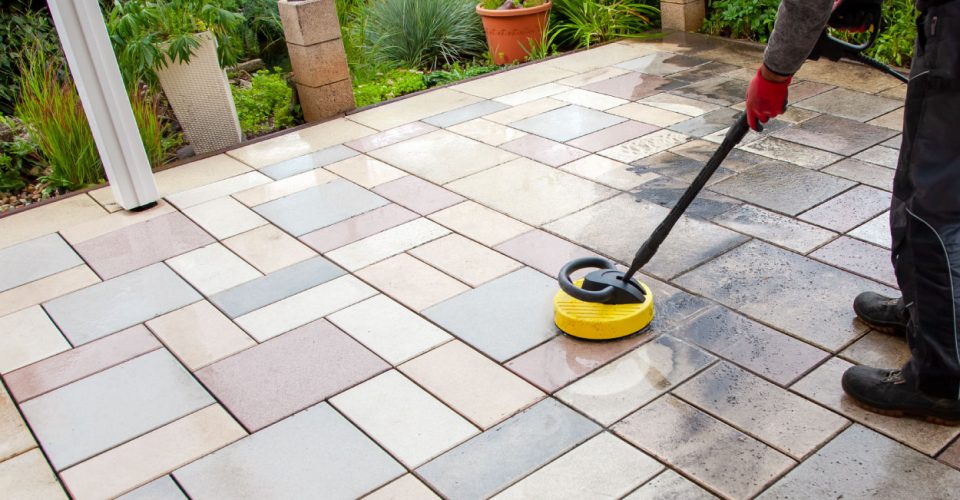
- Low maintenance: A simple wash keeps them looking new without sealing or resurfacing.
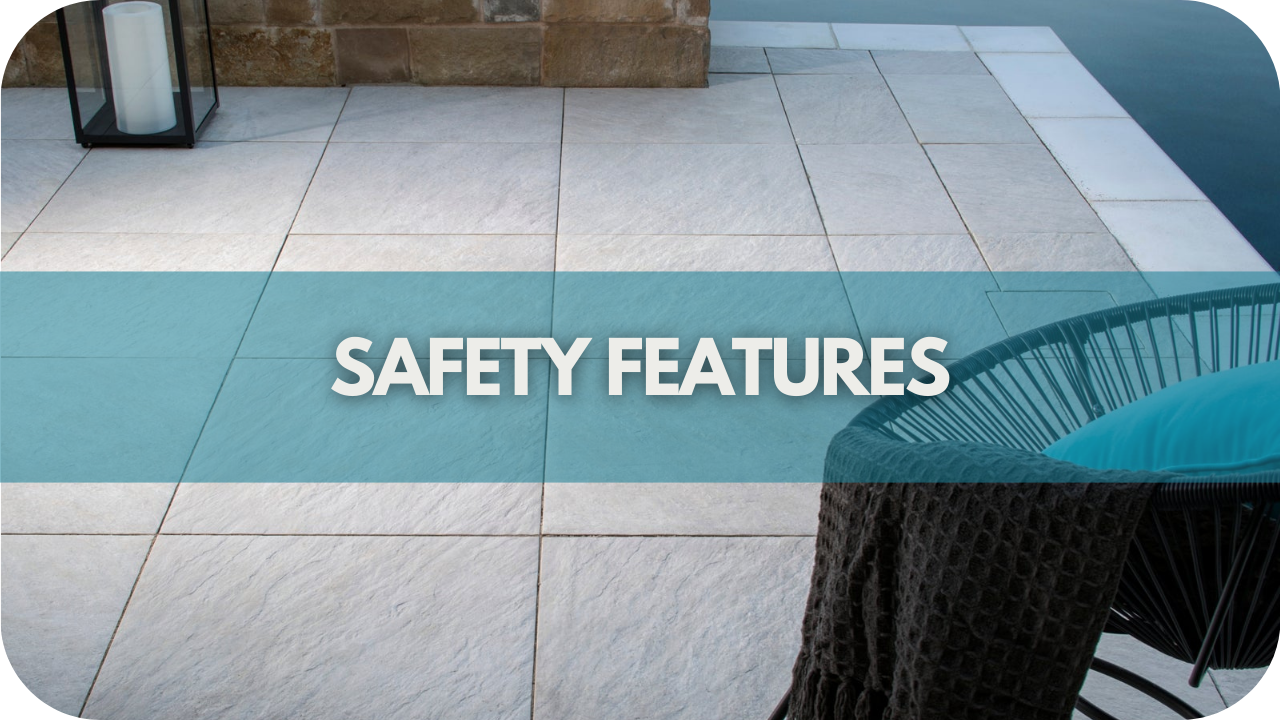
- Slip resistance: Their textured surfaces make them a safe choice, even in wet areas like pool decks.
- Weather resistance: Porcelain pavers do not absorb water and withstand extreme temperatures, making them perfect for all climates.
- Eco-friendly option: Many porcelain pavers are made from recycled materials and require fewer resources to maintain, reducing environmental impact.
- Consistent colour and texture: Unlike natural stone, porcelain pavers maintain a uniform appearance, ensuring a seamless and polished look over time.
Design Ideas with Porcelain Pavers
Transforming your outdoor space into a stylish retreat starts with the right design choices. With a wide range of colours, textures, and formats, porcelain pavers allow you to create a unique and elegant setting that blends seamlessly with your home’s architectural style.
Whether you prefer a sleek, contemporary patio or a rustic-inspired garden walkway, the versatility of porcelain pavers opens up endless possibilities.
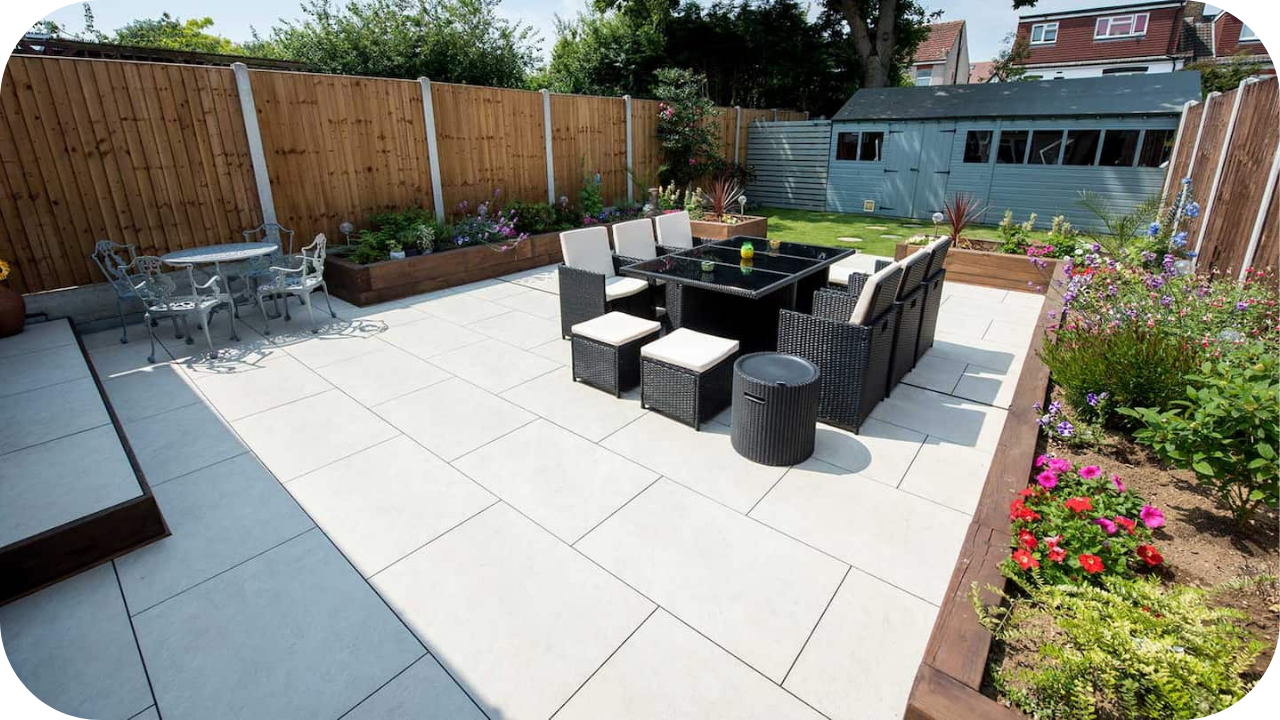
1. Large-Format Tiles for a Seamless Look

Large-format porcelain pavers (900x900mm or larger) are a game-changer for those who love a minimalist aesthetic. These oversized tiles create a seamless, uninterrupted flow, making outdoor areas appear more expansive and sophisticated.
Using fewer grout lines enhances the feeling of openness and continuity, which is ideal for modern patios, pool decks, and alfresco spaces. Their uniformity also reduces visual clutter, resulting in a clean, polished look that complements contemporary architecture.
Beyond aesthetics, large-format pavers are practical. They’re easy to clean, require minimal maintenance, and resist stains, scratches, and moisture absorption. Whether you opt for a matte, textured, or polished finish, these oversized tiles deliver a high-end look with long-term durability.
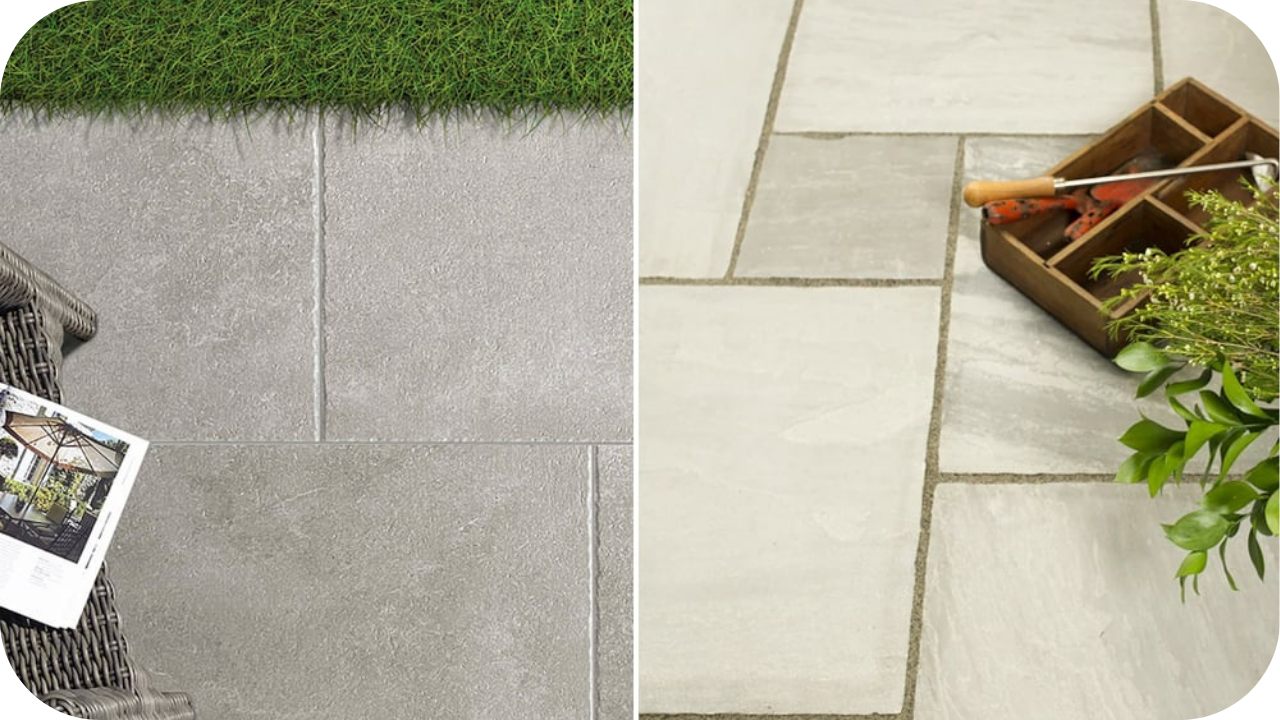
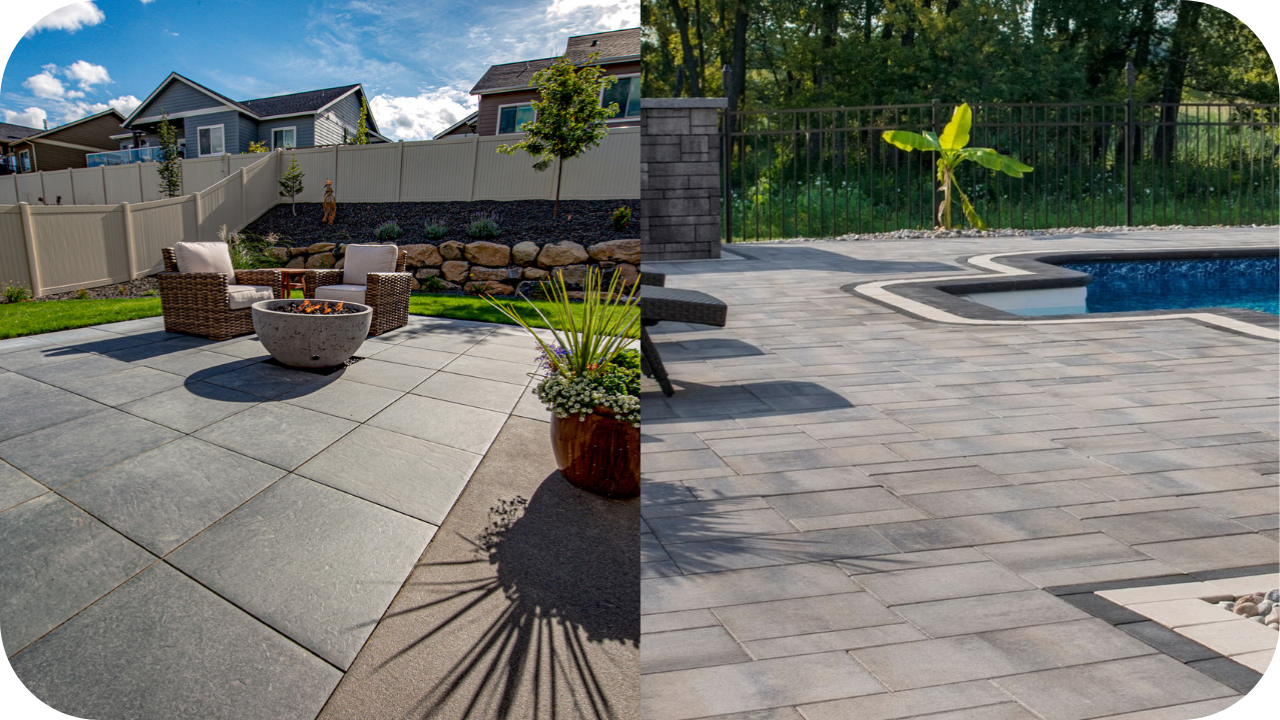
2. Neutral Tones vs. Bold Statement Colours
The colour of your pavers plays a crucial role in defining the mood and style of your outdoor space. Whether you aim for a subtle, contemporary atmosphere or a dramatic focal point, porcelain pavers offer a diverse palette to match your vision.
Neutral shades like greys, beiges, and whites create a light and airy feel, perfect for modern, minimalistic designs. Darker hues like charcoal, black, and deep brown add contrast and depth, working well in outdoor lounges and driveways, offering a luxurious aesthetic.
Earthy tones such as taupe, sand, and terracotta introduce warmth and are ideal for rustic or Mediterranean settings, creating an inviting atmosphere. These colours harmonise with natural surroundings and enhance the outdoor aesthetic, pairing well with stone and wooden elements.
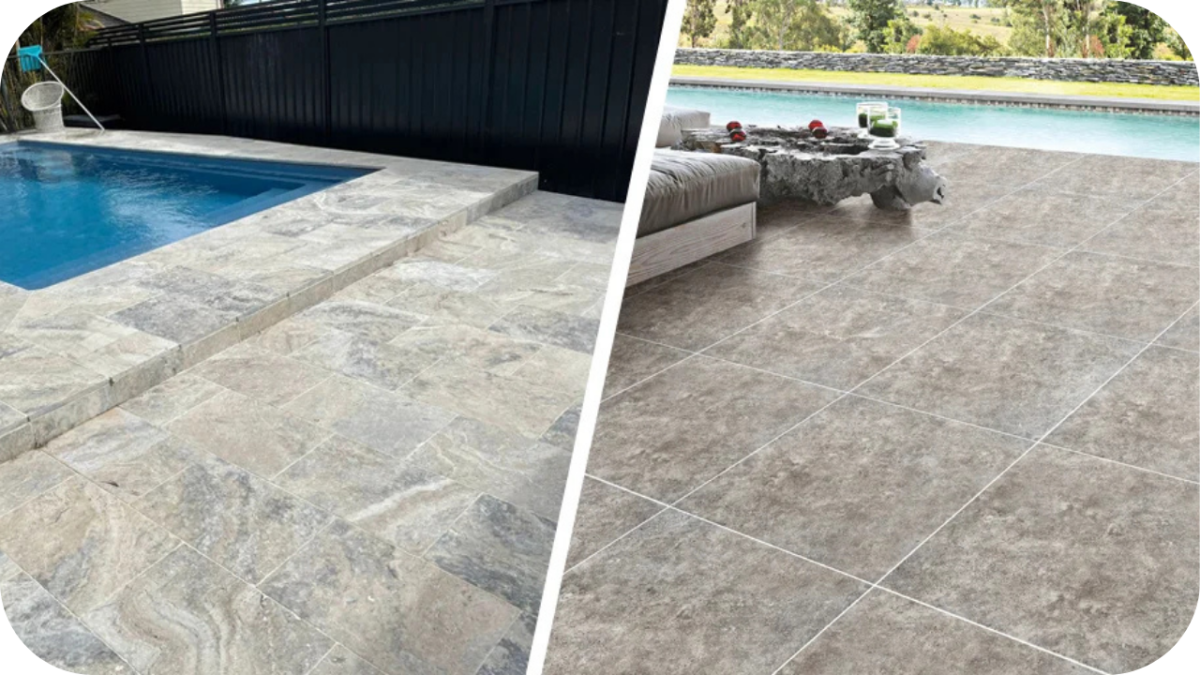
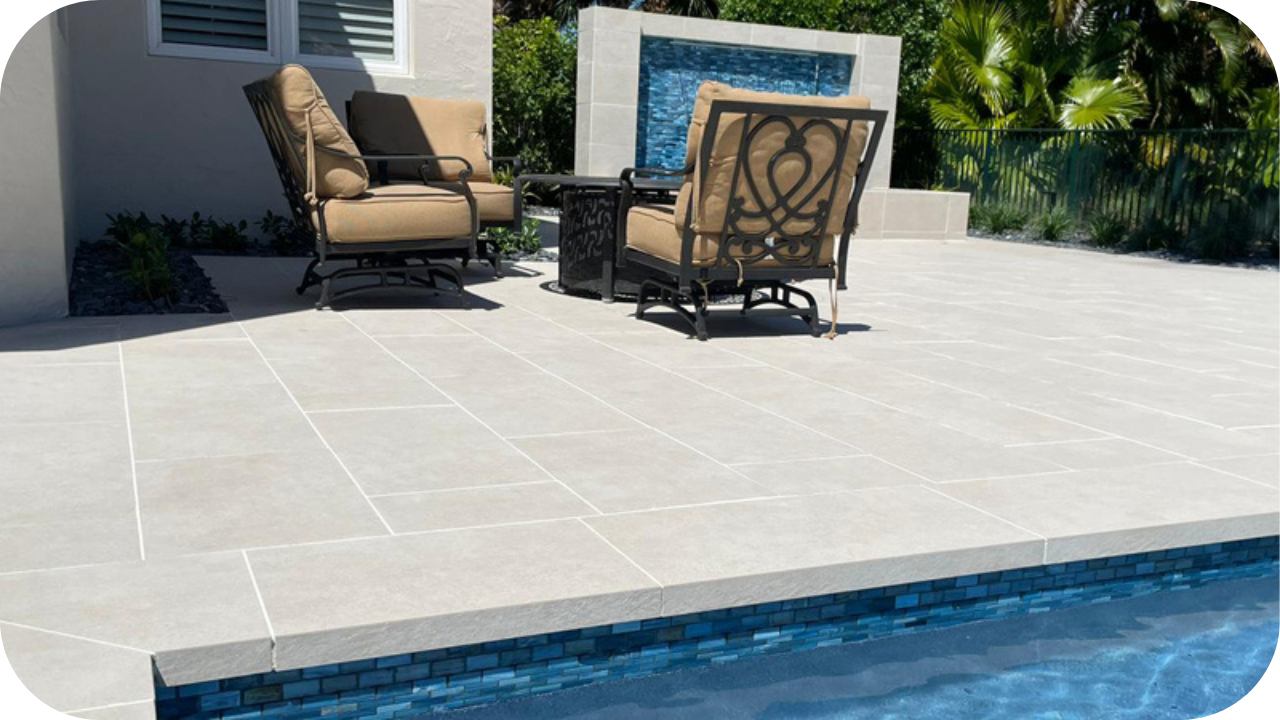
3. Wood-Look and Stone-Look Porcelain

If you admire the beauty of natural materials but dislike the maintenance they require, wood-look and stone-look porcelain pavers offer the perfect alternative. They capture the rich textures and intricate details of natural wood and stone while providing porcelain’s superior durability and low-maintenance benefits.
Wood-look porcelain pavers mimic timber’s warmth and organic appeal without the risk of warping, rotting, or fading. Unlike real wood, they are entirely resistant to moisture, pests, and extreme weather conditions. Stone-look porcelain replicates luxurious materials such as marble, limestone, and travertine.
Porcelain is non-porous, making it an excellent option for outdoor spaces exposed to rain and humidity. It delivers the sophisticated aesthetic of real stone while being scratch-resistant, fade-proof, and incredibly easy to maintain, offering a luxurious appearance with minimal upkeep.
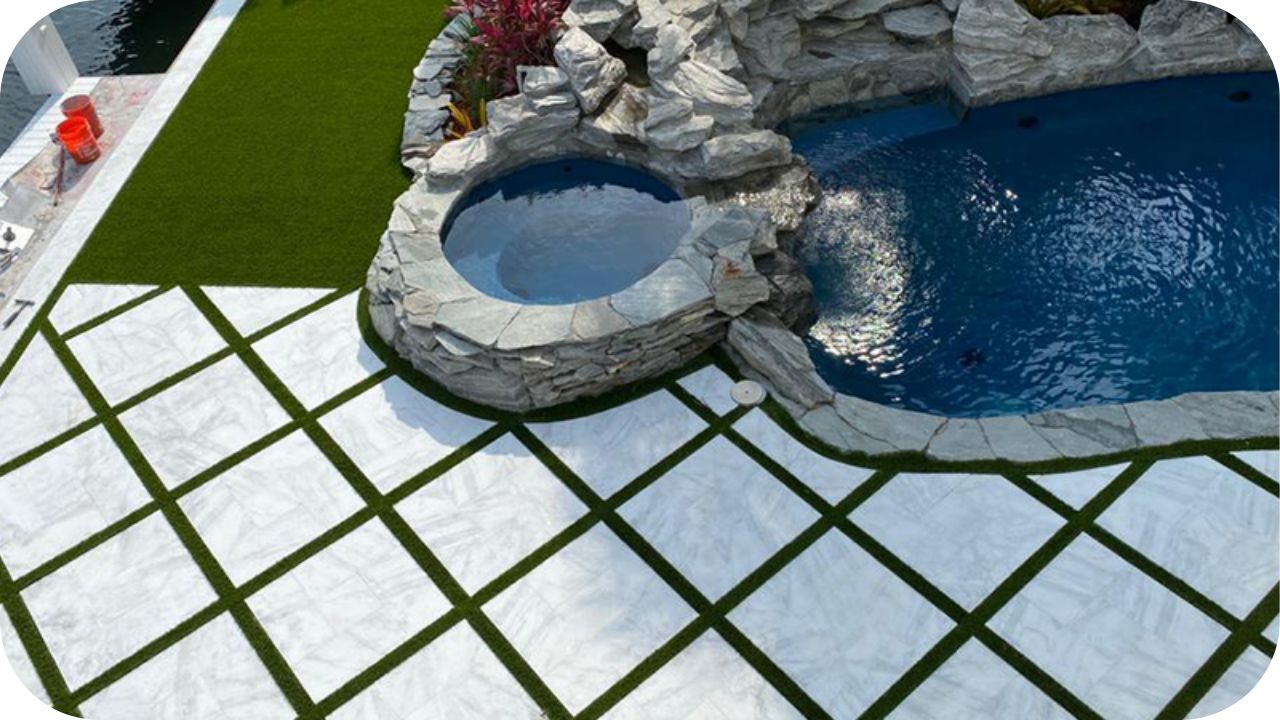
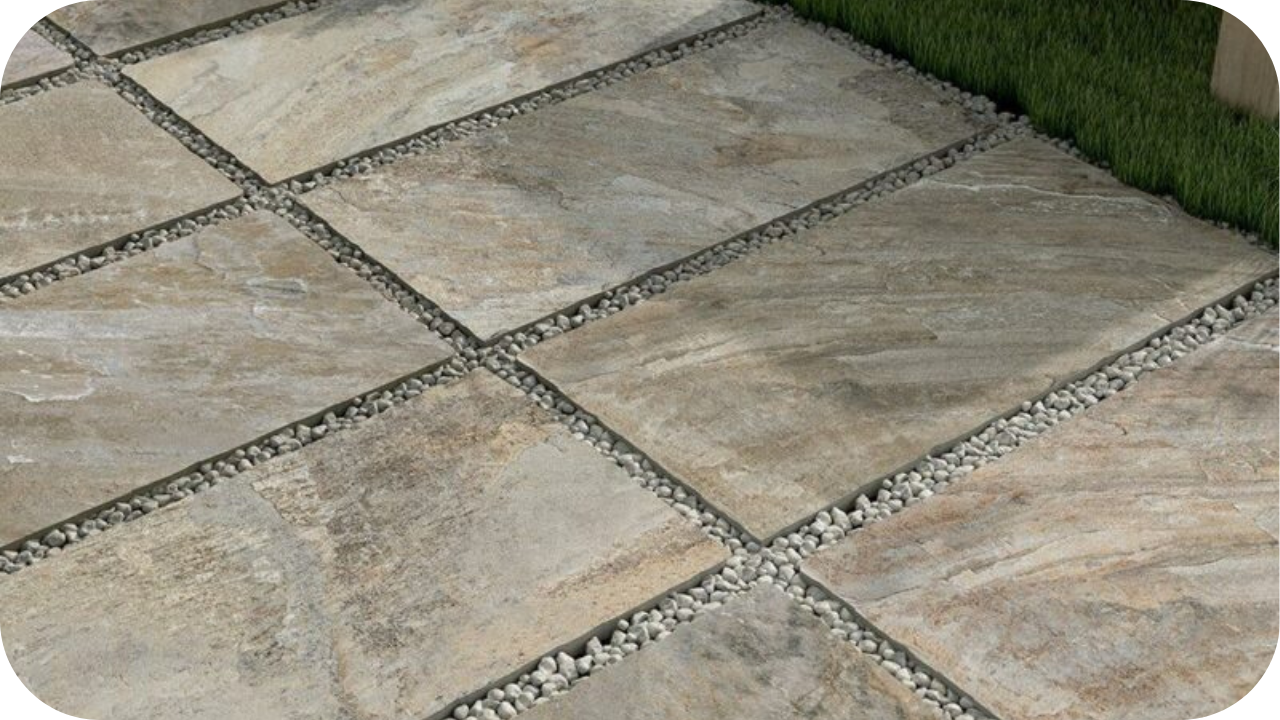
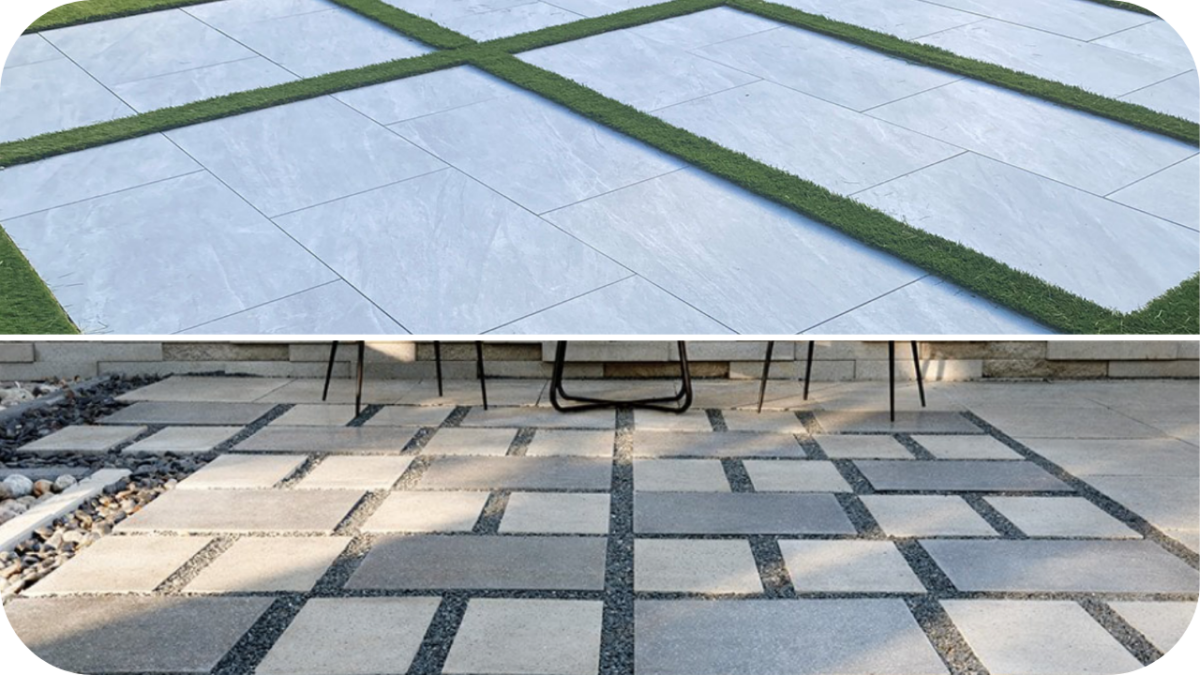
4. Blending Pavers with Landscaping
The key to a truly breathtaking outdoor space is how well different elements unite. Porcelain pavers can transform a standard patio, garden, or driveway into a visually stunning and functional retreat.
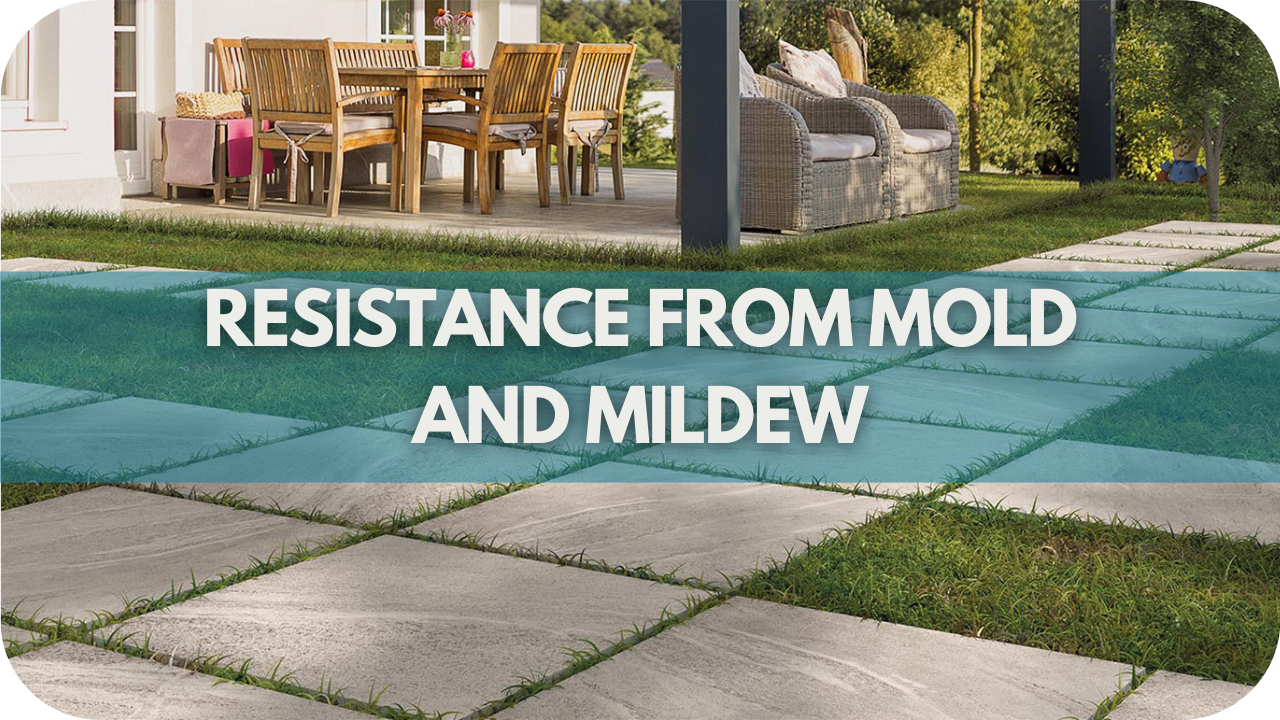
Integrating porcelain with natural textures enhances aesthetics and usability. Grass joints between pavers introduce an organic, relaxed feel, perfect for garden pathways or courtyards, creating a striking visual balance.
Gravel borders provide texture and contrast, breaking up hard lines and adding depth to pathways, patios, or driveways. This technique also aids in drainage, preventing water buildup. Strategic lighting can elevate your outdoor space into an inviting retreat after sunset.
LED strip lighting or spotlights highlight walkways, driveways, or patios, creating a sophisticated evening ambience while accentuating the beauty of your porcelain paving.
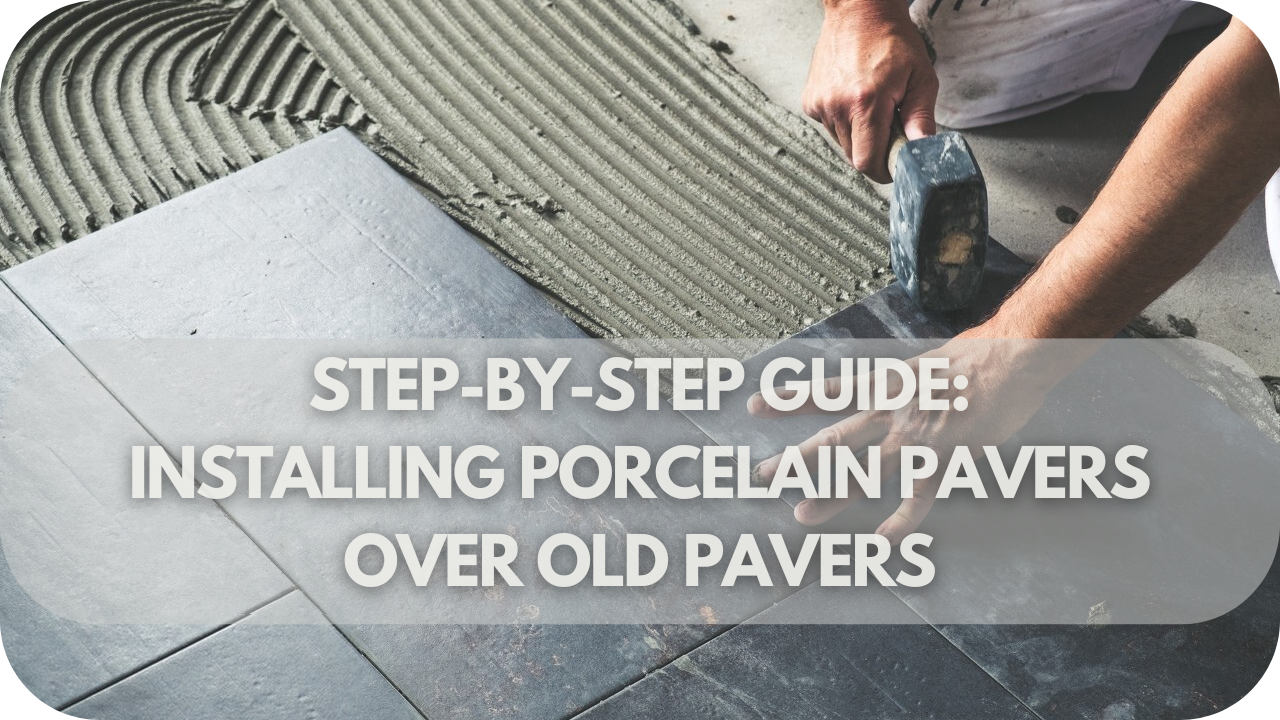
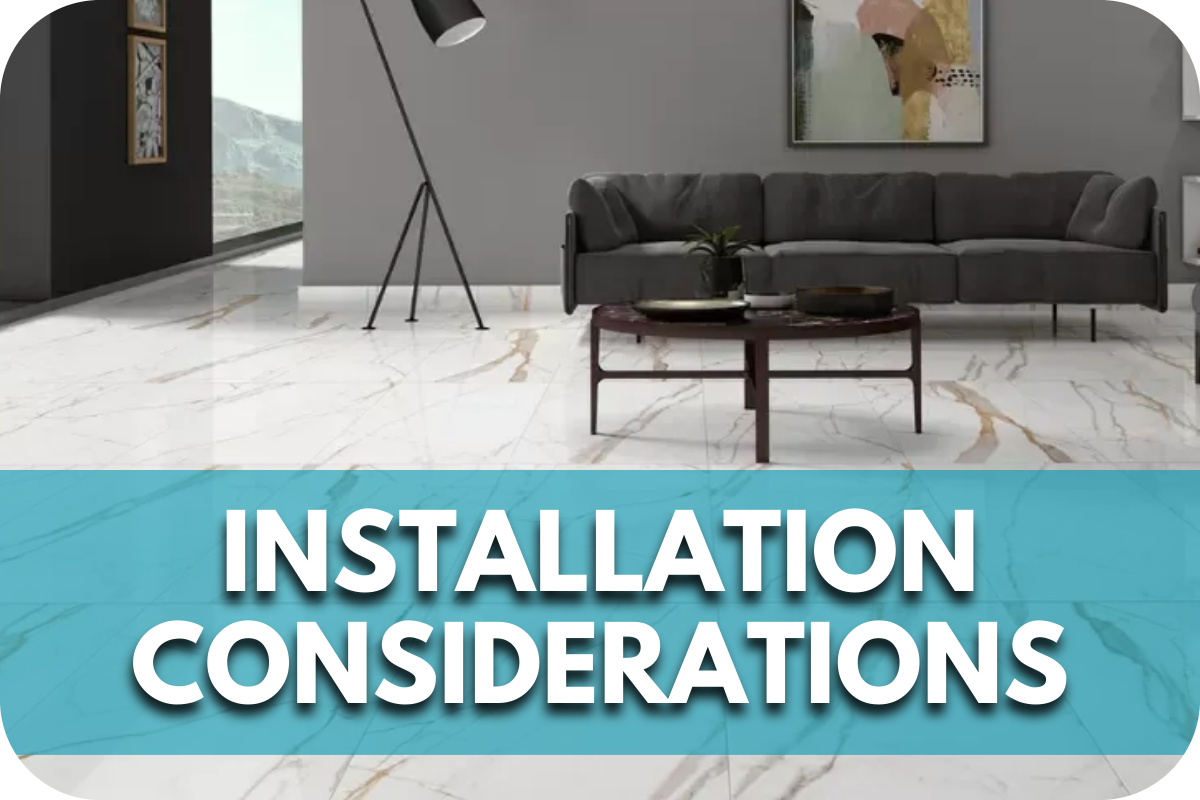
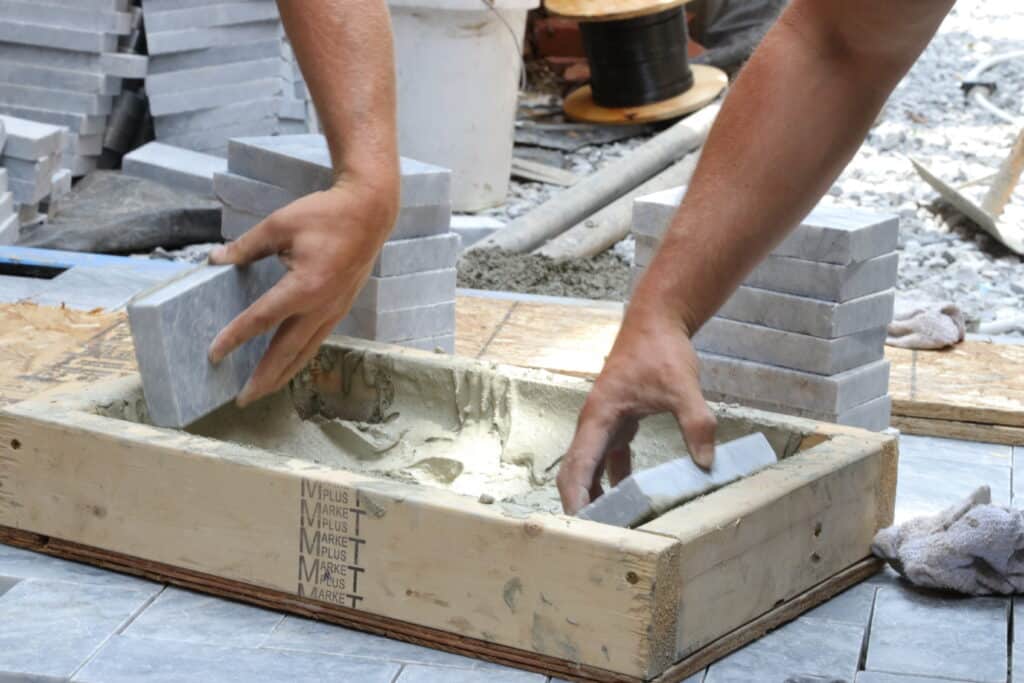
Installation Tips for a Flawless Finish

Proper installation is key to maximising the longevity and beauty of porcelain pavers. Following these best practices ensures stability, durability, and a seamless finish.
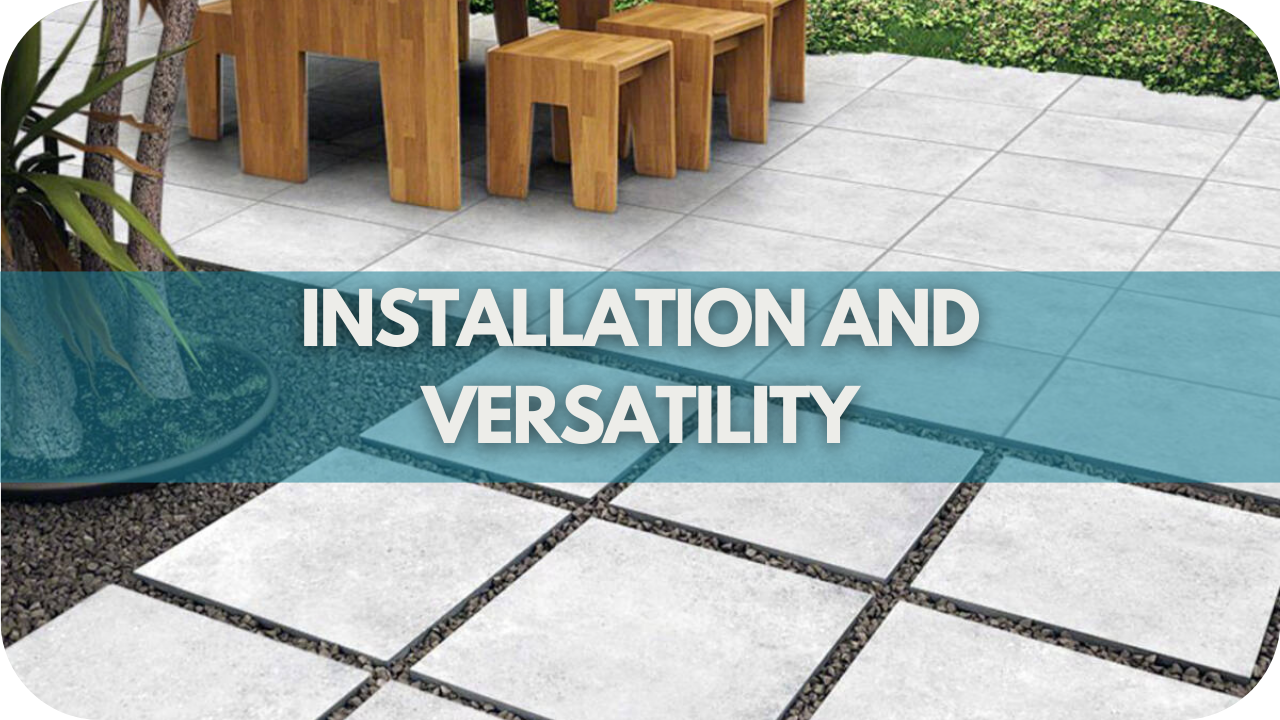
- Choosing the Right Base: A compacted gravel and sand base provides stability and drainage, preventing pavers from shifting or settling over time.
- Grout vs. Dry-Lay Installation: Grout installation creates a fixed, seamless surface ideal for patios and driveways. In contrast, dry-lay installation allows flexibility and easy replacement and is perfect for terraces and pathways.
- Ensuring Proper Drainage: Since porcelain pavers do not absorb water, a slight slope directs runoff, preventing water pooling and slipperiness.
- Spacing and Sealing Best Practices: A 3-5mm gap between tiles allows for expansion and prevents cracking, ensuring a polished, long-lasting finish.
Final Thoughts
Porcelain pavers bring elegance, durability, and practicality to modern outdoor spaces. Whether you’re designing a minimalist patio, a poolside oasis, or a durable driveway, these pavers offer superior performance over traditional materials. Their weather resistance, low maintenance, and sleek aesthetics make them a top choice for contemporary outdoor design.
If you’re considering an upgrade, now is the perfect time. Explore premium porcelain paver collections, consult with us, or request samples to find the ideal match for your outdoor space.