Are you struggling with stained or cracked grout lines that ruin the look of your beautiful tiles?
Unprotected grout can lead to unsightly stains, mould growth, and costly repairs, leaving your tiles aged and neglected.
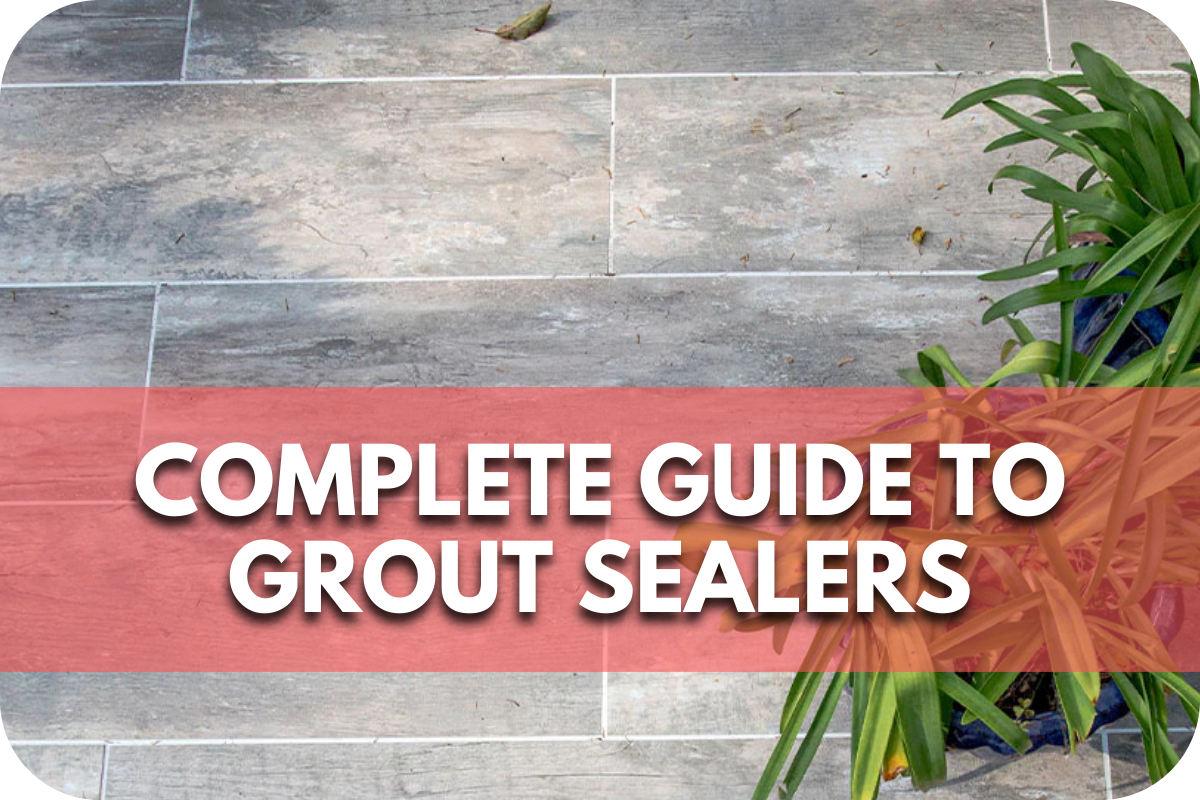
Our Complete Guide to Grout Sealers provides expert advice on choosing the right sealer, ensuring long-lasting protection, and maintaining the pristine appearance of your tiled surfaces.
What is a Grout Sealer?

A Grout sealer is a crucial product to protect the grout lines between your tiles. Acting as a barrier, it prevents water, dirt, and stains from penetrating the grout’s porous surface.
Without this protection, grout can easily absorb moisture and debris, leading to discolouration, mould growth, and structural damage.
There are two primary grout sealers: penetrating and membrane-forming sealers. Penetrating sealers, or impregnators, seep into the grout and form a protective shield within its pores.
This type is ideal for areas exposed to water, such as bathrooms and kitchens, as it allows the grout to breathe while keeping moisture out.
On the other hand, membrane-forming sealers create a protective layer on the grout surface. These are excellent for preventing stains and are often used in areas with less moisture exposure, like living rooms or hallways.
Why You Need to Seal Your Grout
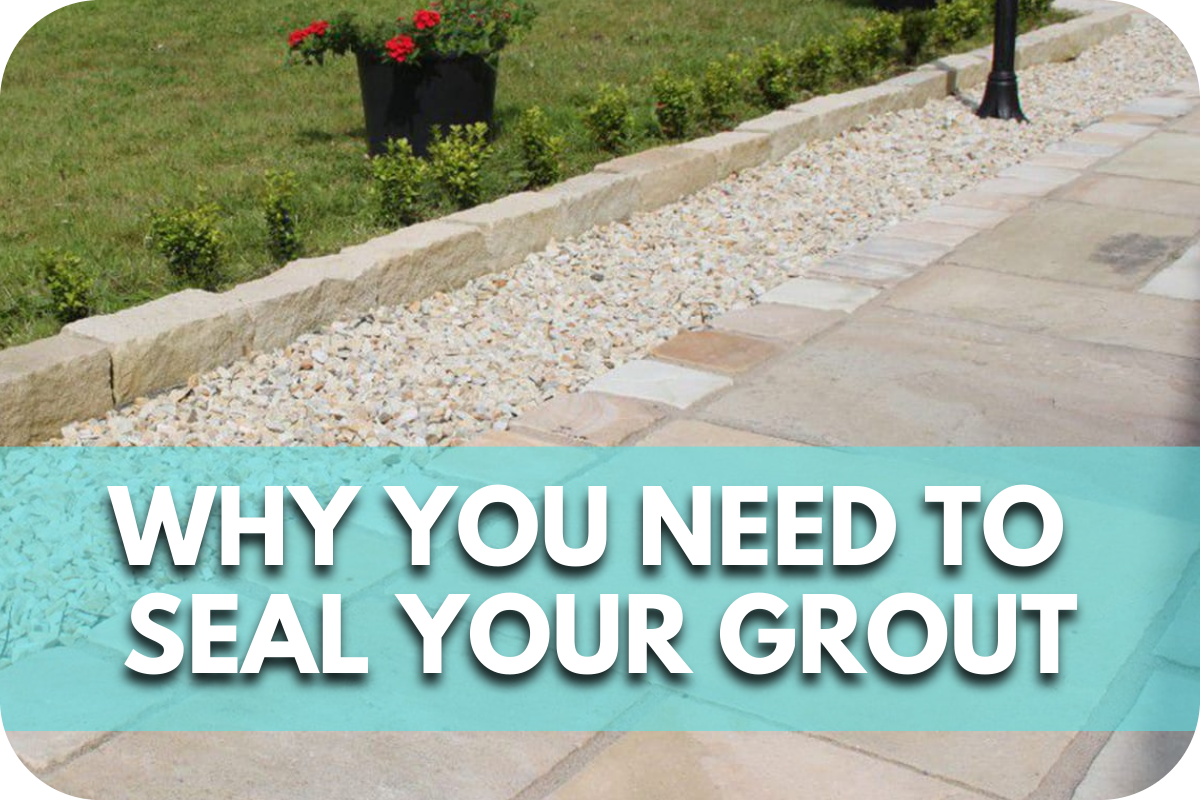
Sealing your grout is a vital maintenance step for any tiled surface. It protects against stains and dirt, as grout is naturally porous and prone to absorbing spills. A sealer acts as a barrier, preventing dirt and liquids from penetrating and keeping your tiles looking clean and new.
Additionally, sealing grout prevents the growth of mould and mildew, especially in damp environments like bathrooms, by inhibiting moisture from seeping in. Sealed grout is also more resistant to wear and tear, helping maintain its structural integrity and reducing the chances of cracking and crumbling.
This makes sealed grout easier to maintain, as stains sit on the surface rather than soaking in, simplifying your cleaning routine. Moreover, using a grout sealer prolongs the aesthetic appeal of your tiled surfaces by protecting them from stains, dirt, and damage.
Types of Grout Sealers

Choosing the right grout sealer is crucial for ensuring the longevity and appearance of your tiled surfaces. There are primarily two types of grout sealers: penetrating sealers and membrane-forming sealers.
- Penetrating Sealers absorb into the grout, creating a barrier that repels water and stains from within. These sealers are ideal for areas prone to moisture, such as bathrooms and kitchens, as they allow the grout to breathe and prevent mould growth. Penetrating sealers are often made from silicone or latex, providing excellent protection without altering the appearance of the grout.
- Membrane-forming sealers form a protective layer on the surface of the grout. These sealers suit areas with lower moisture levels, like living rooms or hallways. They can add a slight sheen to the grout, enhancing its colour and texture. However, they may not be suitable for high-moisture environments as they can trap water, leading to potential damage.
How to Choose the Right Grout Sealer

Choosing the right grout sealer is crucial for maintaining the durability and appearance of your tiled surfaces. To ensure optimal protection, consider the following factors:
- Type of Sealer: Grout sealers have two main types: penetrating and membrane-forming. Penetrating sealers absorb moisture into the grout and protect it from within, making them ideal for areas exposed to moisture, like bathrooms and kitchens. Membrane-forming sealers create a protective layer on the grout surface, which is best suited for low-moisture areas.
- Grout and Tile Type: Match the sealer to your grout and tile type. For instance, natural stone tiles require a sealer compatible with the tile and the grout to prevent discolouration or damage.
- Durability and Longevity: Evaluate the sealer’s durability. High-quality sealers often offer longer-lasting protection, reducing the need for frequent reapplication. Look for products with a reputation that lasts several years.
- Ease of Application: Consider the application process. Some sealers are easy to apply with a spray bottle, while others require a brush or roller. Choose one that matches your DIY skills and project size.
- Environmental Factors: For outdoor applications, select a sealer that can withstand UV rays and extreme weather conditions. Indoor sealers should be resistant to household chemicals and stains.
Step-by-Step Guide to Applying Grout Sealer

Applying grout sealer correctly is essential for ensuring long-lasting protection. Follow these precise steps to achieve professional results:
- Preparation: Clean the grout lines thoroughly to remove dirt, grease, and stains. Use a grout cleaner or a mixture of water and vinegar. Allow the grout to dry completely, as the sealer applied to the damp grout will not adhere properly.
- Selecting the Right Sealer: Choose a sealer appropriate for your grout and tile type. Refer to the product instructions for compatibility and usage guidelines.
- Application Tools: Gather the necessary tools, such as a small brush, sponge, applicator bottle, or roller, depending on the sealer type.
- Applying the Sealer: Start at one corner and work in small sections. Apply the sealer evenly along the grout lines, ensuring full coverage. Avoid applying excessive sealer on the tile surface, as it can cause staining or residue.
- Removing Excess Sealer: Wipe away any excess sealer from the tile surface immediately using a clean, dry cloth. This prevents hazy residue and ensures a neat finish.
- Drying Time: Allow the sealer to penetrate the grout and dry as per the manufacturer’s instructions. This typically takes 24 to 48 hours. To ensure the sealer sets properly, avoid using the area during this time.
- Reapplication: If the sealer manufacturer recommends, apply a second coat for enhanced protection. Follow the same steps for application and drying.
Tips for Maintaining Sealed Grout
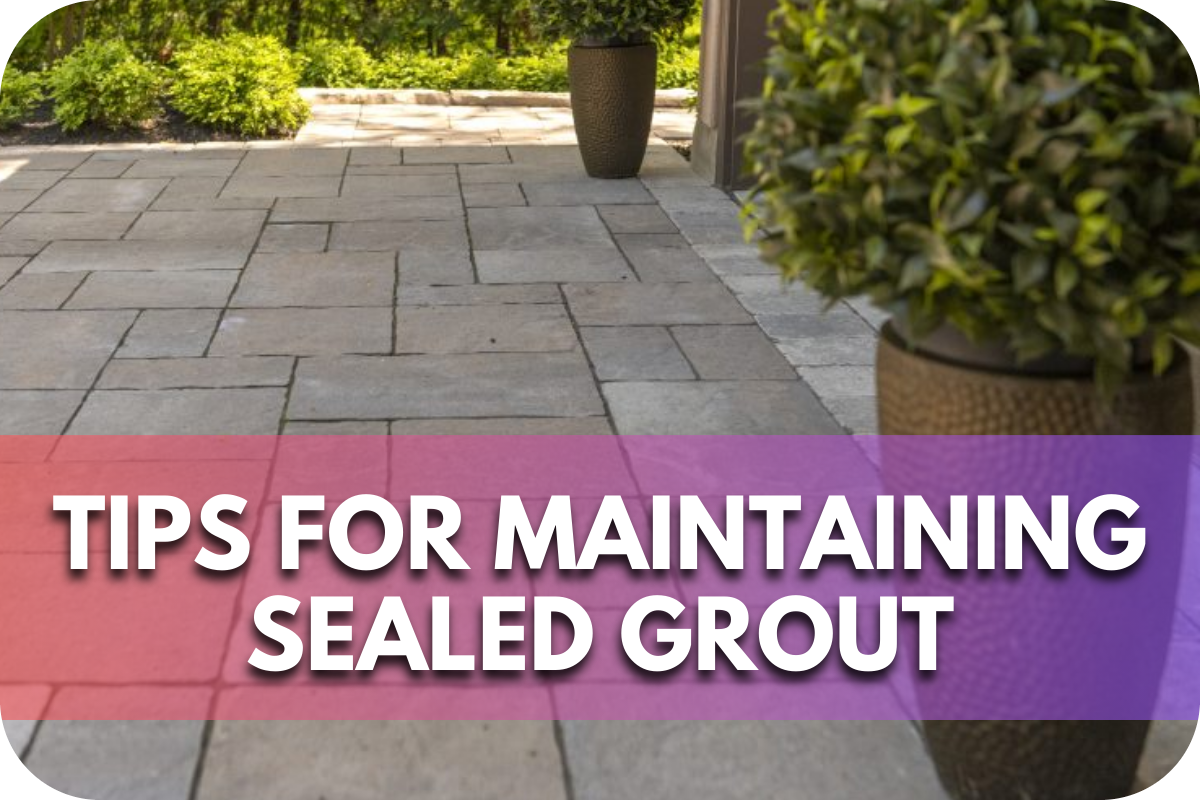
Maintaining sealed grout is essential for prolonging its life and keeping your tiled surfaces looking pristine. Here are key tips to ensure your sealed grout stays in top condition:
- Regular Cleaning: Clean your sealed grout regularly using a mild, pH-neutral cleaner. Harsh chemicals can erode the sealer over time. Use a soft brush or cloth to avoid scratching the grout or tile.
- Prompt Spill Cleanup: Wipe up spills immediately to prevent stains from penetrating the sealer. This is especially important in kitchens and bathrooms, where spills are frequent.
- Avoid Abrasive Cleaners: Avoid abrasive cleaners and tools that can damage the sealer. Instead, opt for gentle, non-abrasive cleaning solutions and soft sponges.
- Periodic Resealing: Even the best sealers wear down over time. Reseal your grout periodically, typically every one to two years, depending on the area’s usage and exposure to moisture. High-traffic areas may require more frequent resealing.
- Inspect Regularly: Periodically inspect your grout for signs of wear or damage. If you notice areas where the sealer is wearing off, or grout appears stained, address these promptly by cleaning and resealing as needed.
- Use Mats and Rugs: In high-traffic areas, use mats or rugs to reduce wear on your grout. This is especially useful in entryways and kitchens where foot traffic is constant.
Conclusion
Choosing and maintaining the right grout sealer is essential for long-lasting, beautiful tiled surfaces. Follow our comprehensive guide to ensure your grout remains protected and pristine. Ready to seal your grout? Start today and enjoy the benefits of well-maintained tiles for years to come.
How to Tell If Stone Is Porous or Not
When selecting stone for your home or project, knowing whether it’s porous can make a huge difference. Porosity affects how your stone absorbs water, stains,
Split Face Stone: What It Is and When to Use It
Looking for a unique, durable material to elevate your next project? Split face stone might be the perfect choice. Known for its textured finish and
