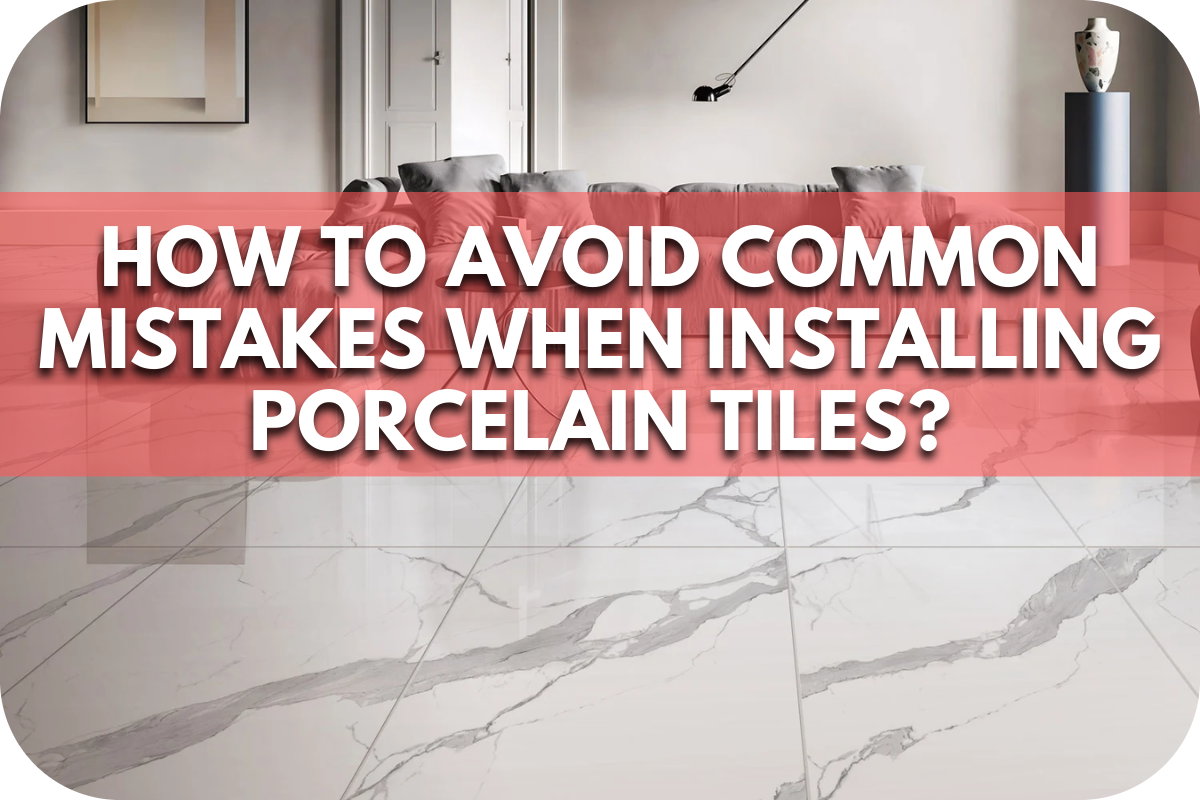
Are you worried about making mistakes when installing porcelain tiles?
Many homeowners encounter issues like uneven tiles, improper adhesion, and unsightly grout lines, which can lead to frustrating and costly repairs.
This article provides expert tips and techniques for avoiding common mistakes when installing porcelain tiles and ensuring a smooth, professional finish.
1. Planning and Preparation

Proper planning and preparation are fundamental to achieving a successful porcelain tile installation. Skipping these crucial stages can result in costly mistakes and an unsatisfactory final outcome.
Thorough planning begins with accurate measurements of the installation area, accounting for any irregularities to ensure the right amount of tiles is purchased without shortages or excess.
Adding 10-15% is recommended to accommodate cutting and wastage, especially for complex layouts.
Choosing the correct materials, such as slip-resistant tiles for bathrooms, and gathering essential tools like a tile cutter, spacers, trowels, and a level, is vital for a smooth installation process.
Before laying tiles, creating a layout plan by dry-laying them allows for the visualisation of patterns and adjustments, ensuring both practical functionality and an aesthetically pleasing design.
2. Surface Preparation
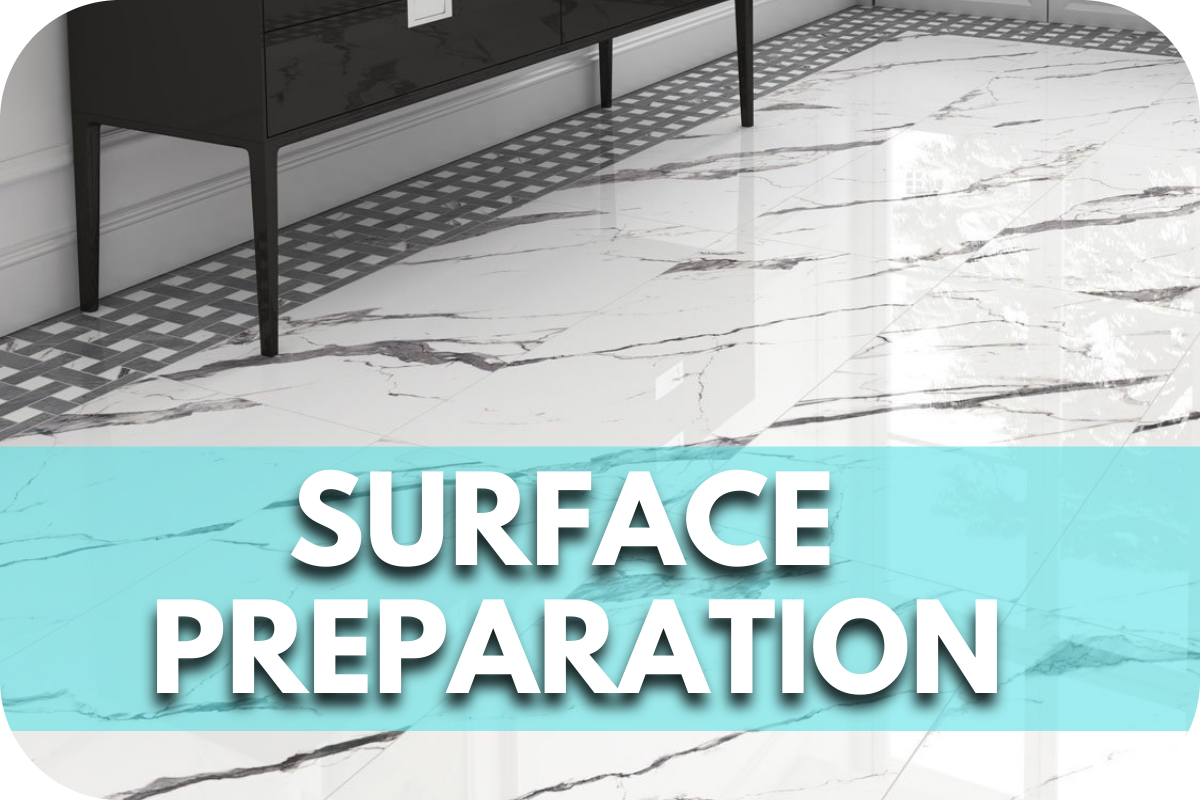
Proper surface preparation ensures that your porcelain tiles adhere correctly and maintain durability over time. Neglecting this critical step can result in uneven tiles, poor adhesion, and potentially costly repairs.
Start by thoroughly cleaning the substrate to remove dust, dirt, grease, or old adhesive residues. A clean surface is essential for achieving optimal adhesion of the new tiles.
Next, check the substrate for level using a spirit level to identify any high or low spots. Correcting uneven surfaces by using a self-levelling compound or sanding down high spots is important.
The underlayment is vital in providing a stable base for your tiles. Consider installing a cement backer board or an uncoupling membrane, depending on the substrate. These materials help prevent cracks and offer additional support, especially in moisture-prone areas.
Moisture management is critical as it can significantly affect the longevity of your tile installation. Ensure the substrate is completely dry before proceeding with the installation.
Applying a waterproof membrane in areas prone to moisture, such as bathrooms or kitchens, is advisable to prevent moisture infiltration that could weaken the adhesive.
Before laying any tiles, conduct a thorough final inspection of the surface. Ensure it meets all criteria: clean, dry, level, and stable.
Addressing any issues at this stage will help prevent complications during and after installation. Taking these steps ensures a properly prepared surface that enhances the durability and longevity of your porcelain tile installation.
3. Tile Layout and Design

Careful tile layout and design planning are crucial for achieving a polished, professional finish in your installation. This process ensures that your tiles are evenly spaced and aesthetically pleasing, avoiding common issues like awkward cuts and uneven grout lines.
Begin by meticulously planning the tile layout. Measure the room and establish the centre point of each wall. Using these points, create intersecting lines to form a grid that divides the space into manageable quadrants. This method helps maintain symmetry and ensures that tiles are centred properly.
Before proceeding with adhesive, it’s beneficial to dry lay the tiles. This involves placing them on the floor without fixing them down, starting from the centre and working outward according to your grid.
Dry laying allows you to visualise the final look, make necessary adjustments, and avoid ending up with small, awkward tile cuts along the edges.
When planning the layout, pay attention to grout lines and spacing. Consistency in grout lines is key to achieving a clean and professional appearance. Use tile spacers to maintain uniform gaps between tiles.
Choose spacer sizes that complement your design, considering that wider grout lines can help conceal slight variations in tile sizes and shapes.
Once satisfied with the dry layout, finalise any adjustments needed. Ensure cut tiles are strategically placed in less conspicuous areas, such as under cabinets or behind doors. Verify that the overall layout is balanced and visually pleasing before proceeding to the adhesive application stage.
4. Adhesive Application

Proper adhesive application is crucial for ensuring the durability and stability of your porcelain tile installation. Incorrect application can lead to tiles lifting, shifting, or cracking over time.
Start by choosing the right adhesive, ideally a high-quality, flexible, thin-set mortar for porcelain tiles. This adhesive provides strong bonding and accommodates slight movements in the substrate to prevent future cracks.
Follow the manufacturer’s instructions meticulously when mixing the adhesive. Use a drill with a mixing paddle to achieve a smooth, lump-free consistency. Mix in small batches to maintain optimal workability and prevent the adhesive from drying out prematurely.
Apply the adhesive evenly to the substrate. Using the flat side of a notched trowel, begin with a thin layer known as the skim coat. This initial coat enhances adhesion.
Then, more adhesive is applied, and the notched side of the trowel creates uniform ridges. These ridges help ensure even tile placement and promote strong bonding.
When setting the tiles, press each one firmly into the adhesive with a slight twisting motion to ensure full contact and eliminate air pockets. Check for level regularly and adjust as needed. Use tile spacers to maintain consistent grout lines and prevent tiles from shifting during drying.
Finally, periodic checks are performed by lifting a tile to ensure the adhesive covers at least 90% of its back surface. This coverage is essential for a secure bond, particularly in heavy traffic or moisture areas.
5. Tile Cutting and Placement
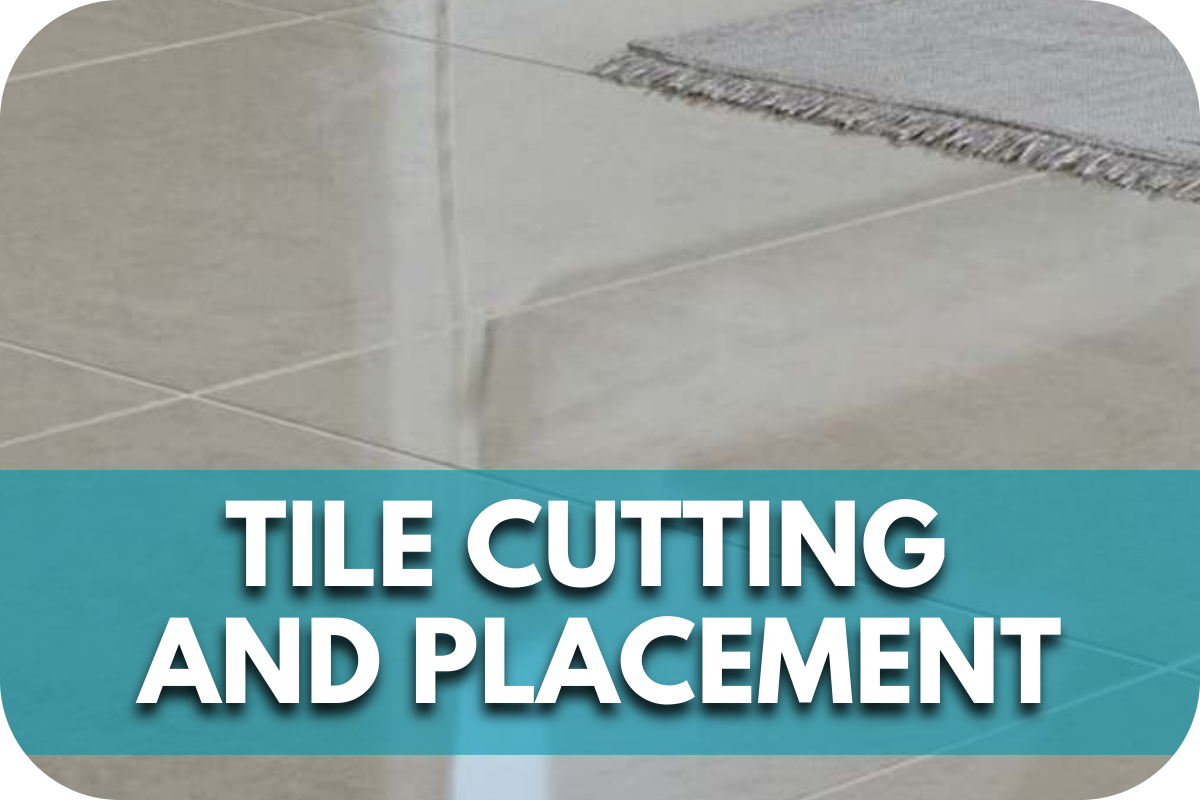
Accurate tile cutting and careful placement are crucial for achieving a professional finish when installing porcelain tiles. Mistakes during this phase can result in uneven edges, material waste, and an overall unpolished appearance of the tiled surface.
Start by ensuring you have the right tools for precise tile cutting. A wet saw is highly recommended for porcelain tiles as it can make clean, straight cuts without chipping.
Tools like a tile nipper or manual tile cutter can be effectively used for more intricate cuts or adjustments. Always maintain sharp blades and ensure your tools are in good condition to achieve the best results.
Accuracy is key when cutting tiles. Measure each tile carefully before cutting, and mark the cut line clearly using a pencil or tile marker.
Double-check your measurements to avoid errors. Feed the tile slowly and steadily into the blade to achieve a smooth edge using a wet saw. For notches or irregular cuts, make multiple small cuts and use a tile nipper to refine the shape as needed.
When placing the tiles, start from the centre of the room and work outward, following the grid lines established during the layout phase. Apply adhesive to a small section of the substrate at a time to prevent it from drying out too quickly.
Press each tile firmly into the adhesive, using tile spacers to ensure consistent grout lines and even spacing between tiles.
To avoid lippage, which occurs when tiles are not level with each other, regularly check the level of each tile as you place it. Use a spirit level to ensure all tiles are aligned correctly and make adjustments as necessary before the adhesive sets.
After placing the tiles, allow the adhesive to set slightly before removing any excess from the tile surfaces and joints. Perform final adjustments to ensure all tiles are properly aligned and level and meet your aesthetic standards.
6. Grouting

Grouting is the final, crucial step in tile installation that brings the entire project together, offering aesthetic appeal and functional durability. Proper grouting not only enhances the appearance of the tiles but also protects them from moisture and debris over time.
Selecting the right grout is paramount to achieving the desired outcome. Cement-based grout is the standard for its reliability for porcelain tiles, often used in high-traffic or moisture-prone areas.
However, epoxy grout stands out for its exceptional durability and resistance to stains, making it ideal for areas requiring extra protection.
The choice of grout colour also plays a significant role; lighter grouts can emphasise tile patterns, while darker ones can provide contrast and more effectively hide potential stains.
As per the manufacturer’s instructions, executing proper grouting techniques begins with mixing the grout to a smooth, lump-free consistency.
Using a rubber float, apply the grout diagonally across the tiles to ensure complete filling of the joints. Holding the float at a 45-degree angle effectively pushes the grout into the spaces without leaving voids.
Once applied, allow the grout to set for approximately 10-15 minutes before starting the cleanup process. Using a damp sponge, gently wipe away excess grout from the tile surfaces, rinsing the sponge frequently to avoid spreading grout haze.
Wipe diagonally to avoid pulling grout out of the joints, ensuring a clean finish.
After the initial cleaning, let the grout cure undisturbed for at least 24 hours. Once fully cured, perform a final clean with a damp cloth to remove any remaining grout residue from the tile surfaces. Consider applying a grout sealer to enhance protection, particularly in moisture-prone areas.
Adhere closely to these guidelines to avoid common pitfalls, such as weakening joints through overwetting during cleanup or leaving gaps in grout application.
7. Curing and Sealing
Proper curing and sealing are critical to maintaining your porcelain tile installation’s durability and visual appeal. Sufficient curing time is essential after installing the tiles and grout, typically 24-48 hours.
During this period, it is vital to avoid walking on the tiles or exposing them to water. This ensures the adhesive sets firmly, and the grout hardens properly, preventing future issues like shifting or cracking.
Applying a sealer is equally important to protect the tiles and grout from moisture, stains, and dirt. Opt for a penetrating sealer for porcelain tiles, as it absorbs into the material without altering its appearance.
Sealing the grout is also crucial to prevent water infiltration and staining, maintaining the overall integrity of the installation.
Before applying the sealer, ensure the tiles and grout are completely dry. Apply the sealer evenly using a clean sponge, brush, or applicator per the manufacturer’s instructions. Allow the sealer to penetrate for the recommended time and wipe away any excess to prevent a hazy residue.
Regular maintenance is key to prolonging the protection provided by the sealer. Follow the manufacturer’s guidelines to reapply the sealer every 1-2 years, ensuring ongoing protection and extending the lifespan of your tiles and grout.
Conclusion
Mastering porcelain tile installation requires attention to detail and adherence to best practices. Avoiding common pitfalls like improper surface preparation and rushed processes ensures a flawless finish. Take your time, follow manufacturer guidelines, and invest in quality materials for a successful project.

Stone Accents: Adding Charm to Modern Interiors with Natural Stone
Modern interiors seek a balance of style, durability, and uniqueness. Natural stone accents are a game-changer, adding timeless elegance and character to any space. As
Natural Stone Features That Will Transform Your Living Room
Natural stone elevates any living room with elegance, texture, and timeless appeal. Its versatility allows it to enhance both modern and traditional spaces. From stone
