Tired of stubborn stains and grime ruining the pristine look of your porcelain tiles?
Even with regular cleaning, maintaining their flawless appearance can be a challenge.
Our comprehensive guide provides expert tips and techniques for cleaning and maintaining porcelain tiles, ensuring they remain beautiful and spotless for years.
Step 1: Gather Your Cleaning Supplies
Gathering all necessary supplies beforehand ensures a smooth and efficient cleaning process. Start by collecting a soft-bristle broom or a vacuum cleaner with a brush attachment to remove loose dirt and debris.
You’ll also need a mop, preferably with a microfiber head, and a bucket to mix your cleaning solution. For the solution, choose a pH-neutral cleaner that is gentle enough to preserve the tile’s finish while effectively removing dirt.
Avoid harsh chemicals that can damage the surface. Additionally, a non-metallic scrub brush will be handy for tackling stubborn stains, and a clean, lint-free microfiber cloth is essential for drying the tiles after rinsing to prevent water spots and streaks.
Step 2: Sweep or Vacuum the Floor
Before you start any deeper cleaning, removing loose dirt and debris from your porcelain tiles is essential. Sweeping or vacuuming is a critical first step to prevent scratches and ensure a spotless finish.
Use a soft-bristle broom to sweep the surface gently, paying special attention to corners and edges where dust can accumulate. If you prefer vacuuming, select a model with a brush attachment and avoid using a beater bar, as this could potentially scratch the tile surface.
Regular sweeping or vacuuming, ideally once a week, helps maintain the tiles’ appearance by preventing dirt buildup. Consider doing this twice weekly for high-traffic areas to keep your tiles pristine.
Removing dirt and grit early minimises the risk of them being ground into the tiles during mopping, which can cause unsightly scratches over time. This simple yet crucial step sets the stage for the rest of your cleaning routine, ensuring your tiles stay beautiful and damage-free.
Step 3: Prepare the Cleaning Solution
Preparing the right cleaning solution is crucial to effectively clean your porcelain tiles without causing damage. Start by filling a bucket with warm water. Next, add a pH-neutral porcelain tile cleaner, following the manufacturer’s instructions for dilution.
Using a pH-neutral cleaner is essential as it avoids the risk of damaging the tile’s finish, unlike acidic or abrasive cleaners, which can cause permanent etching or dullness.
For those who prefer a natural approach, you can create an eco-friendly solution by mixing ¼ cup of white vinegar with approximately 750 ml of warm water.
This mixture effectively breaks down grime while being gentle on your tiles. If you prefer a fresh scent, substituting vinegar with lemon juice can be an excellent alternative.
Remember, the key to preventing streaks is dilution—too much cleaner can leave residue, while too little may require extra effort to clean. Once your solution is ready, you’re all set to proceed with mopping, ensuring your porcelain tiles remain spotless and gleaming.
Step 4: Mop the Tiles
Mopping your porcelain tiles is a crucial step in maintaining their pristine appearance. Begin by dipping a microfiber mop into your prepared cleaning solution, ensuring it’s well-saturated but not dripping wet. Excess water can seep into grout lines, potentially causing damage over time, so it’s essential to wring out the mop until it’s damp.
When mopping, work in small sections to avoid the solution drying on the tiles before you can rinse it off. Use smooth, overlapping strokes to cover the entire surface, paying extra attention to areas with visible dirt or stains. If you encounter stubborn spots, gently scrub them with a soft-bristle brush, taking care not to scratch the tile surface.
Avoid using a sponge mop, as it tends to push dirty water into the grout lines, making them harder to clean. Instead, opt for a flat mop, which is more effective at picking up dirt and grime without spreading it around.
After mopping, rinse the tiles thoroughly with clean water to remove any remaining cleaning solution. This prevents residue from dulling the tile’s shine and ensures a streak-free finish.
Step 5: Scrub Stubborn Stains
Even with regular cleaning, porcelain tiles can occasionally develop stubborn stains that require extra attention. You’ll need a non-abrasive cleaning solution and a soft-bristle brush to tackle these. Avoid harsh chemicals or abrasive scrubbers, which can damage the tile’s finish and lead to dull spots.
Start by applying your chosen cleaning solution directly to the stained area. Allow it to sit for a few minutes—this helps to break down the stain, making it easier to remove. You can use baking soda and water to create a gentle paste for tougher stains. Apply this paste to the stain and let it sit for about 10 minutes.
Next, use a soft-bristle brush to scrub the area in circular motions gently. Be sure to use a light touch to avoid scratching the tile surface. Rinse the area with clean water to remove any residue, then dry it with a microfiber cloth to prevent water spots. If the stain persists, you may need to repeat the process until the tile is spotless.
Step 6: Rinse the Floor
Rinsing the floor is crucial to ensure your porcelain tiles are left sparkling clean and free of any cleaning solution residue. After mopping or scrubbing, it’s essential to thoroughly rinse the tiles to remove any remaining cleaner, as residue can dull the finish and attract more dirt over time.
Start by filling a clean bucket with fresh, warm water. Use a clean microfiber mop or cloth, dip it into the water, and wring it out well to avoid over-wetting the floor. Carefully mop the tiles; rinse the mop frequently in clean water to prevent spreading any leftover cleaner across the tiles.
Work in small sections, ensuring that every floor part is thoroughly rinsed. Pay special attention to rinsing for areas with grout, as any leftover cleaning solution can discolour the grout over time. After rinsing, use a dry microfiber cloth or towel to remove excess water, helping to prevent water spots and ensuring the tiles dry with a streak-free finish.
Proper rinsing enhances the tile’s shine and preserves the integrity of the porcelain, keeping it looking as good as new.
Step 7: Dry the Tiles
Drying the tiles after cleaning is a crucial final step in maintaining the pristine appearance of your porcelain floors. Leaving the tiles to air dry may result in unsightly water spots or streaks, which can dull the tiles’ natural shine. Immediately dry the tiles using a clean, dry microfiber cloth or towel to avoid this.
Start by gently wiping the surface, removing all moisture from the tiles and grout lines. This step is especially important for preventing water spots, which can be particularly noticeable on polished or glazed porcelain tiles. For unglazed or textured tiles, thorough drying is essential to prevent moisture from settling in the tiny crevices, which could lead to staining or mildew growth over time.
Additionally, drying the tiles helps to highlight any missed spots or residual dirt, allowing you to address these areas promptly.
Step 8: Buff for Shine
Buffing your porcelain tiles is the final step to achieving a gleaming, polished finish. After ensuring the tiles are completely dry, use a clean, soft microfiber cloth or cheesecloth to buff the surface gently.
This process enhances the natural shine of the tiles, especially for polished or glazed porcelain, and helps to remove any remaining streaks or water spots that may have been missed during drying.
Buffing should be done in small, circular motions, applying light pressure to bring out the best sheen in the tiles. You can also use a dry, soft mop designed for buffing larger areas.
This step is particularly effective for maintaining a high-gloss finish, ensuring that your tiles reflect light beautifully and giving your floors a luxurious, well-maintained appearance.
Regular buffing keeps your tiles looking new and helps protect the surface from wear and tear by reducing the accumulation of dust and grime. Incorporating buffing into your cleaning routine will ensure your porcelain tiles shine brilliantly for years.
Conclusion
By following these steps, you can keep your porcelain tiles looking as pristine as the day they were installed. Regular maintenance not only preserves their beauty but also extends their lifespan. Ready to enhance your home’s elegance? Start your cleaning routine today and enjoy spotless, gleaming floors that stand the test of time.
More To Explore
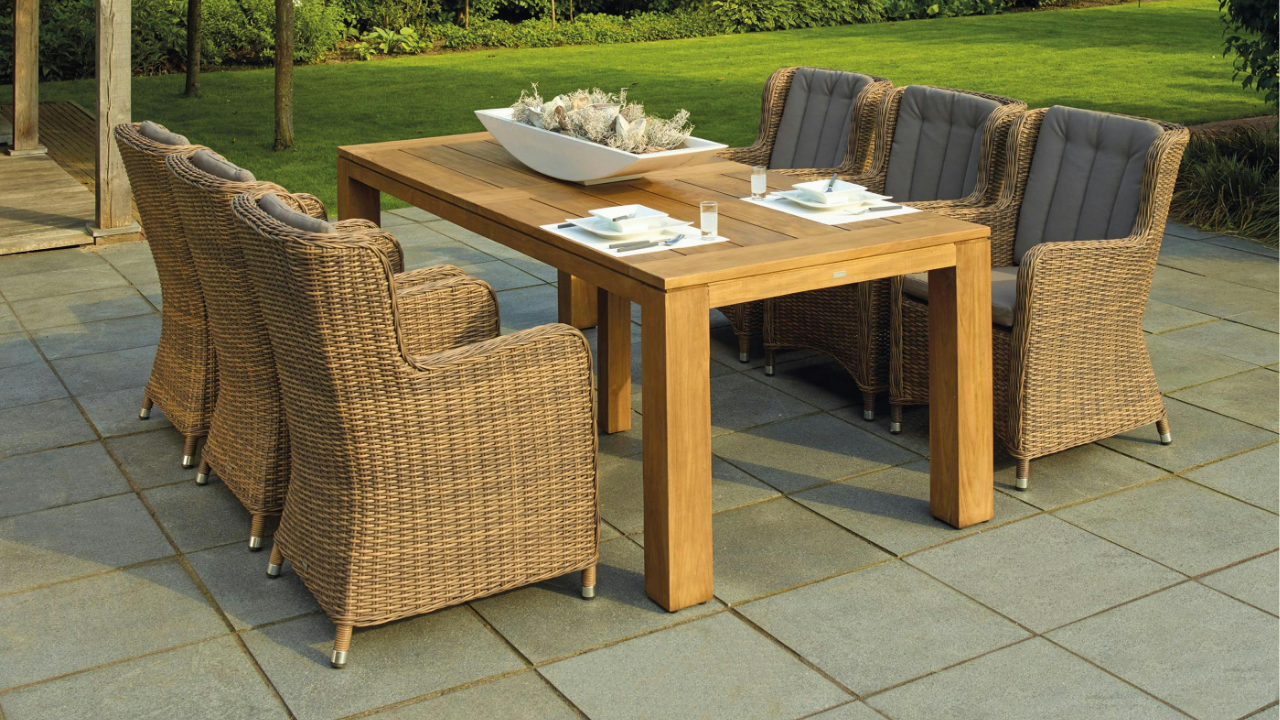
Top 10 DIY Projects to Upgrade Your Backyard
More homeowners are paying attention to their outdoor spaces as backyards become important living areas. This shift highlights a desire for comfort, better use of

What Are the Best Permeable Pavers for Drainage?
Heavy rain can quickly turn a beautiful outdoor space into a frustrating pool of standing water. Many homes face similar drainage issues, especially in high-traffic
