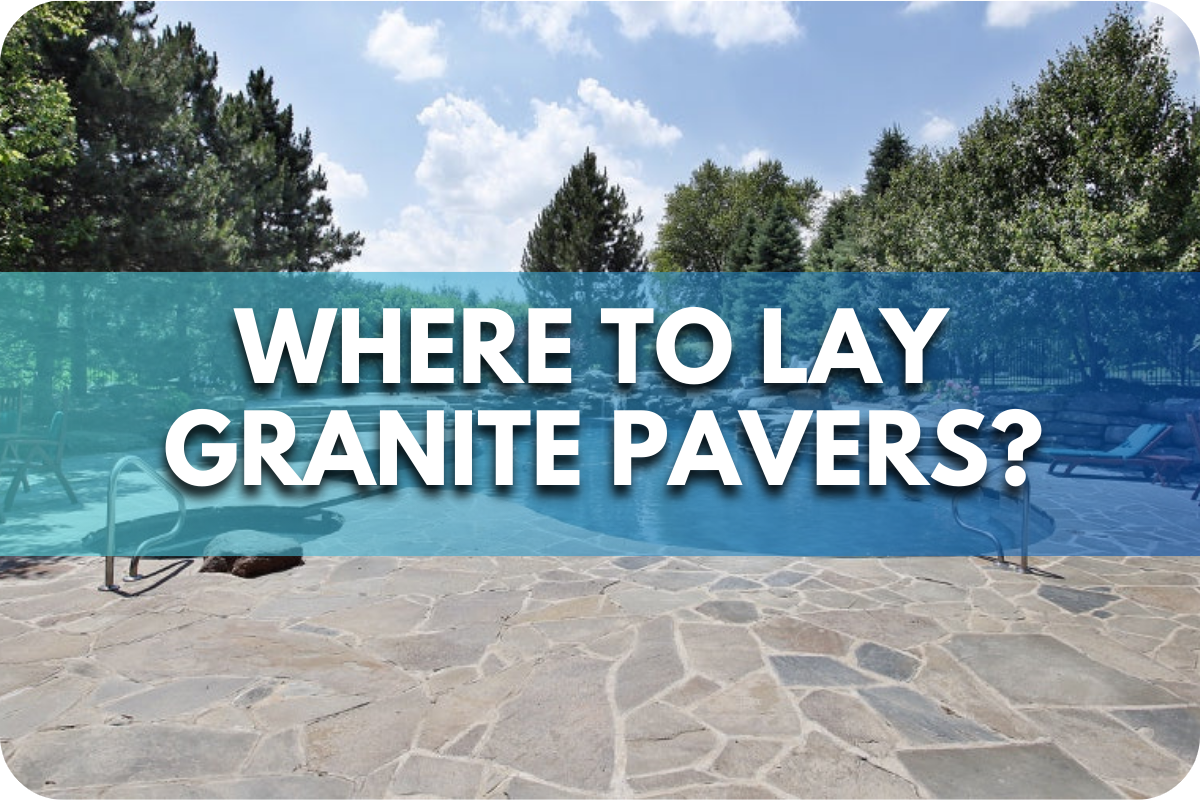
Installing granite pavers can seem daunting due to the precise steps and tools required.
Without proper guidance, you risk an uneven surface, poor drainage, or even pavers shifting over time, leading to frustration and additional costs.
This article provides a step-by-step guide for laying granite pavers, ensuring a durable and aesthetically pleasing result.
Follow these instructions to transform your outdoor space with confidence and ease.
Tools and Materials Needed

You’ll need a comprehensive set of tools and materials to lay granite pavers successfully. Here’s a detailed list to ensure you have everything required for the job:
Tools
- Measuring Tape: This is used for accurate measurements of the installation area.
- Shovel: To excavate the area where the pavers will be laid.
- Wheelbarrow: For transporting gravel, sand, and pavers.
- Compactor: Compact the gravel base and sand bed, ensuring stability.
- Rubber Mallet: This is for gently tapping pavers into place without damaging them.
- Level: To ensure the pavers are laid evenly.
- String Line and Stakes: To mark the installation area and maintain straight lines.
- Brick Cutter or Wet Saw: This is for cutting pavers to fit edges and corners precisely.
- Soft Bristle Brush: To sweep polymeric sand into joints and clean the surface.
Materials
- Granite Pavers: For durability and aesthetic appeal, choose high-quality granite pavers from reputable suppliers like Splendour in Stone, which is known for its premium selection.
- Crushed Gravel: For the base layer, ensuring proper drainage and stability.
- Coarse Sand: To create a smooth, level bedding layer for the pavers.
- Polymeric Sand: To fill the joints between the pavers, lock them in place, and prevent weed growth.
- Sealant: Optional but recommended for protecting the granite from stains and weathering.
Sourcing High-Quality Granite
When sourcing granite pavers, look for suppliers with a reputation for quality and reliability.
Splendour in Stone is an excellent choice, offering a wide range of high-quality granite pavers.
Visit their showroom or website to explore different options and ensure you select the best granite for your project.
Preparation Steps
Site Planning and Design
Proper planning and design are crucial for a successful granite paver installation. Begin by measuring the area where you intend to lay the pavers.
Mark the boundaries using stakes and string lines to outline the exact layout. Consider the traffic flow, drainage, and overall aesthetics when planning the design.
Sketching a design plan, including patterns and special features like curves or borders, can help visualise the final result and ensure accuracy during installation.
Preparing the Base
A solid and stable foundation is essential for the longevity and stability of your granite pavers. Here’s a step-by-step guide to preparing the ground:
- Excavation: Dig out the installation area to a depth of about 6-8 inches, depending on the thickness of your pavers and the type of soil. Ensure the excavation is even and follows the desired slope for drainage.
- Compact the Subgrade: Use a compactor to compact the soil at the bottom of the excavation. This step is crucial to prevent settling and shifting over time.
- Add the Gravel Base: Spread a layer of crushed gravel or stone, about 4-6 inches thick, over the compacted subgrade. This base layer provides drainage and supports the pavers. Compact the gravel layer thoroughly using a compactor.
- Lay the Sand Bedding: Spread 1-2 inches of coarse sand over the compacted gravel. Use a rake to level the sand evenly. The sand bed creates a smooth surface for the pavers to rest on and helps distribute the load evenly.
- Level and Compact the Sand: Use a level to ensure the sand bed is even. Compact the sand lightly to settle it without compressing it too much.
Importance of Proper Foundation
A well-prepared foundation is critical for the success of your granite paver installation. Proper excavation and compaction prevent the pavers from shifting or sinking over time. The gravel base provides necessary drainage, preventing water from pooling under the pavers, which can cause instability.
The sand bedding ensures that the pavers are evenly supported and can be adjusted to achieve a level surface.
Investing time and effort in preparing the base ensures the longevity and stability of your granite pavers, maintaining their beauty and functionality for years to come.
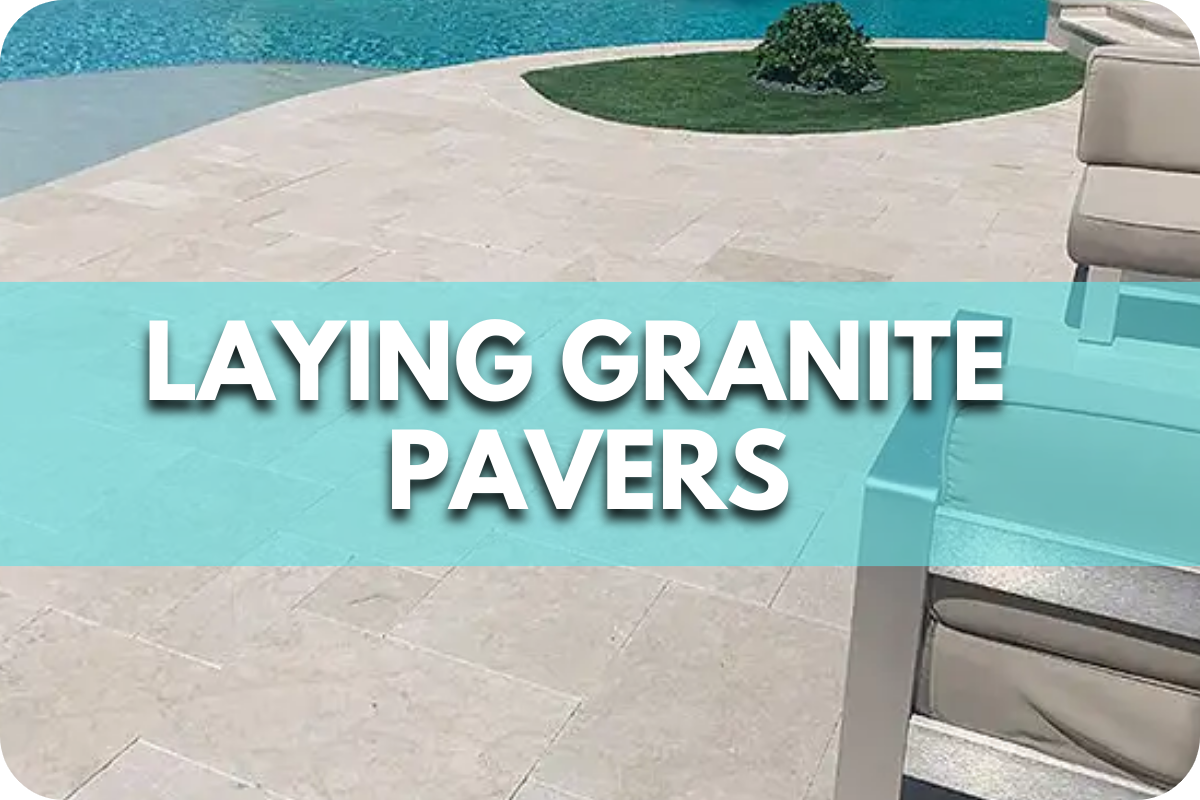
Laying Granite Pavers
Setting the Base Layer
Start by laying and compacting the base material to ensure a stable foundation. Spread a 4-6 inch layer of crushed gravel or stone evenly over the prepared site.
Use a plate compactor to compact the gravel thoroughly, ensuring it is level and firmly in place. This step is crucial for providing drainage and preventing the pavers from shifting over time.
Laying the Pavers
- Place the Pavers: Begin laying the granite pavers from one corner, following the planned design. Lay the pavers on the sand bedding, ensuring they are levelled.
- Alignment and Spacing: Use spacers to maintain consistent gaps between the pavers, typically 1/8 to 1/4 inch. This allows for joint filling and expansion. Regularly check the alignment with a string line or level to ensure straight lines and even surfaces.
- Tapping into Place: Use a rubber mallet to gently tap each paver into the sand, ensuring they are firmly set and level.
Cutting Pavers
- Tools and Techniques: To cut granite pavers accurately, use a wet or masonry saw with a diamond blade. Mark the cut lines with a pencil or chalk before cutting.
- Cutting Process: Align the paver with the saw blade and make the cut slowly and steadily to prevent chipping. Always wear safety goggles and gloves for protection.
Finishing Touches

Filling the Joints
Once the granite pavers are laid, the next step is to fill the joints. Proper joint filling helps stabilise the pavers and prevents weeds from growing between them.
Here are some options for filling materials and application methods:
1. Polymeric Sand
Polymeric sand is popular because it can harden and lock the pavers in place. It also helps prevent weed growth and insect infestations.
Spread the polymeric sand over the pavers using a broom, sweeping it into the joints until they are filled. After filling the joints, use a plate compactor to vibrate the sand down into the joints. Sweep away any excess sand from the surface. Finally, mist the pavers with water to activate the polymeric sand, allowing it to harden.
2. Masonry Sand
Masonry sand is another option, providing a more traditional look. However, it may require more frequent maintenance as it doesn’t harden like polymeric sand.
Like polymeric sand, spread the masonry sand over the pavers and sweep it into the joints. Compact the sand using a plate compactor, then add more sand if needed to fill any gaps. Brush off the excess sand from the surface.
Sealing the Pavers
Sealing granite pavers offers several benefits, including protecting the stone from stains, enhancing its natural colour, and increasing lifespan. Sealing also makes cleaning easier and prevents water penetration, which can cause damage over time.
Benefits of Sealing
- Protection: Sealing protects the granite from spills, stains, and weathering, keeping it looking pristine.
- Colour Enhancement: Sealants can enhance the natural colour and texture of the granite, giving it a more vibrant appearance.
- Ease of Maintenance: Sealed pavers are easier to clean and maintain, as the sealant creates a barrier against dirt and grime.
Recommended Sealants
- Penetrating Sealants: These sealants penetrate the granite’s surface, providing deep protection without altering its appearance. They are ideal for preserving the stone’s natural look.
- Enhancing Sealants: These sealants protect and improve the colour and texture of the granite, perfect for highlighting the stone’s natural beauty.
Application Method
- Clean the surface thoroughly before sealing. Ensure the pavers are dry and free of dirt and debris.
- Apply the sealant evenly using a brush, roller, or sprayer. Follow the manufacturer’s instructions for coverage and drying times.
- Allow the sealant to dry completely before using the area. Depending on the product and weather conditions, this usually takes 24-48 hours.
Maintenance and Care
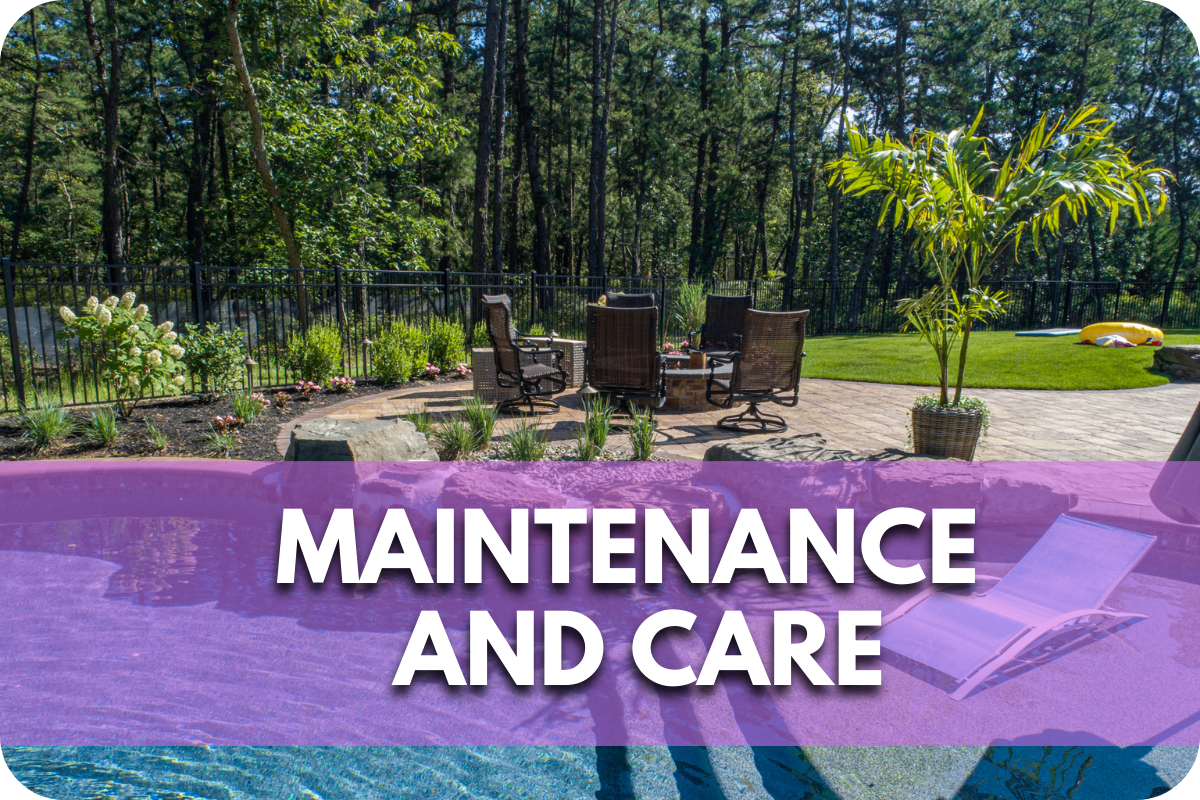
Proper maintenance and care are essential to ensure your granite pavers remain durable and retain their aesthetic appeal over time.
Here are some tips to help you maintain your granite pavers effectively:
- Regular Cleaning: Sweep your granite pavers regularly to remove dirt, leaves, and debris that can accumulate on the surface. This prevents scratches and keeps the pavers looking pristine.
- Washing: Occasionally wash the pavers with a mild detergent and water. Use a soft brush to scrub away any stains or grime gently. Avoid using acidic or abrasive cleaners, which can damage the granite and degrade the sealant.
- Resealing: To protect your pavers from stains and weathering, reapply a high-quality granite sealant every 1-2 years. This helps maintain the stone’s natural colour and texture while providing a protective barrier against moisture and spills.
- Weed Control: Use polymeric sand to fill the joints between pavers. This hardens and prevents weed growth. If weeds do appear, remove them promptly to avoid damaging the pavers and joints.
- Address Spills Quickly: To prevent staining, clean up spills immediately. Blot the spill with a clean cloth and wash the area with mild detergent and water.
- Inspect Regularly: Inspect the pavers for any signs of damage, such as chips or cracks. Addressing these issues promptly can prevent further damage and maintain the integrity of the installation.
Troubleshooting Common Issues

Laying granite pavers can sometimes present challenges. Here are common problems encountered and how to solve them:
Uneven Pavers
Unleveled pavers can create an uneven surface, posing tripping hazards and affecting overall appearance.
Ensure the base is compacted correctly and level before laying the pavers. Use a rubber mallet and a level to adjust pavers as you lay them, ensuring they sit evenly on the sand bed. If a paver is still uneven, lift it, change the sand bed, and replace it.
Shifting or Sinking Pavers
Pavers may shift or sink over time due to an improperly prepared base or poor drainage.
Ensure the base layer is well-compacted and graded for proper drainage. Adding a layer of geotextile fabric between the soil and the gravel base can help stabilise the ground. If pavers have already shifted or sunk, lift them, recompact the base, and re-lay the pavers.
Weed Growth Between Pavers
Weeds growing in the joints between pavers can detract from the appearance and stability of the installation.
Use polymeric sand to fill the joints, which hardens and prevents weed growth. Regularly inspect and remove any weeds that do appear. Applying a sealant can also help inhibit weed growth.
Staining
Stains from spills, dirt, or organic materials can mar the appearance of granite pavers.
Clean spills immediately with a mild detergent and water. For stubborn stains, use a poultice made from baking soda and water. Regularly resealing the pavers can also protect against staining.
Conclusion
Formulating granite pavers involves careful planning, proper base preparation, precise laying, and regular maintenance. By following these steps, you can create a durable and attractive paving solution for your outdoor space.
Undertake this project to enhance your home’s beauty and functionality.
Start your granite paver project today and transform your landscape!
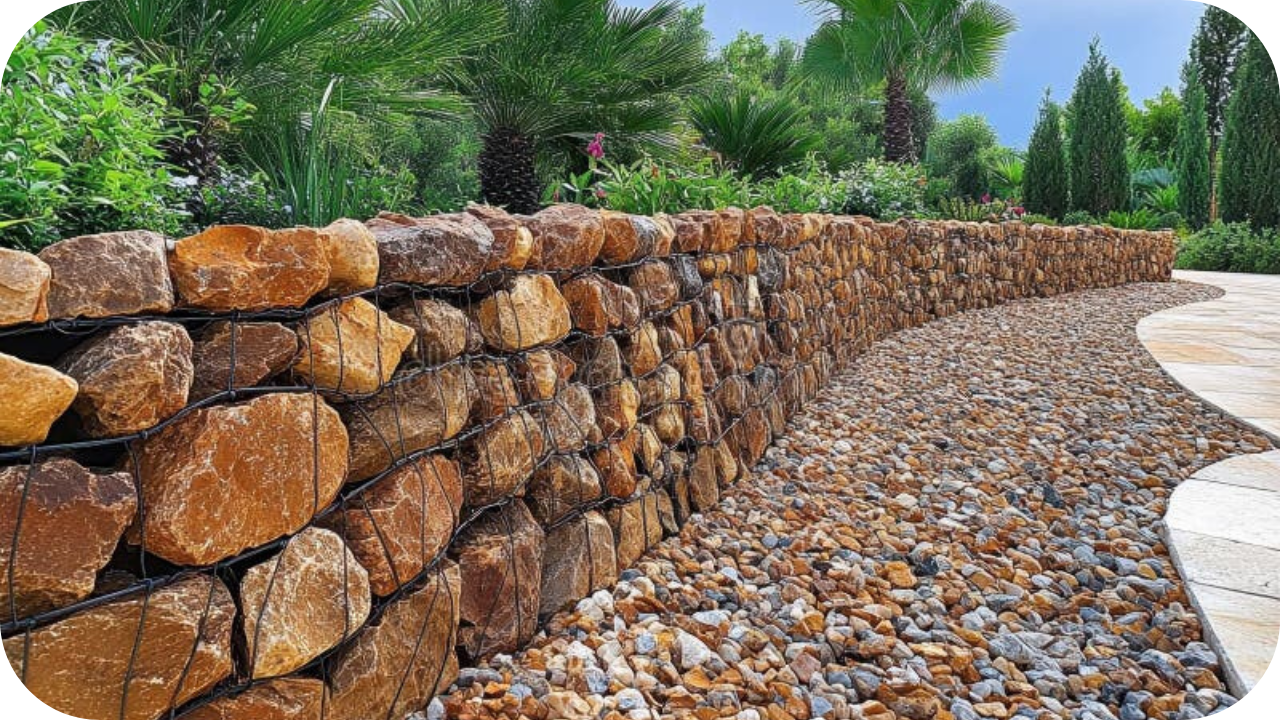
8 Advantages of Using Stone Grid Gabions in Your Landscape
Are you seeking a durable, cost-effective solution to elevate your landscape? Stone grid gabions might be the perfect choice! These versatile, eco-friendly structures offer a
10 Stunning Feature Wall Ideas Using Natural Stone
Looking to elevate your home with a stunning feature wall? Natural stone offers a timeless, elegant touch that can transform any room. From sleek marble
