Installing porcelain pavers can be intimidating, with the potential for costly errors if not done correctly.
Installation mistakes can lead to uneven surfaces, loose tiles, and water damage, turning a beautiful outdoor project into a frustrating, expensive ordeal.
This comprehensive guide breaks down the installation steps for porcelain pavers, ensuring you can confidently undertake this project. From choosing the right materials to the final touches, we cover everything you need for a successful and stylish outcome.
Tools and Materials Needed
Tools and materials are essential for a successful and durable porcelain paver installation. Here’s a detailed list to ensure you are fully prepared for the task:
Essential Tools
- Wet Cut Tile Saw with Diamond Blade: This is crucial for making precise cuts through the robust porcelain without causing breakage.
- Paver Clamps: These are useful for handling and positioning the pavers accurately.
- Rubber Mallet: This is for gently tapping the pavers into place without damaging them.
- Level: To ensure the pavers are laid evenly.
- Measuring Tape and Stakes: These mark the area and ensure accurate measurements.
- Shovel: For excavation and spreading base materials.
- Plate Compactor: Compact the base layers, ensuring a stable foundation.
Necessary Materials
- Geotextile Fabric: Placed over the excavated area to prevent weed growth and soil erosion.
- Gravel Base: A 4-5 inch layer of compacted gravel provides a stable and well-draining foundation.
- Sand Layer: A 1-2 inch layer of compacted sand to create a smooth and level surface for the pavers.
- Polymeric Sand: Used to fill joints between pavers, locking them in place and preventing weed growth.
- 4mm Spacers: To maintain uniform gaps between the pavers, allowing for expansion and joint filling.
- Edge Restraints: Metal or plastic strips anchored into the ground to keep the pavers secure and prevent shifting.
Step-by-Step Installation Guide
Installing porcelain pavers involves meticulous preparation and precise execution to ensure a durable and aesthetically pleasing result. Here’s a detailed step-by-step guide to help you achieve professional-grade installation:
Step 1: Preparation
Begin by assessing your site and planning the layout. Mark the perimeter of your project using stakes and string lines, ensuring that the area is larger than the installation footprint to accommodate working space.
Excavate the area to the required depth, typically 6 to 8 inches, to allow for the gravel base, sand layer, and paver thickness. Ensure the site is clean and free of debris.
Step 2: Base Installation
Lay a geotextile fabric over the excavated area to prevent weed growth and soil erosion. Spread a 4-5 inch layer of compacted gravel, ensuring even distribution and compacting it thoroughly to create a stable base.
Next, add a 1-2 inch layer of sand, compact it, and screed it to a smooth finish. This layer should be level but sloped slightly away from structures to facilitate drainage.
Step 3: Paver Placement
Position 4mm spacers to maintain uniform gaps between the pavers, which are crucial for accommodating expansion and joint filling.
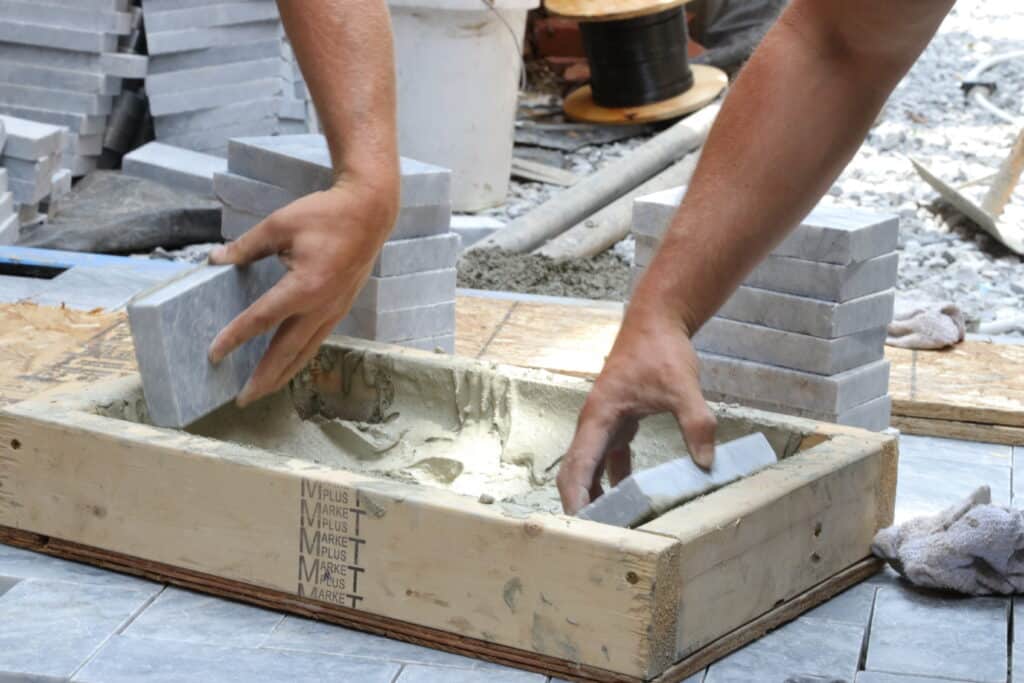
Carefully place the pavers on the prepared base, ensuring they are level and aligned. Use a rubber mallet to tap the pavers into place gently. For mortar installations, apply a layer of mortar to the base before placing the pavers, ensuring each paver is securely bonded.
Step 4: Joint Filling
Sweep polymeric sand into the joints between the pavers, ensuring the joints are filled. Polymeric sand helps to lock the pavers in place and prevent movement.
After filling the joints, mist the surface with water to activate the polymer in the sand, which will harden and secure the joints. Ensure all excess sand is removed from the surface to avoid staining.
Step 5: Edge Restraints
Edge restraints, made from metal or plastic, should be installed along the installation’s perimeter to keep the pavers secure and prevent shifting over time. This step is essential for maintaining the integrity of the installation and preventing the pavers from moving out of place.
Step 6: Final Adjustments and Cleaning
After the pavers are installed and the joints filled, make any necessary adjustments to ensure all pavers are level and properly aligned. Use a level to check for high spots or hollows and adjust before the mortar sets.
Clean the surface of any remaining sand or debris, and allow the installation to cure according to the manufacturer’s recommendations before allowing foot or vehicle traffic on the surface.
Conclusion
Installing porcelain pavers transforms any outdoor space into a durable and elegant area. This comprehensive guide ensures a professional finish that stands the test of time. Ready to enhance your garden or patio? Contact Splendour In Stone Melbourne for expert advice and high-quality materials today!
More To Explore

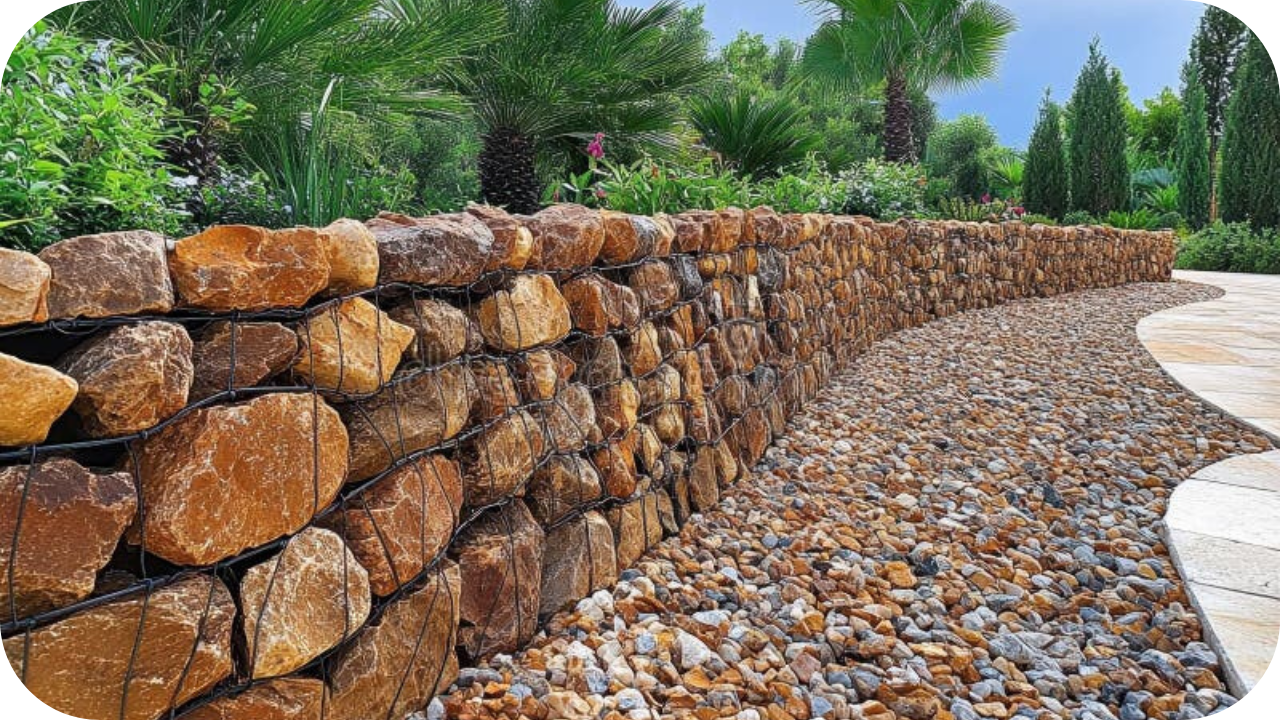
8 Advantages of Using Stone Grid Gabions in Your Landscape
Are you seeking a durable, cost-effective solution to elevate your landscape? Stone grid gabions might be the perfect choice! These versatile, eco-friendly structures offer a

10 Stunning Feature Wall Ideas Using Natural Stone
Looking to elevate your home with a stunning feature wall? Natural stone offers a timeless, elegant touch that can transform any room. From sleek marble


