Marble floors and surfaces add a touch of elegance to any space, but their shine can easily diminish with regular use and improper care.
Without the right maintenance, marble can become dull, stained, and scratched, leaving it looking tired and lackluster. This degradation not only affects the aesthetic but can also decrease the value of your investment.
Fortunately, with the right polishing techniques and preventive measures, you can restore and maintain your marble’s lustrous appearance. This article offers expert tips to ensure your marble surfaces remain pristine and radiant.
Assessing the Condition of Marble Surfaces

Assessing the condition of marble surfaces is a vital first step in their maintenance. It involves examining the marble for any signs of damage, such as scratches, etches, or stains.
- Start by visually inspecting the surface in good lighting to identify any inconsistencies in the finish, noticeable scratches, or dull areas where the natural shine has diminished.
- Next, check for etching, which occurs when marble is exposed to acidic substances. These areas may appear as dull spots or rings, especially noticeable on polished surfaces. To test for etches, you can lightly run your fingers over the surface to feel for roughness or use a flashlight at an angle to highlight imperfections.
Staining is another common issue, where pigments from liquids have penetrated the porous surface of the marble. Look for discolorations that do not wipe off with normal cleaning. Identifying the type of stain (organic, inorganic, oil-based, etc.) can help in choosing the appropriate cleaning method.
Finally, assess the level of wear and tear. Frequent traffic can lead to a general dullness and the gradual erosion of the surface.
This overall assessment will guide you in selecting the correct restoration techniques and products to use, ensuring that the marble’s appearance is maintained or restored effectively.
Preparing for Marble Polishing

Preparing for marble polishing is essential to ensure that the process enhances the stone’s beauty without causing damage.
- Before beginning, clear the marble surface of any furniture, rugs, and other items to provide unobstructed access.
- Next, sweep or vacuum the floor. This is critical to remove any dirt or grit that could scratch the marble during the polishing process.
- Once the surface is free of loose debris, wash it with a gentle, pH-neutral cleaner specifically designed for marble. This step helps to avoid chemical etching that can occur with acidic or alkaline products. Use a soft mop or cloth to apply the cleaner, and avoid saturating the marble, as excessive water can penetrate and weaken the stone.
- After cleaning, thoroughly dry the surface with a soft towel to prevent water spots.
- Inspect the marble once more for any cracks or chips. If any significant damage is present, consider filling them with a matching marble epoxy or resin before polishing. This will ensure a smooth, flawless finish.
- Lastly, gather all necessary polishing supplies, including a marble polish, soft cloths, and a buffing machine if desired. Having everything on hand and prepared will streamline the polishing process and help achieve the best results.
Choosing the Right Marble Polishing Method and Tools

Choosing the right marble polishing method and tools is crucial for preserving the integrity of the stone while restoring its shine. The selection largely depends on the condition of the marble and the desired level of gloss.
For light maintenance and rejuvenation, a polishing powder suitable for marble can be used. This powder is sprinkled on the surface and buffed with a soft cloth or a low-speed buffer, which gently removes superficial scratches and restores shine without aggressive grinding.
In cases where the marble has deeper scratches or significant dullness, diamond abrasive pads may be required. These pads come in various grit levels, starting from coarse to fine.
Begin with a coarse grit to remove severe imperfections and gradually move to finer grits to achieve a smooth, reflective finish. It’s essential to use diamond pads with a proper water feed to minimize dust and aid in the smoothing process.
Additionally, for ongoing maintenance, consider using a mechanical buffer equipped with a soft pad. This tool is ideal for regular upkeep and can be used with a marble-specific polishing compound to enhance the stone’s natural luster.
Always ensure that any tool or method used is compatible with marble to avoid etching or additional damage. Using the right approach will not only improve the appearance of the marble but also extend its lifespan.
Step-by-Step Marble Polishing Process

- Surface Preparation: Clear the area of furniture and debris. Sweep or vacuum the marble surface to remove loose dirt and grit.
- Cleaning: Wash the marble with a pH-neutral cleaner designed for marble surfaces. Use a soft mop or cloth to apply the cleaner and avoid saturating the marble. Thoroughly dry the surface to prevent water spots.
- Inspecting for Damage: Check the marble for cracks, chips, or deep scratches. Fill any significant damage with a matching marble epoxy or resin before proceeding.
- Choosing Polishing Method: Depending on the marble’s condition, select the appropriate polishing method and tools. Options include polishing powders for light maintenance, diamond abrasive pads for deeper scratches, or mechanical buffers for ongoing upkeep.
- Application of Polishing Agent: Apply the chosen polishing agent according to the manufacturer’s instructions. Use a soft cloth or low-speed buffer to work the polish into the marble surface.
- Buffing and Finishing: Buff the marble surface with a clean, soft cloth to remove any excess polish and reveal a glossy finish. Repeat the process if necessary for desired results.
- Final Inspection: Once polishing is complete, inspect the marble surface for any missed spots or imperfections. Touch up as needed to achieve a uniform shine.
Post-Polishing Marble Maintenance Tips

- Regular Cleaning: Clean marble surfaces regularly with a pH-neutral cleaner and a soft cloth or mop. Avoid acidic or abrasive cleaners that can damage the polished finish.
- Preventative Measures: Place mats or rugs in high-traffic areas to reduce wear and tear on the marble surface. Use coasters or trivets under glasses and hot dishes to prevent etching or staining.
- Immediate Spill Clean-up: Promptly clean up spills to prevent staining or etching. Blot the spill with a soft cloth and mild soap and water, then dry the area thoroughly.
- Avoid Harsh Chemicals: Refrain from using harsh chemicals or abrasive cleaning tools on marble surfaces, as they can dull the shine and cause damage over time.
- Periodic Sealing: Consider applying a marble sealer periodically to enhance protection against stains and moisture penetration. Follow the manufacturer’s instructions for application and reapplication.
- Professional Maintenance: Schedule periodic professional maintenance to address any deep scratches, etches, or dull areas that may develop over time.
Troubleshooting Common Marble Polishing Issues

- Uneven Shine: If the polished marble surface appears uneven, it may be due to inconsistent polishing pressure or technique. Re-polish the affected areas using gentle, circular motions to ensure a uniform shine.
- Etching: Etching occurs when acidic substances react with the calcium carbonate in marble, resulting in dull spots or marks. To address etching, lightly polish the affected area with a marble polishing powder or compound until the etch marks are minimized or removed.
- Staining: Stains on marble surfaces can be challenging to remove, especially if they penetrate deep into the stone. Try using a poultice made of baking soda and water or a commercial marble stain remover to lift the stain. Apply the poultice to the stained area, cover it with plastic wrap, and allow it to sit overnight before rinsing.
- Scratches: Light scratches on marble surfaces can often be buffed out using a fine-grit diamond abrasive pad or polishing powder. For deeper scratches, professional repair may be necessary to restore the surface to its original condition.
- Dulling Over Time: Marble surfaces may lose their shine over time due to regular wear and tear. Periodic polishing and maintenance can help restore the shine and prolong the life of the marble.
DIY vs. Professional Marble Polishing

DIY Marble Polishing
This option is cost-effective and suitable for those with experience in handling mild etches or superficial scratches.
DIY enthusiasts can use commercially available marble polishing powders and a buffing pad attached to a household drill. Always begin with a thorough cleaning of the surface and follow the product instructions carefully to avoid further damage.
However, DIY methods are generally less effective for deep scratches, heavy staining, or restoring shine to dull marble.
Professional Marble Polishing
Professionals bring expertise and specialized equipment, such as industrial diamond polishers and high-grade sealants, that can more thoroughly rejuvenate and protect marble surfaces.
This option is recommended for severe damage, complex restoration projects, or when a high-quality finish is paramount. Professionals can also offer tailored advice on maintaining the marble’s beauty post-polishing, which can be invaluable.
Conclusion
To ensure your marble surfaces retain their pristine appearance, adopt a routine that combines regular care with the right polishing approach.
Whether you choose DIY methods for light maintenance or seek professional expertise for more severe conditions, prioritize the preservation of your marble. Remember, investing in proper care today safeguards the splendor of your surfaces for years to come.

Stone Accents: Adding Charm to Modern Interiors with Natural Stone
Modern interiors seek a balance of style, durability, and uniqueness. Natural stone accents are a game-changer, adding timeless elegance and character to any space. As
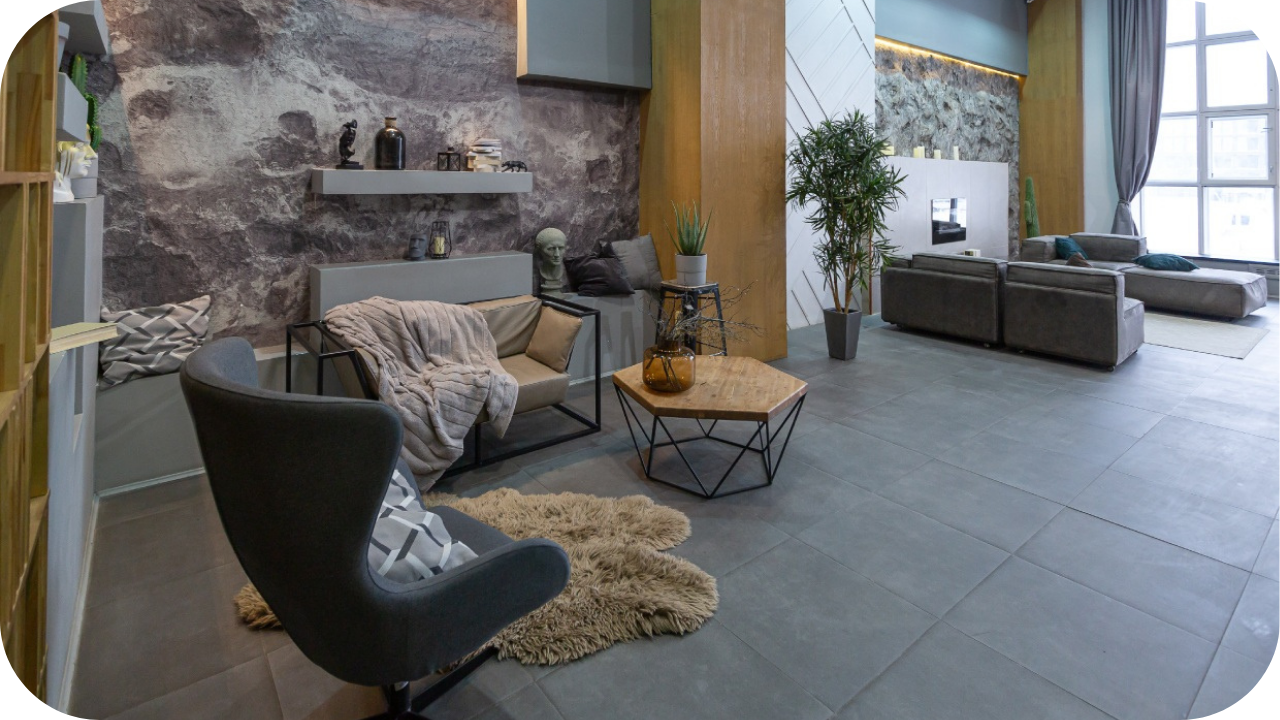
Natural Stone Features That Will Transform Your Living Room
Natural stone elevates any living room with elegance, texture, and timeless appeal. Its versatility allows it to enhance both modern and traditional spaces. From stone
