Uneven, cracked, or sunken pavers can ruin the look of any outdoor space. Worse, they can be a trip hazard!
Leaving damaged pavers unchecked won’t just affect your home’s curb appeal—it can lead to bigger issues like water pooling, erosion, and costly repairs. Many people try to replace a single paver only to find themselves frustrated with gaps, shifting, or mismatched alignment.
The good news? Replacing pavers the right way is easier than you think. With the right tools and steps, you can restore your paved area to perfection. Let’s get started!
Tools and Materials Needed
Using the right tools and materials prevents shifting and ensures a professional finish. Proper preparation makes paver replacement easier and more durable. Removing and replacing pavers requires the right tools and materials to ensure a smooth process. Here’s what you need:
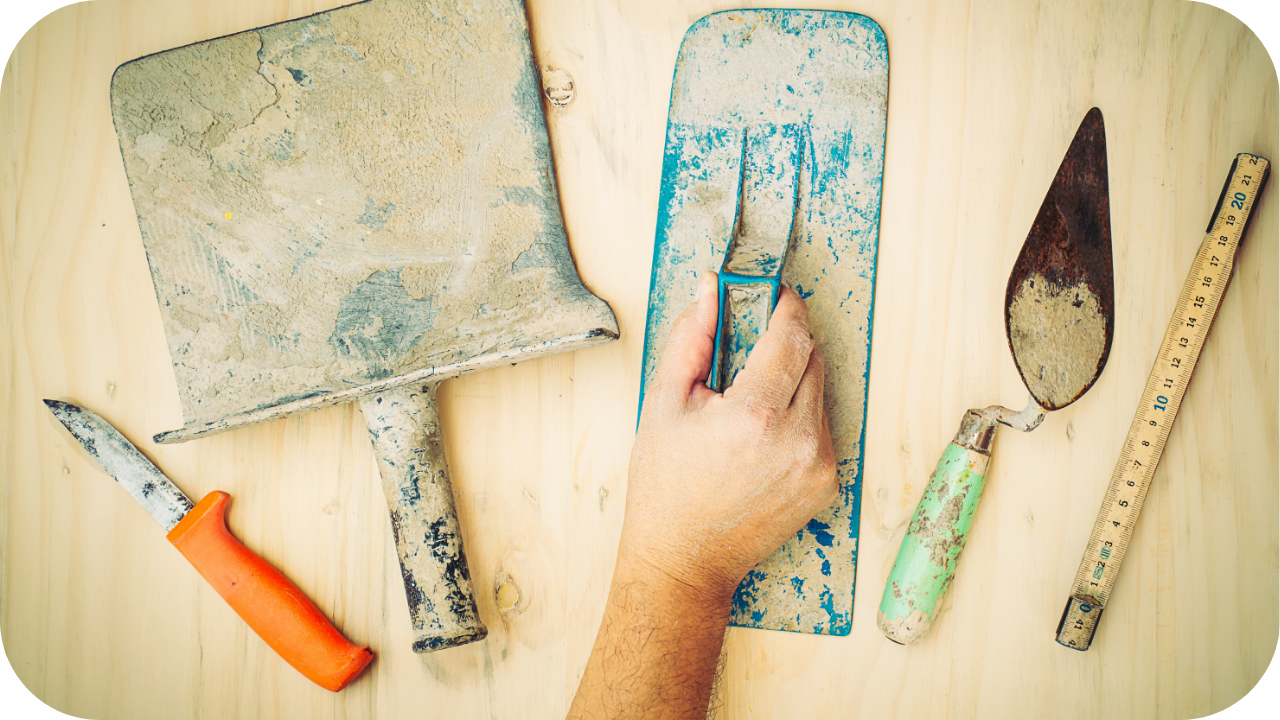
Essential Tools
- Pry Bar or Screwdriver – Helps lift the first paver without damaging surrounding ones.
- Rubber Mallet – Used to tap new pavers into place gently.
- Chisel or Masonry Knife – Helps remove stubborn pavers or cut replacements to fit.
- Broom – Sweeps away debris and excess sand.
- Spirit Level – Ensures new pavers sit evenly.
- Plate Compactor or Hand Tamper – Compacts the base for stability.
Required Materials
- Replacement Pavers – Choose ones that match the existing style and size.
- Jointing Sand – Fills gaps between pavers to keep them stable.
- Base Sand – Ensures a level foundation for new pavers.
- Gravel (if needed) – Provides extra support for weak or uneven bases.
- Sealer (optional) – Protects pavers from stains and weather damage.
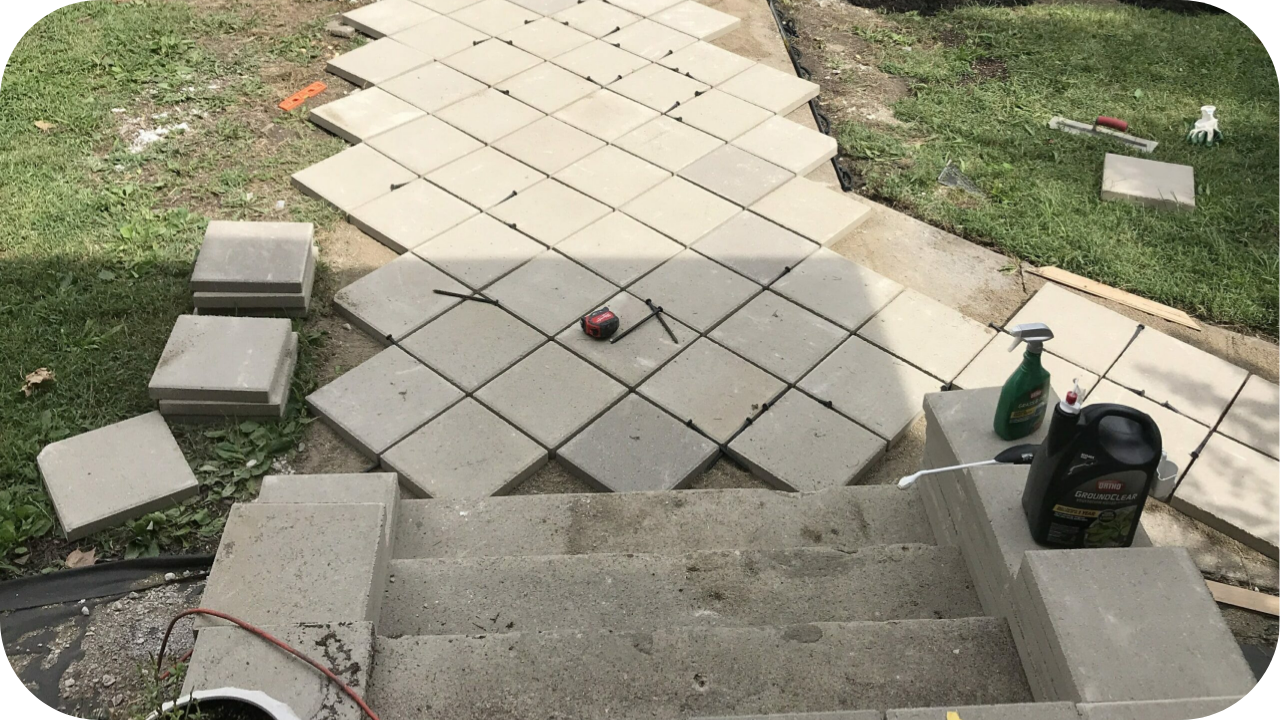
How to Remove Pavers Safely
Removing pavers requires precision to avoid damage and ensure they can be reused. Rushing or using excessive force can break the pavers or disturb the base, leading to future issues. Here’s how to do it the right way:
1. Clear the Area
Remove any furniture, decorations, or obstacles to give yourself enough working space. Sweeping the surface clears dirt and debris, making it easier to see paver joints.
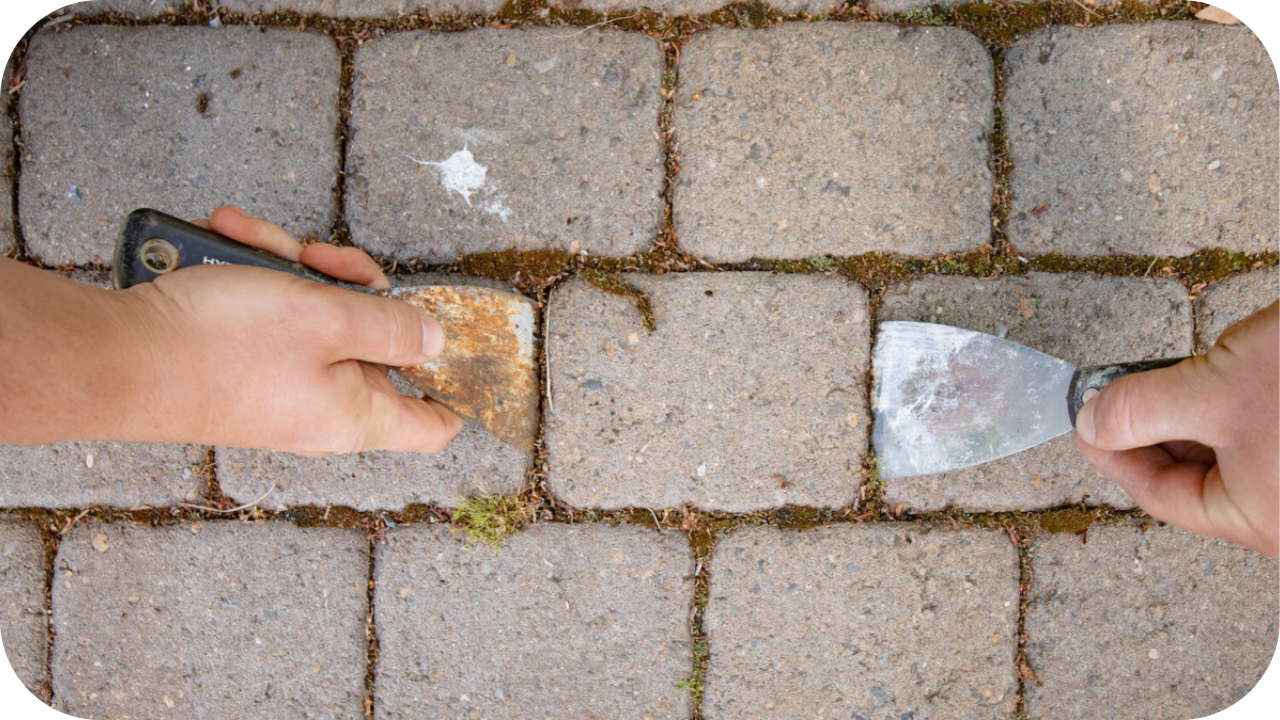
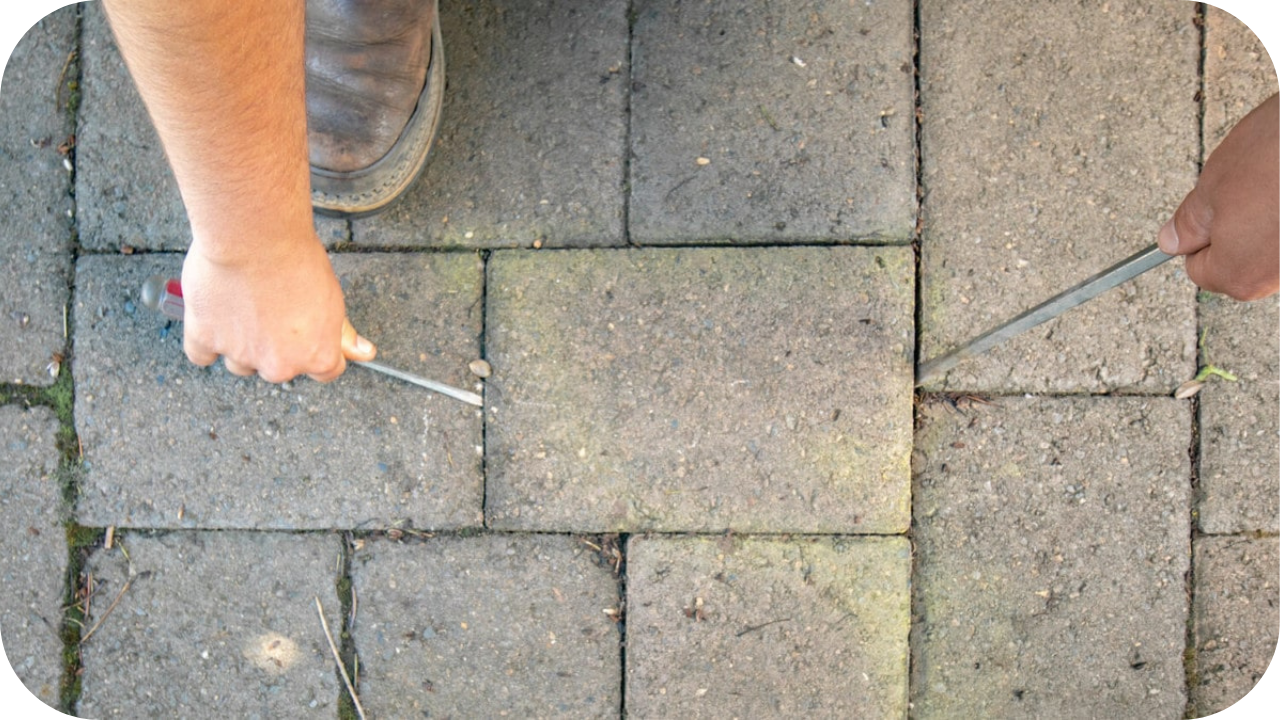
2. Loosen the First Paver
Identify a paver with an accessible joint and insert a screwdriver, pry bar, or chisel into the gap. Gently rock the tool back and forth to loosen the paver without cracking it.
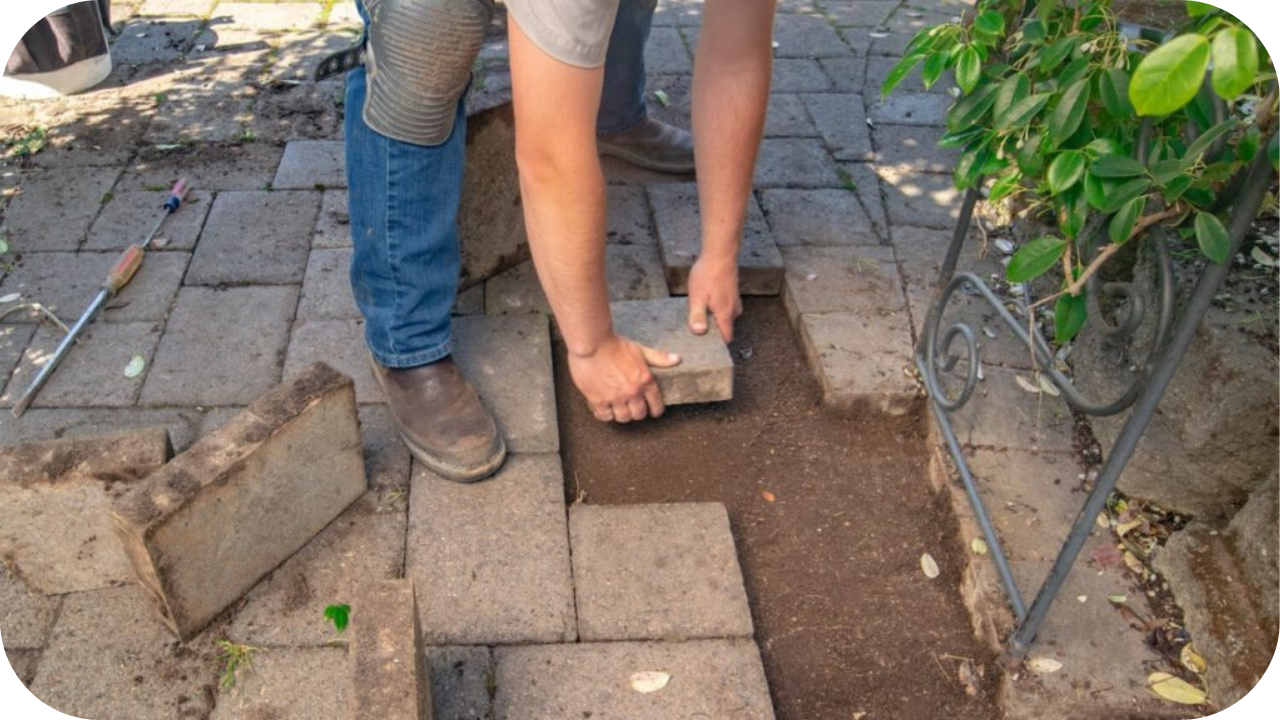
3. Lift the Paver Carefully
Once loose, grasp the paver’s edges and lift it straight up to prevent unnecessary strain on surrounding pavers. If it’s stuck, use a rubber mallet to tap the edges and break any compacted sand holding it in place.
4. Remove the Surrounding Pavers
With the first paver out, continue removing the rest using the same technique. Work in a structured pattern to maintain control and prevent shifting.
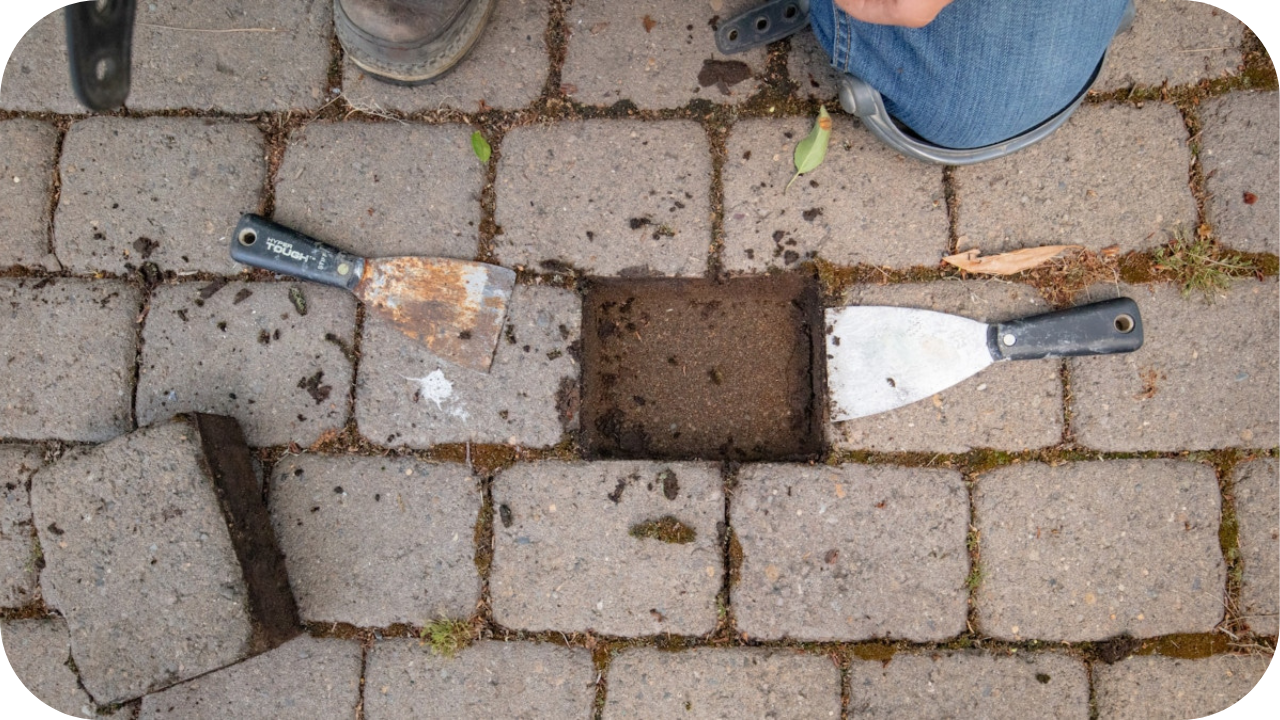
5. Clean the Base
After removing all necessary pavers, sweep away loose sand and debris. Inspect the base for uneven areas or compacted material that may need adjustment before installing new pavers.
Preparing the Base for Replacement
A stable base is essential for preventing pavers from shifting, sinking, or becoming uneven over time. Proper preparation ensures the new pavers sit securely and last longer. Follow these steps to get the base ready for installation.
1. Inspect the Existing Base
After removing the old pavers, carefully examine the exposed base. Look for uneven areas, compacted sand, or weak spots that could cause instability. If the foundation has deteriorated or settled over time, it may require reinforcement with additional sand or gravel before installing new pavers.
2. Remove Excess Debris
Clear away loose sand, dirt, and broken pieces of the old pavers using a broom or leaf blower. A clean surface prevents obstacles from interfering with the leveling process. If weeds or roots are present, remove them completely to avoid future growth between the pavers.
3. Re-Level the Base
If the foundation is uneven, add a fresh layer of sand or crushed gravel to fill low spots and restore a smooth surface. Use a rake or screed board to distribute the material evenly. This step ensures that the pavers sit at a uniform height and prevents water from pooling in certain areas.
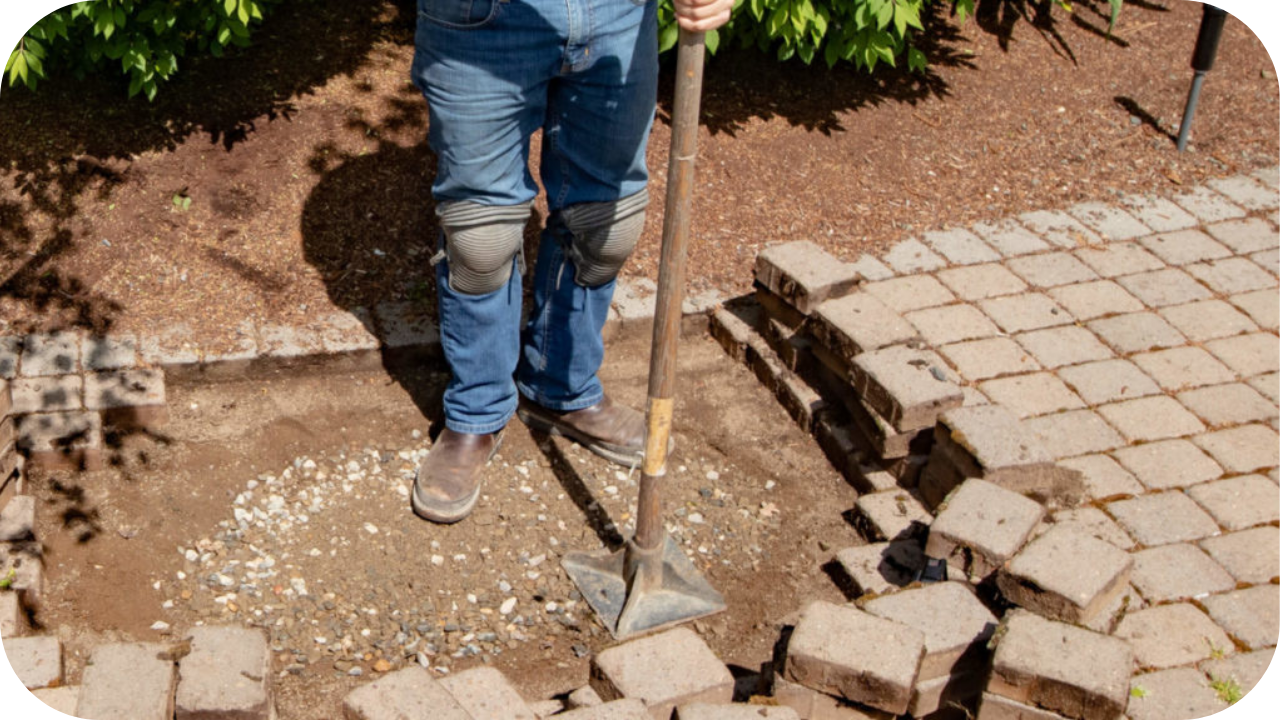
4. Compact the Surface
For a solid foundation, compact the base using a hand tamper or plate compactor. Go over the area multiple times, ensuring that the sand or gravel is tightly packed. A well-compacted base prevents the pavers from shifting over time, keeping the surface stable and even.
5. Check for Proper Slope
If the pavers are being installed in a patio, driveway, or walkway, the base must have a slight slope for drainage. A gradient of 1-2% (10-20mm per meter) allows rainwater to run off instead of pooling, reducing the risk of erosion and water damage. Use a level or straight edge to confirm the slope before proceeding.
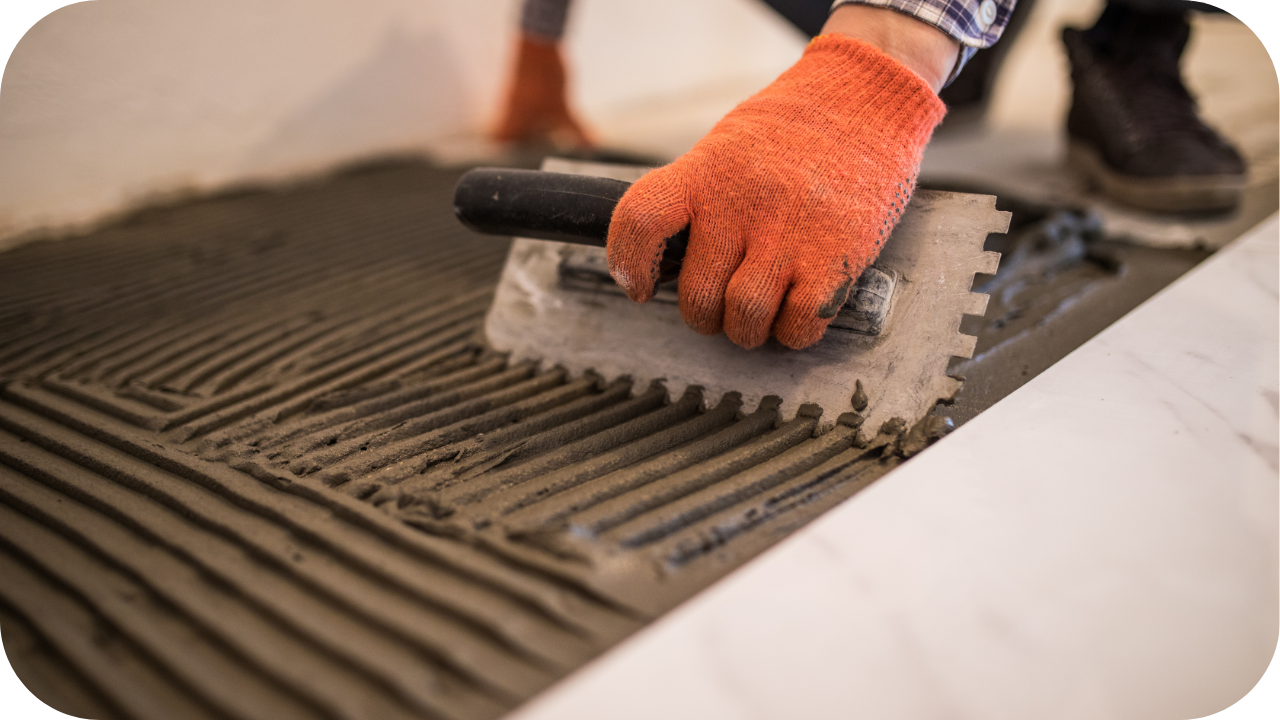
6. Apply a Final Layer of Sand
Once the base is compacted, spread a thin layer (about 25mm) of bedding sand across the surface. Use a straight edge or screed board to level it out evenly. This final layer helps the pavers settle properly and creates a smooth foundation for installation.
How to Replace Pavers Correctly
Replacing pavers requires precision to ensure they fit securely and align with the surrounding surface. Skipping steps can lead to shifting, uneven surfaces, or loose pavers over time. Follow these steps to achieve a professional finish.
1. Select the Right Pavers
Choose replacement pavers that match the size, shape, and colour of the existing ones. If using new pavers, ensure they fit seamlessly to avoid noticeable gaps or height differences.
2. Position the First Paver Correctly
Start by placing the first paver into the prepared base. Lower it gently into position, ensuring it aligns with the surrounding pavers. Avoid forcing it down, as this can disrupt the base.
3. Check for Level and Alignment
Use a spirit level to check that the new paver sits evenly with the existing ones. If it’s too high, remove some bedding sand; if too low, add more and relevel it before placing the paver again.
4. Fit the Remaining Pavers
Continue placing the rest of the replacement pavers, working outward from the first one. Make sure each paver is snug against the next to maintain a uniform pattern. For tight spaces, use a rubber mallet to gently tap the paver into place.
5. Fill the Gaps with Jointing Sand
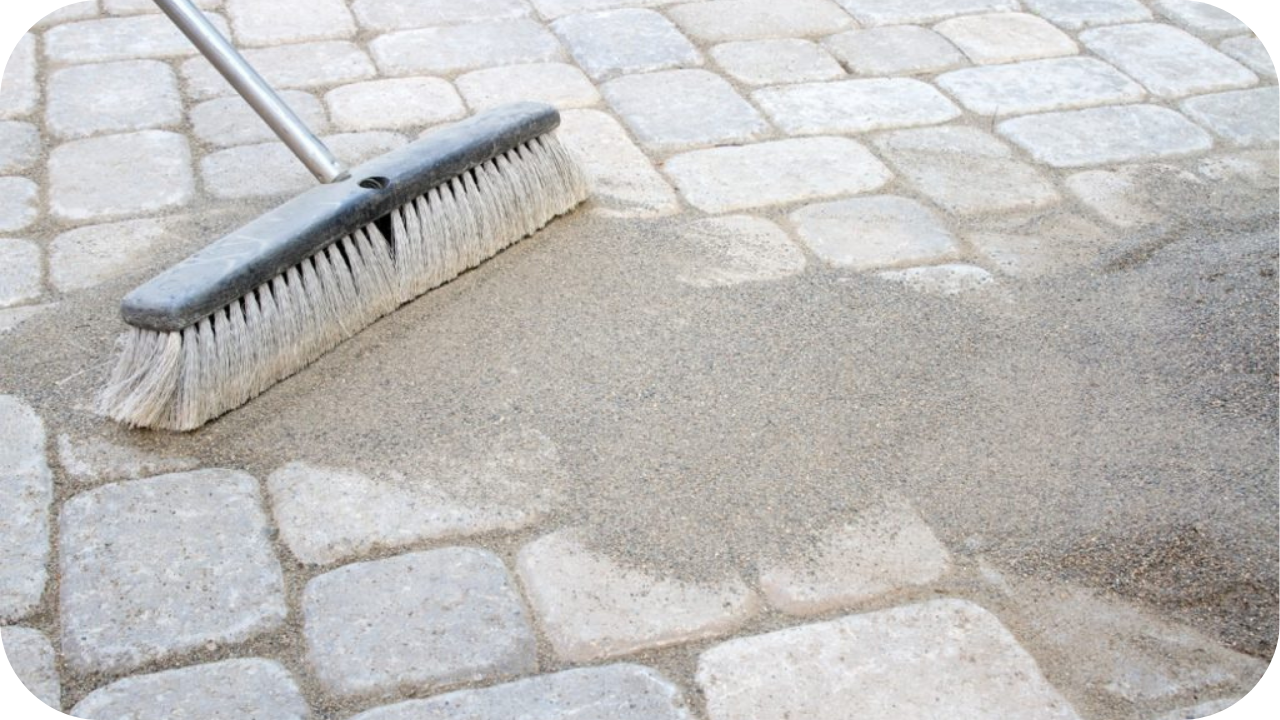
Once all pavers are installed, pour fine jointing sand over the surface. Sweep it into the gaps using a broom, ensuring all joints are filled. This locks the pavers in place and prevents movement.
6. Compact the Surface
Use a hand tamper or plate compactor to press the pavers firmly into the base. This step ensures they remain stable and evenly positioned. If the sand settles after compacting, add more and repeat the process.
7. Final Sweep and Finishing Touches
Brush away excess sand and inspect the surface for any misaligned pavers. If necessary, adjust them before sealing. Applying a paver sealer (optional) can enhance durability and protect against stains and weathering.
Finishing Touches and Maintenance Tips
Once the pavers are securely in place, applying the right finishing touches ensures durability and a polished look. Start by sweeping away any excess jointing sand to keep the surface clean and free of loose grains.
Lightly spraying water over the pavers helps settle the sand into the joints, preventing movement and gaps. If you want added protection, applying a paver sealer can safeguard against stains, moisture, and UV damage, keeping the surface looking fresh for longer.
Regular maintenance is key to preventing issues like shifting, dirt buildup, or weed growth. Sweeping the area weekly and occasionally washing it with mild detergent will help maintain its appearance.
Checking for loose or uneven pavers allows for timely adjustments before they become a larger problem. To stop weeds from sprouting between the pavers, consider using polymeric sand, which hardens when wet and blocks unwanted growth. Avoid dragging heavy objects across the surface and steer clear of harsh chemicals that can erode the material over time.
Common Mistakes to Avoid
Even with the right tools and materials, simple mistakes can lead to unstable, uneven, or shifting pavers over time. Proper preparation, installation, and maintenance are key to ensuring a durable surface. Avoid these common errors to achieve a professional and long-lasting result:
- Skipping Base Preparation – Failing to level and compact the base properly leads to uneven pavers and shifting over time.
- Not Checking for Proper Drainage – Installing pavers on a flat surface without a slight slope can cause water pooling and erosion.
- Forcing Pavers into Place – Using excessive force to fit a paver can crack it or disturb the surrounding ones, leading to misalignment.
- Ignoring Jointing Sand – Skipping jointing sand results in loose pavers that can shift or become unstable. Always fill the gaps and compact the surface.
- Using the Wrong Tools – A metal hammer or chisel can damage pavers, while a rubber mallet ensures a snug but safe fit.
- Overlooking Edge Restraints – Failing to secure the perimeter with edge restraints can cause pavers to spread out over time.
- Skipping the Final Compaction – Not compacting the surface after replacement allows pavers to shift and become uneven.
- Neglecting Regular Maintenance – Without proper care, dirt, weeds, and shifting can reduce the longevity and appearance of your pavers.
Conclusion
A well-installed paver surface enhances both the look and functionality of your outdoor space. By carefully removing, preparing, and replacing pavers, you ensure a stable and long-lasting finish. Skipping steps leads to future headaches, so take the time to do it right.
Have a paver project in mind? Start today and transform your space! Need professional assistance? Contact a Splendour In Stone for guidance.
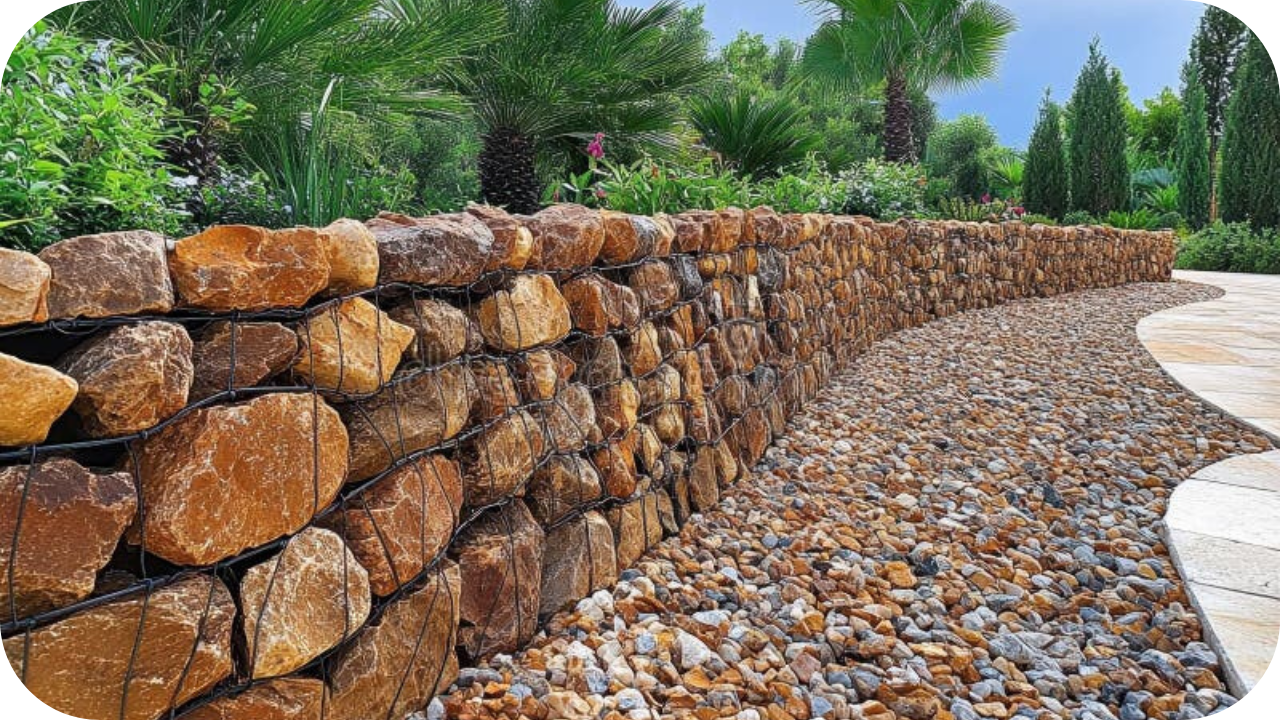
8 Advantages of Using Stone Grid Gabions in Your Landscape
Are you seeking a durable, cost-effective solution to elevate your landscape? Stone grid gabions might be the perfect choice! These versatile, eco-friendly structures offer a

10 Stunning Feature Wall Ideas Using Natural Stone
Looking to elevate your home with a stunning feature wall? Natural stone offers a timeless, elegant touch that can transform any room. From sleek marble
