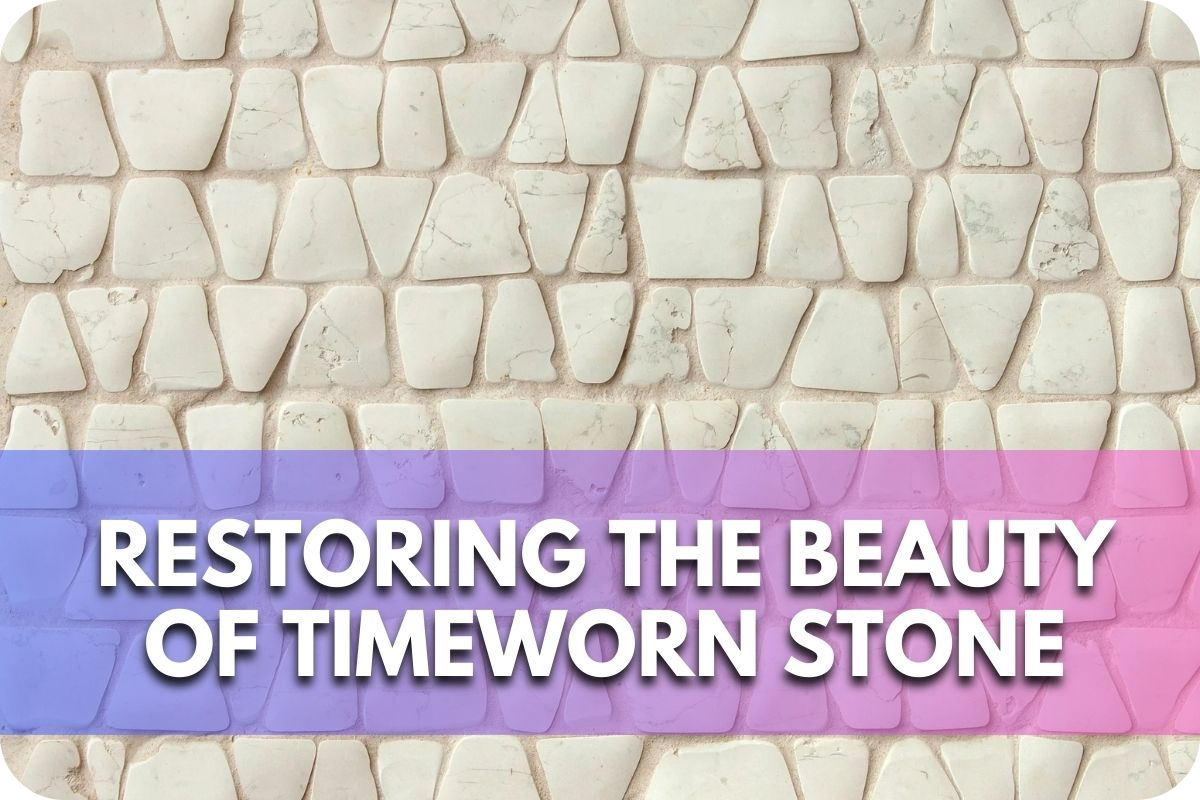
While charming, timeworn stone often shows its age with cracks, chips, and discolouration. These blemishes can detract from the beauty of your home or landscape.
Neglecting these issues can worsen the damage, leading to costly replacements and a loss of the stone’s historic character.
Fortunately, several restoration techniques are available to repair and revive timeworn stone. You can restore its natural beauty and protect it with the right approach for years.
Understanding Timeworn Stone
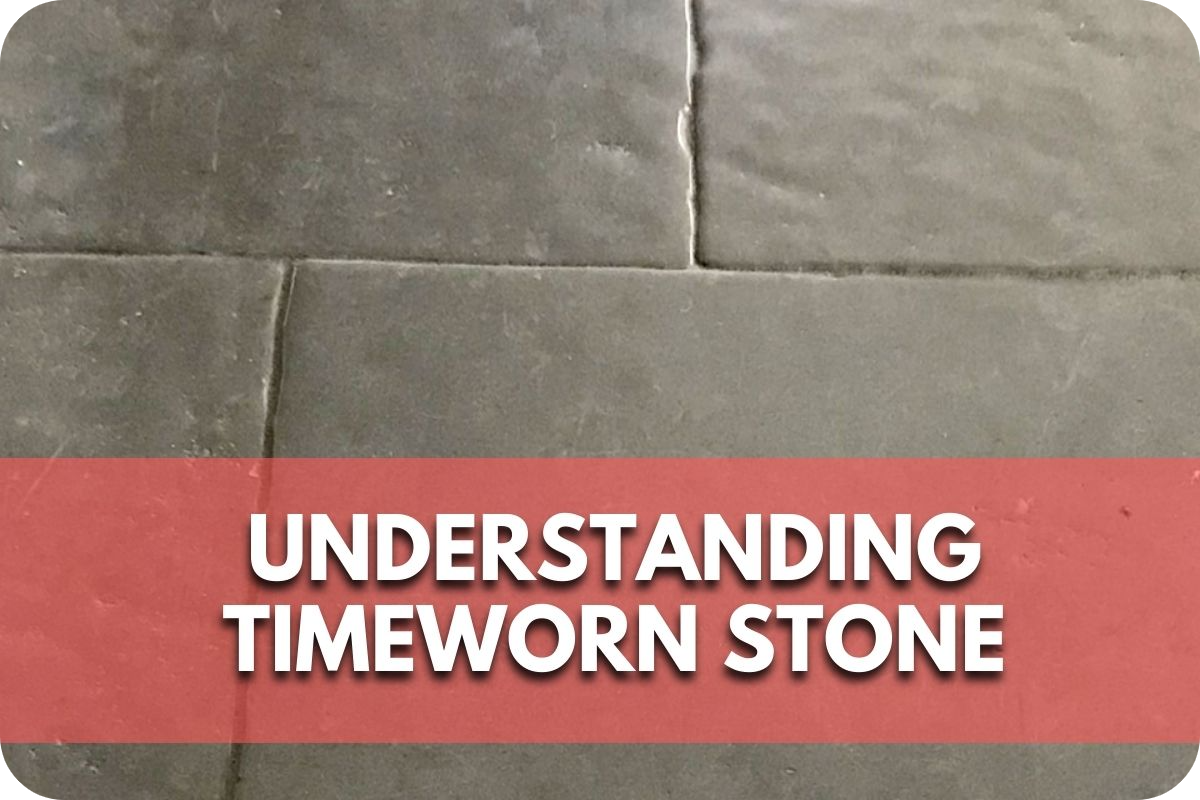
The passage of time leaves its mark on stone, creating a unique patina that speaks of history and character. This patina may include subtle colour variations, a softened surface texture, or even the presence of mosses and lichens. However, time also brings about deterioration. Here’s what you need to know:
A. Characteristics of Aged Stone
- Patina: A thin surface layer altered by exposure to the elements, giving the stone a sense of history.
- Colour Changes: Sunlight, water, or minerals can lead to fading, darkening, or staining.
- Surface Texture: Erosion creates a smoother, sometimes pitted surface than fresh stone.
B. Factors Causing Deterioration
- Weathering: Freeze-thaw cycles, rain, and wind physically erode stone over time.
- Biological Growth: Mosses, lichens, and algae can trap moisture and release acids, harming the stone.
- Chemical Attack: Acid rain, pollutants, and harsh cleaners damage stone surfaces.
- Improper Repairs: Previous repairs with incompatible materials can accelerate deterioration.
Assessment and Preparation
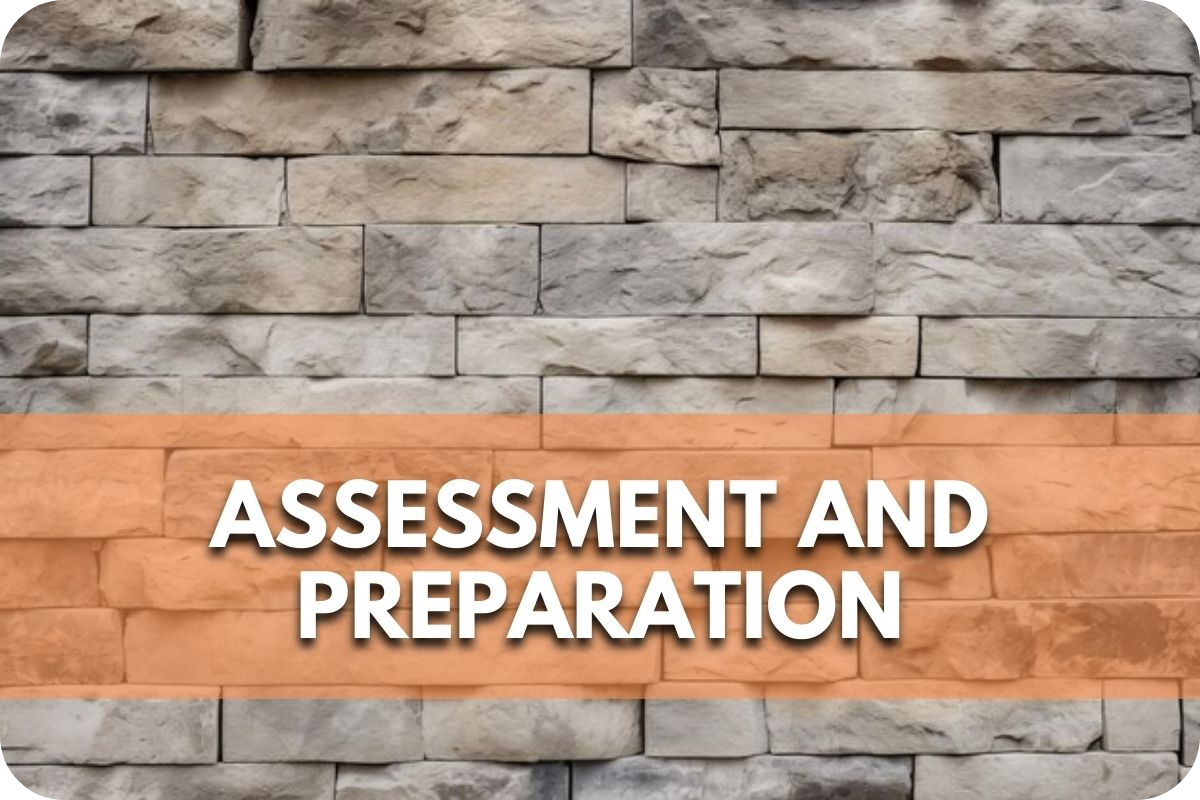
A successful restoration begins with carefully evaluating your stone’s condition and thoughtful preparation. Here’s why this stage is crucial:
A. Importance of Assessment
- Identifying Damage: Assess the extent of cracks, chips, discolouration, and biological growth to determine the most suitable repair techniques.
- Understanding Causes: Determine if the damage is from weathering, past repairs, or underlying issues like moisture problems. Addressing the root cause prevents future deterioration.
- Matching Materials: Identify the stone type to ensure compatibility between replacement materials or repair mortars, ensuring a seamless result.
B. Preparation Steps
- Cleaning: Gently remove dirt, debris, and biological growth using appropriate methods for your stone type. This allows for better assessment and repair of adhesion.
- Surface Preparation: This might include filling minor cracks, removing loose mortar, or roughening surfaces to improve the adhesion of new materials. Proper preparation is essential for a long-lasting restoration.
Repairing Chips and Cracks
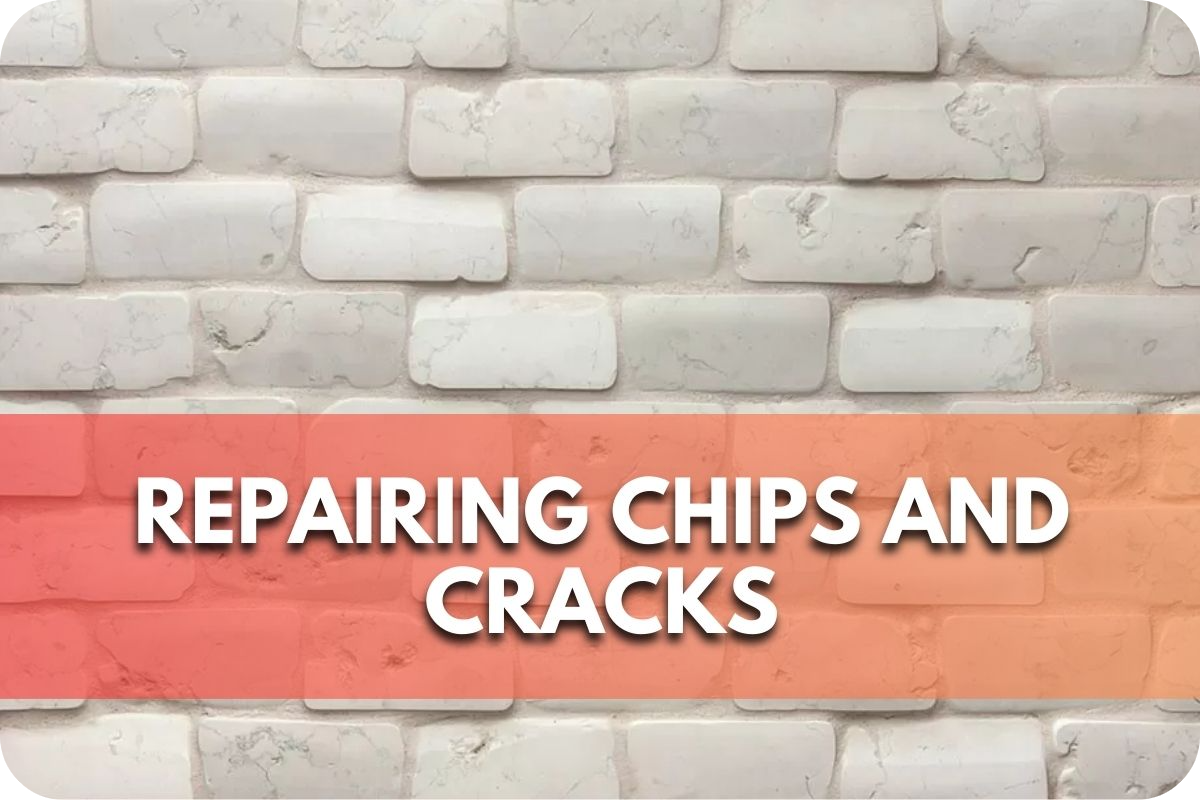
Addressing those unsightly chips and cracks is key in restoring your stone’s beauty. Here’s what you need to know:
A. Techniques for Repair
- Small Chips: Simple fills with coloured epoxy or stone-dust-infused resin can disguise minor chips.
- Larger Chips: Reattach broken pieces with epoxy or replace missing sections with matching stone and mortar.
- Cracks: Stabilize cracks by injecting flexible epoxy or resin. This prevents further widening and water penetration.
B. Choosing Materials & Methods
- Material Selection: Epoxies and resins are common because of their strength and color-matching abilities. However, for historical accuracy, lime-based mortars might be more suitable.
- Application: Small repairs can often be DIY, while larger cracks or replacements may require a professional.
- Colour Matching: Tinting repair materials are crucial for a seamless blend with the existing stone. Experiment on an inconspicuous area first.
Patching and Blending
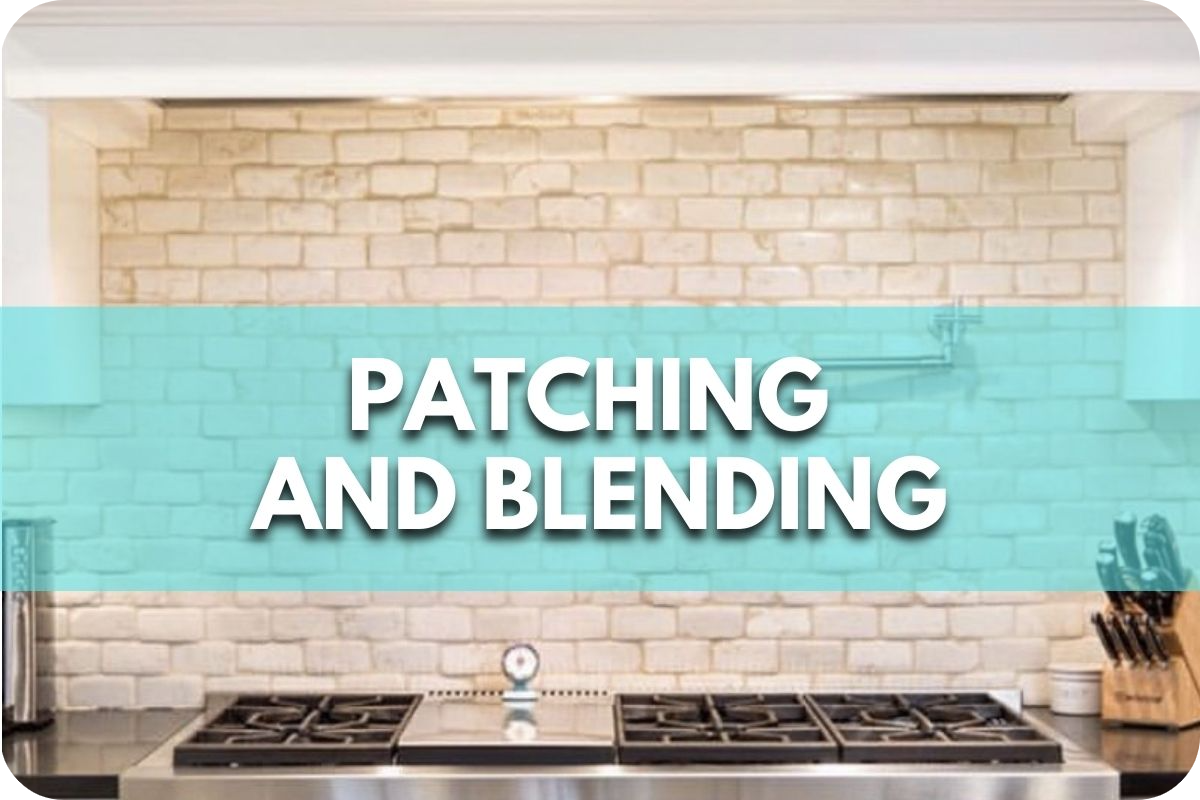
The art of restoration lies in fixing damage and making those repairs disappear. Here’s how to achieve a seamless finish:
A. Methods for Patching and Blending
- Filling and Leveling: Use repair materials to overfill the damage slightly. Once cured, carefully sand or grind them flush with the surrounding surface.
- Colour Matching: Use pigments or stone dust to tint repair materials to match the original stone’s colour variations perfectly.
- Texture Replication: Recreate the texture of the stone using fine tools or texturing compounds. This is particularly important for smooth or polished stones.
- Feathering: Blend the edges of repairs into the existing surface for an invisible transition.
B. Tips for a Seamless Result
- Practice: First, test your techniques and colour matching on a scrap piece of stone.
- Lighting: Work in good lighting, ideally similar to where the stone is located, to judge your blending accurately.
- Patience: Blending may require multiple layers and adjustments. Take your time to achieve perfection.
- Sealing: After repairs, consider applying a sealer to the entire surface to create a uniform finish and protect the stone.
Rejuvenating Surface Finishes
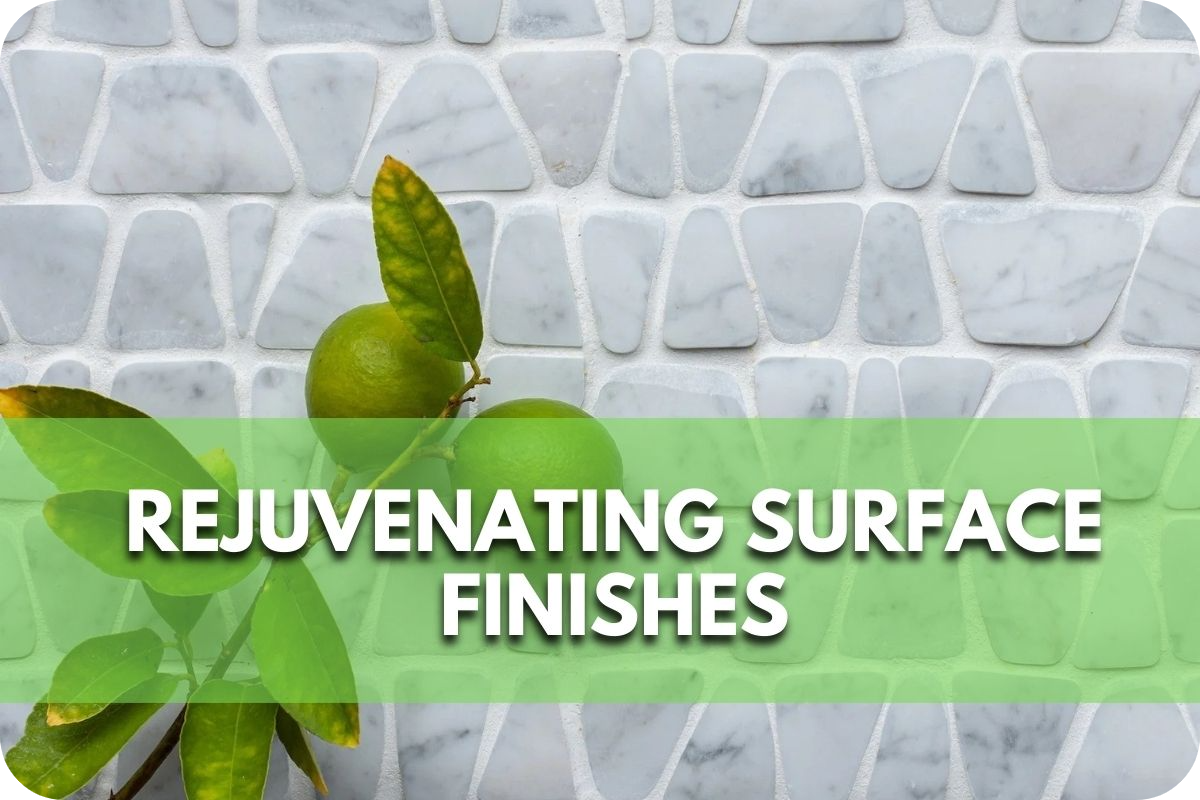
Sometimes, restoring a stone’s beauty comes down to bringing back its original shine and lustre. Here’s how to revitalise those surfaces:
A. Techniques for Surface Revival
- Cleaning: Thoroughly clean the stone to remove built-up grime and reveal its true condition.
- Polishing: Use successively finer diamond polishing pads or compounds to buff out scratches and create a smooth, reflective surface.
- Honing: This creates a less glossy, satin-like finish using finer abrasives than polishing.
- Chemical Treatments: Some stones may benefit from specialised enhancers to deepen colour or reveal specific characteristics.
B. Choosing the Right Finish
- Desired Look: Do you want a high-gloss polish or a softer, honed finish? Consider the stone type and your aesthetic preference.
- Practicality: Polished surfaces may be more susceptible to showing wear in high-traffic areas.
- Professional Assistance: Polishing and honing often require specialised tools and experience. Consider a professional for larger areas or delicate stone types.
- Maintenance: Polished or honed surfaces may need periodical resealing to maintain protection and their desired finish.
Consolidation and Strengthening

When weathering has weakened the stone’s structure, deeper intervention is needed to prevent further crumbling. Here’s what to know about consolidation:
A. Strategies for Weakened Stone
- Consolidation: This involves applying liquid consolidants that penetrate the stone’s pores, binding loose particles and increasing internal strength.
- Strengthening: In some cases, more robust strengthening agents might be used, providing a deeper level of reinforcement.
B. Consolidants and Strengthening Agents
- Material Considerations: The choice of consolidant depends on the stone type and its porosity. Common options include silicate-based compounds, lime-based materials, or acrylic resins.
- Compatibility: It is crucial to choose consolidants that will not harm the stone, alter its appearance, or trap moisture within.
- Application: Consolidants are typically applied by brushing, spraying, or specialised techniques such as poulticing. Deeply weakened stone may require multiple applications.
- Professional Expertise: Due to the sensitivity of the process, and the variety of products on the market, consulting a stone restoration professional is often advisable.
Colour Enhancement and Stain Removal
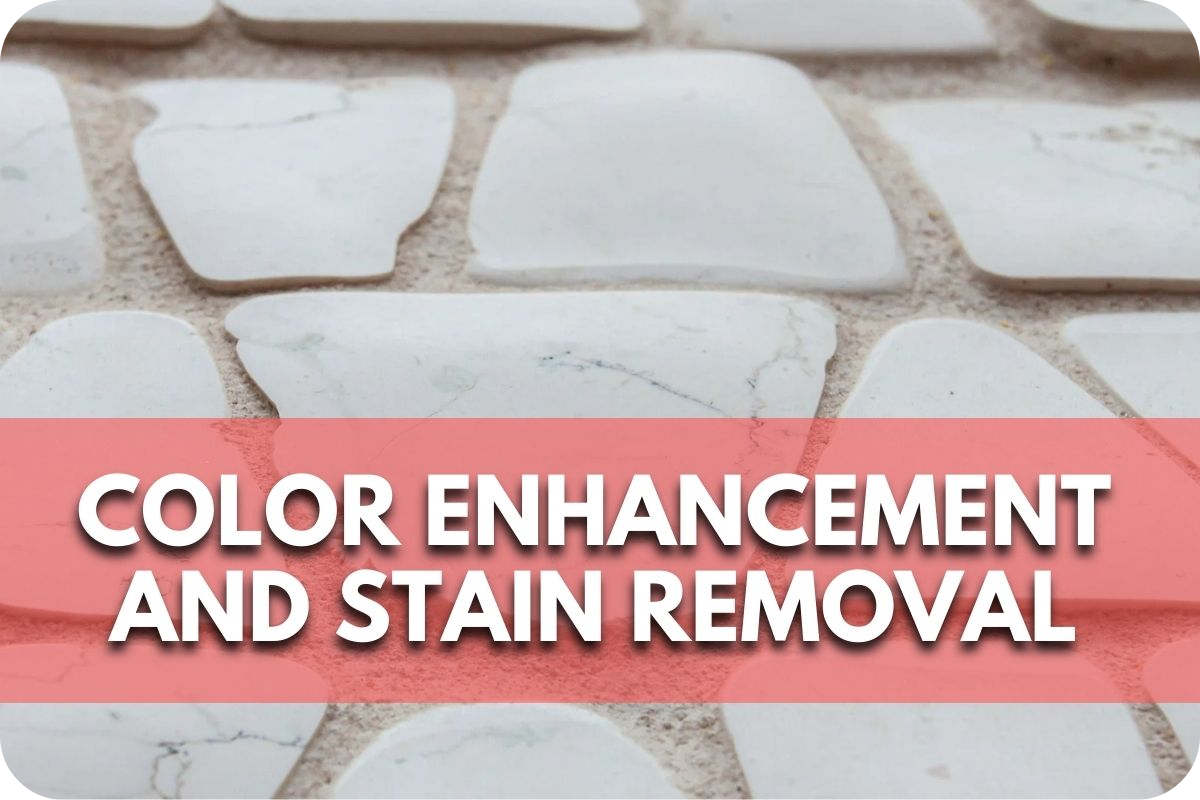
Addressing discolouration and stubborn stains is vital for a fully refreshed stone surface. Here’s how to tackle these issues:
A. Techniques for Color and Stain Removal
- Stain Identification: Determine the stain’s source (oil, organic, rust, etc.). This dictates the best removal method.
- Poultices: These are absorbent pastes applied directly to stains. They draw out the stain over time. Depending on the stain type, poultice powders are mixed with specific liquids.
- Chemical Cleaners: Specialized cleaners formulated for stone might be needed for specific stains. Always test in an inconspicuous area first.
- Colour Enhancers: These products intensify the stone’s natural colour, especially after fading or cleaning.
B. Cautions and Considerations
- Testing: Always test any stain removal or enhancement product on a hidden area to avoid adverse reactions.
- Harsh Chemicals: Avoid acids or bleach on most stones unless specifically recommended by a professional.
- Deep Stains: Some stains may be too deep-set for DIY removal and require professional services.
- Prevention: Sealing your stone helps prevent many stains from setting in the first place.
Grout and Joint Repair
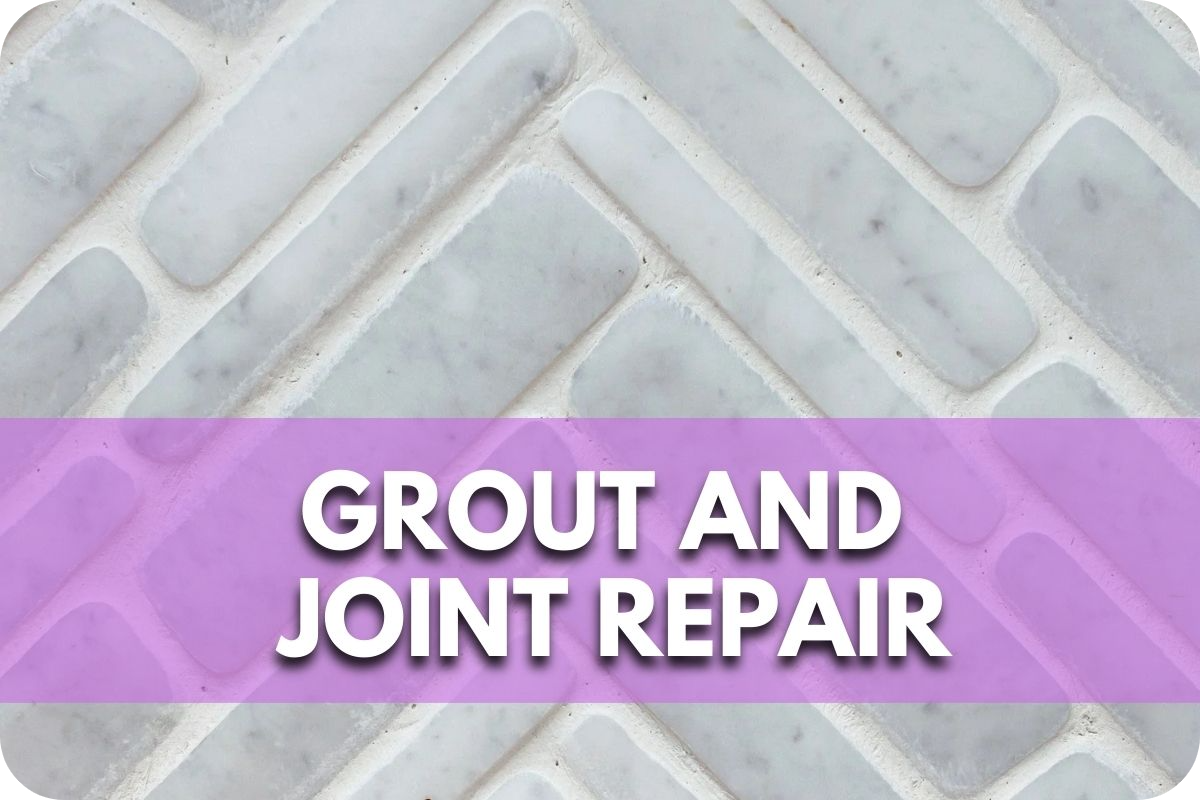
Damaged grout doesn’t just look bad; it compromises the integrity of your stonework. Here’s what you need to know for effective joint repairs:
A. Repairing Damaged Joints
- Removing Old Grout: Carefully chisel or grind loose, crumbly grout or mortar. Take care not to damage the surrounding stone.
- Preparation: Clean the joints thoroughly to remove dust and debris for optimal adhesion of the new material.
- Re-grouting/Repointing: Fill the joints with a suitable mortar or grout, working it firmly into the gaps. Shape to match the original joint profile.
B. Material Selection & Techniques
- Matching Matters: Choose a grout or mortar that matches the existing colour and texture as closely as possible.
- Strength & Compatibility: Ensure the chosen material is strong enough for the application and compatible with your stone type.
- Historic Structures: To maintain breathability, traditional lime-based mortars may be required for historic preservation.
- DIY vs. Professional: Homeowners can often tackle smaller re-grouting projects, while larger repointing jobs may necessitate a skilled mason.
Protection and Maintenance
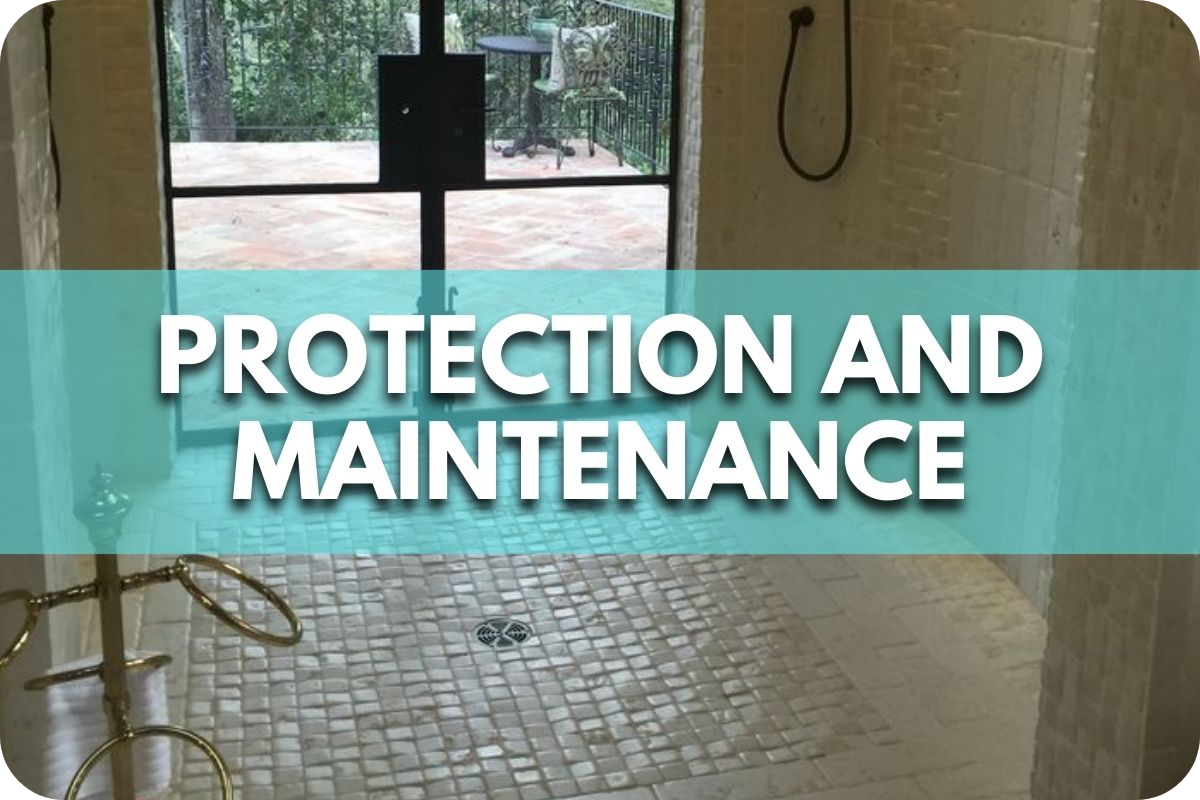
Your restoration efforts deserve lasting protection. Here’s how to safeguard your stone and keep it looking its best:
A. The Importance of Sealants
- Stain Prevention: Sealants create a barrier against spills and staining, making cleanup easier.
- Water Resistance: They minimise water absorption, reducing the risk of damage caused by freeze-thaw cycles or efflorescence (salt deposits).
- UV Protection: Some sealants help protect against fading caused by sunlight.
- Choosing Sealants: Select a sealant appropriate for your stone type (porous vs. dense) and the desired finish (matte vs. glossy).
B. Ongoing Maintenance
- Regular Cleaning: Gently remove dirt and debris with cleaners formulated for natural stone. Avoid harsh chemicals.
- Address Spills Quickly: Blot up spills immediately to prevent staining.
- Resealing: Reapply sealants according to the manufacturer’s recommended schedule to maintain protection.
- Professional Inspections: For major restorations or historic stone, consider periodic professional evaluations to ensure the longevity of your repairs.
Case Studies and Examples

Seeing the principles of stone restoration in action can inspire and guide your project. Here’s a glimpse into some successful transformations:
- Historic Building Facade: A weathered historic limestone facade might be cleaned with specialised methods, have cracks injected with flexible fillers, and broken pieces replaced with carefully matched stone.
- Stained Marble Fireplace: Deep-set oil stains on a marble fireplace could be treated with poulticing methods. Afterwards, the entire piece could be honed and polished to restore its original lustre.
- Crumbling Garden Wall: A deteriorating garden wall could have its mortar repointed, loose stones re-set, and missing sections rebuilt with reclaimed stone that matches the original.
Finding Examples
- Restoration Companies: Many stone restoration specialists have before-and-after galleries on their websites.
- Historic Preservation Organizations: These groups often document restoration projects on historically significant buildings.
- Online Resources: Search for specific restoration examples based on your stone type or project goals.
Professional vs. DIY Restoration
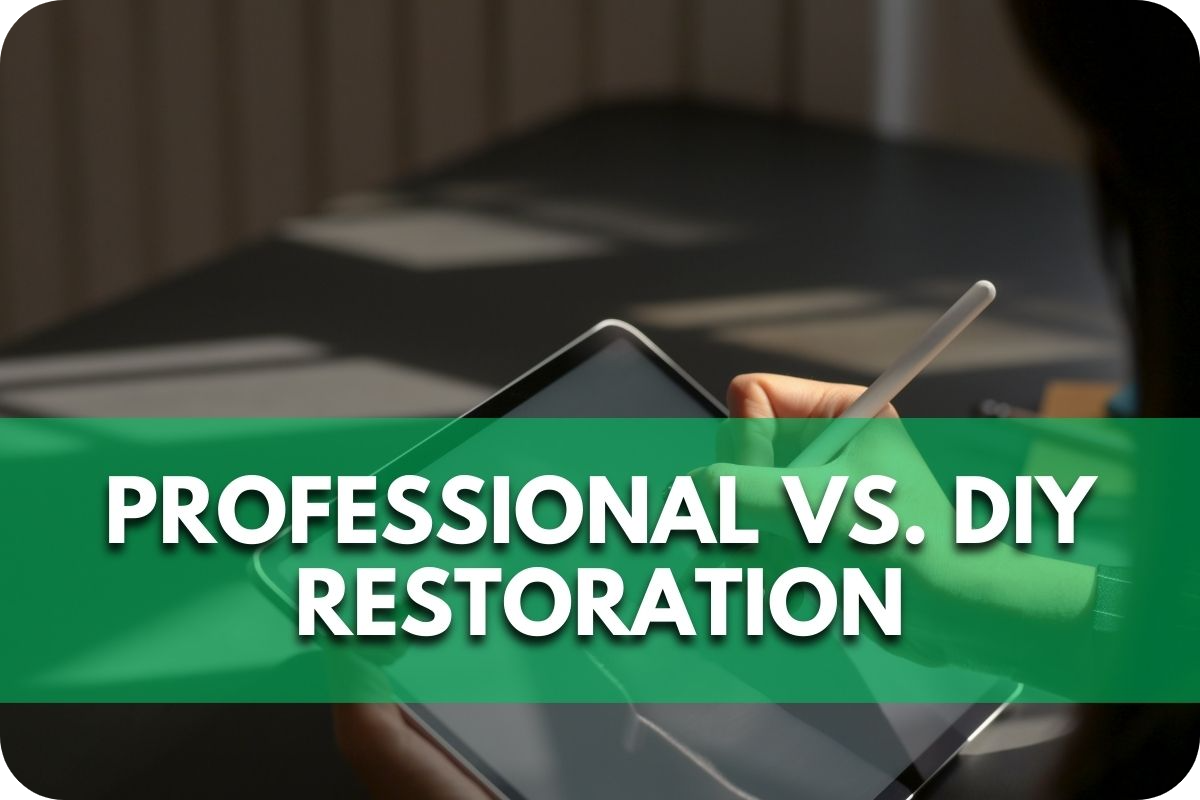
Deciding whether to DIY or call in the experts is a common question. Here’s a breakdown to help you decide:
A. When to Consider a Professional
- Scale of the Project: Large areas or complex repairs often require specialised tools and extensive experience.
- Stone Type: Delicate or precious stones are best left to professionals to avoid costly mistakes.
- Historic Significance: Restoring historic structures often necessitates specialised techniques and materials to maintain their integrity.
B. What Makes Restoration Challenging
- Correct Diagnosis: Accurately identifying damage types and causes is crucial for choosing the right fix.
- Specialised Materials: Consolidants, repair mortars, and colour-matching materials may not be readily available to the average homeowner.
- Tools and Techniques: Grinding, polishing, and other restoration methods often require specific tools and skills acquired through practice.
- Risk of Further Damage: Without proper understanding, well-intentioned DIY attempts can worsen the problem.
Conclusion
The right techniques can breathe new life into timeworn stone, from filling cracks to reviving colour.
Don’t let your stone’s beauty fade away—explore restoration options and rediscover its unique charm.
The satisfaction of preserving a piece of history is well worth the effort.
Stone Interiors That Pair Well with Neutral Palettes
Ever walked into a room and felt instantly at ease? That’s the quiet magic of neutral palettes paired with natural stone. This timeless combination brings
Stone Wall Cladding in Point Cook: Styles That Add Value
Consider upgrading your home in Point Cook. Stone wall cladding could be the stylish, value-boosting feature you’re after. From sleek stacked stone to timeless travertine,
