
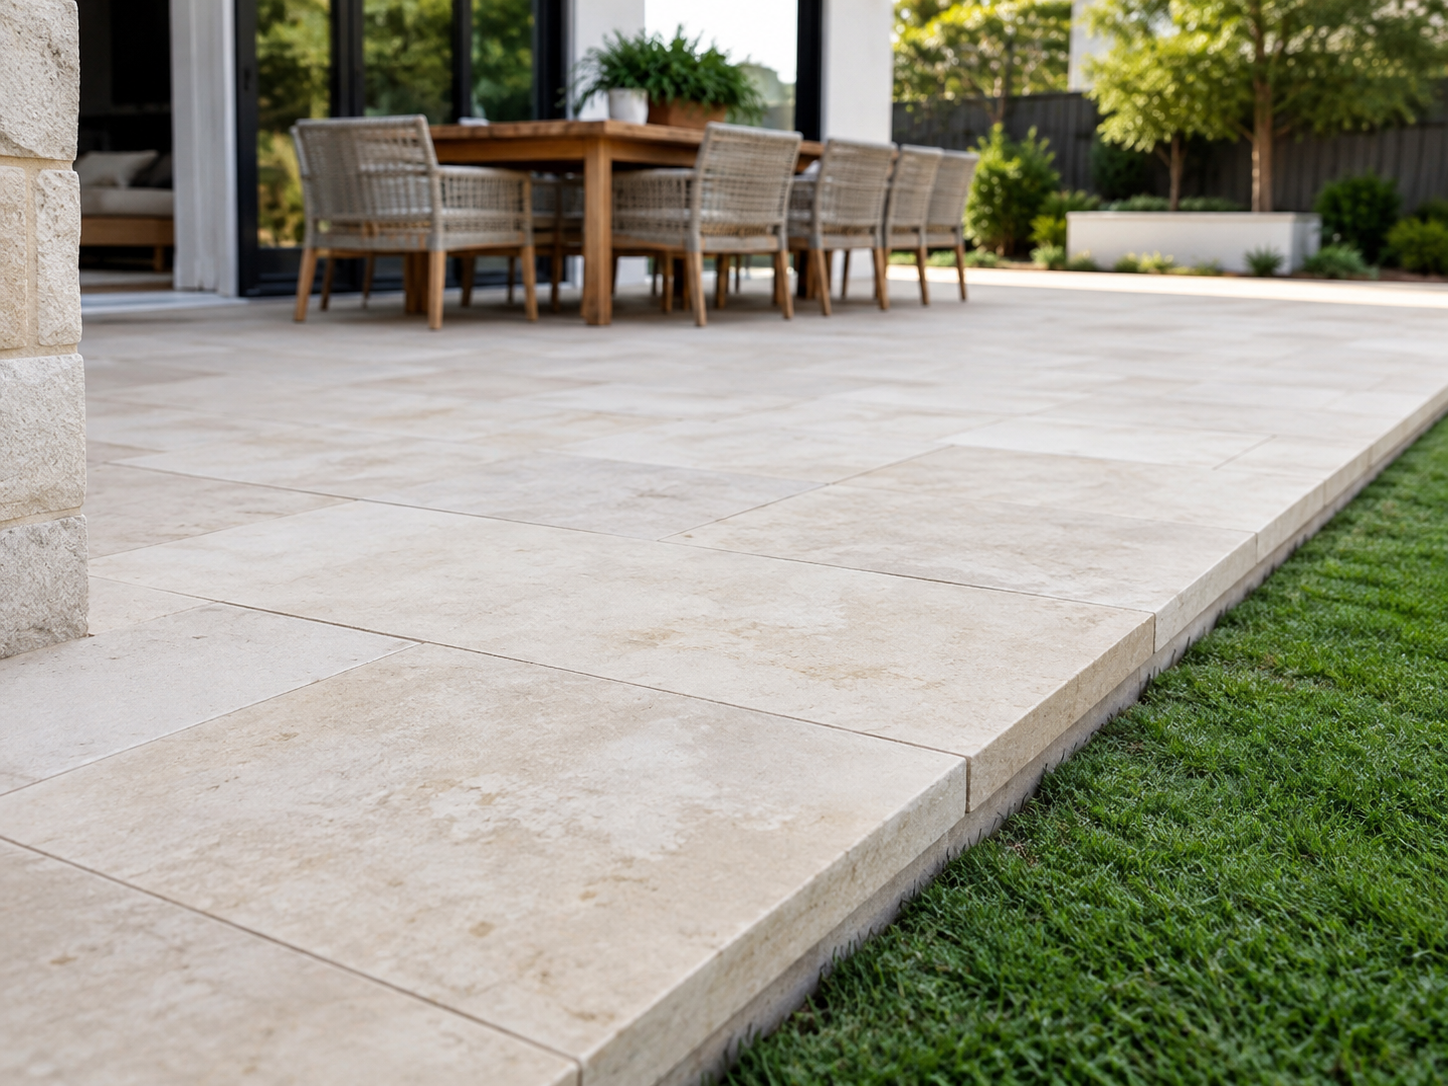
Yes, you can lay pavers over concrete, and paving over concrete is often the sensible choice when a slab is structurally sound, drains in the right direction and you can afford the extra height. It saves the cost and mess of breaking out and removing the old surface.
It fails when the slab is cracked through, moving, or shedding water the wrong way, and when the added height puts the new surface above a doorway threshold or a step. Those three checks decide the job before any material is chosen.
When overlaying works and when the slab should come up
Run through the slab first. Most of the decision is made before you look at a single paver.
| What to check | Overlay works when | The slab should come up when |
|---|---|---|
| Slab condition | Sound, with only fine surface cracking | Cracked through, hollow-sounding, or crumbling |
| Movement | Stable, no recent change | Cracks widening, sections at different levels |
| Falls and drainage | Water runs off to a defined point | Water pools, or runs towards the house |
| Height clearance | The finished level stays below thresholds and step nosings | Doorways, steps or drainage points cannot absorb the extra height |
| Intended use | Foot traffic, entertaining, light vehicle where the slab was built for it | Heavier loading than the slab was designed for |
| Existing surface | Clean, unsealed, mechanically sound | Painted, heavily sealed or previously coated |
A slab that moves will telegraph that movement through whatever you lay on top of it. No bedding method fixes a substrate problem, and an overlay laid over a live crack will crack in the same place.
The height problem nobody warns you about
Adding a layer of stone to an existing slab raises the finished surface, and that is where most overlay projects run into trouble.
The paver thickness and the bedding layer both add height. That new level has to work with every threshold, step and drainage point around it. A back door that opened cleanly over a slab can end up with the paving sitting at or above the door sill, which puts water at the doorway rather than away from it. Step risers change too: a flight that was even before the overlay ends up with one short riser at the top, which is both awkward and a trip risk.
Measure this before anything else. Find the lowest doorway threshold, the top step nosing and any drain, grate or weep hole, then work out how much height the overlay adds and whether all three still work. If the numbers do not work, the answer is not a thinner paver, it is lifting the slab or rethinking the levels.
Preparing an existing concrete slab
- Clear and clean the slab. Remove everything, sweep, then wash. Grease, oil and old coatings all interfere with bonding.
- Assess the surface properly. Tap across it and listen for hollow sections. Look for cracks, spalling and any area sitting at a different level.
- Check the falls with a level. Confirm which way water currently runs and whether it reaches a drainage point. Fixing a fall is much easier before the overlay than after.
- Deal with cracks. Fine surface cracks can usually be filled. Cracks that run through the slab, or that show movement, need a decision about whether the overlay should proceed at all.
- Confirm the surface is not sealed or painted. Coatings stop adhesives and bedding from bonding, and they need removing mechanically.
- Set out dry and mark your cuts. A dry layout tells you the real cut count and often lets you move a full course rather than cutting one. Do the cutting before the laying, using whichever cutting method suits the stone.
- Establish the edge detail. An overlay has an exposed edge on any side not meeting a wall. That edge needs restraining or finishing, and it is far easier to plan than to retrofit.
Laying natural stone over concrete
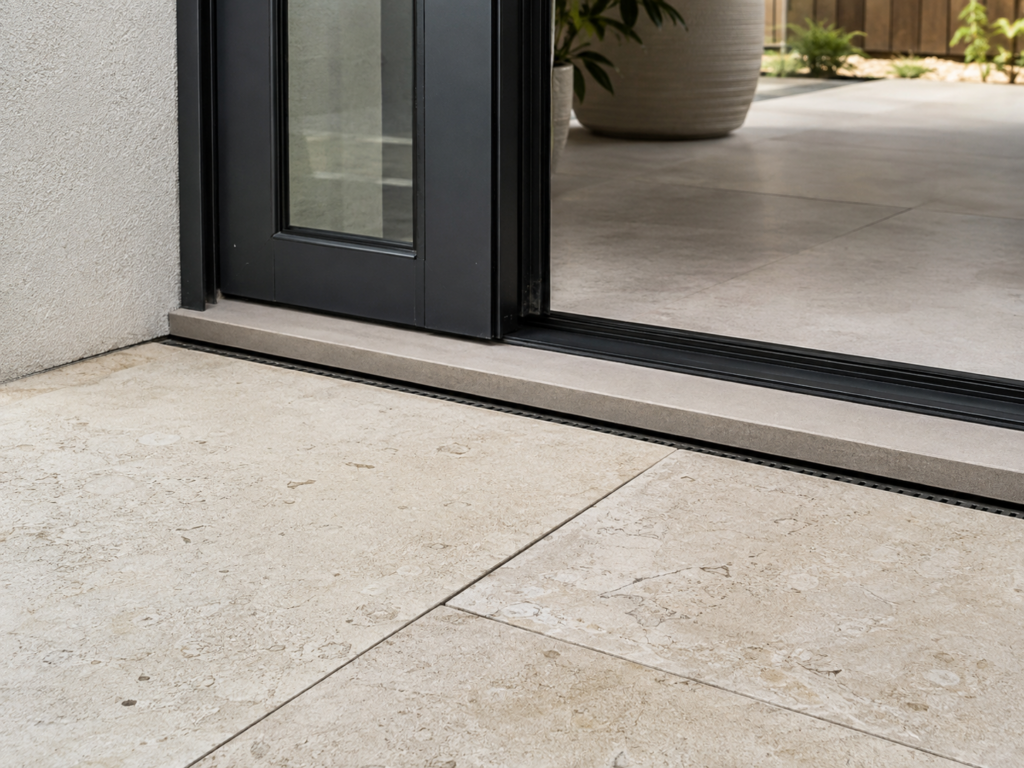
Natural stone behaves differently from concrete pavers on this job, in three ways worth knowing before you order.
- Weight. Stone is heavier per square metre than most concrete paving of the same format, and an existing slab was designed for a particular loading. On a domestic patio this rarely matters, but on a suspended slab, a balcony or anything above a habitable space it very much does, and that is an engineering question rather than a landscaping one. Denser materials carry the most weight per square metre, which is one reason laying granite pavers is worth checking against the slab before it is worth checking against the budget.
- Thickness and format. The thickness available in a given stone determines the height you add, and thickness varies by material and by format. This is the specification to confirm against the actual product before you commit to the levels, not after.
- Bedding. Laying over concrete is a different method from laying on a compacted base. The stone bonds or beds to a rigid surface rather than sitting on a flexible one, and the correct approach depends on the material and the slab. Confirm the recommended method for the specific stone rather than assuming one carries across from another job.
- Movement joints matter more on a rigid base. A flexible base absorbs small movement through the joints. A concrete slab does not, so expansion and control joints in the slab need carrying through the overlay rather than paving straight across them. The same logic decides what you put between the pavers, because a rigid joint over a rigid base has nowhere to absorb movement either.
Drainage, and why it decides the job
Water is the thing that turns a good overlay into a failed one. A slab that already pools water will still pool water with stone on top, and now the water sits in the bedding layer and the joints rather than evaporating off an open surface.
Work out where the water goes now, before you change anything. It should run away from the house to a defined point, and the fall should be consistent. If it does not, the overlay is the moment to fix it, either by building the fall into the bedding layer or by adding drainage at the low point.
Overlaying also reduces permeability, because a rigid base underneath means less water soaks away and more runs off. On a small patio that is manageable. On a large area it can change where runoff ends up, which is worth checking against your council’s stormwater requirements before the job starts rather than after a neighbour notices.
What goes wrong with pavers over concrete
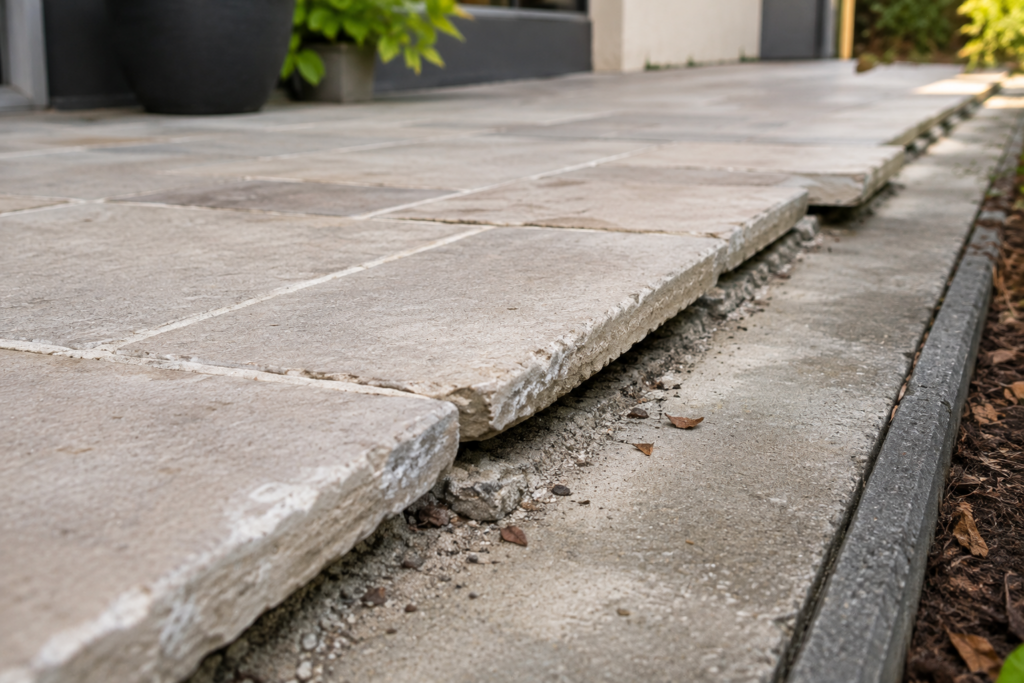
Trapped water is the most common failure. Water gets into the bedding layer through the joints, cannot drain through the slab beneath, and sits there. In stone it shows up as persistent damp patches, efflorescence, and organic growth in the joints that keeps coming back no matter how often it is cleaned.
Movement telegraphing is the second. A crack in the slab that opens and closes with temperature will eventually crack the overlay along the same line, because a rigid bedding layer has nowhere to put that movement.
Edge lifting is the third, and it is almost always a detailing problem. The exposed edge of an overlay has no lateral restraint unless you give it one, so pavers at the perimeter work loose first. Getting the edge restraint and border detail right at the planning stage is what prevents it.
The fourth is a height conflict discovered too late, which is expensive because the fix is usually removal.
What affects the cost of an overlay
Overlaying is normally cheaper than excavating and rebuilding, mostly because you avoid breaking out and disposing of the old slab. These are the factors that move the number.
- Material and thickness: stone type, format and thickness all affect supply cost, and thickness also drives the height calculation.
- Slab preparation: cleaning, crack repair, coating removal and any correction to the falls. This varies more between jobs than anything else on the list.
- Bedding method: adhesive, mortar bed or another system, each with different material cost and labour.
- Edge and threshold detailing: every exposed edge, step and doorway transition adds cutting and labour.
- Cutting and wastage: curves, circular layouts and irregular formats generate more offcuts than a straight grid.
- What you save: no excavation, no base build-up, no slab disposal. On a sound slab this is usually the largest single saving.
For supply pricing on a specific area, a square metreage and a shortlist is what turns a rough figure into a real one. Most buyers narrow that shortlist with natural stone paving samples on site before committing to a quantity.
Frequently asked questions
1. Is it a good idea to put pavers over concrete?
It is a good idea when the slab is structurally sound, drains correctly and the added height still works with your thresholds and steps. In that situation it saves the cost, time and waste of removing the old surface. It is a poor idea over a cracked or moving slab, because the overlay will crack along the same line.
2. Can I pave over existing concrete?
Yes, provided the concrete is sound, clean and not sealed or painted. The slab needs checking for through-cracks, hollow sections and correct falls first, and any coating has to come off mechanically before an adhesive or bedding layer will bond. If the slab fails those checks, it should be lifted rather than covered.
3. Can you lay paving over concrete?
You can, and it is a common approach for tired patios, paths and driveways. The three things that decide it are the condition of the slab, where the water goes, and how much height you can afford to add. Get those right and the method is straightforward; get them wrong and no amount of care in the laying will save it.
4. What is the cheapest way to cover a concrete patio?
Reducing the area you cover usually saves more than downgrading the material. Overlaying only the used part of a slab and treating the rest as gravel or planting costs less than paving the whole thing. Beyond that, a simple layout in a standard format with minimal cutting is cheaper to lay than a pattern that generates offcuts, and preparation costs vary far more between jobs than material costs do.
5. How thick do pavers need to be over concrete?
Thickness depends on the stone and on the loading, and it should be confirmed against the product specification rather than assumed. The practical constraint on an overlay is usually the opposite of the structural one: because the slab is already carrying the load, the question is often how little height you can add rather than how much strength you need. Check the thickness available in your chosen material before you set the levels.
6. Do you need a membrane between pavers and concrete?
Whether a membrane, slip layer or separation layer is required depends on the bedding system and the slab, so it should be confirmed with the supplier or installer for your specific method rather than applied as a general rule. What is consistent is that any existing movement joint in the slab needs carrying through the overlay rather than paved across.
Before you commit to an overlay
Check three things in this order: is the slab sound, where does the water go, and can you afford the height. If all three answer well, an overlay is usually the better job. If any one of them does not, the slab should come up, and finding that out now is much cheaper than finding it out afterwards.

